

How to make a DIY birthday banner using the Cricut Maker. This is a quick and easy way to produce a custom paper banner!
My son is almost 4 and we’re having a small outdoor birthday party for him this weekend. I decided to whip up a quick and using birthday banner using Smart Sticker Cardstock. Learn more about Smart Sticker Cardstock here. Buy Cricut Smart Sticker Cardstock here. He’s really into reptiles and emus recently so while he will NOT be getting either for his birthday, he did get snakes and emus on his banner. We hosted a Reptile Themed Birthday Party and it was SO much fun!
Here’s how easy it is to make this!
How to Make a Birthday Banner with the Cricut Maker
Supplies:
- Cardstock in (2) different blues
- Cricut Smart Sticker Cardstock
- Reptiles + Emus Birthday Banner Design
- Cricut Maker 3
- Light Grip mat
- Yarn, string or twine
Use the Discount Code DIYDANIELLE on cricut.com for 10% off any cutting machine or heatpress (no minimum). Excludes: materials/accessories/mystery boxes/etc. Applies to US/CA only, code expires 12/31/23.
In order to use as little materials as possible, I did a lot of tweaking and moving the design around. I only needed (4) pieces of cardstock for this, and (2) different colored pieces of Smart Sticker Cardstock.
Tutorial:
**This will start with some Design Space Instructions specific to this design.**
Hide the squares group. This was a placeholder to help me layout the design on 12×12 mats so I’d get the most cuts out of one sheet of cardstock.**
Hide the ‘finished banner’ group. This is there to show you what the final design looks like, but if you don’t hide it, you’ll end up cutting a second banner- and using a LOT of materials in the process. **
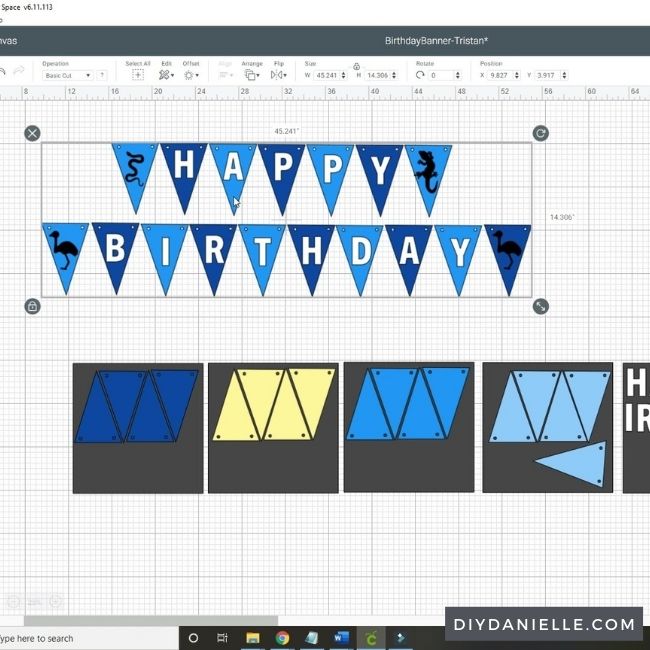
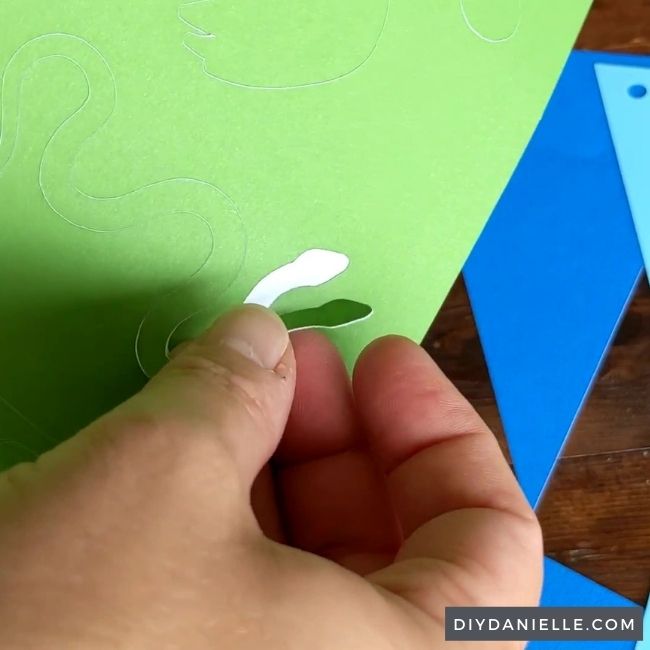
Detach the 4 black animal silhouettes. Click the gecko and select “contour” to make sure the extra line and dots aren’t selected to cut- there was something weird going on with the design. I turned them off under contour, but I’m not sure it’ll translate when you open my design in Design Space. Reattach the animals when you’ve done this. If you prefer, delete my animals and replace with another silhouette design that you like!**
Once you have the design setup how you like it, go through the process to cut the designs with your Cricut Maker 3. You can probably use the Smart Sticker Cardstock with the older machines, but you’ll need to place it on a mat. If you don’t want to work with the new Smart Materials, you could use glue (or foam blocks) + regular cardstock instead. I cut the animals and letters on Smart Sticker Cardstock, but the triangles are all regular cardstock.
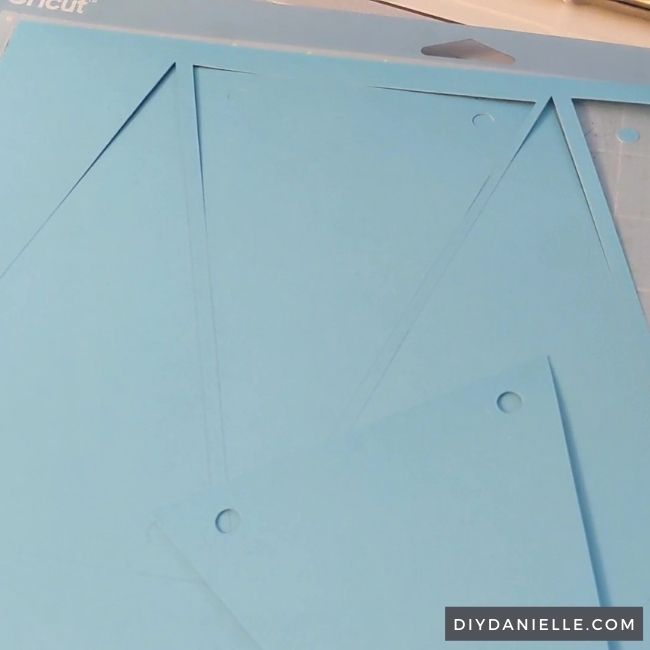
Layout all of your triangles how you want them before you apply the letters and animals.
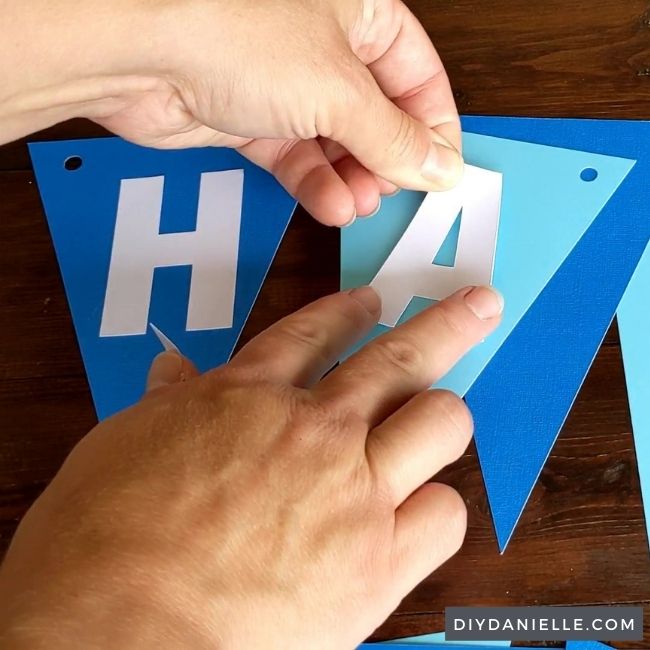
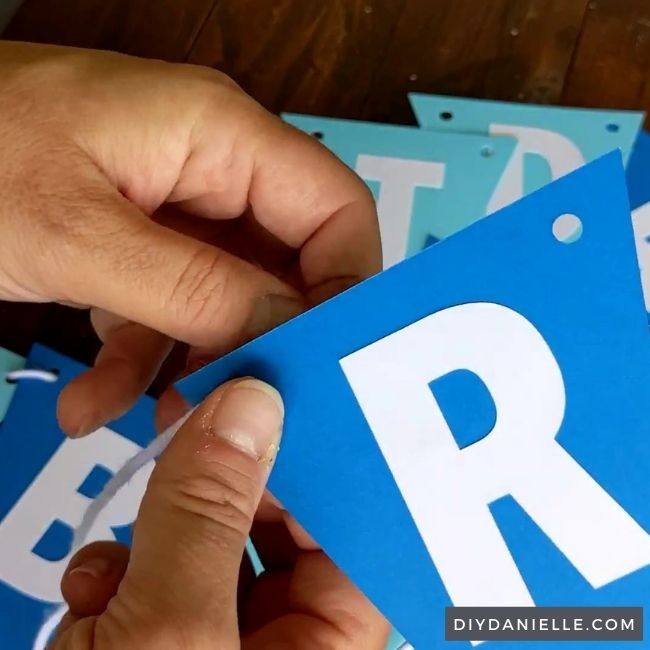
Peel your stickers off the Smart Sticker Cardstock and adhere to your triangles, one at a time.
Cut a long piece of yarn or twine. Feed through the holes in your banner triangles, working in order.
Hang up your banner and enjoy!
Please share and pin this post! You can also post your project and tag the DIYDanielle team on Instagram @doityourselfdanielle!

Google Web Story: DIY Birthday Banner