
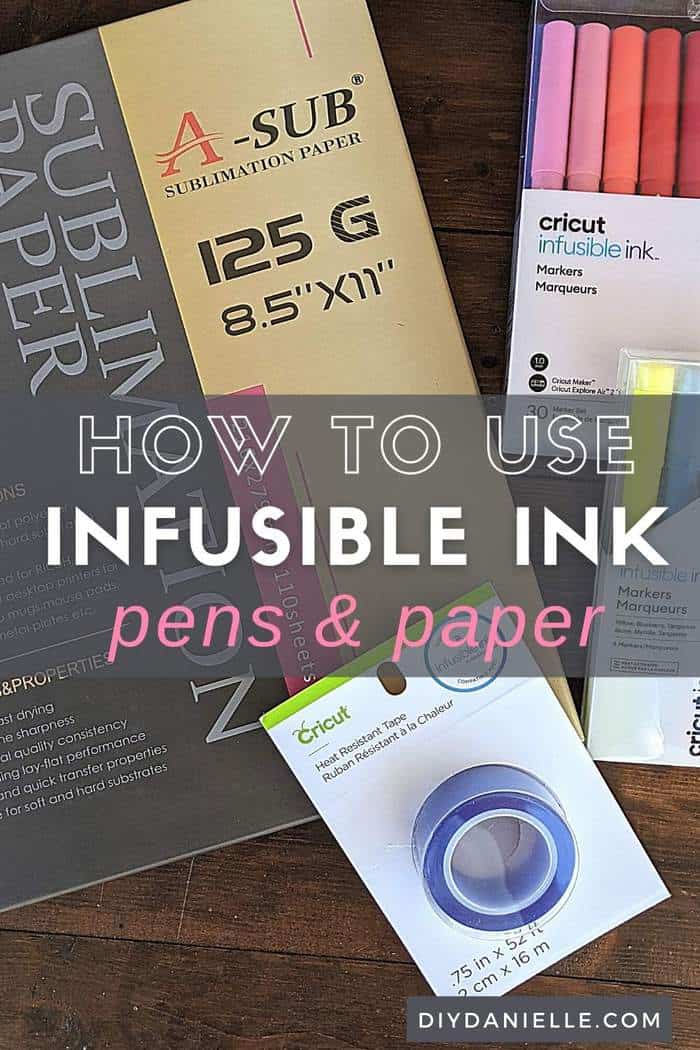
The easy to understand guide to Infusible Ink by Cricut. Learn how to use infusible ink pens and infusible ink sheets.
This post may contain affiliate links which may earn me commissions should you click through them and take certain actions. As an affiliate for Amazon, Cricut, xTool, Home Depot, and other sites, I earn from qualifying purchases. Please DIY carefully. View my full legal disclosures here.
The majority of my content is generated by me, as are 99% of the photos and videos, but I utilize technology for titles, descriptions, video editing out all of my ums, and occasionally for text overlay on images.
Please read the whole post so you don’t miss any important information!
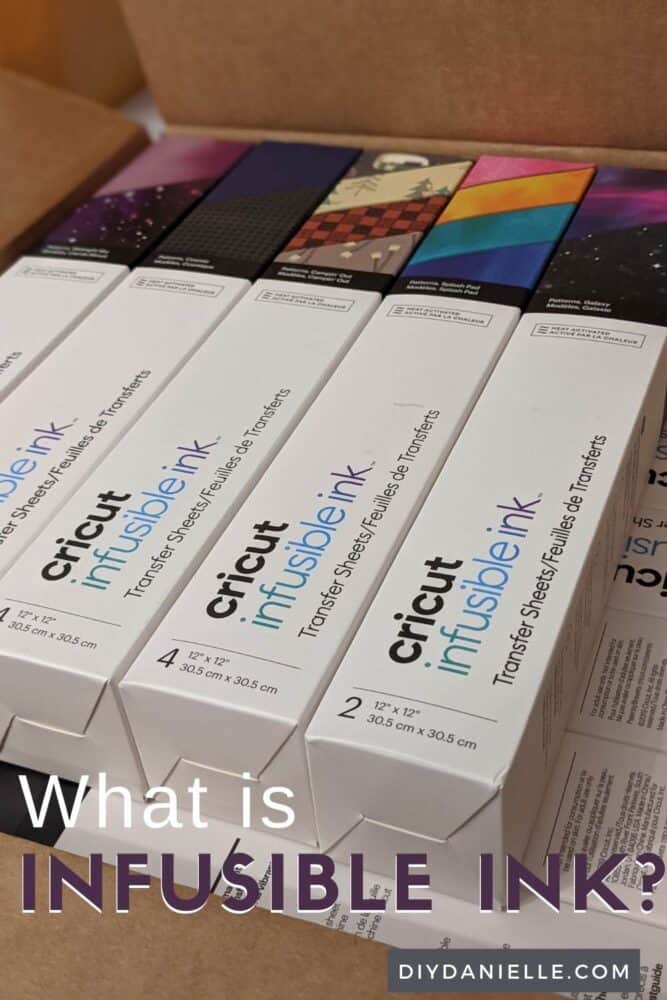
What is Infusible Ink by Cricut?
Infusible ink is Cricut’s sublimation project. Sublimination is a way of dyeing a design onto a product. It’s peel proof and wash proof so it should last longer than HTV. High heat transfers the ink from the special Infusible ink sheets to the product.
What Types of Products Do Infusible Ink Work on?
Infusible ink is only guaranteed to work on the special blanks that are sold by Cricut because those are what they’ve been tested on. You can find sublimation blanks that will work as well.
From what I’ve seen, the products require a high polyester count to have an effective transfer of the design. The fabric blanks that Cricut makes all seem to be 95-100% polyester. Cricut also sells blanks made from ceramic for coasters.
You can buy ceramic mugs as sublimation blanks, but I haven’t tried them with the Cricut Infusible Ink. I believe you need a mug press to infuse the ink onto a cup of some sort.
Cricut Blanks
View all available Cricut Blanks
Use the Discount Code DIYDANIELLE on cricut.com for 10% off any cutting machine or heatpress (no minimum). Excludes: materials/accessories/mystery boxes/etc. Applies to US/CA only, code expires 12/31/23.
Blanks for Sublimation on Amazon
What Temperature does Infusible Ink Need?
Infusible ink transfers best around a temperature of 400 degrees Fahrenheit or thereabouts.
Whatever product is used as a blank, the product itself much be able to withstand the heat needed to transfer the ink.
Cricut has a useful heat guide if you want to ensure you get the correct temperature for your project.
New to cutting machines like the Cricut? Check out my guide on different cutting machines available. Here’s a list of my posts about the Cricut, including project ideas!
How to Use Infusible Ink Vinyl
The infusible ink “vinyl” is called a transfer sheet; it’s not technically vinyl.
For projects using the transfer sheets, you simply need to cut your design on the sheets. The excess infusible ink is weeded away. Then you place your design face down on your blank and press for the recommended amount of time.
Let’s go over it step by step though.
Step 1: Place the transfer paper on your cutting mat, pretty side up.
Step 2: Pull up your graphic in Design Space and once you have the size worked out, MIRROR the image.
Step 3: If you’re using the later Cricut models, you can select “Infusible Ink Transfer sheet” in the menu as your material. You’ll need to use the “custom” setting if you have an older model.
Step 4: Load the mat and press GO when ready.
Step 5: Remove the infusible ink sheet. It’s VERY important that you have dry hands during this process. Trim around the design, saving any excess for other projects.
Step 6: Roll the design around, bending it back and forth a bit. This helps it release a bit before you start weeding the excess. Weed away the stuff you won’t want in your final design.
Step 7: Prepare your blank by making sure it’s lint free. Use a clean lint roller. Preheat your EasyPress 2; you can use Cricut’s heat guide to determine the right temperature for your project.
Step 8: Place a piece of butcher paper over your blank. Preheat your blank. Let cool. Remove the butcher paper.
Step 9: Place your design “pretty side” down on your blank shirt or whatever you’re using; the clear liner will be on top. Place your butcher paper over the infusible ink sheet. If you’re putting the infusible ink on a shirt, place a piece of cardboard or paper inside the shirt to keep ink from possibly leaking through. You may need some heat resistant tape to hold your design in place.
Step 10: Press the design with your EasyPress 2. Ensure that you press straight down and do NOT move the press during the allotted time. When the time is up, carefully remove the press by pulling it straight up.
Step 11: Let project cool. Once cool, remove the butcher paper and the infusible ink sheet.
Step 12: THROW OUT the butcher paper that you used. If you try to reuse it, it will leave remnants of your project on your next project.
Projects with infusible ink sheets:
How to Use Infusible Ink Pens
I find Infusible Ink pens to be a bit more complicated to use, but they’re still pretty easy. The pens allow you to transfer the ink to a piece of laser copy paper, then you use the copy paper face down, just like you used the transfer sheets above. The main thing to remember is that your image will be face down… so you need to mirror the image. It’s easy to forget that if you decide to do something like draw the design by hand.
Let’s go over it step by step.
Step 1: Place a piece of the copy paper on a light grip mat and load it into your machine. Alternatively, you could hand draw your design using the markers; just remember that the image will be backwards once placed on the blank.
Step 2: Pull up your design on Design Space. Select line type to DRAW. You do NOT want any part of this project set to ‘cut.’ Assign colors for different parts of your design, if desired.
Step 3: When you go to print your design, select copy paper from the list of materials.
Step 4: Set your image to MIRROR ON.
Step 5: Place the pen for the first section into Clamp A and press go. Switch out pens when asked.
Step 6: Unload mat when finished. You can color in your design further with the Infusible Ink markers if you want.
Follow Steps 7-12 from the Infusible Ink sheets instructions. The only difference is that you need to use heat resistant tape to hold your design in place on your shirt or other blank.
Projects with infusible ink pens:
- One of these coasters was made with infusible ink pens
- Infusible ink tablecloth
- Infusible Ink pillow covers
- Infusible ink mousepads
- Infusible ink garden flag
Cricut mat loosing it’s ‘stick?’ Here’s how to clean your Cricut mat.
Please share and pin this post! You can also post your project and tag the DIYDanielle team on Instagram @doityourselfdanielle!
