

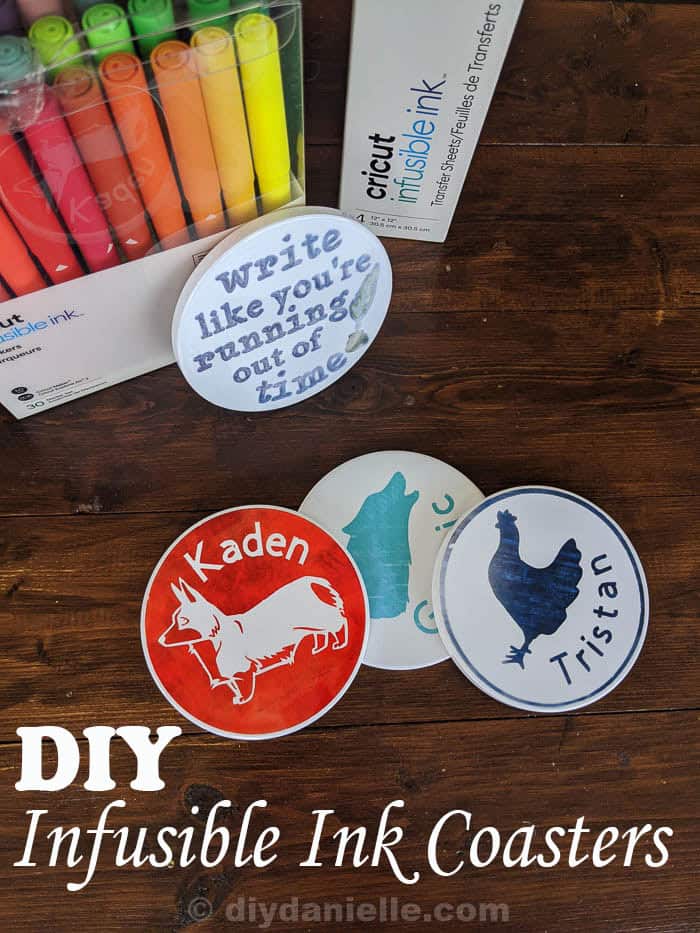
Learn how to make coasters with Cricut’s infusible ink markers and infusible ink transfer paper. These are super easy DIY coasters!
This post may contain affiliate links which may earn me commissions should you click through them and take certain actions. As an affiliate for Amazon, Cricut, xTool, Home Depot, and other sites, I earn from qualifying purchases. Please DIY carefully. View my full legal disclosures here.
The majority of my content is generated by me, as are 99% of the photos and videos, but I utilize technology for titles, descriptions, video editing out all of my ums, and occasionally for text overlay on images.
Please read the whole post so you don’t miss any important information!
Interested in Infusible Ink? It’s REALLY neat. This is my first project with infusible ink, a product from Cricut for sublimation (transferring ink from a design via heat). Unlike vinyl, it won’t peel off and it’s not susceptible to water damage from drippy drinks. These were SUPER easy to make.
Here’s the tutorial.
Supplies:
- Infusible Ink Sheets
- Cricut Infusible Ink Pens
- Cricut Easy Press
- Cricut Maker 3
- Cricut Infusible Ink Ceramic Coasters
- Cricut Heat Resistant Tape
Use the Discount Code DIYDANIELLE on cricut.com for 10% off any cutting machine or heatpress (no minimum). Excludes: materials/accessories/mystery boxes/etc. Applies to US/CA only, code expires 12/31/23.
How to Make Infusible Ink Coasters with Infusible Ink Sheets
Tutorial:
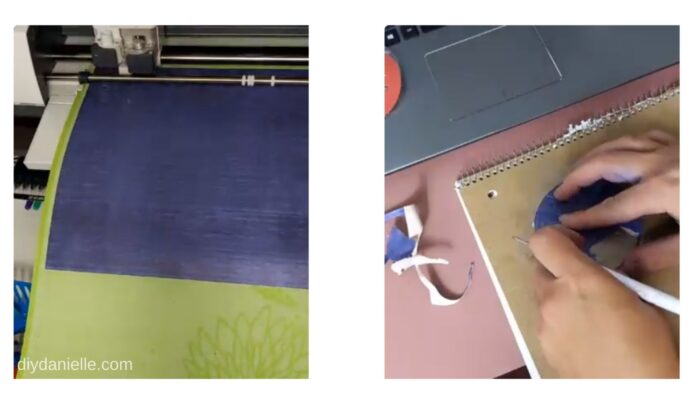
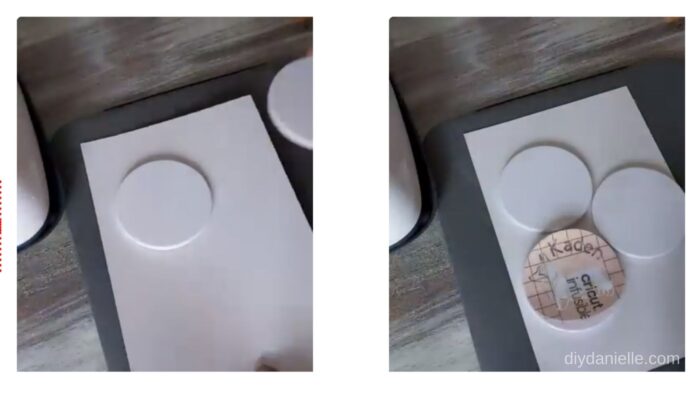
Step 1: Cut your design on an Infusible Ink sheet.
Step 2: Cut around your design. Remove excess paper by weeding around the design.
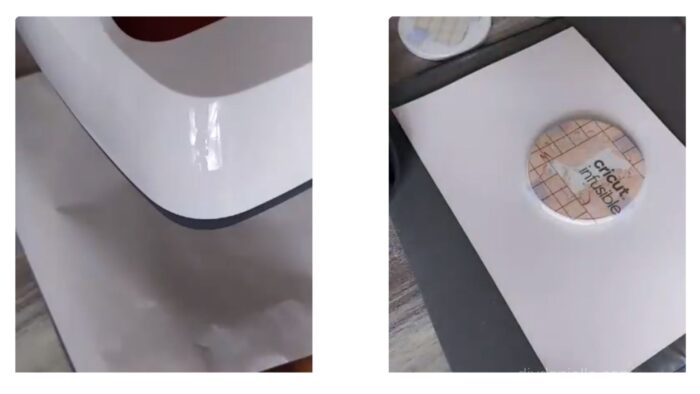
Step 3: Use a lint free wipe to clean off the tops of your Cricut coaster blanks.
Step 4: Preheat your Cricut EasyPress2 for 400 Degree F and set for 60 seconds.
Step 5: Place your coasters on a piece of scrap cardstock.
Step 6: Place your design face down on your coaster and use Cricut heat resistant tape to hold in place.
Step 7: Place butcher paper over your coasters. Place EasyPress2 and let sit for 60 seconds.
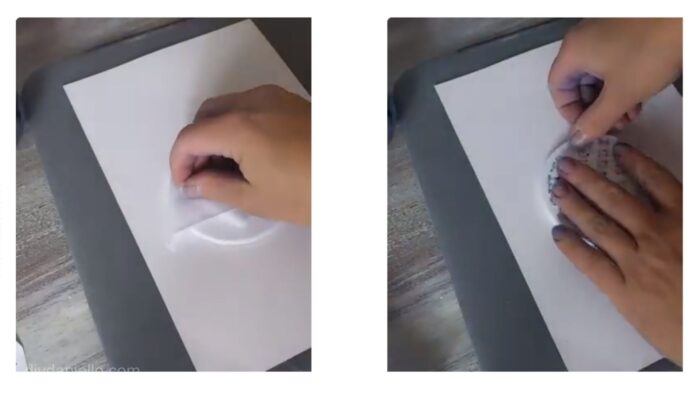
Step 8: Remove carefully and LET COOL.
Step 9: Once cool, remove tape and paper with tweezers.
How to Make Infusible Ink Coasters with Infusible Ink Markers
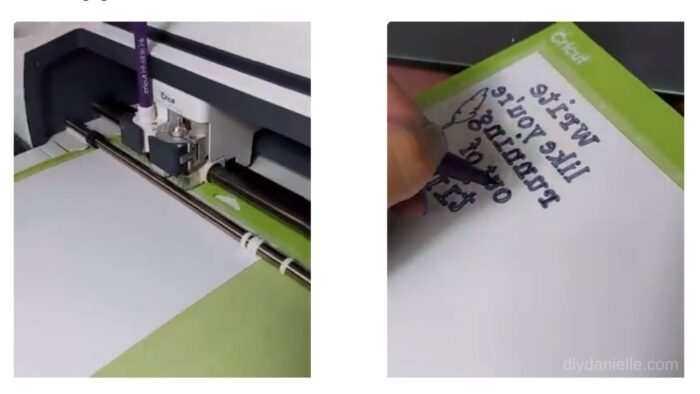
Step 1: Using infusible ink markers to draw the design on quality printer paper.
Step 2: Color in the design if desired with infusible ink markers.
Step 3: Wipe your coasters clean.
Step 4: Place the design and secure with tape.
Step 5: Press for 60 seconds at 400 Degrees F.
Step 6: Remove press and let cool.
Step 7: Remove the design carefully.
Here’s a comparison between the Infusible Ink Sheets vs. Infusible Ink Pens.

Here’s the full YouTube Video:
Looking for storage for your Cricut Projects? Check out these projects:
Please share and pin this post! You can also post your project and tag the DIYDanielle team on Instagram @doityourselfdanielle!

How to Make Coasters with Cricut Infusible Ink
How to make coasters with Infusible Ink transfer sheets.
Materials
- Infusible Ink Sheets
- Cricut Infusible Ink Pens
- Cricut Easy Press 2
Instructions
- Cut your design on an Infusible Ink sheet.
- Cut around your design. Remove excess paper.
- Use a lint free wipe to clean off the tops of your coaster blanks.
- Preheat your Cricut Easy Press 2 for 400 Degree F and set for 60 seconds.
- Place your coasters on a piece of scrap cardstock.
- Place your design face down on your coaster and use Cricut heat resistant tape to secure in place.
- Place butcher paper over your coasters.
- Place Easy Press2 on top of the design and let sit for 60 seconds.
- Remove Easy Press carefully and LET COOL.
- Once cool, remove tape and paper with tweezers.