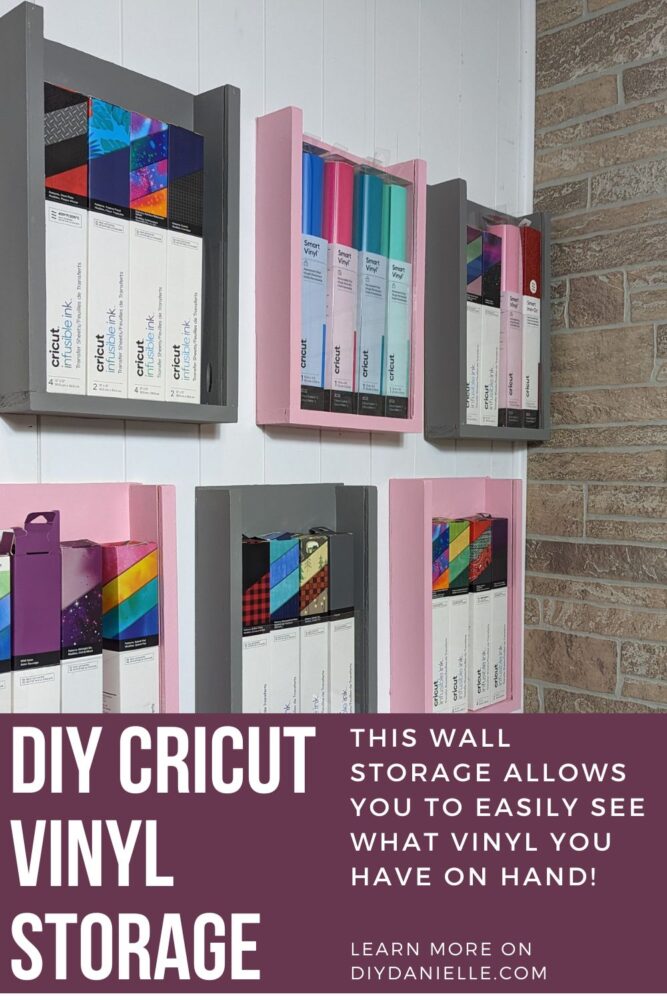
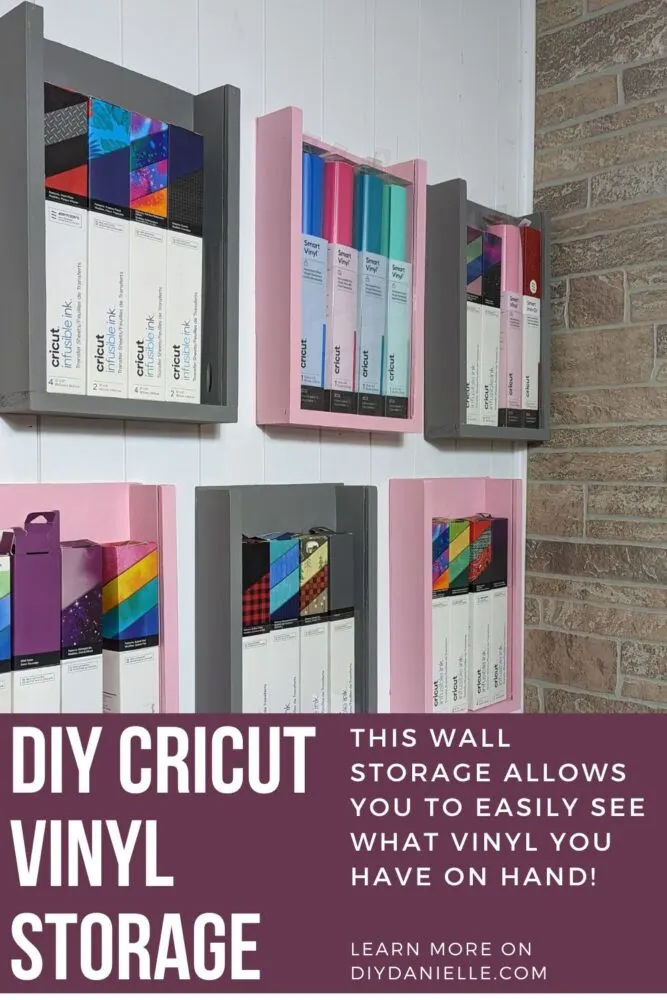
This easy to DIY Cricut Vinyl wall storage is a fantastic way to store your vinyl, iron-on, and Infusible Ink STILL IN THE BOX.
I made these. This is one of those projects that I finished and I wanted to happy cry because I LOVE THEM SO MUCH. Also, who knew I had so much vinyl… I need more of these, but I am not sure I have the spoons to make enough of these for my entire vinyl/Infusible Ink/iron-on vinyl collection. Do you ever finish a project, then realize you need to make it again but the fun part of it— creating— is already done so meh? Yeah, that’s where I’m at. I have other projects to make.
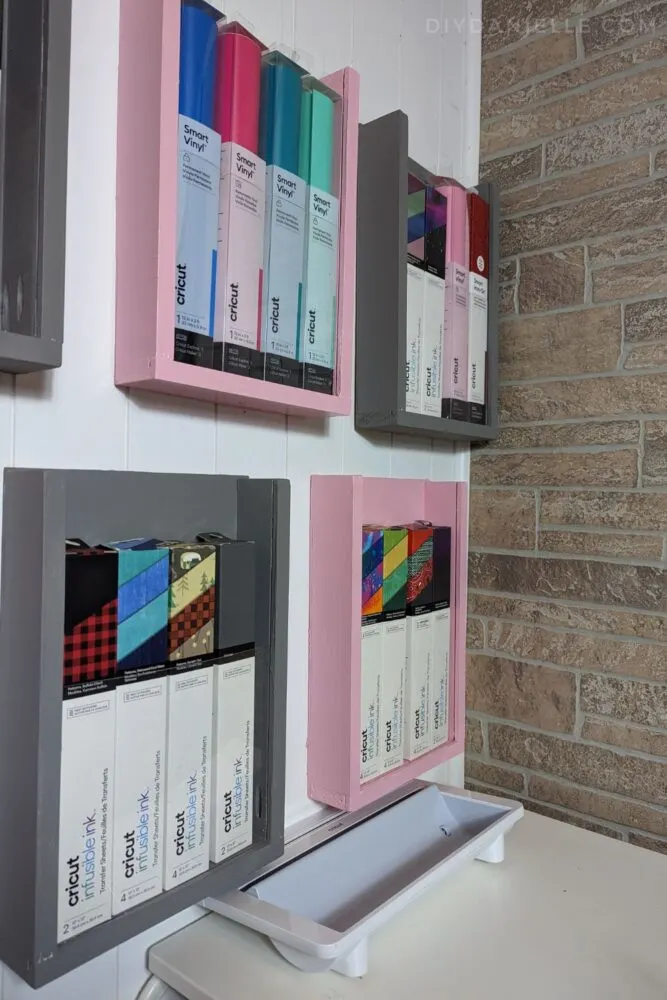
Regardless, these are a great way to store Cricut vinyl. Why? Well, like fabric, you ideally don’t want them to gather dust by storing them outside of their original box. A lot of the ideas I saw involved removing them from the box which I don’t like to do. I find it’s easier to keep track of if I keep it in the box, and when I have remnants, I usually stuff the little pieces left in there too.
I wanted a clear front so I could still see what I have. As someone with ADHD, it’s easy to forget I have something, and I like being able to see what I have quickly and easily. This allows for that. It’s particularly useful for fancy vinyl. I can safely store my plain white and black vinyl out of sight.
Here’s how to make these!
This post may contain affiliate links which may earn me commissions should you click through them and take certain actions. As an affiliate for Amazon, Cricut, xTool, Home Depot, and other sites, I earn from qualifying purchases. Please DIY carefully. View my full legal disclosures here.
Please read the whole post so you don’t miss any important information!
DIY Cricut Vinyl Wall Storage
Supplies:
- 1x3s: https://homedepot.sjv.io/4ebn0Z … these are pretty pricey right now, but the cheaper ones take more prep. Pick your poison.
- (2) 15″
- (1) 11″
- Wood glue: https://homedepot.sjv.io/5b4JQo
- Command Strips: https://homedepot.sjv.io/rnZNmv
- Primer
- Paint: Gray and Pink
- 1/4″ plywood: https://homedepot.sjv.io/7m20NQ
- 15.75×11″
- 8×10 Acrylic Sheets: https://amzn.to/3GJimRS*
*I bought these a while ago for a completely different project and didn’t use them. They’re a bit thin and they’re prone to breaking if you aren’t careful with them. It’s possible you can find something a bit thicker and more durable, but these DID work. I just like a couple of them to cracking.
Use the Discount Code DIYDANIELLE on cricut.com for 10% off any cutting machine or heatpress (no minimum). Excludes: materials/accessories/mystery boxes/etc. Applies to US/CA only, code expires 12/31/23.
Equipment:
- Miter Saw: https://homedepot.sjv.io/BXrdaL
- Table Saw: https://homedepot.sjv.io/JrGdXa
- Ryobi Airstrike: https://homedepot.sjv.io/qn7Zbj
- Corner Clamp: https://homedepot.sjv.io/LPVdBZ
This is going to look like a really expensive project if you price it out, but I had a LOT of the supplies on hand so it cost me about $11 for the extra 1×3 that I needed. I had scrap 1/4″ plywood and some 1×3’s leftover from another projects.
How to Make Wall Shelves for your Cricut Vinyl
Step 1: Create a groove cut on the edge of your 1x3x8 using a table saw (or whatever other tool you have to make this cut). This should be around 1/4″ from the edge (the cut should START 1/4″ from the start). If you’re making several of these, make sure each 1×3 is cut at the same distance from the edge of your board. It’s best to cut all of the 1x3s you’ll need at the same time so you can keep the fence in place so the cut is in the same spot for all of the cuts.
Take out your table saw and LEARN HOW TO USE IT. These can be dangerous, but I’m so glad that I have one now. I had a lot of anxiety about this tool, but it’s amazing.
To make the cut you need for this project, you need to drop the blade so it won’t cut your 1×3 in half. This is easy, but you need to make some adjustments and READ YOUR MANUAL. I’m not giving instructions for this detail.
Step 2: Cut your 1x3x8 into the lengths needed for your storage. I use (2) pieces cut to 15″ for the sides and (1) piece cut to 11″ for the bottom.
As you can see, I just cut a bunch at once to make my life easier.

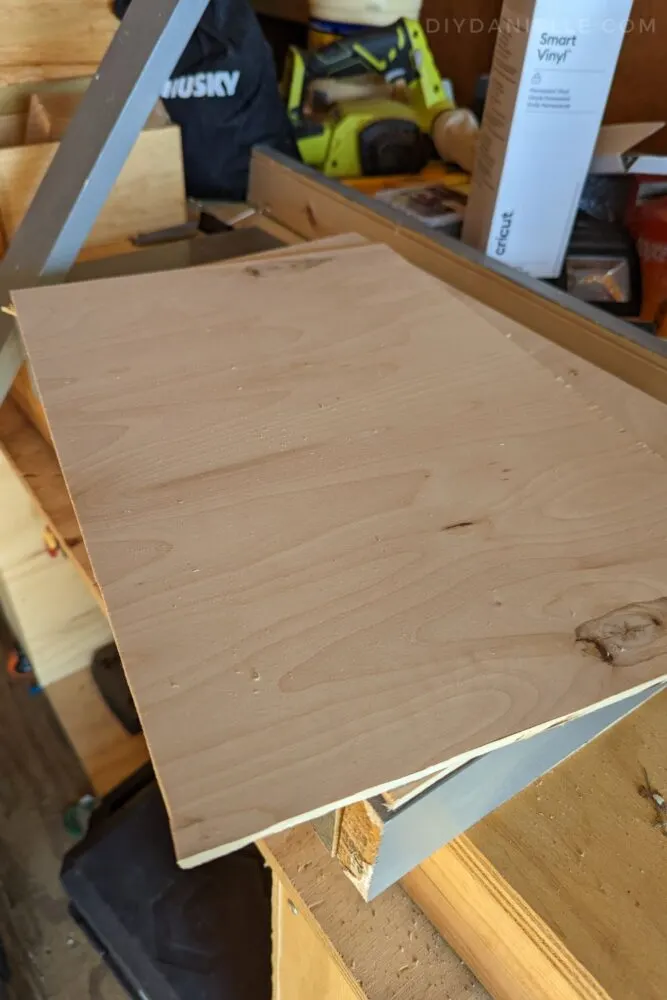
Step 3: Rip your 1/4″ plywood to 15.75″, then cut the wood into 11″ sized rectangles. Or vice versa.

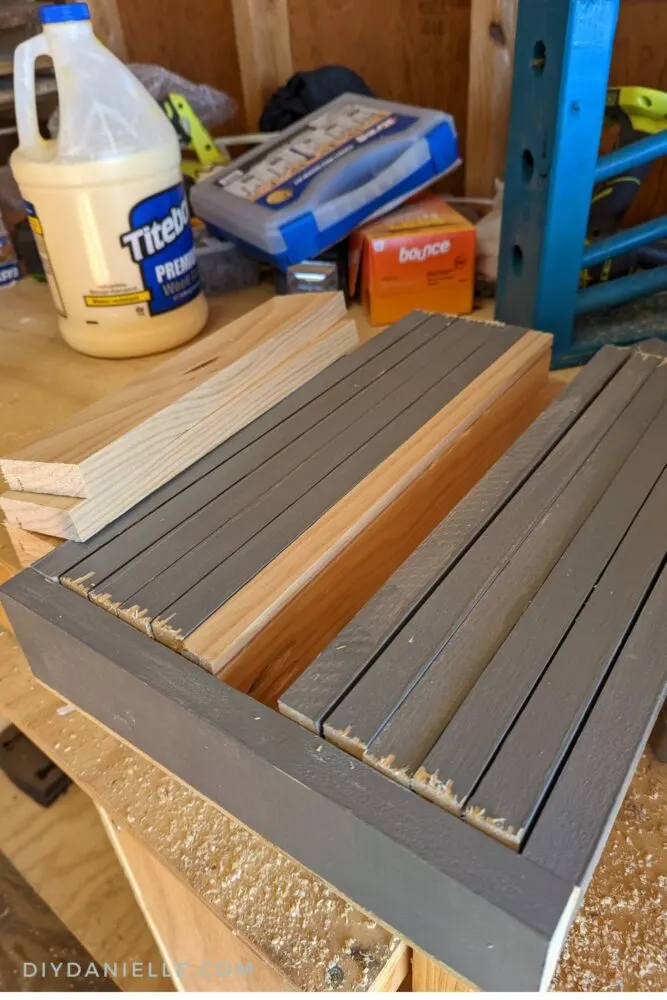
Step 4: Line up (2) sides and (1) bottom piece so the groove cuts line up. Add glue to attach them together. Using a corner clamp can be useful to hold them in place. Attach using your Ryobi Airstrike.*
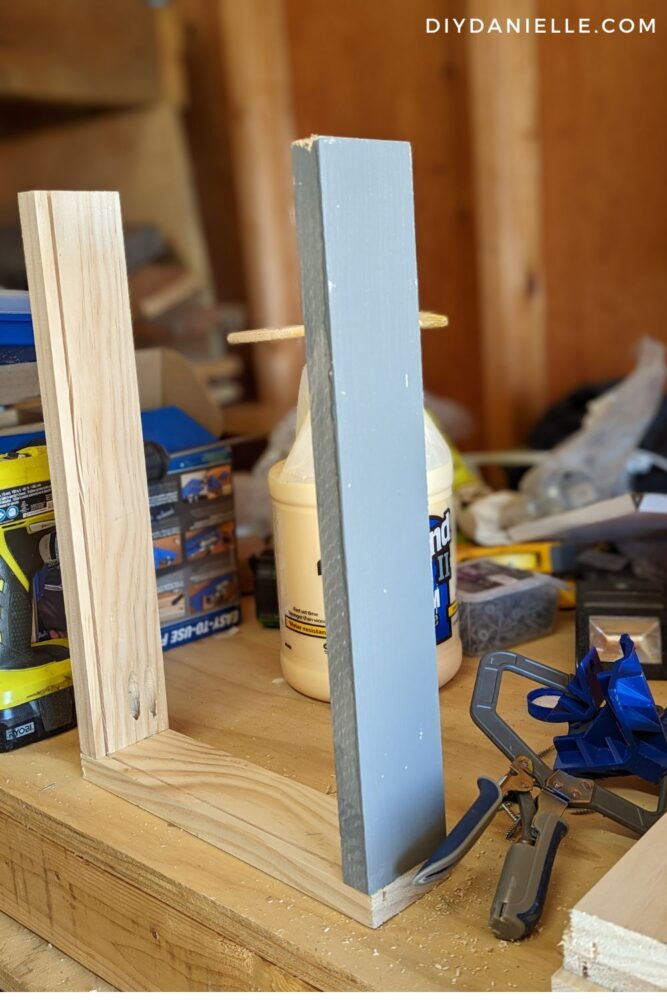

*I used pocket screws and they were just WAY more work than necessary here. I don’t know what I was thinking. It’s been a long few weeks. The glue alone will be fine for this project, but the nails from the nail gun help hold everything together while drying and why not. I tend to overbuild everything because in my head, nails or screws are required. This project is like… 10x faster without pocket holes.
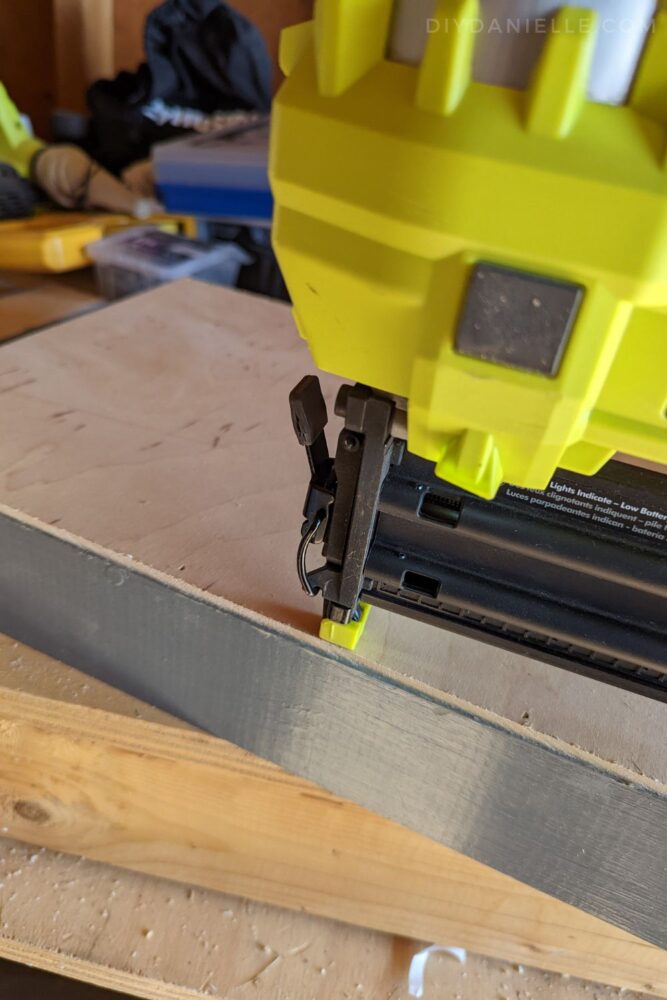
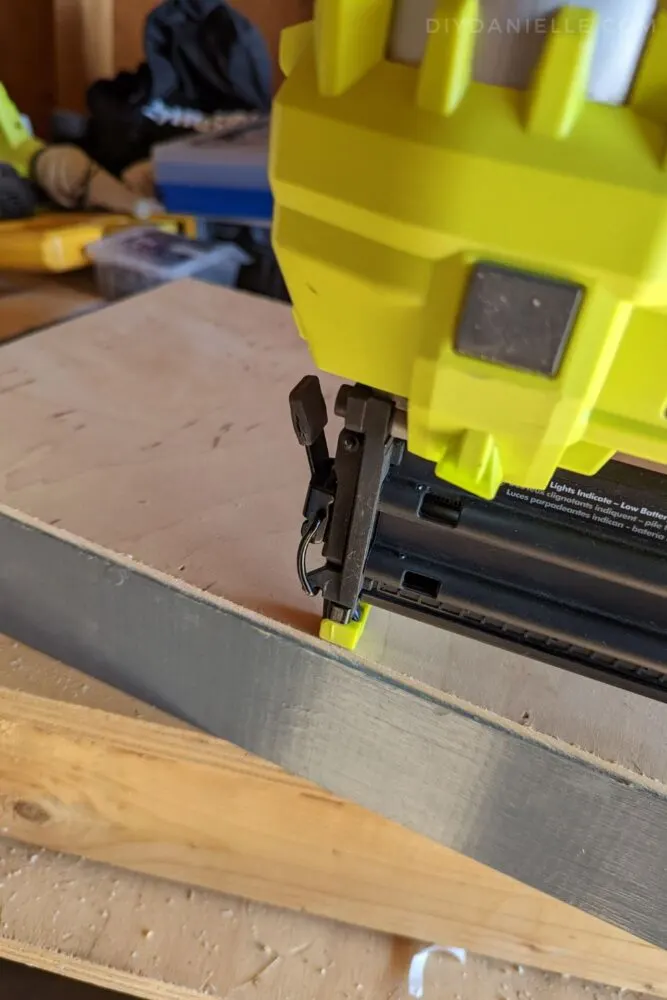
Step 5: Attach the 1/4″ plywood using wood glue and the Airstrike. Make sure your 1x3s line up with the edges of the 1/4″ plywood.
The top of the shelf isn’t stabilized with a horizontal piece so it WILL NOT BE RECTANGULAR if you don’t push the 1x3s out to fit the 1/4″ plywood rectangle. I hope that makes sense.
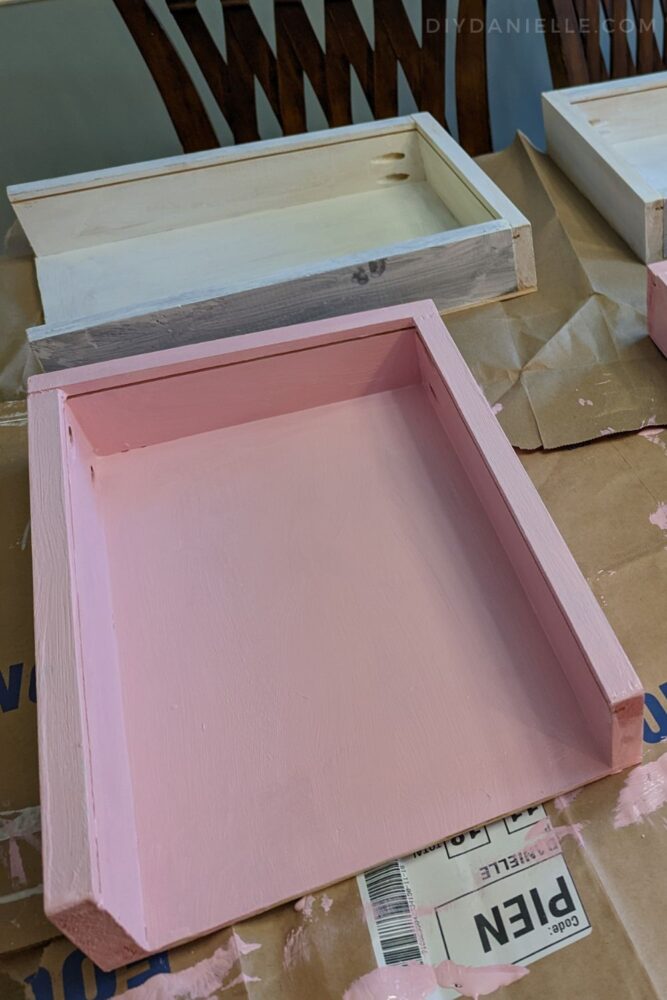
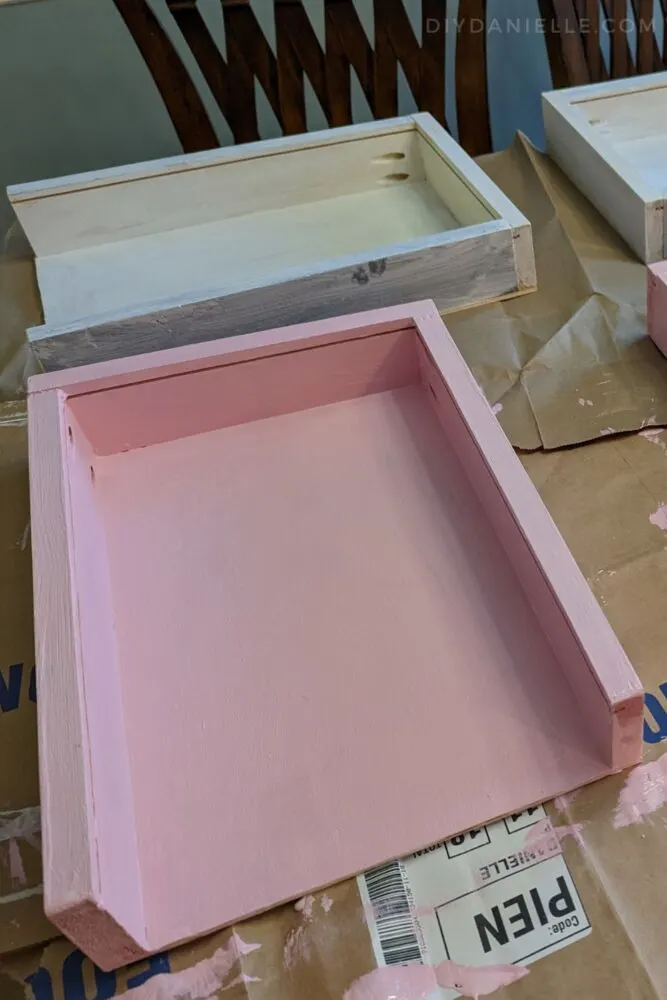
Step 6: Sand.
Step 7: Prime. Let dry. Paint. Let dry.
Step 8: Hang! I think you could easily use Command Strips to hang these vs. using screws like I did (again, overkill should be my middle name).
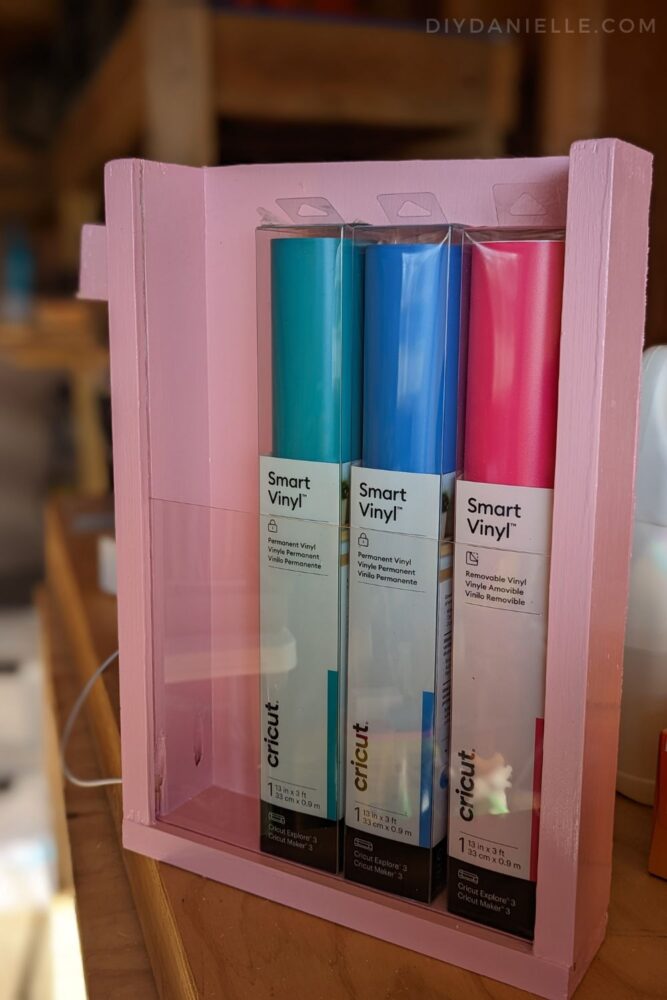
Step 9: Remove the plastic cover on your acrylic sheet and slide it into your shelf! Add your vinyl!

I used pocket holes and screws, but I think I should have just used wood glue and my Airstrike to attach the 1x3s together. It would have been faster and still held the weight fine.
Please share and pin this post! If you make this project, share it in our Stuff Mama Makes Facebook Group. We have regular giveaways for gift cards to craft stores. You can also tag me on Instagram @doityourselfdanielle; I love seeing everything you make!