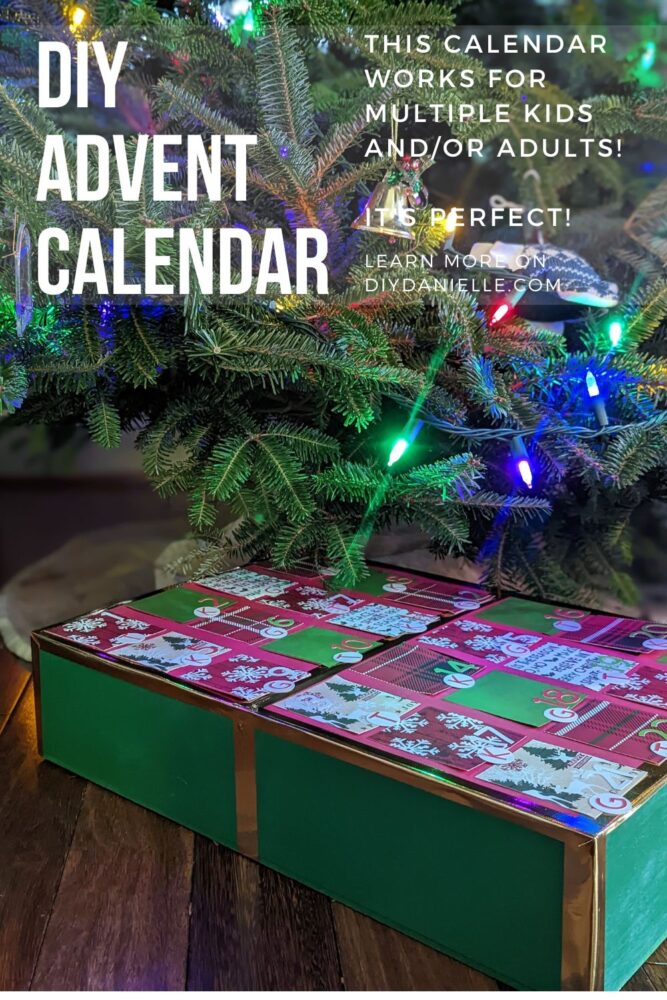
How to make an Advent Calendar for kids. This calendar can hold items for multiple children AND adults if you choose!
My pain point EVERY year is the Advent Calendar. EVERY YEAR we argue over which kid gets the treat from that day and who gets to open it. We can never remember who opened it last. It’s expensive and I’m certainly not buying one calendar for each kid. I think if it were cheaper candy items, it’d be one thing, but I’ve often gotten the Lego Advent Calendars. Needless to say, I made a small Advent Calendar MANY years ago that was pretty small. It worked for 1-2 kids, but we have three kids now.
A few years ago, I bought a HUGE bin with plans to make a giant Advent Calendar. It had 24 slots and I figured I could always add adult items too like mini wine or scratch offs etc. so there was a little treat for everyone. Apparently this is called a soda crate. But… it was that project that’s sort of been sitting and waiting for me to be inspired.
AND IT FINALLY HAPPENED! INSPIRATION. I love how this came out. I stuffed it with a variety of items and there’s room for more. Maybe next year, I’ll put something in there for my husband too. This year, I didn’t quite have the energy leftover once I finished this. Here’s how to make your own!
This post may contain affiliate links which may earn me commissions should you click through them and take certain actions. As an affiliate for Amazon, Cricut, xTool, Home Depot, and other sites, I earn from qualifying purchases. Please DIY carefully. View my full legal disclosures here.
The majority of my content is generated by me, as are 99% of the photos and videos, but I utilize technology for titles, descriptions, video editing out all of my ums, and occasionally for text overlay on images.
Please read the whole post so you don’t miss any important information!
DIY Advent Calendar for Kids AND Adults!
Supplies:
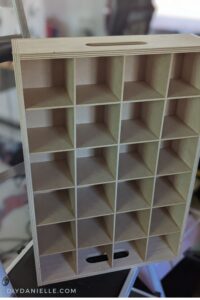
- Box with 24 open spots: This is apparently a 24 slot soda bottle crate. Don’t ask me where I got it or where to find another one. I can’t remember and I looked everywhere online. Leave me a comment if you have ideas for where to find one! My box is 18.75″ tall x 12.75″ wide (pockets are 4″ deep).
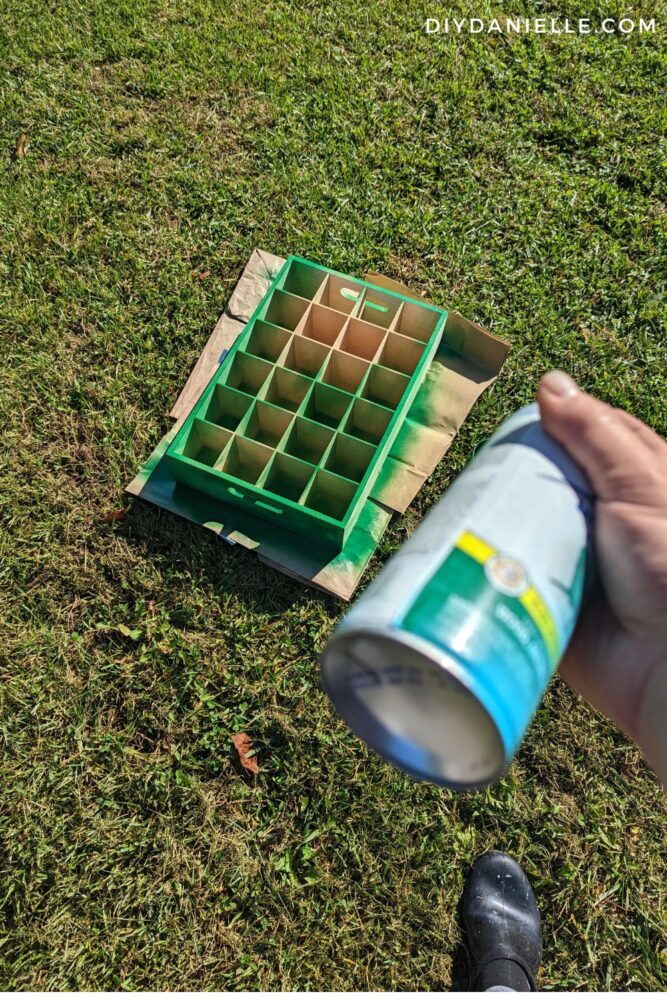
- Green spray paint
- Scrapbook paper: Red & Christmas themed, Ideally you’d want a big piece of poster board (the paper, not the foam) so you could just cut it to the correct size, but I used two pieces of 12×12 red scrapbook paper with the excess trim left on so it would be a full 12.75″ wide)
- Washi Tape, gold
- Glue stick
- Smart Sticker Cardstock in White, Green, Red: https://cricut.pxf.io/qnjrgb
- Toys and/or candy for each day (see ideas list at the end of the post)
- My Cricut template is here: https://design.cricut.com/landing/project-detail/63810f3c7c12a43009360a9b You’ll likely need to make adjustments based on your box.
Use the Discount Code DIYDANIELLE on cricut.com for 10% off any cutting machine or heatpress (no minimum). Excludes: materials/accessories/mystery boxes/etc. Applies to US/CA only, code expires 12/31/23.
Step-By-Step Tutorial
Step 1: Prime and paint your box. I skipped priming because I was lazy and I was hoping it would work. It did.
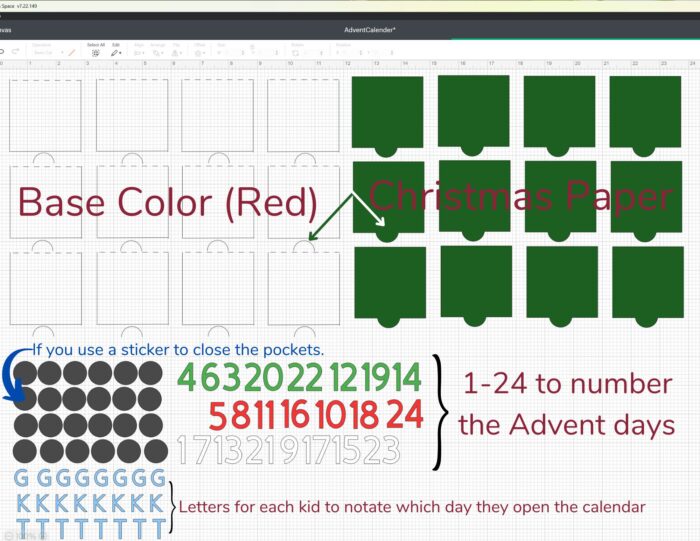
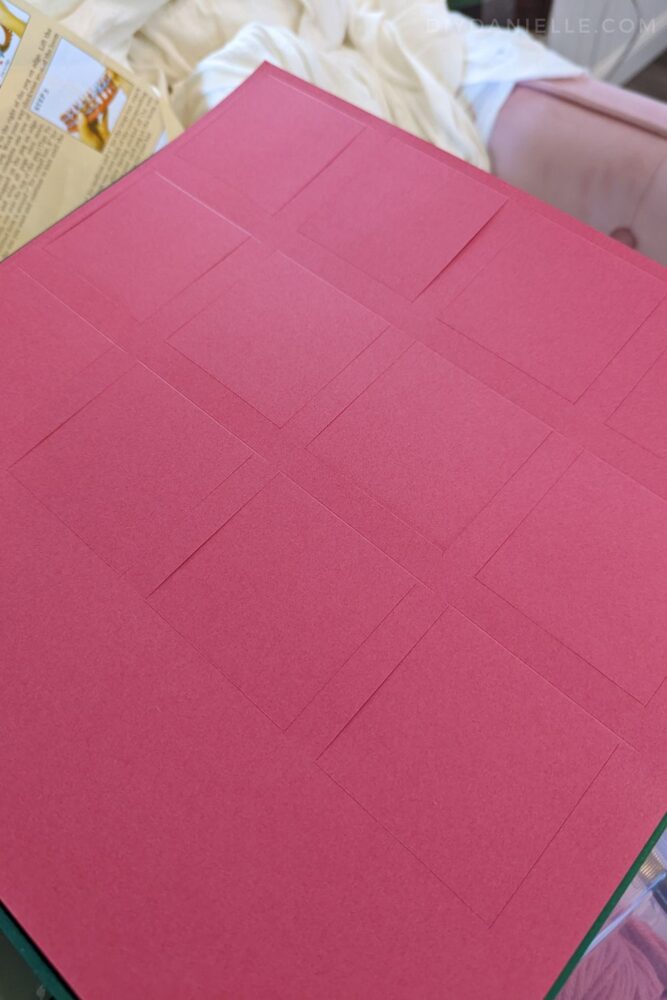
Step 2: Cut your base scrapbook paper with your Cricut machine. Note that I’m using the FULL WIDTH of my red scrapbook paper including the piece you’re supposed to trim off. This is because my box was 12.75″ wide and I needed the full width to be able to attach my paper to the edges.
I carefully measured everything out and figured out that I could use 2 pieces of scrapbook paper for this.

One piece of poster board would have been better, but our local store didn’t have white, red, OR green. Ugh. Guess it’s that time of year.
You’re welcome to use my Cricut template for your cut outs, but you’ll probably need to make some considerable adjustments, unless you get lucky and find the SAME box as me.
I did make some adjustments to my design AFTER I made this.
- I added a cut out for a circle to fit into, allowing you to close the windows without a sticker.
- I also made the Christmas paper cut outs so you can have your Cricut cut those too. This will allow you to add the little circle that will fit into your circular cut on your base paper. This is a bit of a guide to my chaos.
Template: https://design.cricut.com/landing/project-detail/63810f3c7c12a43009360a9b
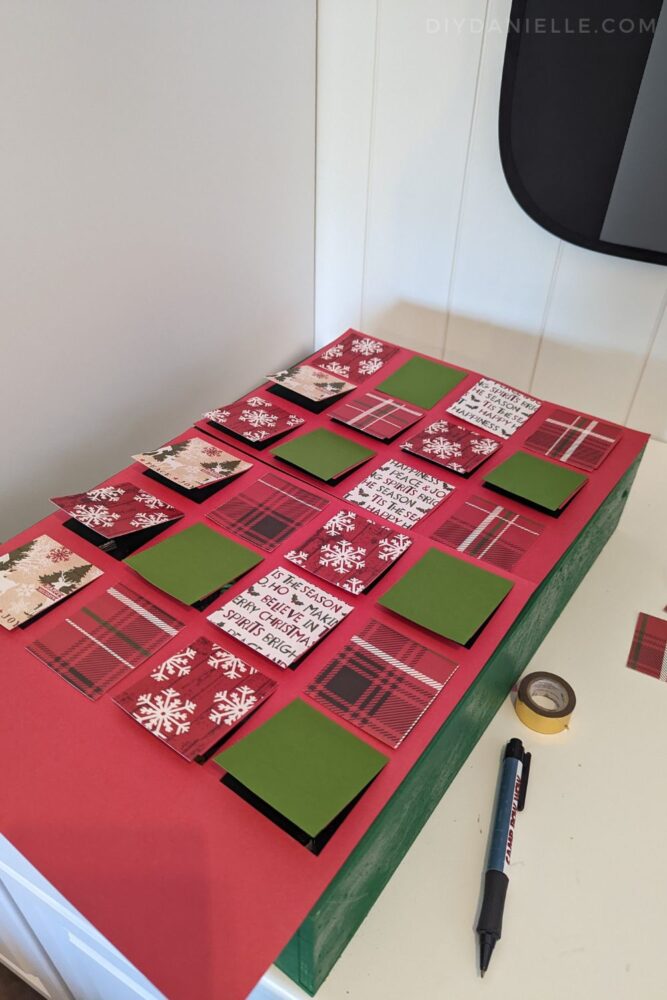
Step 3: Bend open your pockets and make sure everything lines up properly.
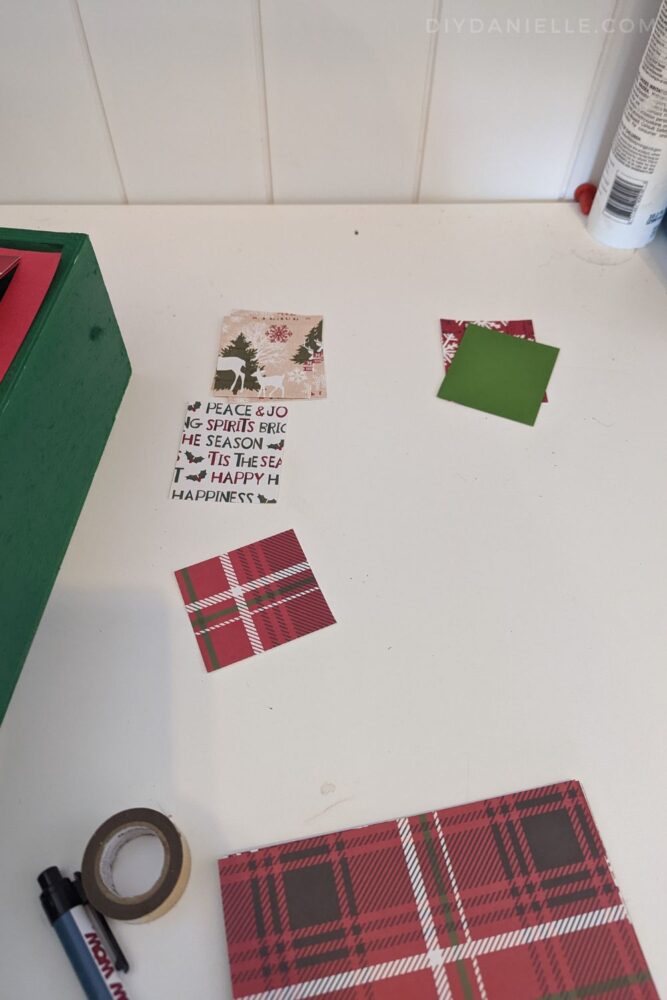
Step 4: Cut out your Christmas scrapbook paper for the tops to each pocket. This is the piece that will attach to each window. I recommend using my adjusted style for this so you have a little tab to tuck into the red base paper when the window is closed.
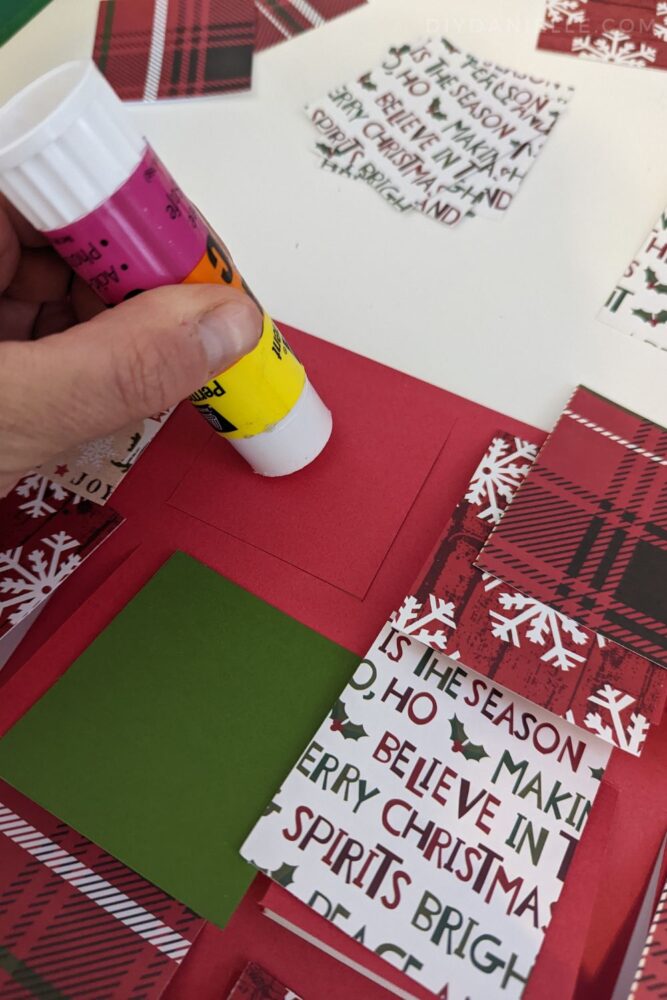
Step 5: Glue the Christmas scrapbook paper to each window.
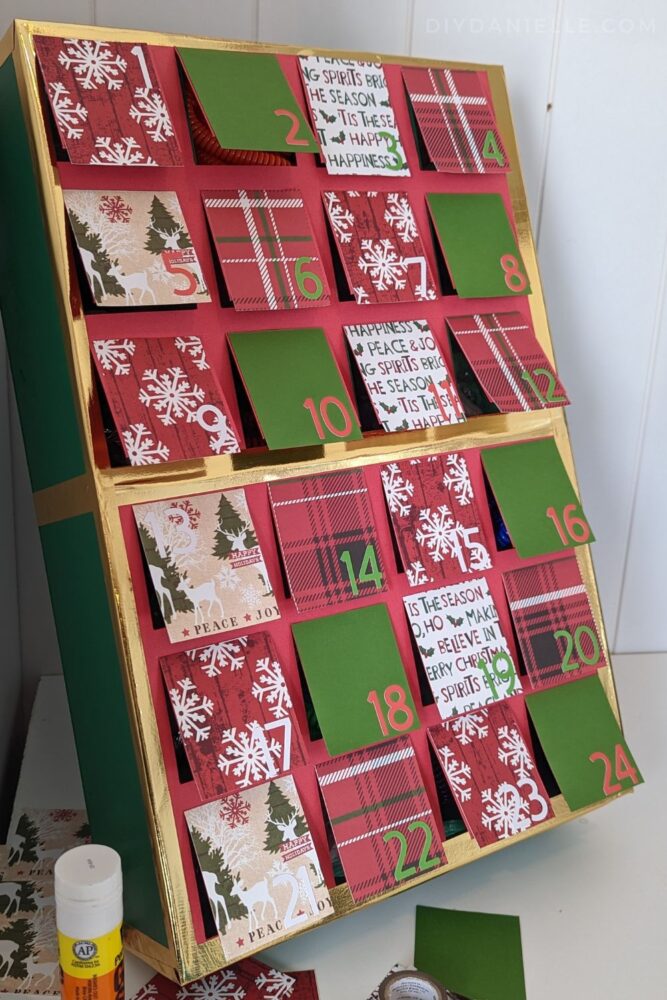
Step 6: Cut numbers 1-24 with Cricut Smart Sticker cardstock. Make sure the color coordinates well with the scrapbook paper you used. Stick each number on it’s corresponding window.

Step 7, Optional: Add a sticker with a child’s initial to each window, denoting which child will open the window each day.
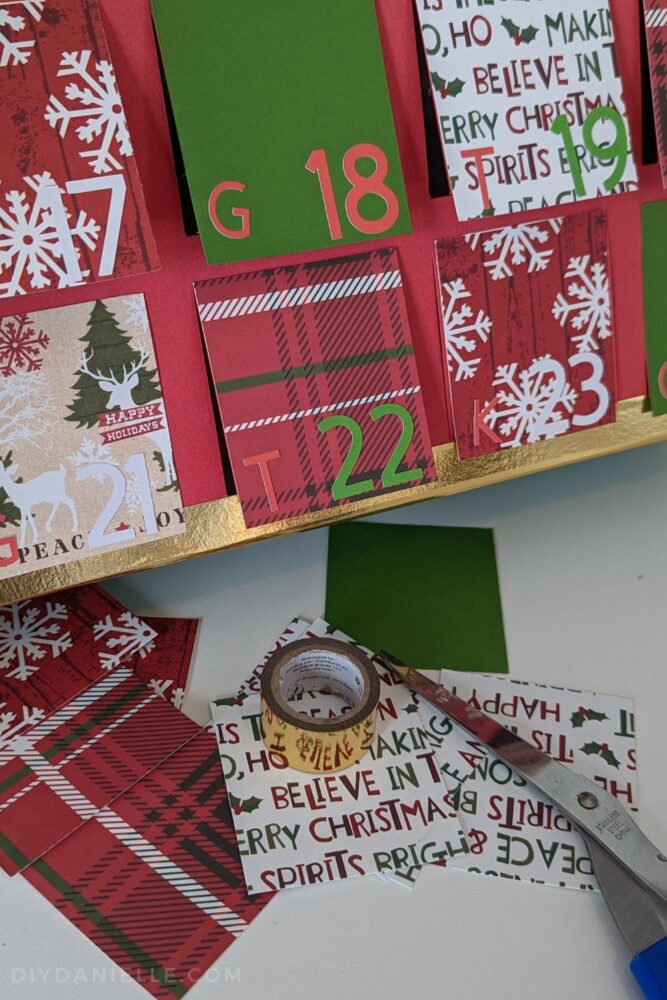
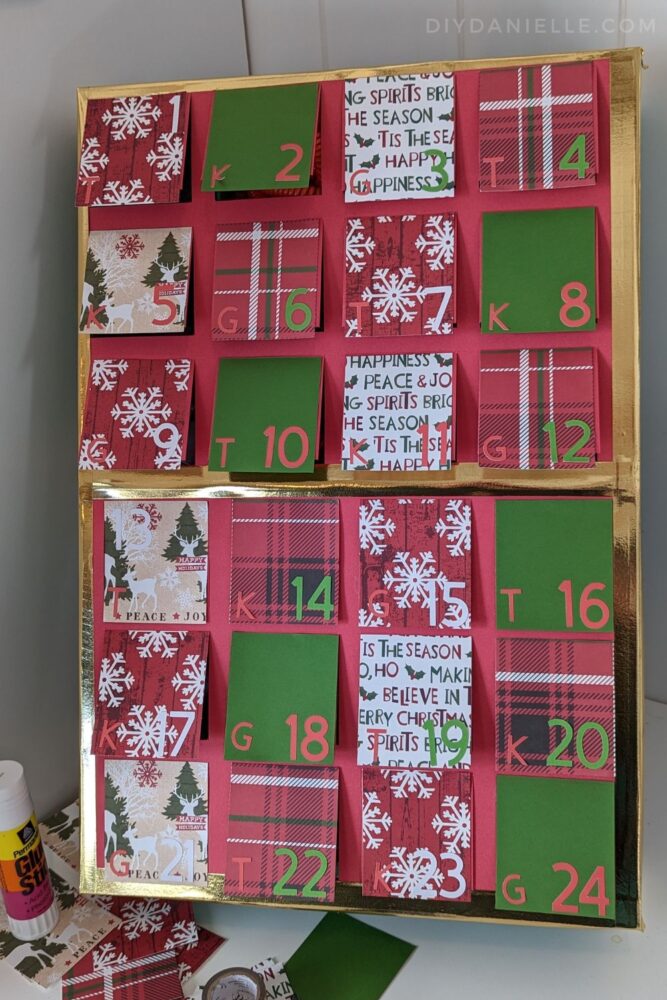
Step 8: Glue and/or Tape your scrapbook paper down. I only used washi tape, but I wish I’d glued down the base red scrapbook paper prior. You’ll need to trim away the excess red on both sheets of red scrapbook paper.
I tried to tape the washi tape in a way that made the box look like a Christmas present. It came out really well!
Step 9: Fill the pockets! I added one item per kid for each day to avoid fussing.
Ideas for Inside the Advent Calendar
- Christmas Squishies
- Fidget Rings
- Sensory Stickers
- Lego people
- Candy! I got a big bag of Christmas Hershey Kisses at Costco
- Chewy Jewelry– 3 of the necklaces was really pushing it in terms of space though.

Please share and pin this post! You can also post your project and tag the DIYDanielle team on Instagram @doityourselfdanielle!