
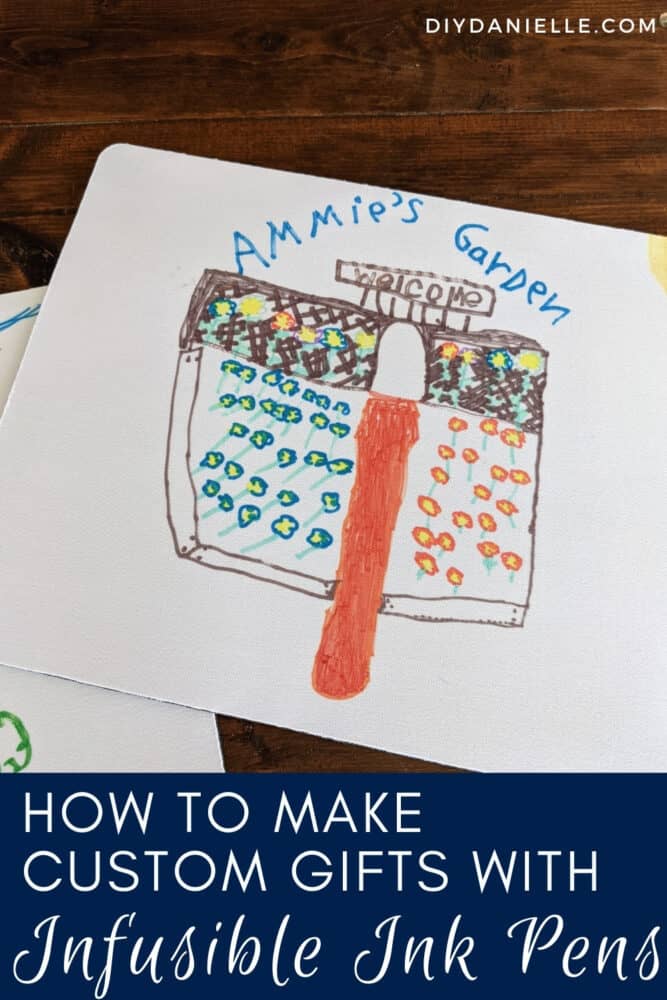
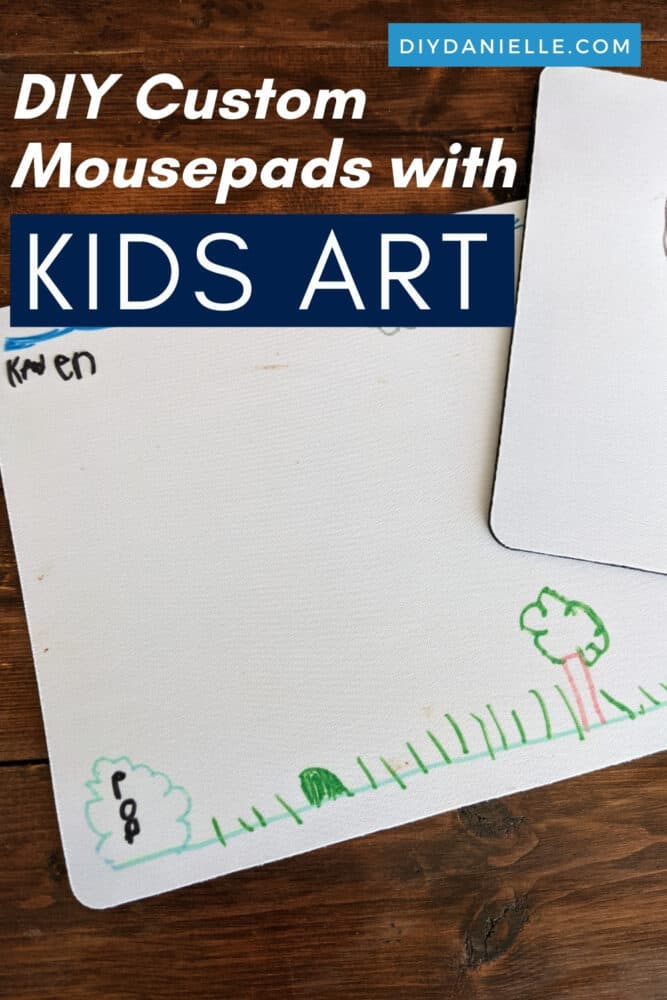
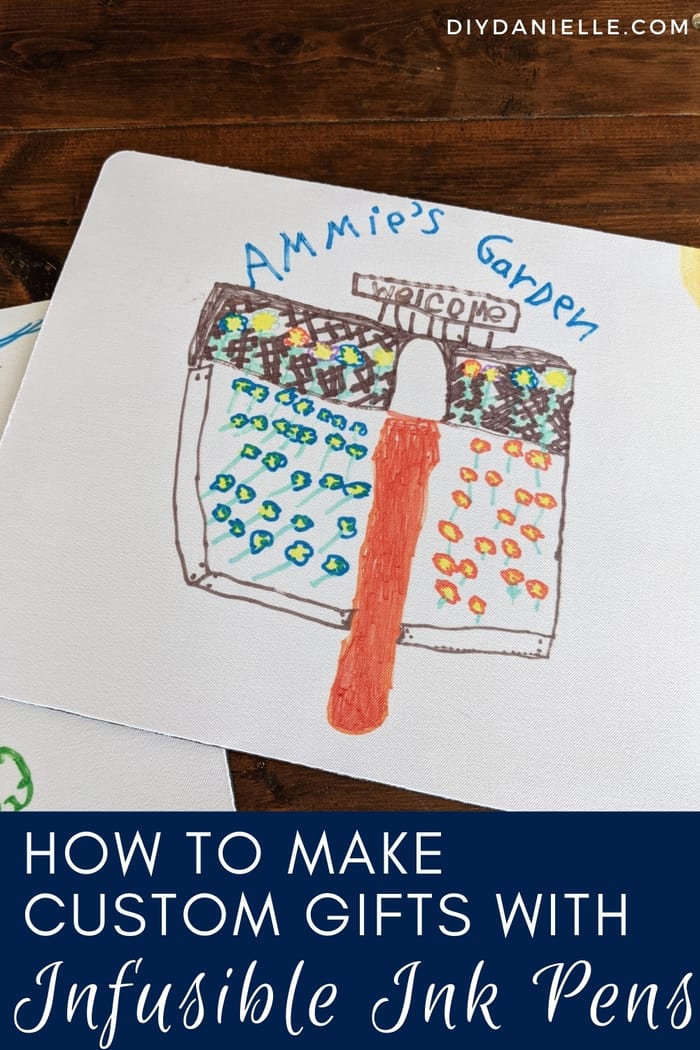
How to transfer your child’s art into gifts using your Cricut Maker. This is an easy demo of how to turn a drawing into a mousepad.
Every year my sons’ public school has a fundraiser where you can purchase your child’s art on different products. It’s a neat way to support the school and the boys’ grandparents love getting custom products. This year, thanks to COVID (boooo pandemic), this fundraiser never happened. At Christmas, I decided to try using Infusible Ink pens to transfer the boys’ artwork onto mousepads for their grandparents. It was a fun project to do together and not terribly time-intensive. Here’s how to make your own!
This post may contain affiliate links which may earn me commissions should you click through them and take certain actions. As an affiliate for Amazon, Cricut, xTool, Home Depot, and other sites, I earn from qualifying purchases. Please DIY carefully. View my full legal disclosures here.
The majority of my content is generated by me, as are 99% of the photos and videos, but I utilize technology for titles, descriptions, video editing out all of my ums, and occasionally for text overlay on images.
Please read the whole post so you don’t miss any important information!
Tips for Using Infusible Ink Pens to Transfer Art
Infusible Ink is Cricut’s version of sublimation. Infusible ink works inclusively on polyester products, and the more polyester the product has, the better the ink will transfer. Think of infusible ink as dyeing your fabric with a design. You can read more about how infusible ink works here.
You’ll exclusively be working with a plain white product or “blank.” Whatever product you use needs to be mostly polyester fabric and I can usually find compatible blanks if I search for “sublimation blanks” on Amazon. I’m working with these sublimation mouse pads for this project. Cricut has their own infusible ink blanks which are the only products they guarantee their ink on, but I’d have good luck with other brands.
I prefer the infusible ink transfer sheets (like these), but the pens work well for projects like this.
Use the Discount Code DIYDANIELLE on cricut.com for 10% off any cutting machine or heatpress (no minimum). Excludes: materials/accessories/mystery boxes/etc. Applies to US/CA only, code expires 12/31/23.
Here are my top tips:
- Thicken lines by hand tracing the lettering with your pens. Whatever ink is on your sublimation paper will transfer to your product. More ink = a stronger transfer/final image.
- Adjust the temperature of your heat press based on the product recommendations. Cricut has a handy heat guide, but most sublimation blanks will tell you what temperature to use. You also need to adjust your press time based on the recommended settings.
- Similar to iron on vinyl, the infusible ink needs to be mirrored. If you’re hand drawing the design, that means your words (or image) will need to be mirrored (aka flipped). You can draw the image on regular paper with regular pens, then trace it onto the sublimation paper with infusible ink pens so it’s flipped/mirrored. Or, if you’re really good at this, you can write any letters backwards.
- Make sure the blank doesn’t have any fuzz or other debris on it. Use a lint roller to remove anything before pressing an image on.
- The color you see when you draw with the Cricut pens on your sublimation paper is NOT the same color you’ll see once pressed on your final product. It tends to be a muted version of the final color.
- Preheat your blank before placing your design face down on it.
- You can use heat resistant tape to hold the paper down to keep it from shifting during the pressing process.
- You DO NOT need a Cricut to make this if you draw it all by hand!
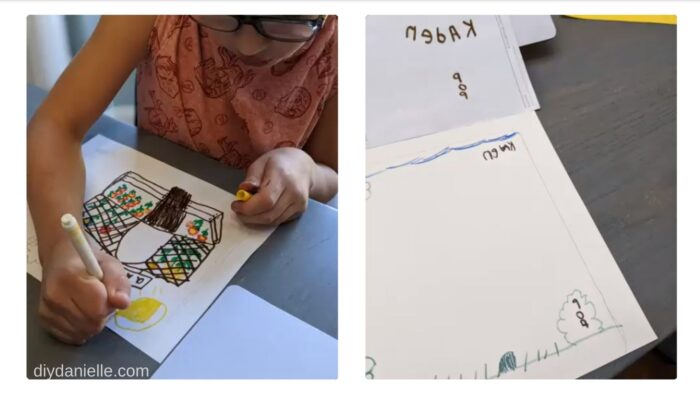
We found that drawing the whole piece of art twice was a bit much for the kids so they drew the design with the Infusible Ink pens directly on the sublimation paper, but the WORDS were traced so they were backwards from a regular piece of paper underneath. This solved the mirroring issue.
How to Transfer Children’s Art Using the Cricut
Supplies:
- Cricut Easy Press: https://cricut.pxf.io/a1XyXR
- Sublimation Blank Mouse Pads
- Cricut Maker 3: https://cricut.pxf.io/GjNaNm
- Infusible Ink Pens: https://cricut.pxf.io/9WYvJE
- Sublimation Paper
Tutorial
Step 1: Your child can draw their art on Sublimation Paper with Infusible Ink Pens, or copy it onto the sublimation paper after.
Step 2: Make sure to mirror words/images as needed on the sublimation paper.
Step 3: Preheat your Easy Press 2 Settings to 370F and 80 seconds.
Step 4: Use a lint roller to clean off the top of the mouse pad.
Step 5: Place your mouse pad face up with the sublimation paper face down on it.
Step 6: Place a piece of butcher paper on top.

Step 7: Press for 80 seconds. Do not move the press.
Step 8: Once cool, remove the butcher paper and the sublimation paper.

Here’s a video of the process.
Please share and pin this post! You can also post your project and tag the DIYDanielle team on Instagram @doityourselfdanielle!
How to Transfer Your Child's Art into Gifts with a Cricut
Learn how to make custom mouse pad gifts with your child's artwork using Cricut Infusible Ink.
Materials
- Sublimation Blank Mouse Pads
- Infusible Ink Pens
- Sublimation Paper
Tools
- Cricut Easy Press 2
- Cricut Maker
Instructions
- Your child can draw their art on Sublimation Paper with Infusible Ink Pens, or copy it onto the sublimation paper after.
- Make sure to mirror words/images as needed on the sublimation paper.
- Easy Press 2 Settings: 370F and 80 seconds. Use a lint roller to clean off the top of the mouse pad.
- Place your mouse pad face up with the sublimation paper face down on it. Place a piece of butcher paper on top.
- Press for 80 seconds. Do not move the press.
- Once cool, remove the butcher paper and the sublimation paper.
Google Web Story: Easy Gifts from Kids Using Infusible Ink Markers