
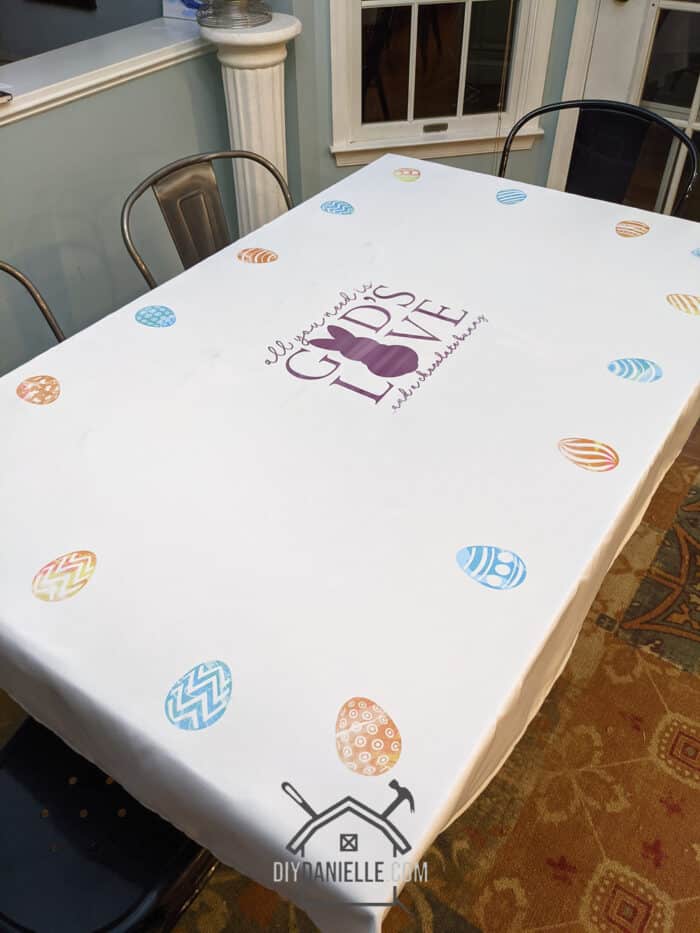
How to use infusible ink to make a custom tablecloth. You only need a 100% polyester tablecloth and Cricut infusible ink.
I volunteered to bring tablecloths for my son’s preschool Easter celebration. He attends a Christian preschool so I wanted a tablecloth that was fun for kids, but still honored the reason for the season. Cricut Access had a few good designs, such as one that says, “My basket is full of eggs and my heart is full of Jesus,” as well as lots of Jesus, bunny, and Easter egg designs. I used some of those, but also used a cute design I found on Etsy.
Let’s get into the tutorial! This project is pretty easy.
This post may contain affiliate links which may earn me commissions should you click through them and take certain actions. As an affiliate for Amazon, Cricut, xTool, Home Depot, and other sites, I earn from qualifying purchases. Please DIY carefully. View my full legal disclosures here.
The majority of my content is generated by me, as are 99% of the photos and videos, but I utilize technology for titles, descriptions, video editing out all of my ums, and occasionally for text overlay on images.
Please read the whole post so you don’t miss any important information!
Some of the supplies for this project were provided by Cricut.
How to Make a Custom Tablecloth
Supplies
- “All You Need is God’s Love” SVG design
- Easter Designs from Cricut Access
- 100% polyester tablecloth
- Cricut Easy Press 2
- Cricut Maker
- Infusible Ink Transfer Paper: Brushed Sunset
Use the Discount Code DIYDANIELLE on cricut.com for 10% off any cutting machine or heatpress (no minimum). Excludes: materials/accessories/mystery boxes/etc. Applies to US/CA only, code expires 12/31/23.
Photo Tutorial
Step 1: Resize your design to 11.5″ and cut your mirrored Easter/God SVG on Infusible Ink Transfer Sheets, with your Cricut Maker.
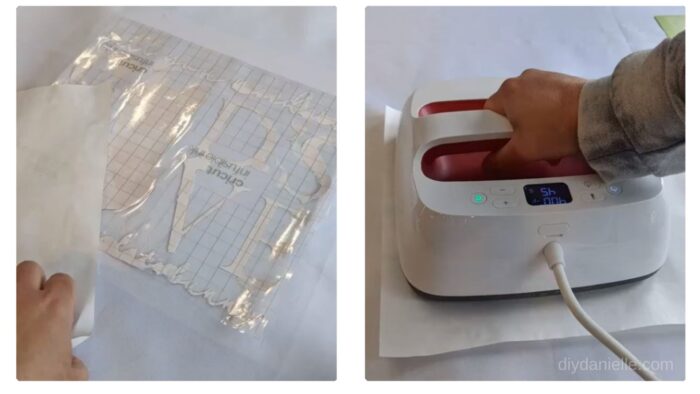
Step 2: Weed your design. Weeding Infusible Ink is both more and less difficult than other types of vinyl. It’s similar to HTV where the transfer sheet is attached to the sheet. It’s thicker though, similar to cardstock, so it helps to loosen up the design by rolling it around a bit in your hands.
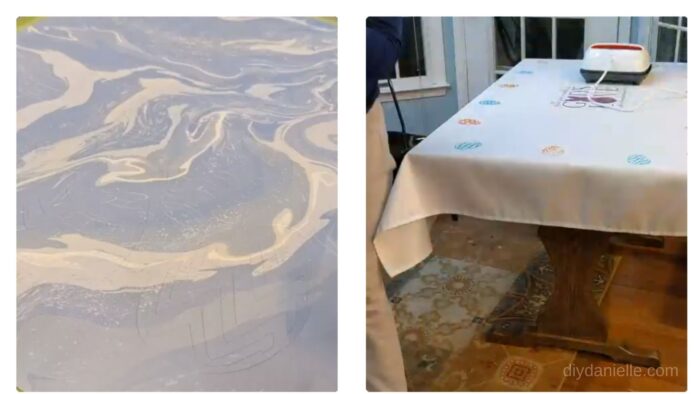
Step 3: Center your tablecloth on the table with your EasyPress mat underneath.
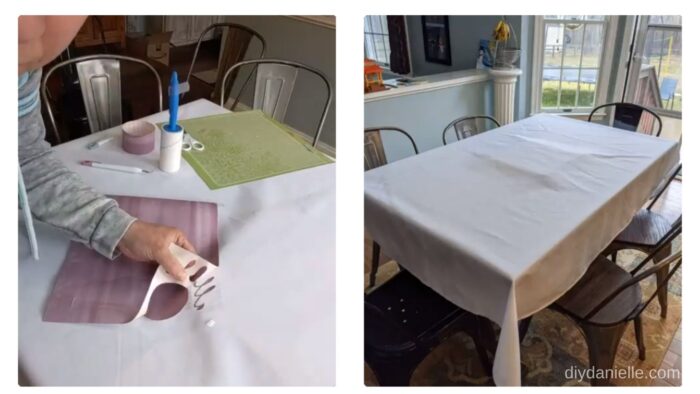
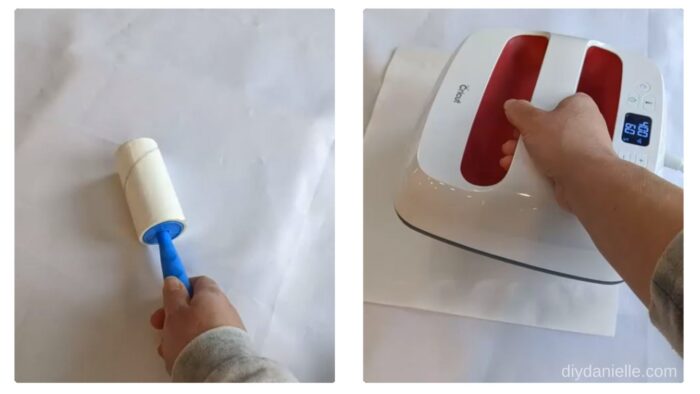
Step 4: Use lint brush to clean off your tablecloth.
Step 5: Preheat your EasyPress. Once it’s ready, pre-press the area where you want your design. This heats the spot up and when you lay the design down, it will sort of ‘stick’ in place better.
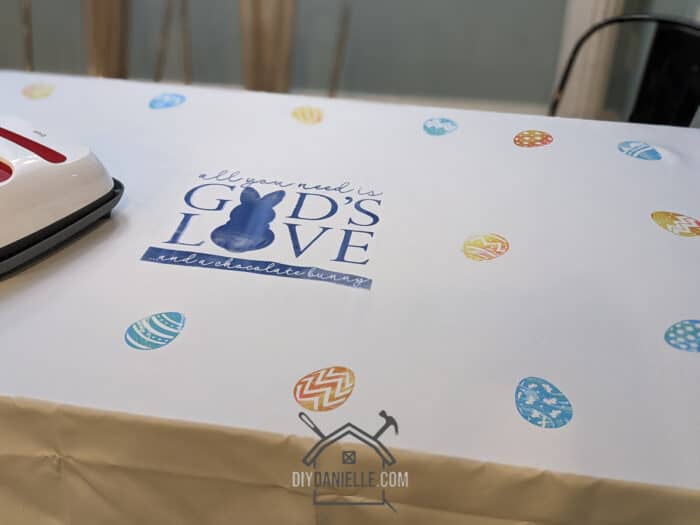
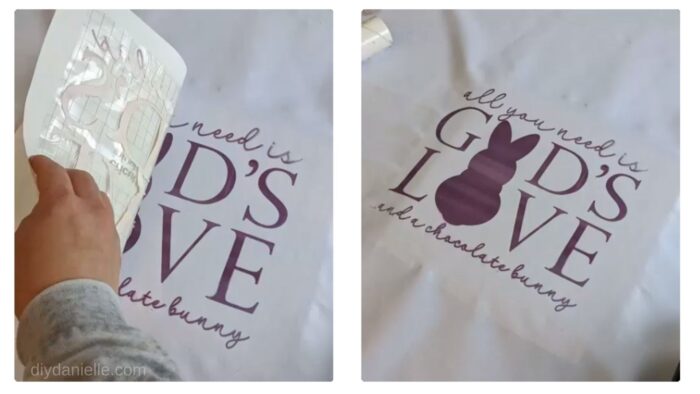
Step 6: Center the design on your tablecloth. Cover with butcher paper.
Step 7: Press the design. You’ll want to check your heat press settings on Cricut’s site (they base the settings on the fabric content, the heat press used, etc).
Step 8: Peel back the butcher paper and transfer sheet.
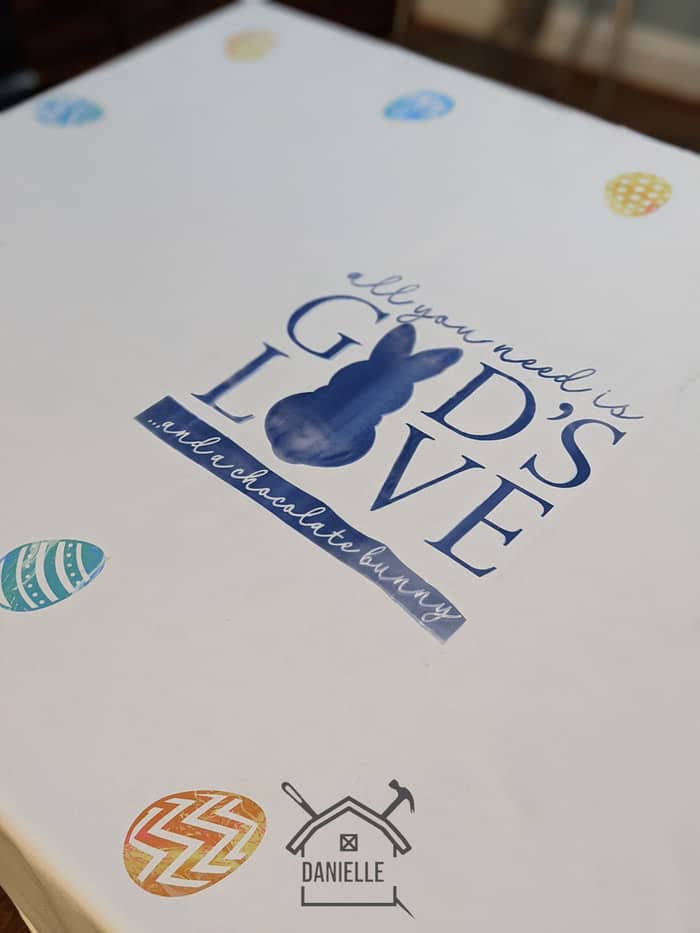
Completed center. My heat press isn’t large enough; I had to press different areas separately. I should have scaled down my design. The more you move your press, or potentially move the design, the more distorted your image will become. So be careful.
Step 9: Cut your eggs. I did two different colored sheets of 16 eggs each. Eggs are 3″ tall each.
Step 10: Repeat Infusible Ink process when pressing eggs around border.
Here’s some SVGs you might like from my store… keep scrolling for more info about these custom tablecloths.
Also… I can’t believe I did this, but I forgot to mirror one image, weeded the entire thing, and pressed it onto a tablecloth before realizing it was backwards. YIKES. Apparently bleach will NOT remove Infusible Ink. Nor will soaking in water. Nothing. So I cut up tablecloth into smaller squares to be used for napkins and a table runner.
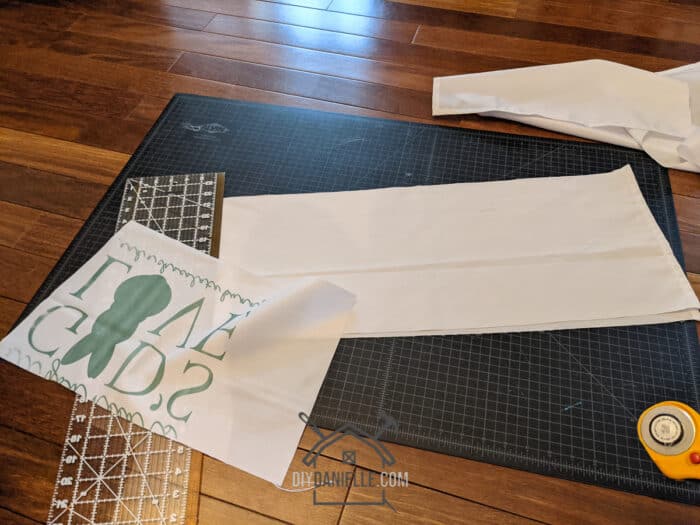
I will sew the edges because the polyester is very prone to fraying.
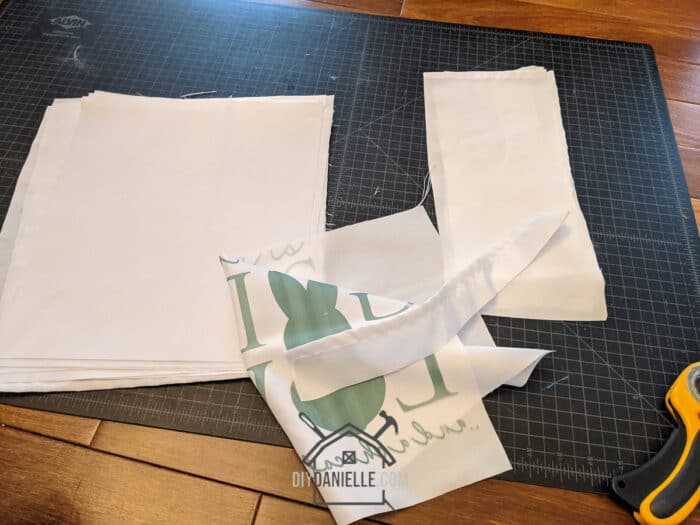
This worked pretty well. I love using reusable items like napkins; we keep a special wet bag (laundry bag) in the kitchen for wet linens from the kitchen.
Please share and pin this post! You can also post your project and tag the DIYDanielle team on Instagram @doityourselfdanielle!
DIY Infusible Ink Tablecloth
Learn how to use Infusible Ink Sheets to made a custom tablecloth! These are so much fun. This one is Christian-themed for our son's preschool.
Materials
- “All You Need is God’s Love” SVG design
- Easter Designs from Cricut Access
- 100% polyester tablecloth
- Infusible Ink Transfer Paper: Brushed Sunset
Tools
- Cricut Easy Press 2
- Cricut Maker
Instructions
- Cut your mirrored Easter/God SVG on Infusible Ink Transfer Sheets, with your Cricut Maker.
- Weed your design.
- Center your tablecloth on the table with your EasyPress mat underneath.
- Use lint brush to clean off your tablecloth.
- Pre-Press the area
- Center on your tablecloth and preheat EasyPress2. Cover with butcher paper.
- Press.
- Peel back the butcher paper and transfer sheet.
- Cut your eggs. I did two different colored sheets of 16 eggs each. Eggs are 3" tall each.
- Repeat Infusible Ink process when pressing eggs around border.