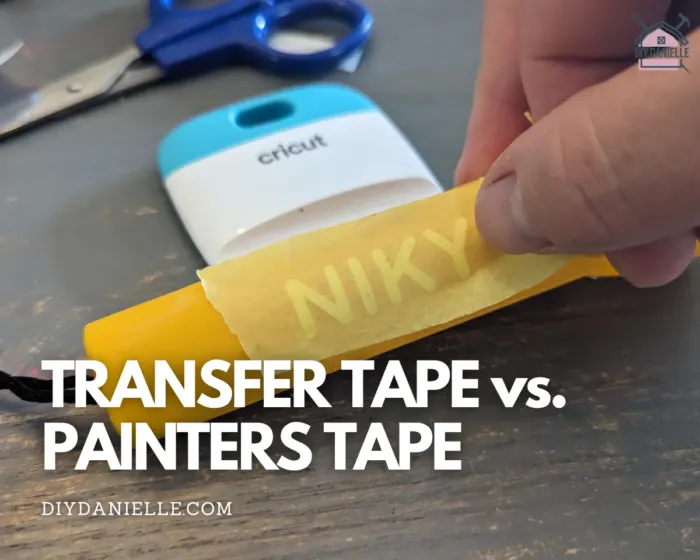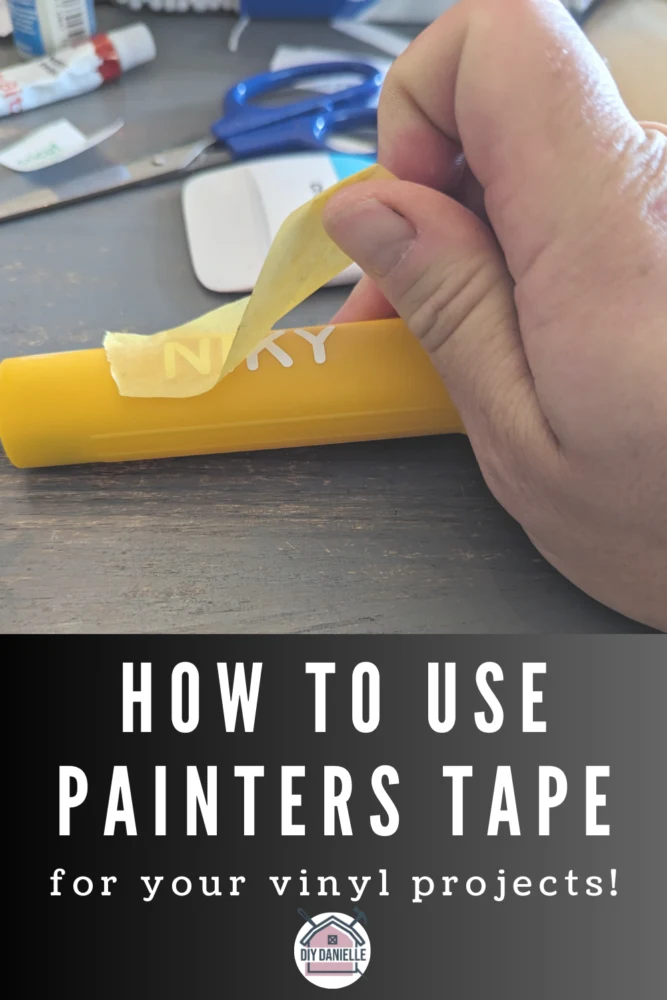
Transfer Tape vs. Painters Tape: Everything you need to know about the differences, and how you can use painters tape to transfer vinyl!
Until recently, I’ve always used transfer tape for all of my vinyl projects. But the other day I was working on flashlights for favors for my son’s camping party, and I ran out. I had some painter’s tape nearby and it worked SO well. I’ll definitely be using this again for small projects and saving my transfer tape for larger items.
This post may contain affiliate links which may earn me commissions should you click through them and take certain actions. As an affiliate for Amazon, Cricut, xTool, Home Depot, and other sites, I earn from qualifying purchases. Please DIY carefully. View my full legal disclosures here.
Please read the whole post so you don’t miss any important information!
What is Transfer Tape (for Cricut and Other Vinyl Companies)?
Transfer tape, otherwise known as application tape, is a clear sticky ‘tape’ that can stick to a weeded vinyl design to help transfer it onto your product.
To use it, you weed your vinyl, then stick the transfer tape carefully on top of your design. You flip this all over, remove the backing from the vinyl, then place your design on your product/wall.
The transparency of the tape allows you to better see your placement.
Once the vinyl is stuck to your product, you can carefully peel away the transfer tape. Occasionally you are able to reuse the transfer tape for other projects.
There are quite a few brands of this tape so I won’t be able to cover all of them, but here are a few common brands that you’ll see.
Brands of Transfer Tape:
- Cricut Transfer Tape
- HTVRONT Transfer Tape
- TapeManBlue Transfer Tape
- ORACAL Clear Transfer Tape Roll
What is Painter’s Tape?
Painter’s tape is tape that you apply to walls, ceilings, trim, or other items to keep the item from getting paint (or stain) on it while you paint. It’s designed to seal well, not let liquid through, and peel off without removing paint or your drywall.
There are two major brands of painter’s tape: Frog Tape and Scotch Blue. They come in different widths and types.
Widths:
- 0.7″
- .94″
- 1.41″
- 1.88″
- 2″
Types:
- Delicate Surface
- Multi-Surface (the blue or green version)
Downsides of Using Painter’s Tape
Painter’s tape works really well but there are a few downsides to using it.
First of all, it isn’t clear. This prevents you from completely seeing the underlying design. However, this also prevents people from thinking that it should stay on over the design. This seems to happen a lot. People keep the clear transfer tape on, not realizing that it’s meant to be removed.
Second, it’s not wide enough for all designs. You can layer the painter’s tape to make it work, but the transfer tape probably just makes more sense in this circumstance.
How to Use Painter’s Tape Like Transfer Tape
Painter’s Tape is a good alternative to transfer tape when you’re trying to transfer something small, particularly something long and thin like names for customizing an idea. It’s also available in different strengths so you can pick what you need… a lighter grip painter’s tape works well for most things, but you might want a stronger tape in some situations.
It works exactly like transfer tape, although if you needed to use it for a design that is larger than the width of the tape, you’ll need to overlap the tape so it all comes up at once.
Start with your weeded vinyl.
Place the tape over the design carefully.
Carefully press the design onto the tape so it adheres well.
Remove the vinyl backing.
Center the design over the product that you’re customizing.
Place. Press the design onto the product and make sure it adheres well.
Carefully peel off the tape.
You can often reuse the tape too unless it’s lost too much of its ‘stick.’
Please share and pin this post! If you make this project, share it in our Stuff Mama Makes Facebook Group. We have regular giveaways for gift cards to craft stores. You can also tag me on Instagram @doityourselfdanielle; I love seeing everything you make!

