

How to make a quick and easy car decal with the Cricut Maker. These easy DIY bumper stickers are fun to customize at home!
This post may contain affiliate links which may earn me commissions should you click through them and take certain actions. As an affiliate for Amazon, Cricut, xTool, Home Depot, and other sites, I earn from qualifying purchases. Please DIY carefully. View my full legal disclosures here.
The majority of my content is generated by me, as are 99% of the photos and videos, but I utilize technology for titles, descriptions, video editing out all of my ums, and occasionally for text overlay on images.
Please read the whole post so you don’t miss any important information!
I love making custom bumper stickers for my car! I can chose the colors, the design, and the size. I’m going to talk about several ways to make car decals with your Cricut.
What Type of Vinyl Should I Use for Car Decals?
The first thing to decide is what type of vinyl you want to use for your car decals. You have a few choices.
Window cling is a material used that can ‘stick’ onto the window, but it does not adhere. It’s easy to remove. I would be careful using window cling for a car decal because it would come off very easily. If you chose window cling vinyl, mirror the image and place the window cling on the inside of the vehicle so it won’t fall off.
I used window cling to make a DIY car Bingo game for my kids.
Permanent Vinyl is likely what a lot of bumper stickers are made of and it’s considered permanent. There are many types of permanent vinyl, including some that will stand up to bad weather and some can even be used on boats.
The heavy duty vinyls aren’t generally what you’ll find in the craft store though. Typical permanent vinyl can usually be removed with heat. Here’s a tutorial I wrote on how to remove bumper stickers; Permanent vinyl is removed the same way.
Regular Vinyl is intended to be easier to remove. It is preferred for wall decals in your home because it’s less likely to remove your drywall when you take it off. I find that regular vinyl is also fairly sticky so in my opinion, there are no guarantees that you’ll be able to get it off without damage. To remove regular vinyl, I use heat, then peel it carefully off.
That said, regular vinyl is more likely to peel off on its own and not withstand rain or snow. You can mirror your image and place regular vinyl on the inside of your car windows if you would like it to last longer.
Car Magnet Blanks are your best option if you want to ensure that no damage is done to your vehicle. These blanks can be moved around so no fading occurs on the body of your vehicle. I suggest using permanent vinyl on a car magnet.
My car doesn’t seem to have a lot of solid metal areas for these to stick to so it’s good to test to see if the magnet will work on the area you want to decal before you chose this option. Car magnets may be stolen or fall off.
Buy the SVG used in this tutorial in my shop.
Longevity of Your Choice and Damage to Vehicles
Bumper stickers on the body of your car can cause the paint to fade and leave a permanent mark when the sticker is removed.
Use the Discount Code DIYDANIELLE on cricut.com for 10% off any cutting machine or heatpress (no minimum). Excludes: materials/accessories/mystery boxes/etc. Applies to US/CA only, code expires 12/31/23.
Should I Mirror Car Decals?
This depends on your purpose and your materials. With most vinyls that you use on the car body, you do not want to mirror the image.
If you add vinyl to the inside of your car window and want the people outside the vehicle to be able to read it, you want to mirror. If you want to be able to read it inside the car, you do not want to mirror it.
How to Make a Bumper Sticker for the Car Body
This decal was made using permanent vinyl. The cut file is available on DIYDanielle.com/shop. You can do basic designs with window cling, but DO NOT do it for a complicated designs like the one I’m using. It is very difficult to transfer these designs because you can’t use transfer tape.
Supplies:
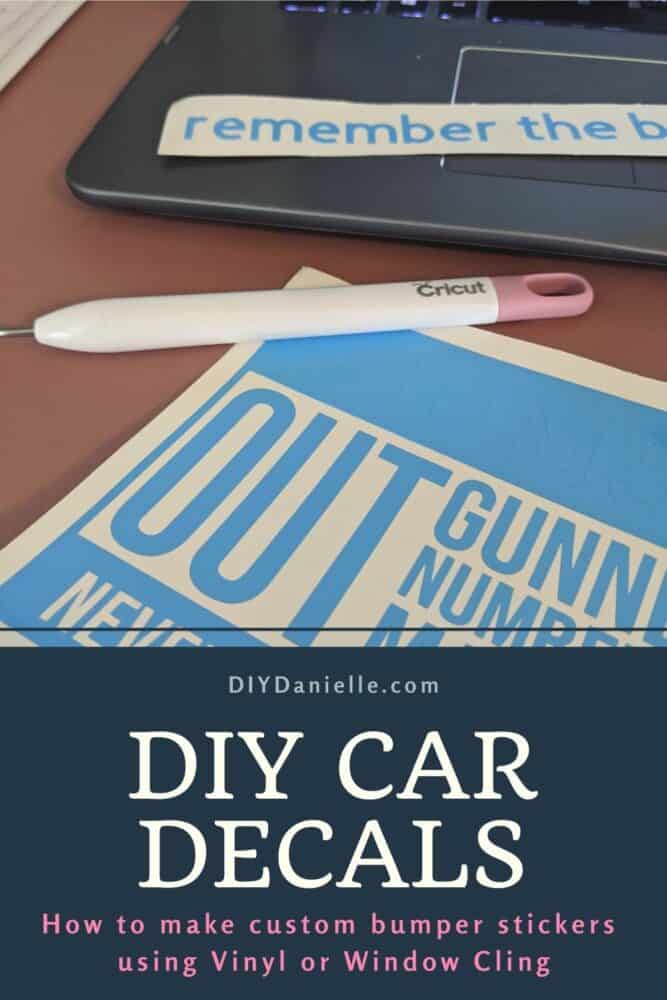
Step 1. Start by cutting your vinyl using your SVG file on Design Space and the Cricut. If you’re placing it on the outside of the car, you don’t want to mirror the image. If you’re placing it inside a window and want it to read correctly from the outside, MIRROR. If you are placing it inside a window and want it to read correctly from the inside, don’t mirror.
Just to show you the difference, the left photo shows my reminder to bring my reusable bags. This was NOT mirrored. It probably looks weird to people passing the car. The photo on the right shows the Tardis (Doctor Who thing) bumper sticker that I purchased… this was also not mirrored because it’s facing out on my car.

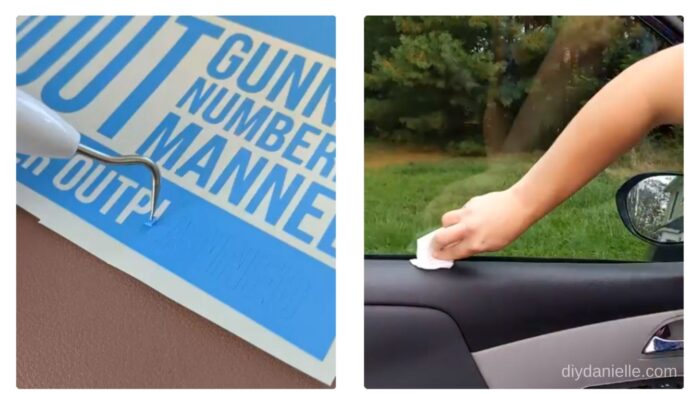
Step 2. Weed away the excess vinyl. This just means that you pick off all of the cut pieces that aren’t part of your design.
Step 3: Clean the area where you want to apply the vinyl thoroughly. Let dry. Dirt and debris can cause issues with the design sticking so this is an important step.
Step 4: Attach transfer tape to the front of your design (for perm/reg vinyl). Transfer tape is a MUST have because it helps you move the whole design- vs. trying to peel off each piece and move each letter/design individually.
Step 5: Remove the backing from the vinyl. This leaves the sticky side of your vinyl exposed and ready to stick onto the vehicle.
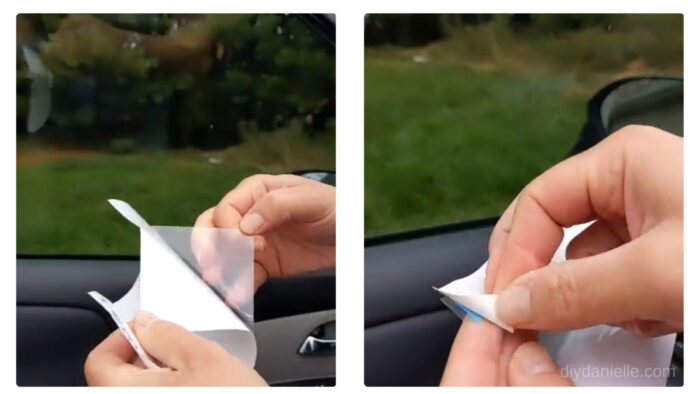
Step 6: Place your decal. Make sure to rub it on so the whole design is sticking well. Once done, you can peel the transfer tape off.
Here’s a video of the process:
Looking for storage for your Cricut Projects? Check out these projects:
Please share and pin this post! You can also post your project and tag the DIYDanielle team on Instagram @doityourselfdanielle!

How to Make Bumper Stickers with Cricut

How to Make a Car Decal with the Cricut Maker
How to make some easy bumper stickers for your car using your Cricut machine.
Materials
- Cricut Transfer Tape
- Permanent Cricut Vinyl
Tools
- Cricut Maker
Instructions
- Start by cutting your vinyl using your SVG file on Design Space and the Cricut.
- Weed away the excess vinyl.
- Clean the area where you want to apply the vinyl thoroughly. Dry.
- Attach transfer tape to the front of your design (for perm/reg vinyl).
- Remove the backing from the vinyl.
- Place your decal.
- Remove the transfer tape.
Google Web Story: DIY Car Decals with Cricut