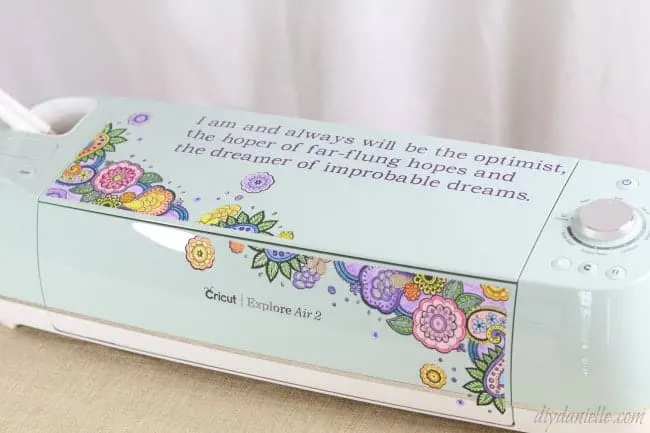
How to decorate the Cricut Air 2 with printable vinyl, color pencils, and fun quotes.
This post was sponsored by Cricut and may contain affiliate links. Using these links helps support my blog. Thank you!
I’ve been excited to keep playing with my Cricut Air 2 so I decided to make some decals for the machine. I took a printable design from the Cricut store, added a couple quotes that I love (on permanent vinyl- removable might be better if you want to change it out), then added a quick reminder to check my spelling and mirroring.
I love how it came out! It’s so much more personalized now and it makes me smile when I use it.
If you haven’t checked it out yet, I wrote a post all about the Cricut Air 2: What it is, how to get started, and what supplies you’ll need.
Supplies Supplies listed below may include affiliate links to the products.
- “Paisley Floral Explore Decor” from the Cricut store
- Printable Vinyl
- Coloring pencils
- Vinyl: I used permanent, but you may want to opt for removable vinyl.
- Home Printer
- Cricut Air 2
- Transfer paper if you add quotes
Use the Discount Code DIYDANIELLE on cricut.com for 10% off any cutting machine or heatpress (no minimum). Excludes: materials/accessories/mystery boxes/etc. Applies to US/CA only, code expires 12/31/23.
Tutorial
To start, I used the Paisley Floral Explore Decor printable from the Cricut store. You need printable vinyl (not heat transfer vinyl) for this project. It’s a slightly different product than regular vinyl and… I warn you… it’s slightly harder to weed and apply. It’s not super hard, but I definitely think heat transfer vinyl is the easiest to weed, regular permanent vinyl is next, then this stuff. Just something to keep in mind if you decide to tackle this as your first project. It’s also more paper like on the top than regular vinyl. This allows you to color it which is good for the purposes of this project.
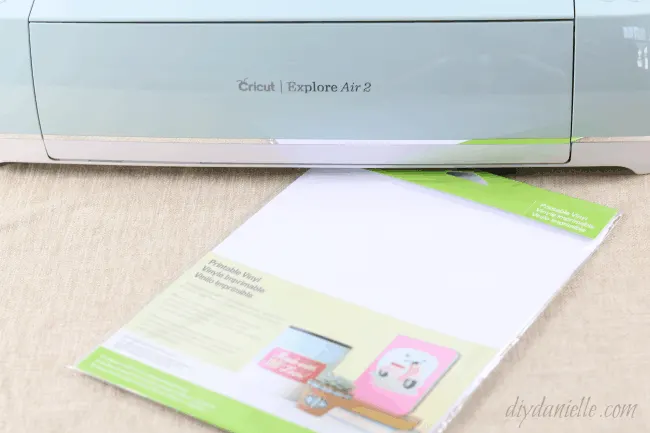
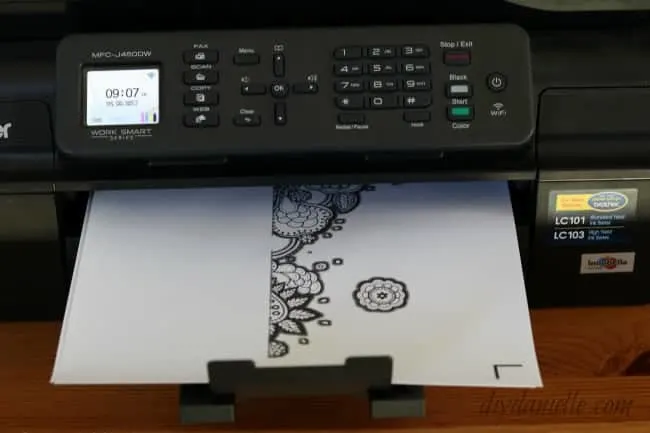
Because it’s a premade pattern, you don’t need to do anything with designing the project besides print and cut. The program will cue you to print this first. You place your printable vinyl in your printer (make sure you have it placed in the printer correctly), then tell your Cricut to print to your printer. You need two sheets for this project.
Next you’ll be cued to place these on a cutting mat and put them into your Cricut. The Cricut will cut around the design. Not sure if you can see the cut lines in the picture below, but they’re there.
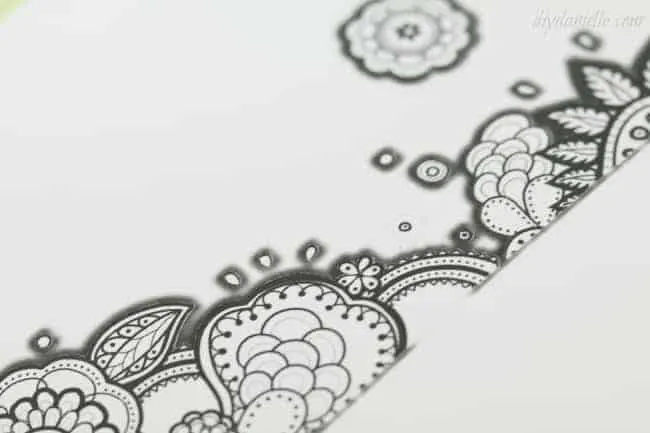
Before you weed, go ahead and color it in. I sat my kids down with some coloring items too….
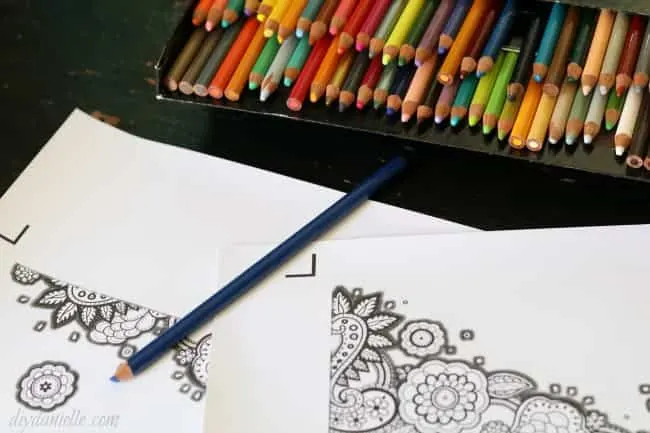
Once finished, you need to weed the vinyl. You’re pulling away the white space. Most of this is fairly easy, but watch out for the little small pieces. They’re easy to miss.
The drawback to this type of vinyl is that you need to place it by hand on your machine. Usually I like to use transfer paper but I don’t believe the transfer paper is safe to use on this. The main corner of flowers is together so that’s easy enough, but there’s a lot of small pieces to move too (the little petals and circles that you see). Phew, my hands were shaking and I was on edge by the end of this… I am soooooo particular about my placement and after all the coloring, I wanted this perfect.
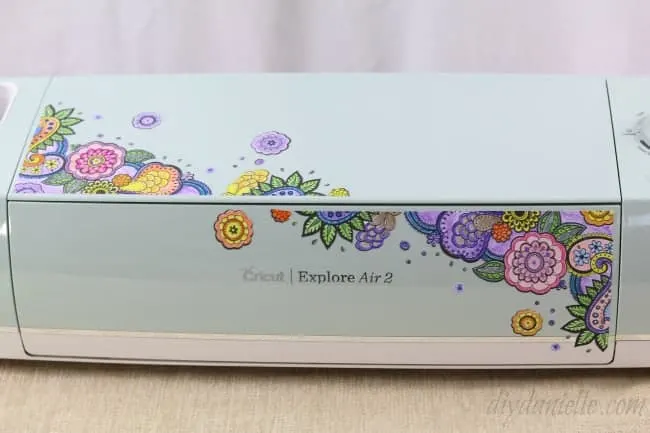
Afterwards, I just did some plain quotes on purple permanent vinyl for the quotes. Those I applied with transfer paper because it’s wayyyyyy easier that way to line things up perfectly. Or almost perfectly. My hands were still shaky when I was weeding and applying.
I do SO many things with my Cricut machine! Want to see some of my Cricut Projects? Check out the DIY Advent Calendar I made for my kids, the Custom Notebook Dividers I made, or these Personalized Christmas Stockings!
New to Cricut? Check out tutorials on:
- How to Use Permanent Vinyl
- How to Use Iron On Vinyl
- Can You Use HTV on Wood?
- How to Make Signs with Vinyl
- How to Layer Vinyl on Wood
- How to Apply Iron On to a Backpack
- What is the Cricut Maker 3?
- Easy Cricut Vinyl Wall Storage
- Cricut Craft Cart DIY
Love it? Pin it!
Thanks for taking the time to read this post! I really appreciate the time you’ve taken. Please share, like, and pin my post if you enjoyed it. Follow me on social media and subscribe to my email list to keep up to date on all of my latest projects!

This is a sponsored conversation written by me on behalf of Cricut. The opinions and text are all mine. Comments submitted may be displayed or featured on other websites owned by Cricut.

Lewis
Wednesday 13th of February 2019
Love it. Going to try it
Cheryl Biggs
Monday 30th of July 2018
I found a coloring page for decals to decorate my (new) Cricut that I wanted to use, but I didn't have the right supplies at the time so I printed the picture for future reference and now I can't find that pattern anyplace. It's called Floral Flourish Explore Decor. Any suggestions? Please. ~Cheryl
Danielle
Monday 30th of July 2018
Was it in the Cricut Design Space store? If so, I found one called that under the images tab. You have to search 'floral flourish'... hope that helps!