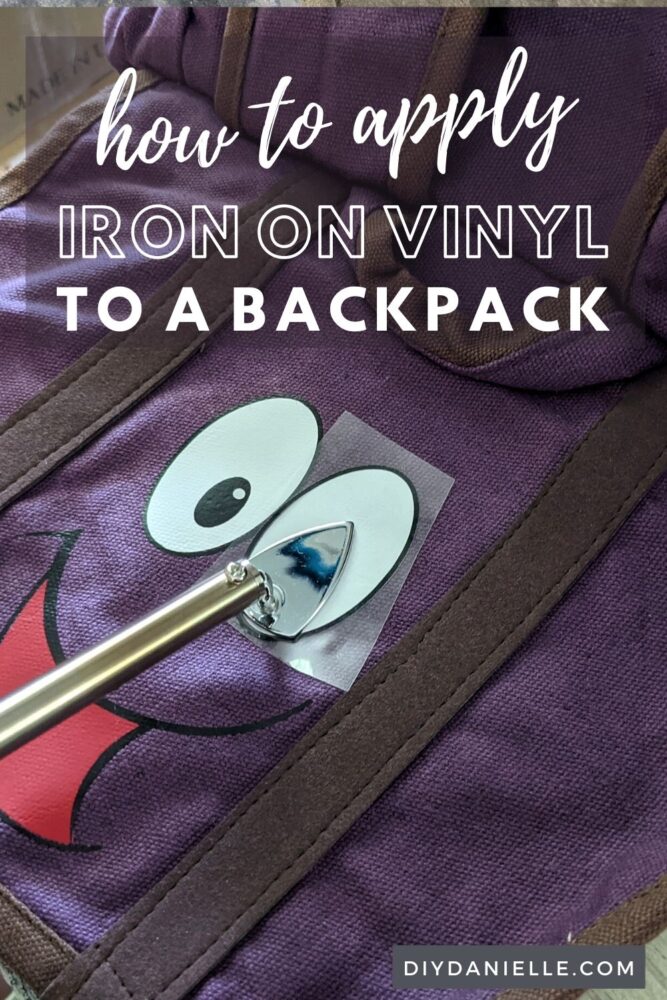
How to apply iron on vinyl, otherwise known as HTV, to a backpack. This is a great way to customize your child’s pack with your Cricut.
My friend’s daughter wanted a Dora backpack for school this year, but couldn’t find one that wasn’t toddler-sized. I decided to help her out by customizing a purple backpack with the backpack face from Dora the Explorer. It was super easy, quick, and I LOVE how it came out. I may need to add some HTV to my kids’ backpacks too!
This post may contain affiliate links which may earn me commissions should you click through them and take certain actions. As an affiliate for Amazon, Cricut, xTool, Home Depot, and other sites, I earn from qualifying purchases. Please DIY carefully. View my full legal disclosures here.
The majority of my content is generated by me, as are 99% of the photos and videos, but I utilize technology for titles, descriptions, video editing out all of my ums, and occasionally for text overlay on images.
Please read the whole post so you don’t miss any important information!
I won’t get into the design today because I wrote about that in my post, DIY Dora Explorer Bag and Map.
Supplies
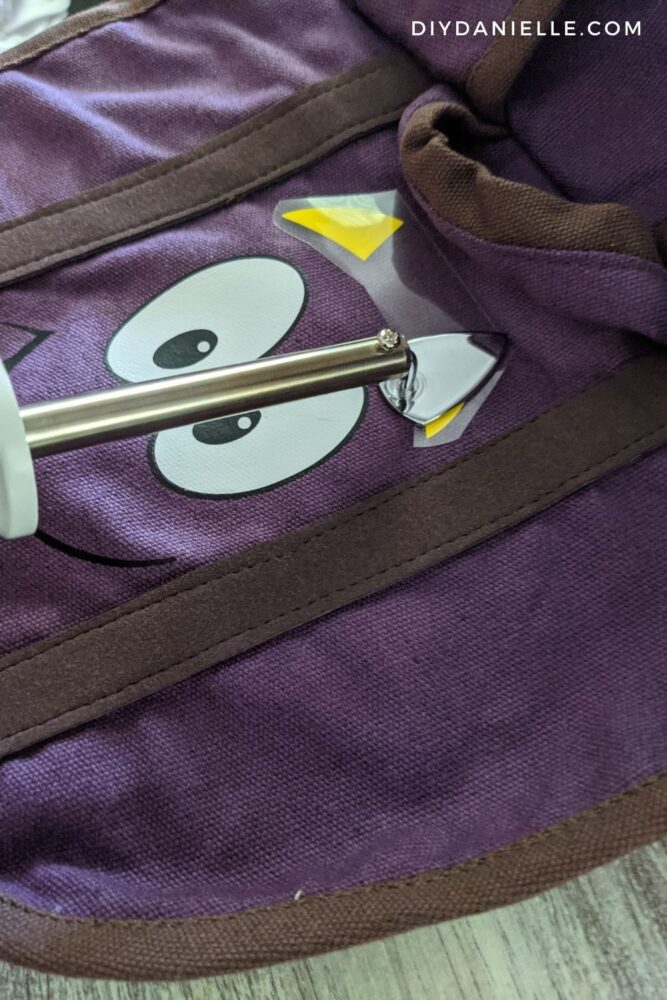
- Clover Mini Iron
- Cricut Maker
- Iron On Vinyl
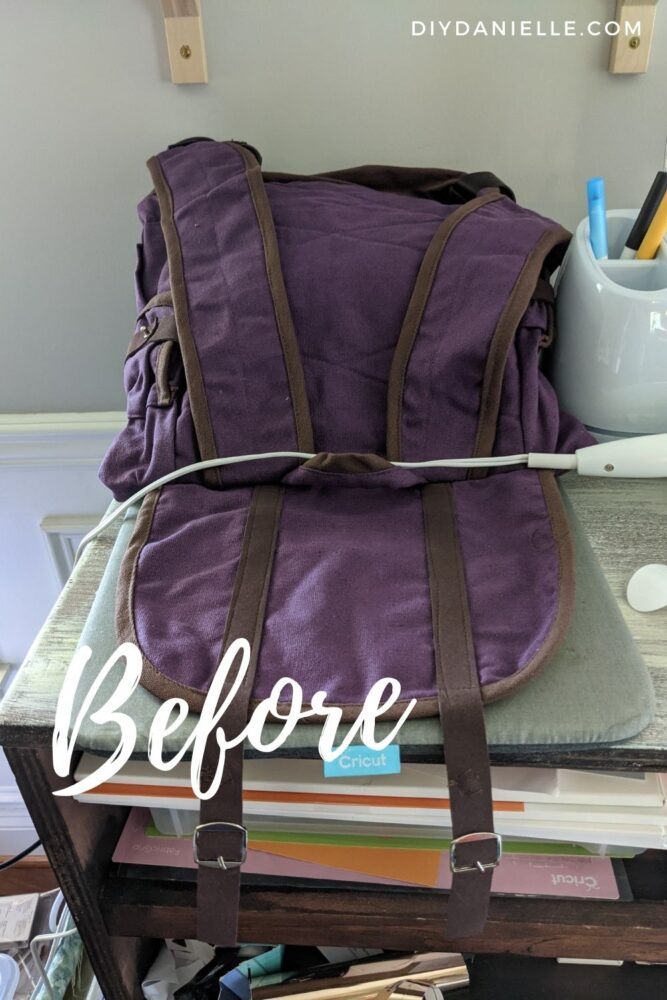
- Purple backpack: The quality on this wasn’t perfect and it’s a wee bit small, but I love the look of it.
Use the Discount Code DIYDANIELLE on cricut.com for 10% off any cutting machine or heatpress (no minimum). Excludes: materials/accessories/mystery boxes/etc. Applies to US/CA only, code expires 12/31/23.
Tutorial
Measure your backpack and figure out where you want the face to be. You’ll need to write these measurements down and make sure you adjust your face design so it fits on the backpack. Your iron on vinyl needs to be positioned somewhere flat on the bag, without interference from stitching or other embellishments.
Place your iron on vinyl shiny side down on your green Cricut mat, select MIRROR in DesignSpace, and select “Everyday Iron On” (if that’s what you used). Cut your design. You’ll need to cut each color separately: You’ll need red, black, yellow, and white HTV.
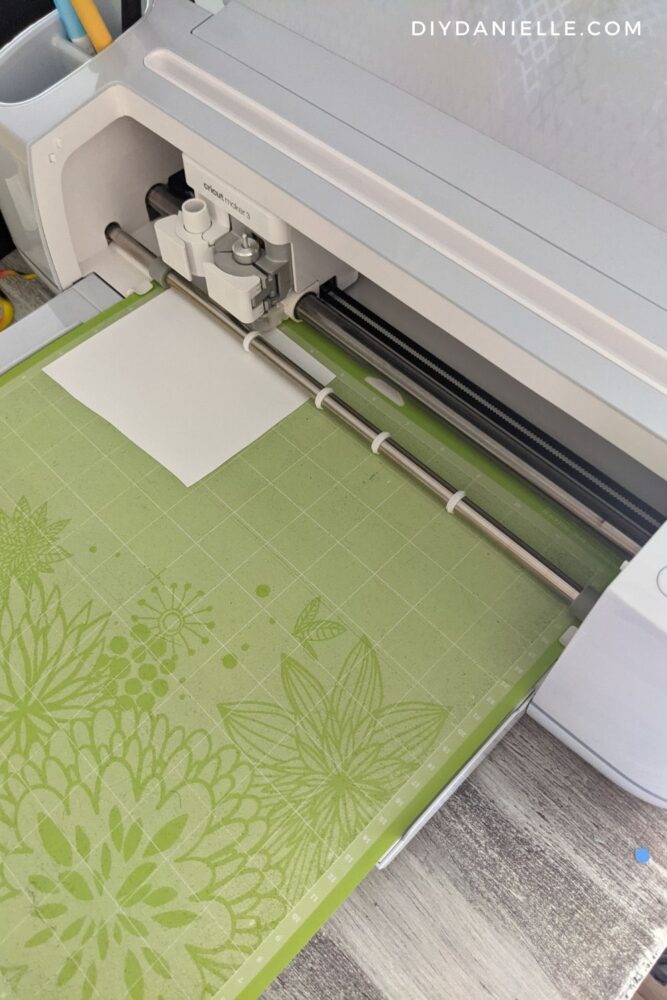
Once the Cricut Maker has cut the design, weed away the excess vinyl.
Preheat the area on your backpack where the mouth will go. Apply the red part of the mouth, leaving enough room for the outline.
Once pressed completely, the shiny plastic sheet should easily come off without taking the design with it.
Cover your mouth with a piece of scrap cotton fabric and press again, preheating the area around the mouth.
Tip: You don’t want to touch the iron on vinyl directly with the Clover press as this could melt the vinyl. The cotton fabric or the plastic sheet protect it from melting.
Remove the cotton fabric. Place your black mouth outline over the red mouth. Press. Remove the plastic sheet.
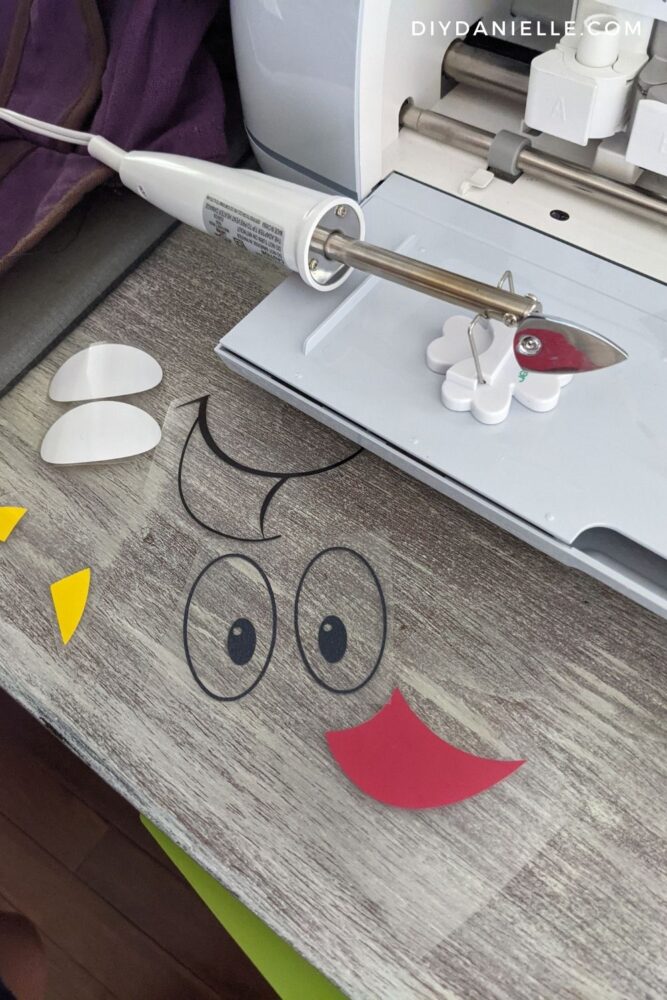
You’ll repeat the process with each section of your design. This is the order you want to work in:
- Red mouth
- Black mouth outline
- White eyeballs
- Black parts of eyeballs (one at a time)
- Eyebrows
When you’re finished, place your fabric over the whole design and press again. I flipped the flap of the backpack over, put the cotton over the area, then pressed the back of the design as well.
And that’s all there is to it! It was easy and the Clover Mini Iron worked great for this project.
Please share and pin this post! You can also post your project and tag the DIYDanielle team on Instagram @doityourselfdanielle!