
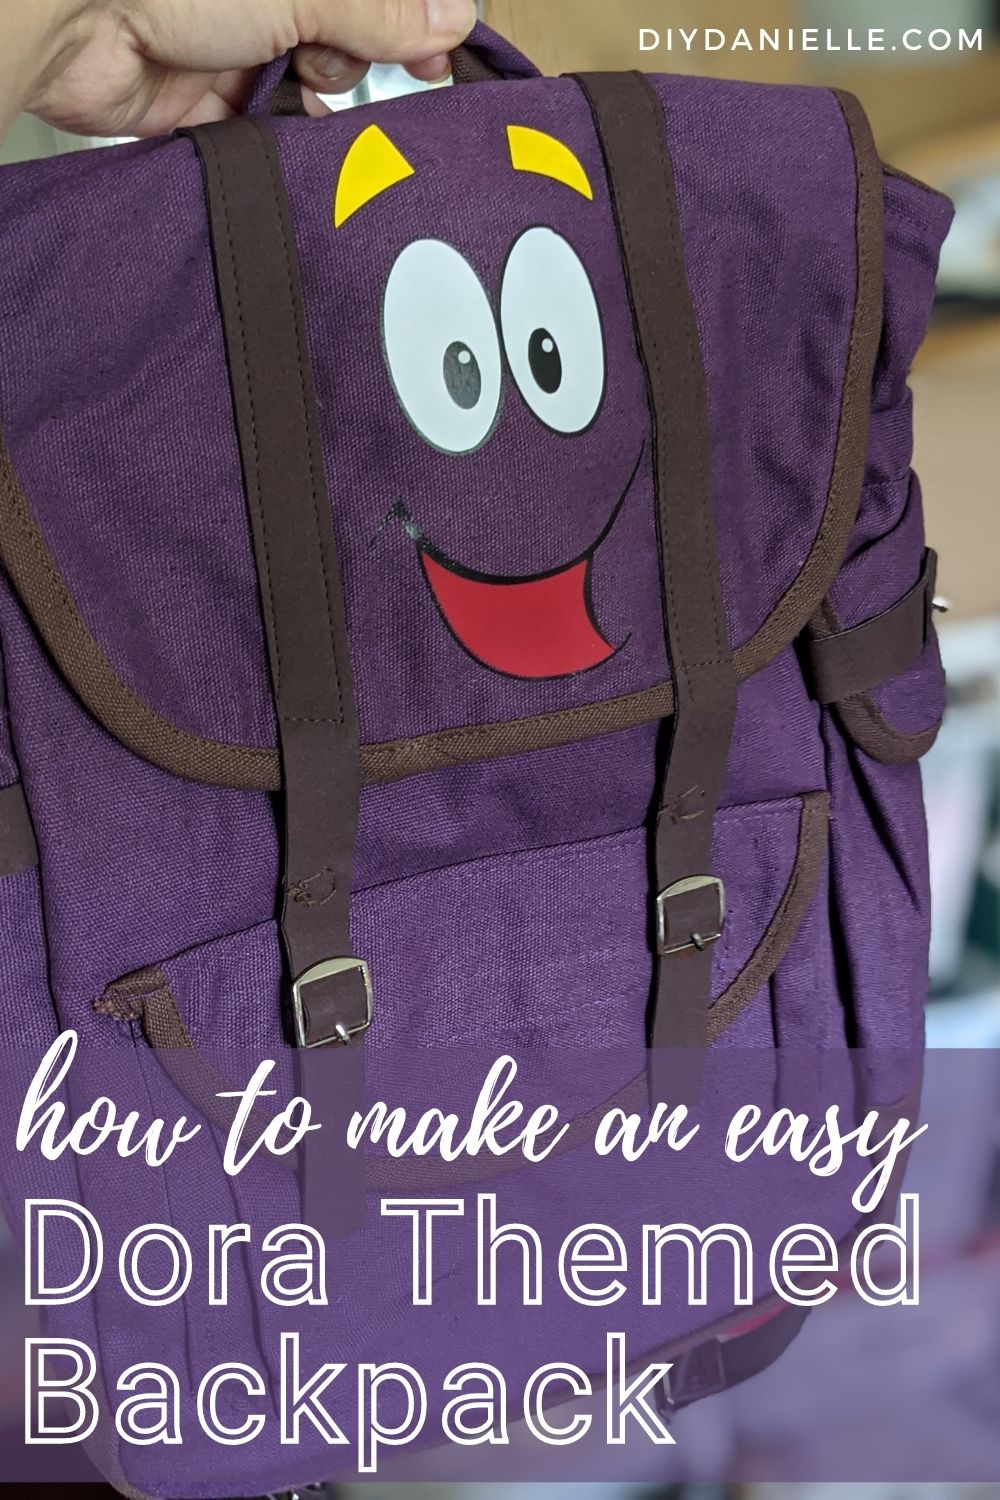
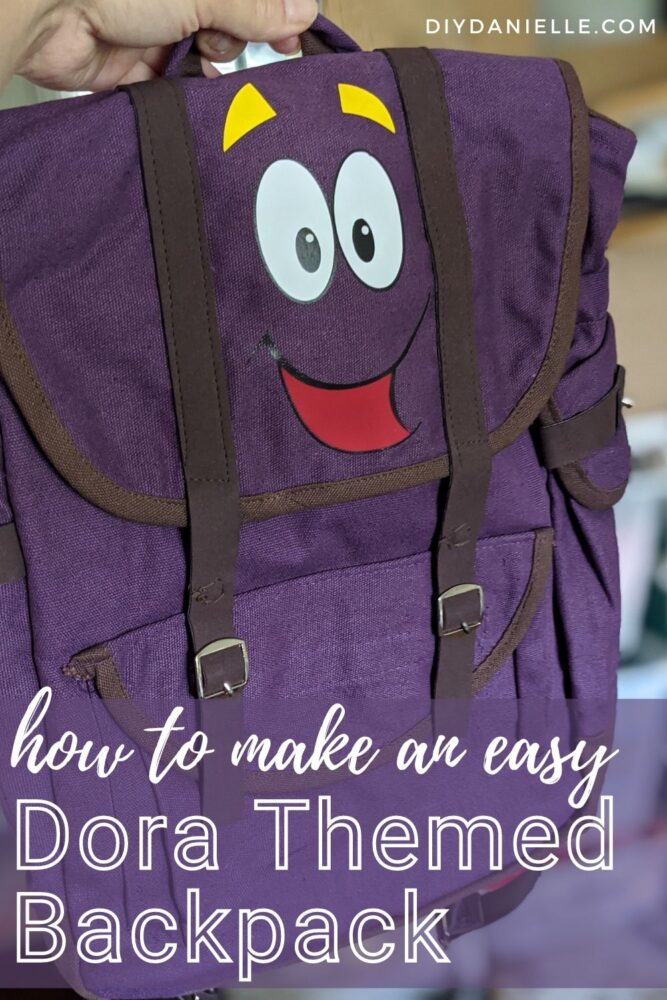
How to create a custom Dora backpack and “map” using Cricut vinyl! This is a fun project to make for kids.
My friend’s daughter really likes Dora the Explorer and wanted a purple backpack, but they couldn’t find a big enough version. Amazon has some toddler size backpacks, but nothing for older kids. My friend asked me to customize a backpack for them and it came out SO well. Here’s how I did it using my Cricut Maker 3.
This post may contain affiliate links which may earn me commissions should you click through them and take certain actions. As an affiliate for Amazon, Cricut, xTool, Home Depot, and other sites, I earn from qualifying purchases. Please DIY carefully. View my full legal disclosures here.
The majority of my content is generated by me, as are 99% of the photos and videos, but I utilize technology for titles, descriptions, video editing out all of my ums, and occasionally for text overlay on images.
Please read the whole post so you don’t miss any important information!
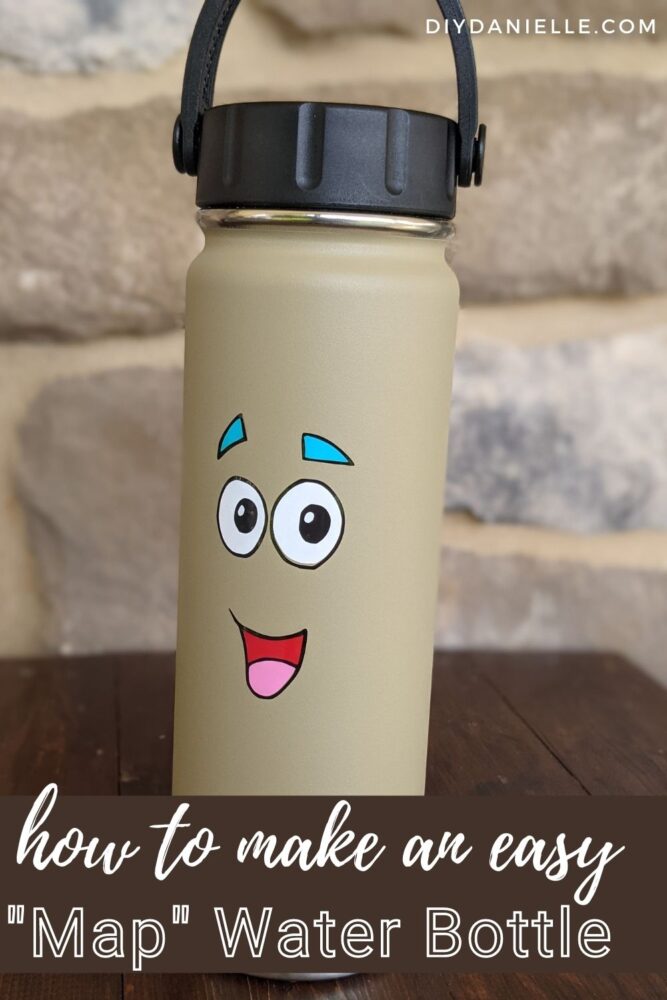
There are two parts of this project. The toddler sized backpack that they liked on Amazon had a map sticking out of the pocket. In lieu of an actual map, her mom decided a tan water bottle would make a good “map”. This was such a fun idea. So I’ll tell you how to do the backpack and the map.
DIY Dora Themed Backpack and Water Bottle “Map”
This tutorial is for personal use only. I am not affiliates with the Dora the Explorer brand or any of its affiliates.
Supplies:
- Purple backpack: The quality on this wasn’t perfect and it’s a wee bit small, but I love the look of it.
- Ozark Trail Tan Water Bottle from Walmart
- Cricut Maker
- Backpack: Iron On Vinyl, Clover Mini Iron
- Water Bottle: Permanent Cricut Vinyl, Cricut Transfer Tape
Use the Discount Code DIYDANIELLE on cricut.com for 10% off any cutting machine or heatpress (no minimum). Excludes: materials/accessories/mystery boxes/etc. Applies to US/CA only, code expires 12/31/23.
Tutorial:
The main job in this project is to get the faces for both the backpack and map loaded onto Design Space. I couldn’t find any- probably because these big companies don’t often sell SVGs and they don’t want other people selling their images either.
The BEST way to get a usable image is to find a Dora the Explorer coloring book (or coloring page) in black and white (no coloring), take a photo/scan of the face, and upload it to Design Space. You could also just draw the image yourself to use. It’s not very complicated. You want to use a FULL SIZE coloring sheet if you find a downloading page. The better quality the image, the easier it is to clean up in Design Space. Honestly, taking a decent photo of an official Nickelodeon Dora color book might be your best bet, simply because there are some sketchy inaccurate images out there by 3rd parties.
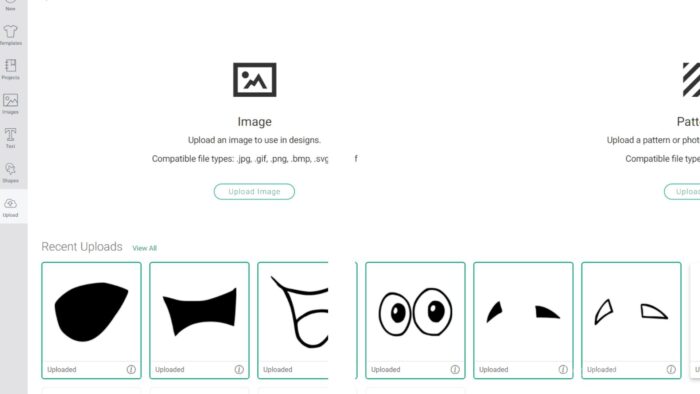
Once you get the .jpg image on your computer, you can open Design Space and start a new project. On the left bottom bar, you can click UPLOAD to add the image to the program.
Select SIMPLE IMAGE TYPE.
The EASIEST way to do this is to upload the image and then delete everything but the single body part you want to upload. I uploaded piece by piece so I could set the colors.
Here’s the 7 layers I did:
- Black sections of eyes
- White oval for eye (I created the oval using the circle option)
- Black outline of eyebrows
- Inside of eyebrows
- Outline of mouth
- Inside of mouth: top
- Inside of mouth: bottom
Erase everything you don’t want and crop the design down.
Select CUT IMAGE.
Repeat for each layer of the face. Once you get each uploaded, select them all and add them to your project.
Once you’re in your project, go ahead and select each piece and change the color to the color you want on your backpack or water bottle.
The map face is different than the backpack face (it’s in the details). You’ll have to repeat your process for the water bottle design.
Colors for this set:
- Backpack is yellow, black, white, and red Iron On Vinyl
- Water bottle used: Black, white, red, pink, and teal Permanent Cricut Vinyl
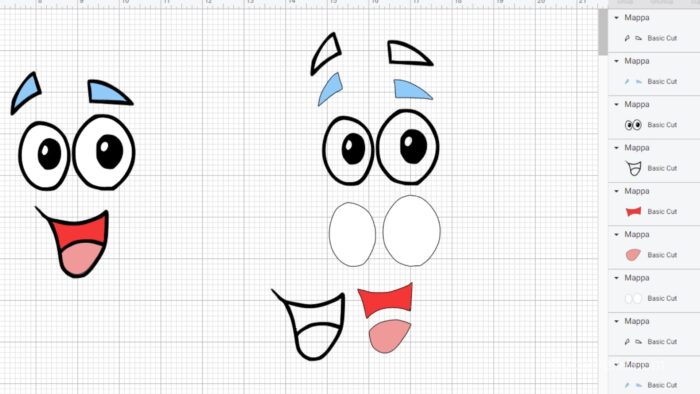
You can overlap the pieces to double check that you have everything correct. If you resize the image, you WILL need to make sure each piece resizes the same amount. I overlap all of my pieces, group them, then resize together.
I duplicated the design below so you can see how I made did this… the left is everything on the right, placed over each other and grouped.
Once you have your design ready, make sure the size works. You need them to fit on the item. For example, the eyes are pretty big- I might be able to fit 6″ wide eyebrows in a spot, but the spot below it might not fit eyeballs that are of the same proportions.
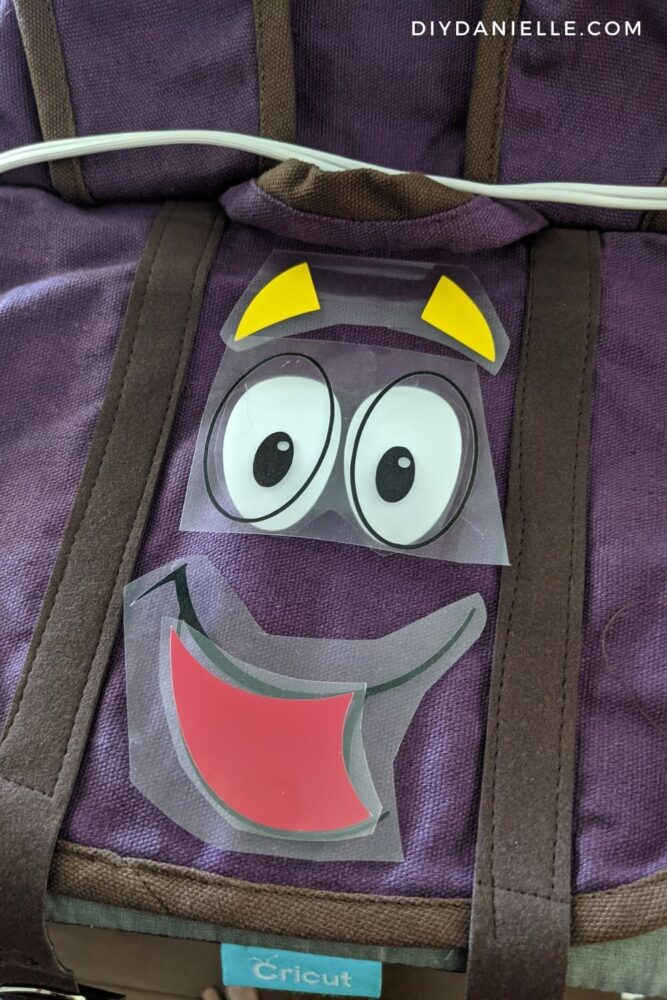
For my bag, I measured each of the blank spaces between the sewn on leather straps. My total design grouped together is 3.5″ x 5.719.” You can see the pieces below, once cut and weeded, and how they fit in the top flap of the backpack.
For the water bottle, I didn’t want my size to be too large because you wouldn’t be able to see it all if it wrapped around the bottle. My total face size, grouped together, is 1.5″x 2.739″.
Once you’ve got this much figured out, you’re ready to cut your vinyl.
For the backpack, you’ll grab your Iron On Vinyl and place it shiny side down on your green Cricut mat. Select MIRROR so the image will cut backwards (you’re cutting the back of the vinyl), and everyday iron on (if that’s what you’re using for materials). Cut. Weed away the excess iron-on vinyl around your design.
Then use a Clover Mini Iron to carefully press each layer of your design on the backpack, starting with the bottom most piece.
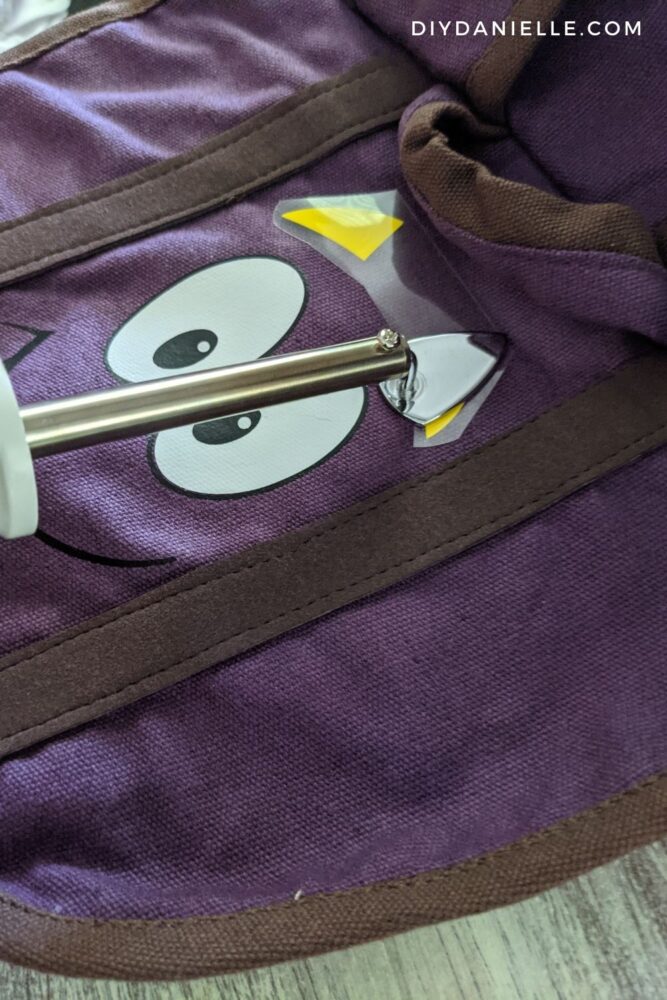
Here is my full tutorial on how to apply HTV to a backpack. This will get into the details more.
Here’s the picture of the backpack once finished… keep scrolling to see the water bottle.
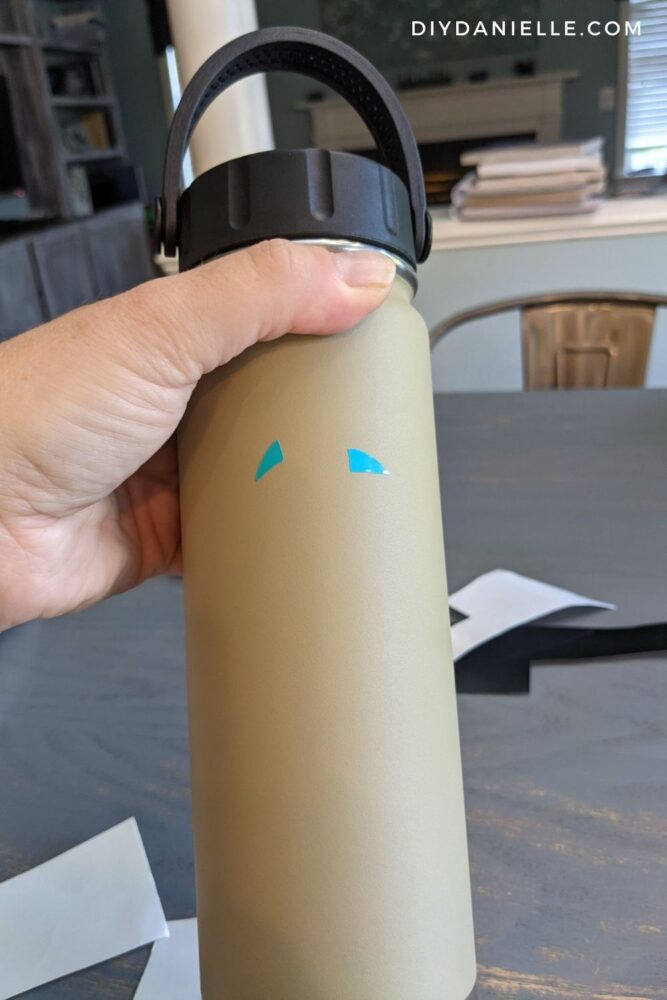
For the water bottle, you want to use Permanent Cricut Vinyl and Cricut Transfer Tape. You’ll cut the design normally (not mirrored), and select permanent vinyl. Let the Cricut cut it. Weed away the excess vinyl, then place transfer tape over the design. Remove backing on the vinyl, center the vinyl over your water bottle, place, and remove the transfer tape.
I started by placing my eyebrows, then worked my way down.
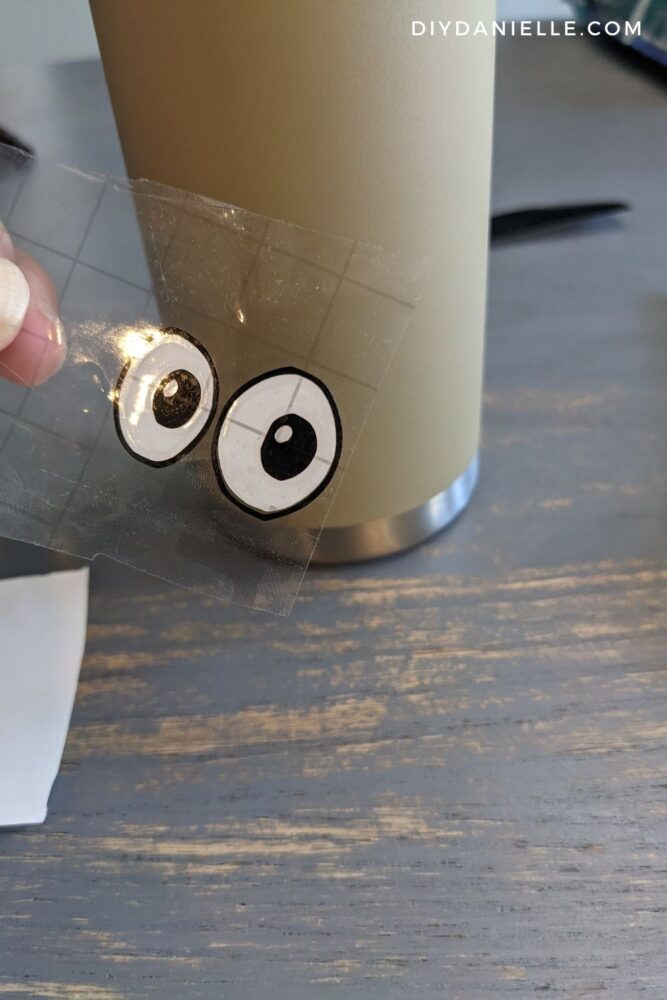
I layered the white and black pieces of the eyes, then placed them on the bottle.
Last I added the two mouth pieces.
And here’s the final result… I LOVE how it came out. The permanent vinyl isn’t going to withstand a ton of harsh washing so I advised my friend to hand wash it. But when she gets tired of Dora and wants to move onto another show, she can simply remove the vinyl and start fresh.
Please share and pin this post! You can also post your project and tag the DIYDanielle team on Instagram @doityourselfdanielle!