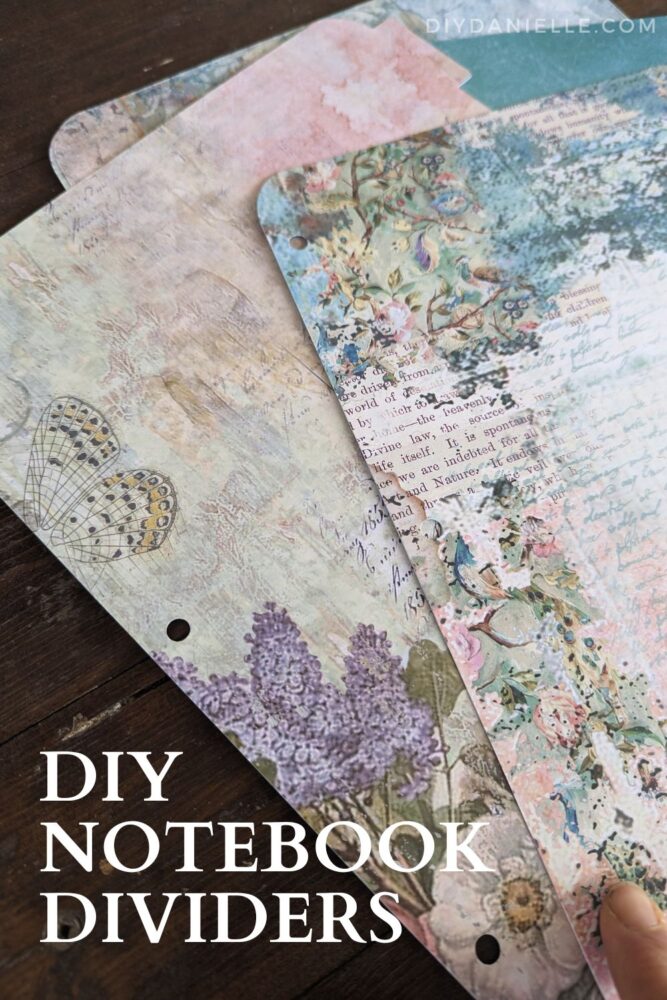
Learn how to make some easy, custom notebook dividers using cardstock and your Cricut. This is a great way to organize your notebooks!
I was going to order some dividers, but I realized that I could MAKE my own… and I certainly had enough cardstock to make it happen. While working with paper isn’t my favorite, this may end up being one of my FAVORITE projects to repeat. I LOVE keeping notebooks with all of my information in them. I label everything. And I almost never have dividers on hand so I usually order them. These dividers are SO much cuter though!
Here’s how to make your own.
How to Make Notebook Dividers with a Cricut Maker
Supplies
The Cricut Maker 3 and the Cricut Air 3 are both able to cut the Smart Sticker Cardstock without using a map. Read more about this feature and more in my introduction to the Cricut Maker 3.
- Cricut Maker 3
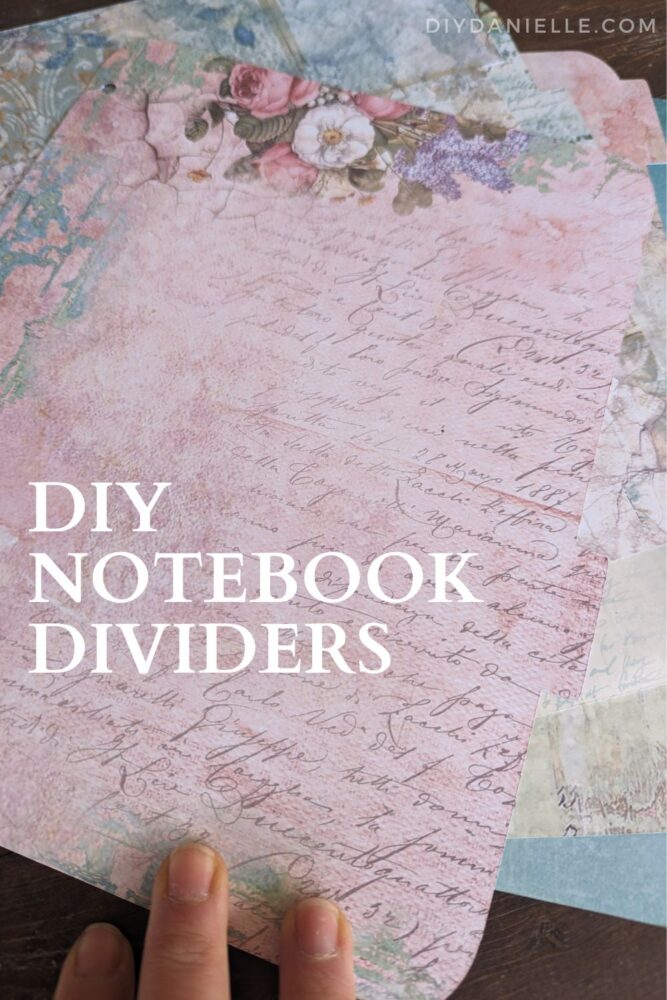
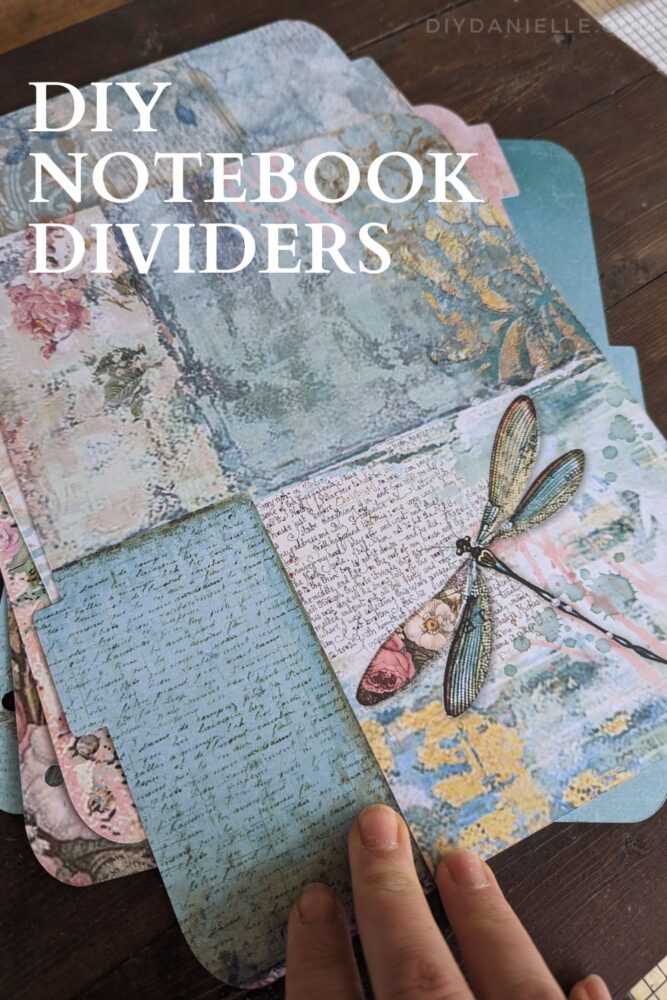
- 12×12 Cardstock that is double sided. I had a booklet of pastels, but if I’d had time, I would have gone to the store and gotten something with a pretty design on both sides. It would be awesome to make Harry Potter or Disney themed dividers! The ones you’ve possibly seen in my pictures or on video are from Stamperia: Forest Themed | Wonderland | Cosmos
- Cricut Pen, Black
- Cricut LightGrip Mat
- Cricut Smart Sticker Cardstock, white
- Hole punch*
- Free Cricut cut file on DesignSpace
Use the Discount Code DIYDANIELLE on cricut.com for 10% off any cutting machine or heatpress (no minimum). Excludes: materials/accessories/mystery boxes/etc. Applies to US/CA only, code expires 12/31/23.
*I used a hole punch for the dividers. I could have added the hole punches to my dividers and had the Cricut cut them, but the hole punch is easier and it has a storage area for the circles. I don’t love picking small pieces off my Cricut mats unnecessarily and it was faster to cut them like this.
DIY Dividers
If you’re using my file, you won’t need to do much except change the words on the tabs. Do that first.
Once your file is completely ready, send it to your Cricut Maker 3. Select the cardstock you’re using for your first divider and place it on a Light Grip mat.
Let the Cricut cut the divider. Remove the excess paper and recycle it. Repeat with the other pieces of cardstock until you have all of your dividers cut.
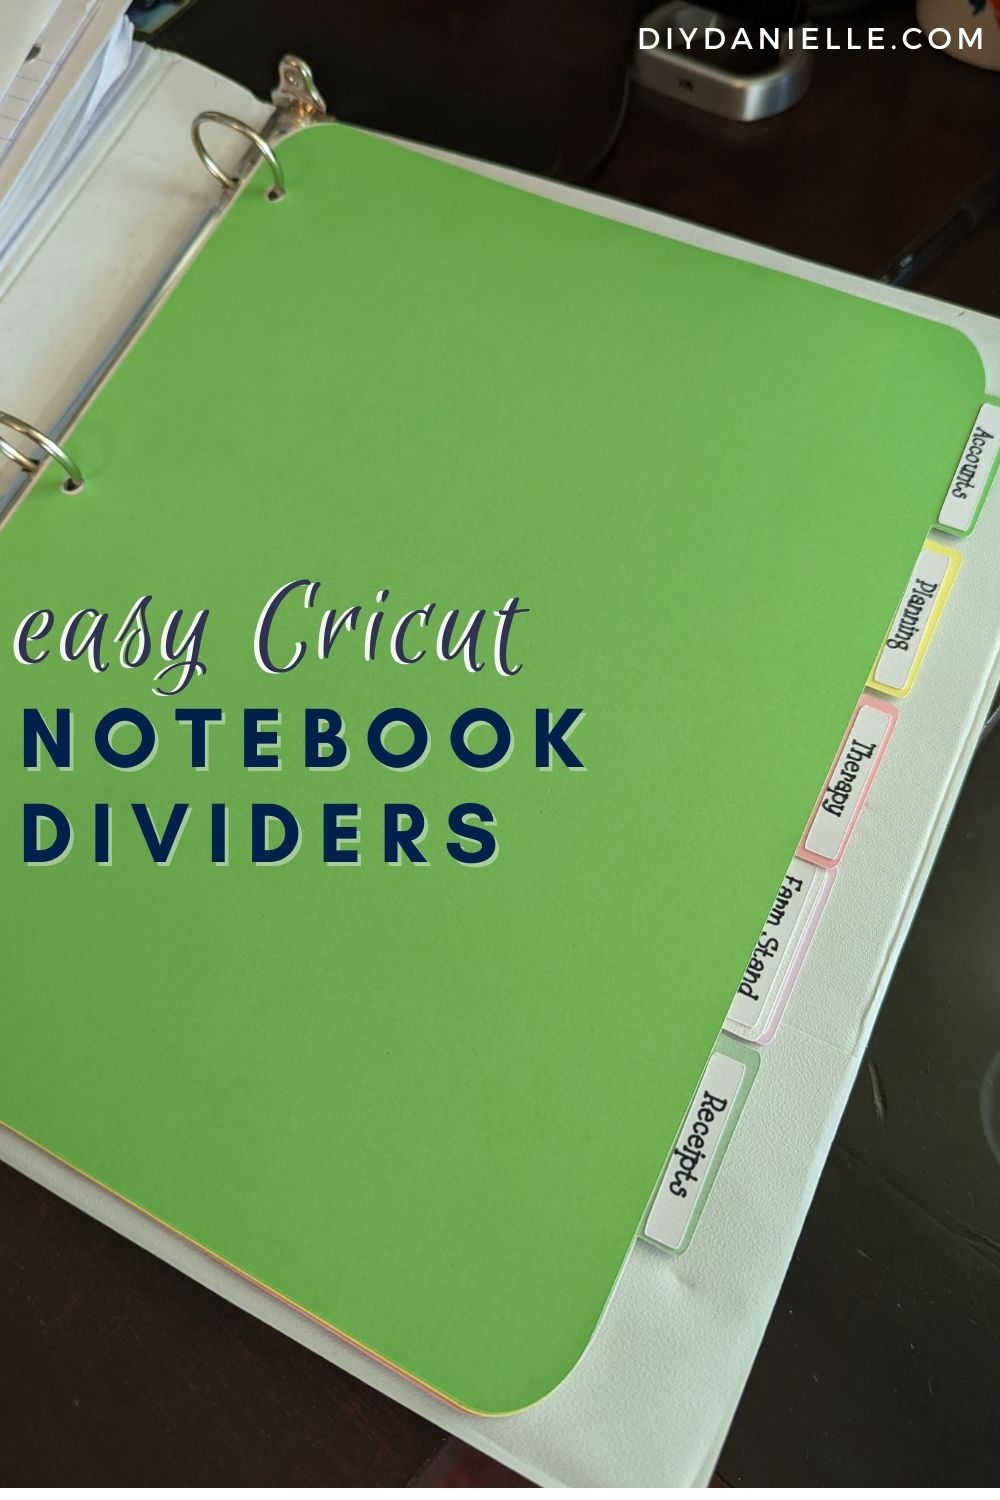
Insert your Cricut pen into your machine and load your white Smart Sticker Cardstock. The best part about Smart Sticker cardstock is that you don’t need a mat under it if you’re cutting it with the Cricut Maker 3 or the Air 3.
Once the Cricut is done with your tabs, peel each one off and place on it’s respective tab.
Now you can use a 3 hole punch to punch the holes for your binder dividers and start organizing! Enjoy!
I did some plain colored ones, but I LOVE the fairy/flower themed ones that I made for my second set. I need to find a good place to get double sided 12×12 scrapbook paper.
Please share and pin this post! You can also post your project and tag the DIYDanielle team on Instagram @doityourselfdanielle!