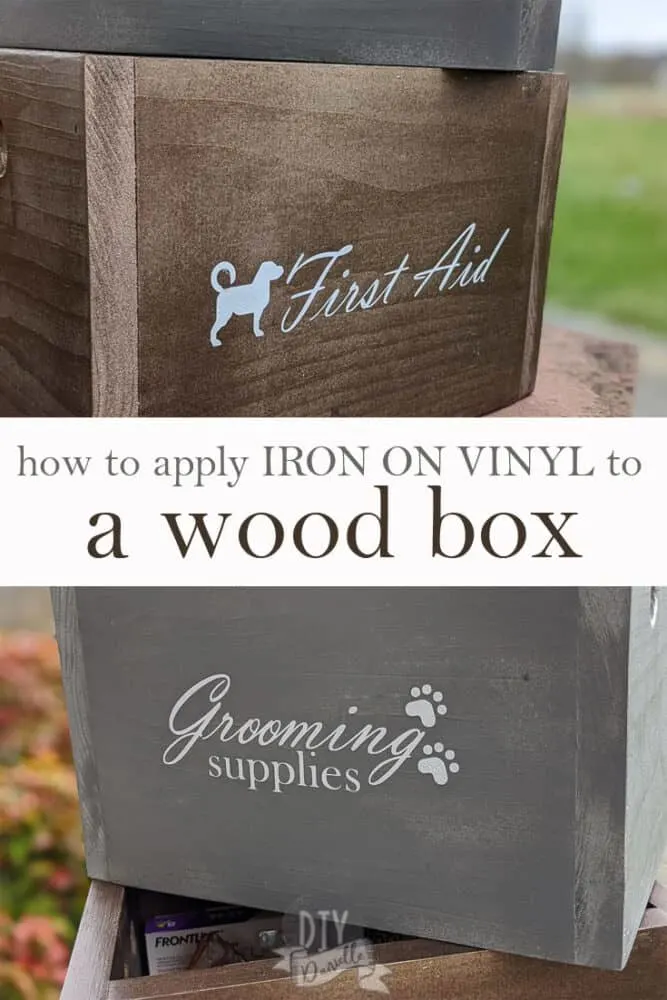
Can you use iron on vinyl or HTV on wood? YES! Here’s how you can use HTV for your wood projects.
This post may contain affiliate links which may earn me commissions should you click through them and take certain actions. As an affiliate for Amazon, Cricut, xTool, Home Depot, and other sites, I earn from qualifying purchases. Please DIY carefully. View my full legal disclosures here.
Please read the whole post so you don’t miss any important information!
I recently built some wood boxes for a guest post on One Project Closer. Originally my plan was to use vinyl to make some stencils to label the boxes. I tried it. Fail. The acrylic paint didn’t stick well to the metallic paint that I used on the boxes. It peeled right off. What a waste of time!
I decided to try to use iron on vinyl (HTV to those of you who don’t use a Cricut). While I hadn’t use HTV for wood before, this was VERY easy to do and it worked great.
These boxes were for the dog feeding station in my custom DIY laundry shelves. They fit behind the dog bowls and are perfect for storing grooming supplies and a puppy first aid kit.
How to Apply Iron On to Wood
Supplies
- Cricut Air 2, Cricut Maker™, or the Cricut Joy (my new toy)
- Cutting mat
- Weeding tool
- Cricut EasyPress™
- Cotton scrap fabric
- Iron On Vinyl
- Wood box
Use the Discount Code DIYDANIELLE on cricut.com for 10% off any cutting machine or heatpress (no minimum). Excludes: materials/accessories/mystery boxes/etc. Applies to US/CA only, code expires 12/31/23.
Step One
Cut your iron on vinyl. Don’t forget to place it shiny side down on your mat and cut it as a mirrored image.
Step Two
Weed away your excess vinyl, leaving only your design on the carrier sheet (the clear piece).
Step Three
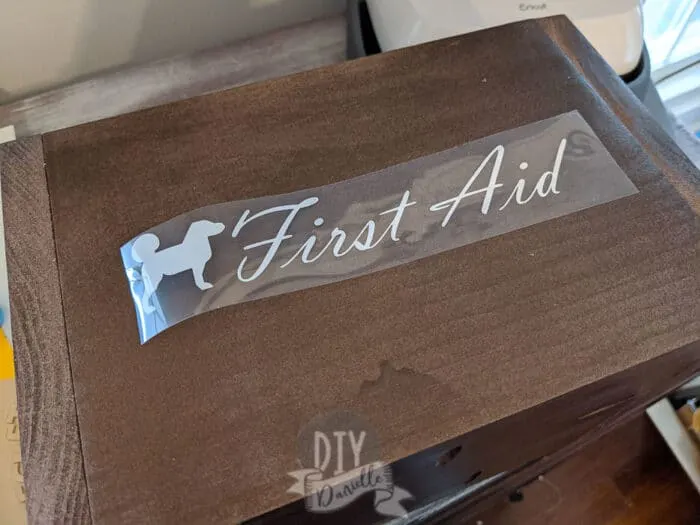
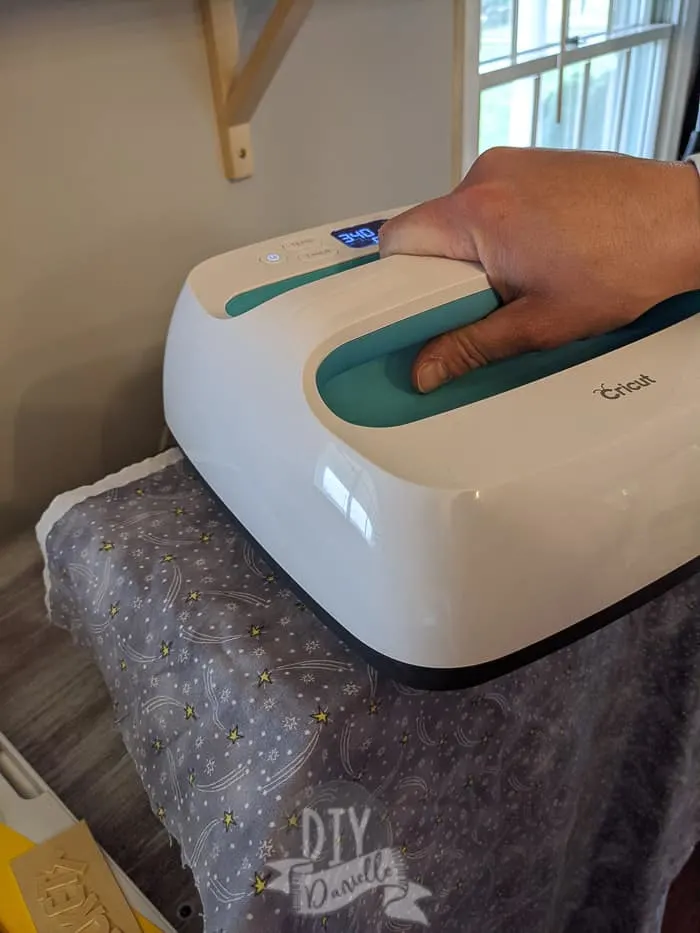
Place your design down on your wood. Cover with a scrap of cotton (choose a piece of fabric that will completely cover your wood so the heat press isn’t touching your wood/paint job).

Step Four
Preheat your Cricut EasyPress™ to 340 degrees Fahrenheit. Once it’s preheating, press down firmly on your wood for approximately 10 seconds.

Step Five
Check on your design. If the clear sheet comes away easily, leaving the iron on stuck to the wood, you can remove completely. If not, let the wood cool, then repeat Step Four and Five.
Step Six
I found that the adhesive on the carrier sheet seems to come off on the wood a bit. Once I remove the carrier sheet, I placed the cotton fabric back down over my design, then pressed for a few more seconds. This seemed to help make the residue less obvious; I’m not sure if the cotton soaked up the residue or if the heat melted the residue or what.
Step Seven
Leave me a comment! If you try this technique, let me know what you think! I usually use permanent vinyl for wood projects, but I’m kind of digging this method! Time will tell how well it lasts!
Here’s a video tutorial of the process!
Interested in the SVG file? Sign up below! Subscribers get all of the good freebies (winks).
Please share and pin this post! If you make this project, share it in our Stuff Mama Makes Facebook Group. We have regular giveaways for gift cards to craft stores. You can also tag me on Instagram @doityourselfdanielle; I love seeing everything you make!

Google Web Stories: How to Apply Heat Transfer Vinyl to Wood

LavondaRenee
Friday 13th of January 2023
I’m definitely trying this today!!! I can’t believe I never thought of it (or thought to look it up) lol but I’ve got some wooden female silhouettes that I’m gonna try this out on.. thanks!!!