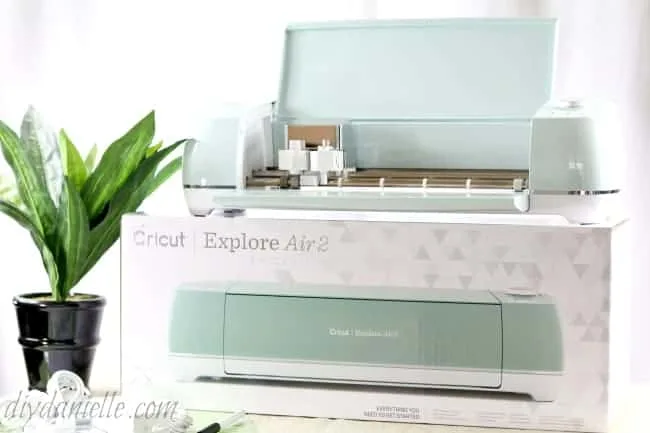
What is the Cricut Air 2, what sort of supplies you need to get started with a cutting machine, and how to start out.
This post was sponsored by Cricut and it may also contain affiliate links. Using these links helps support my blog as I get a small commission on sales. All comments are my own. I only promote products that I believe in and that I think will be useful to my readers. Thank you for your support!
I am really excited to announce that I’ll be working with Cricut as a brand influencer to bring you great projects and ideas for paper, fabric, and other crafts. I just received my Cricut Air 2 and I want to start by explaining what it is, what sort of supplies you need to get started, and how to start out. Why? Because when I get a new crafting toy, I tend to eye it skeptically for a bit before I dig in… it’s so intimidating to try something new out and I want to make this easy and fun for you. Cricut has made these machines simple to use so the frustration level should be minimal!
What is the Cricut Air 2?
The Cricut Air 2 is a mean, (mint) green cutting machine. Gosh I’m cheesy. Essentially, what it does is cut different types of materials for projects. It will cut fabric for applique, vinyl for wall or car decals, leather, heat transfer vinyl to make teeshirts, and cardstock for fancy cards, gift boxes, and more. It can also use pens to draw out designs or writing.
The Air 2 is faster than earlier models and has Bluetooth® enabled for wireless cutting. No more lugging a computer around so you can send your projects to be cut. The Cricut store has lots of ready-to-make projects if you don’t want to design your own projects which makes it fun for everyone… not just die hard crafting pro’s.
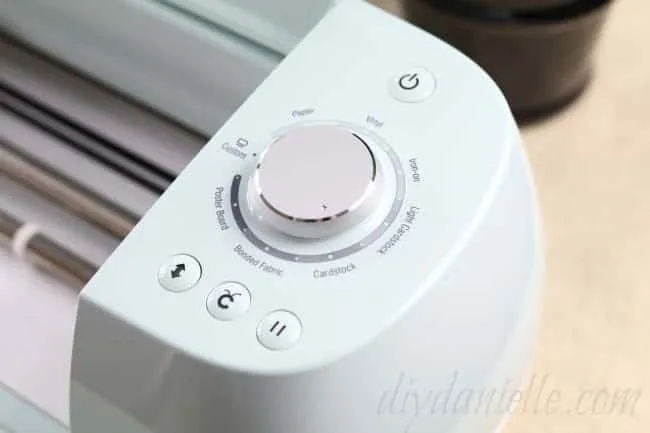
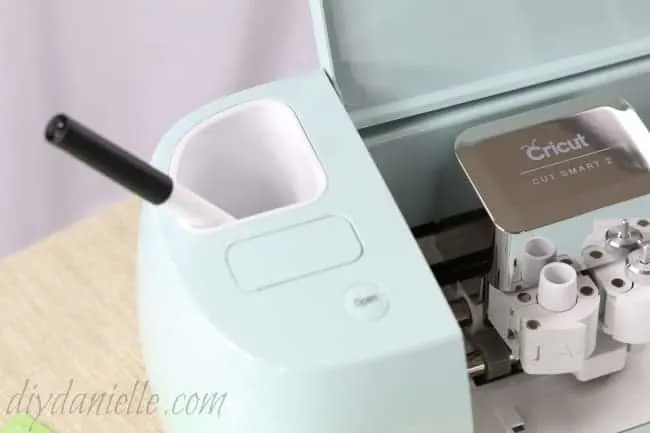
I didn’t own an earlier model so I can’t compare, but I really like the easy dial and the storage compartments that are built into the Cricut Air 2. It makes it easier to organize my supplies.
Many people have started small businesses with their Cricut machines, making a variety of fun projects for sale locally, at craft shows, or on Etsy and other online marketplaces. Customized items with initials, names, and more make treasured gifts.
Use the Discount Code DIYDANIELLE on cricut.com for 10% off any cutting machine or heatpress (no minimum). Excludes: materials/accessories/mystery boxes/etc. Applies to US/CA only, code expires 12/31/23.
Potential Projects with the Cricut Air 2
The one thing I didn’t realize about these machines when I first started was how very versatile they are. They do everything. Well… not quite EVERYTHING, but many things. I follow some inspiration groups on Facebook for these type of crafts and I am always in awe of the variety of crafts you can create.
Here is a list of some fun projects that the Cricut Air 2 can whip right up for you:
- Window decals for your car or business (this can be done with window cling or permanent vinyl)
- Wall decals
- Signs
- Iron on transfers for tee shirts, purses, and other items
- Cards: There are some absolutely stunning designs with multiple layers that you can purchase and make.
- Banners: You can make those popular, cute birthday banners with fabric or cardstock using the Cricut
- Pillow or candy boxes, treat boxes, favor bags
- Yard signs
- Placemats
- Coloring pages
- Cutting cardstock for rolled flowers
- Artwork
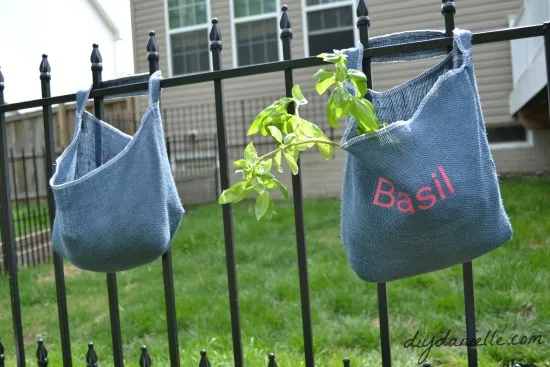
It’s hard to truly list all of the projects that can be done because vinyl can be placed in a lot of areas. Iron on vinyl can be placed on a placemat, a purse, or other types of fabric. I’ve ironed vinyl onto burlap bags to use as planters. But a lot of my projects have been for signs and decals too. I am looking forward to exploring card stock more.
My first “real” project with my Cricut Air 2 is to decorate my Cricut Air 2 so keep an eye out for that project. I’ll also be showing you my gender reveal baby shirts next week!
This post may contain affiliate links which may earn me commissions should you click through them and take certain actions. As an affiliate for Amazon, Cricut, xTool, Home Depot, and other sites, I earn from qualifying purchases. Please DIY carefully. View my full legal disclosures here.
Please read the whole post so you don’t miss any important information!
Supplies
Not all of these supplies are necessary, but I wanted to share some possible items that you can purchase for your Cricut Air 2. I recommend figuring out what projects you’re most interested in, then purchasing items relevant to making those projects. You’ll likely want to branch out, but this will let you get started on the items you like best.
I can’t possibly list all the different colors and items available because there are soooo many awesome options. You obviously need the machine, a cutting mat, some type of material to work with (cardstock, vinyl or iron on), and the tools set is pretty vital. You could probably get away with using some household items to weed your vinyl (“Weeding” means removing the bits that you don’t want), but it’s far easier to have good tools for it.
- Cricut Explore Air™ 2 machine
- Basic Tools Set, Scoring Stylus
- Replacement blade or a deep cut blade
- A Cutting Mat
- Cardstock if you want to cut paper. This comes in many different colors. The project demo’ed in the video will show you how to print on cardstock, but that cardstock comes with the machine. It’s just enough for the one project so you may want extra to play with.
- Vinyl: Sampler to get started or Printable Vinyl
- Iron On: Glitter, Multi or Printable Iron On
The Cricut website offers some starter kits that look like a good option to begin with. You can also sign up for Cricut Access™ Premium and get 50% off digital orders on Cricut.com and in Cricut Design Space™. Membership plans such as these cost a monthly fee and provide you with varying amounts of free fonts, images, and discounts on digital and physical purchases. This is nice because purchasing those items separately can add up quick.
How to Get Started with the Cricut Air 2
You’ll need to setup your Cricut Air 2 first at the Cricut setup web address listed in your manual. Once you get there, you’ll be prompted to install the software.
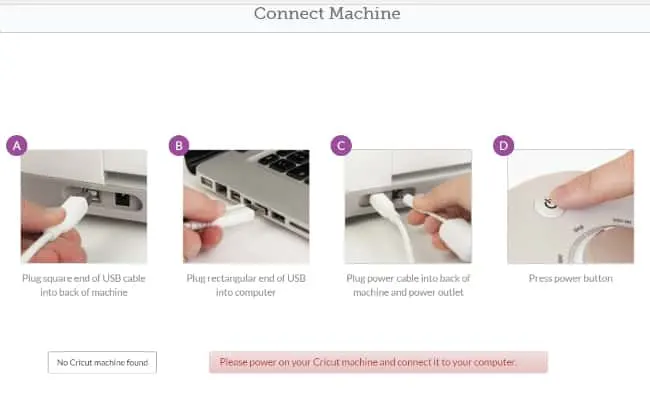
Install and you’ll get the following notification on your web browser:
Follow the directions.
It will lead you through a very quick setup, then offer you the option to complete a sample project. It’s so easy that this video is really unnecessary, but I want you to see how easy it is if you’re considering purchasing a Cricut and are a bit nervous you won’t be able to figure it out. The video shows MY very first project with the machine… I did not practice first.
The program has been setup to be super simple.
Here’s me awkwardly trying to do the demo project (a card) with one hand while recording the video…
I really like that Cricut included a first project and the supplies for it in the package. It walks you through the first project so you’re not completely blank on what the machine does or how it works.
After all of that, it’ll give you a link to click for instructions to setup Bluetooth connection between your computer and Cricut Air 2. If you want quick and dirty instructions, you just go to your Bluetooth setup on your computer, find Cricut (it should show up), click that, and enter the code 0000 when it requests it. DONE. So easy. Pretty sure I spent longer setting up Bluetooth for my phone to car.
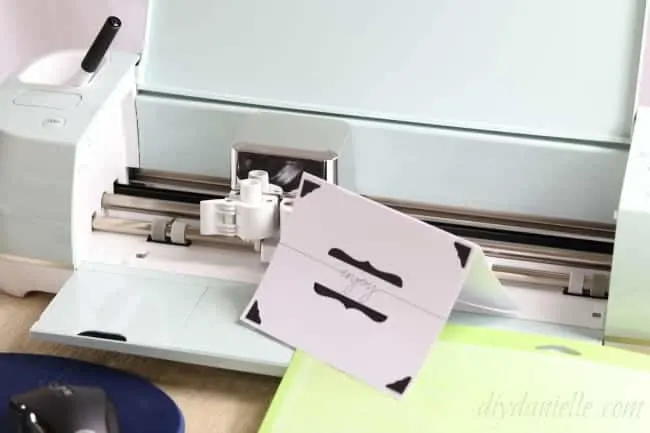
Here’s the final project!
Love it? Pin it!
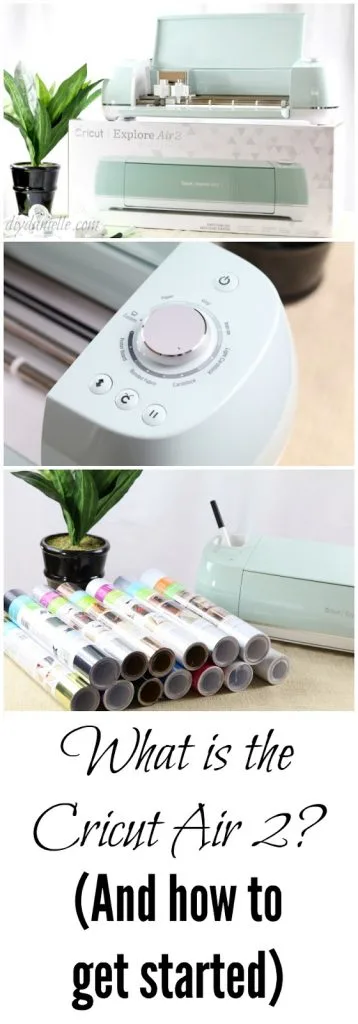
Thanks for taking the time to read this post! I really appreciate the time you’ve taken. Please share, like, and pin my post if you enjoyed it. Follow me on social media and subscribe to my email list to keep up to date on all of my latest projects!
This is a sponsored conversation written by me on behalf of Cricut. The opinions and text are all mine. Comments submitted may be displayed or featured on other websites owned by Cricut.
var ts=document.getElementById(‘ti-pixel-tracker’); var axel = Math.random() + “”; var num = axel * 1000000000000000000; var ti=document.createElement(“img”); ti.style.display=”none”; ti.src=”https://tracking.tapinfluence.com/trk/P5Af4/SLO4P/p.png?p=nWazV” + String.fromCharCode(38) + “i=8bbYw” + String.fromCharCode(38) + “ord=”+ num + String.fromCharCode(38) + “s=” + encodeURIComponent(document.referrer); ts.parentNode.replaceChild(ti,ts); new TAP.CogFrame(‘/v1/cogs/60486ef0-75ea-11e6-8eea-22000a7d00a4/comments’).drop({“program_id”:”60475ab0-75ea-11e6-8eea-22000a7d00a4″,”post_id”:”b50fc8c0-1aef-11e7-9dc9-22000a7d00a4″,”host”:”api.tapinfluence.com”,”apiHost”:”api.tapinfluence.com”,”sort_order”:”desc”,”limit”:”20″,”offset”:”0″,”sort_by”:”created_at”,”protocol”:”https://”});
