

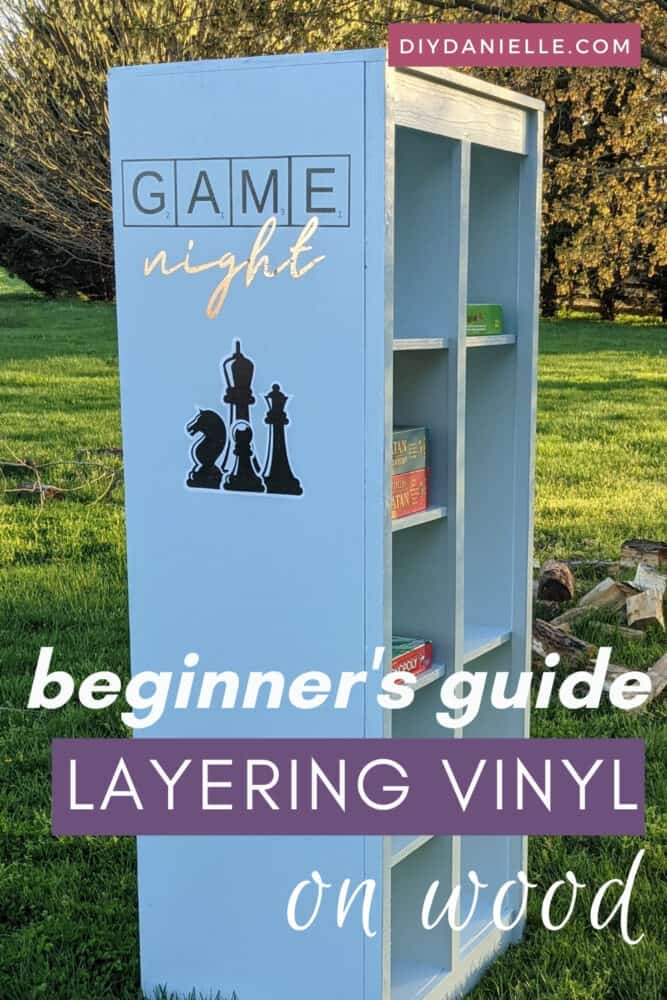
How to layer vinyl on wood so that it will stick. This tutorial covers how to use permanent vinyl on wood.
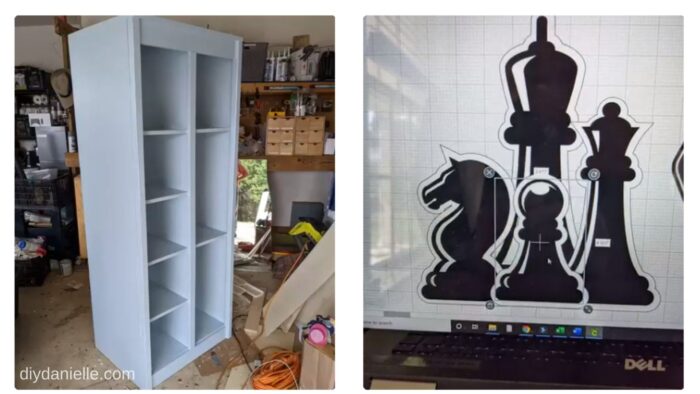
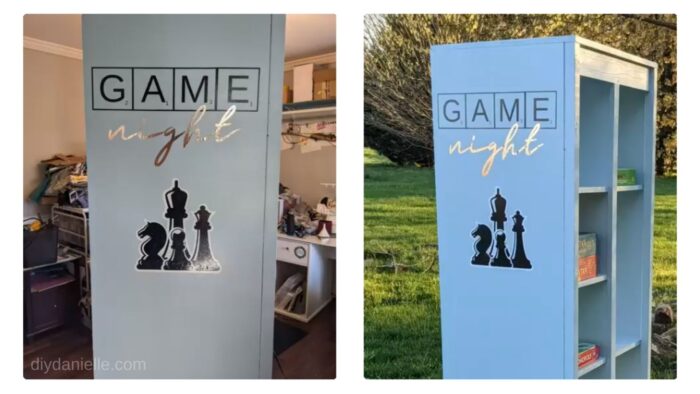
When I was working on the DIY Game Storage Cabinet, I decided that it would be fun to add some vinyl to the sides. My family loves board games and we have a ridiculous number of them. I wanted this to have a “game night” theme. And it came out perfect. Layering vinyl on wood is the same as layering it elsewhere, but I have a strategy that I use to make the vinyl stick to the wood better. It’s a bit of extra work and it’s not perfect, but it does the trick!
This post may contain affiliate links which may earn me commissions should you click through them and take certain actions. As an affiliate for Amazon, Cricut, xTool, Home Depot, and other sites, I earn from qualifying purchases. Please DIY carefully. View my full legal disclosures here.
The majority of my content is generated by me, as are 99% of the photos and videos, but I utilize technology for titles, descriptions, video editing out all of my ums, and occasionally for text overlay on images.
Please read the whole post so you don’t miss any important information!
First of all, Cricut has recommendations on which of their products can be layered and which cannot. Some products cannot be layered so please keep this in mind. I’m using a permanent vinyl for this project and at the thickest point, there’s six layers, I believe.
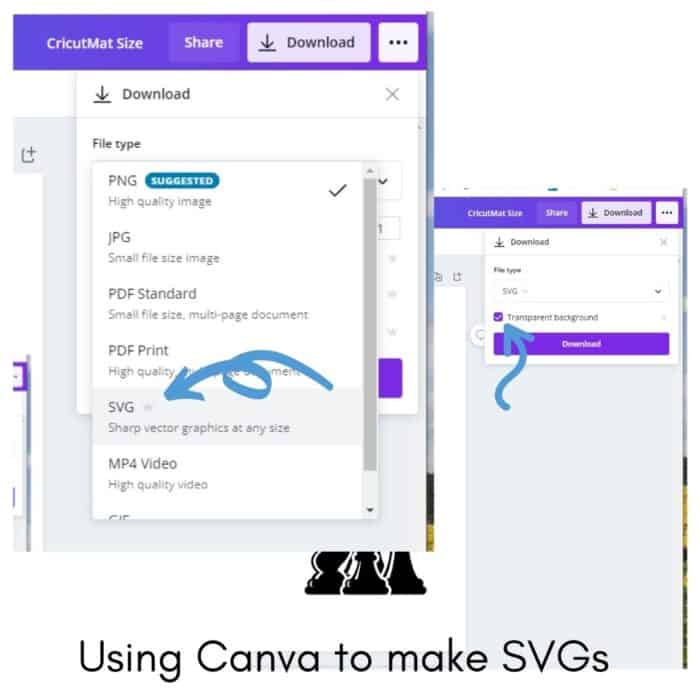
In this case, I really loved this chess design that I found on Canva. Canva is a super easy to use design program; I was using it to make Pinterest pins for my blogs, but discovered I can make SVGs on Canva too! This was SUPER exciting because I already pay for the program and they have adorable graphics.
I exported the SVG with a transparent background and uploaded it to Cricut. Once I had resized and cut the individual pieces, here’s how I adhered the vinyl to the wood.
Use the Discount Code DIYDANIELLE on cricut.com for 10% off any cutting machine or heatpress (no minimum). Excludes: materials/accessories/mystery boxes/etc. Applies to US/CA only, code expires 12/31/23.
Some things to note:
- Wood type and roughness impacts how well it sticks. I find it difficult to adhere vinyl to rough wood because it has so much texture to it. There’s less surface contact for it to stick to.
- Paint/stain type impacts how well vinyl sticks. From what I understand, vinyl will stick better to regular acrylic paint than some types of paint. I assume this has to do with additional chemicals added to make paint mold resistant, easy to clean, etc. That said, I ignore this and just pop vinyl on whatever I want- my theory is that as long as I can remove it all if it starts to peel, it’s worth a shot. I don’t sell and these are for my personal use; being able to peel the vinyl off and do something new isn’t a huge problem for me.
- Use the RIGHT vinyl. I find that 671 outdoor rated vinyl sticks well, even outdoors. But I used 651 vinyl for this project because it was the only long sheets on white and black vinyl that I had on hand.
- You can use heat transfer vinyl on wood if you prefer. This melts into the wood nicely. After doing both methods, iron on may be my preferred method but it’s easier on small projects.
All this said, I’ve used vinyl in some weird places. I used 671 outdoor rated vinyl on both the exterior of my goat shed and the kids garage. Both are still stuck on there over a year later, even though I didn’t use heat like I will in this tutorial.
First, let your paint fully dry for the FULL cure time. It can’t hurt to wait longer. Paints can be dry to the touch earlier than they’re actually ready.
I recommend taking a photo of your design and working out what order to go in. This chess design required the following order to apply:
- Middle piece (king), white
- Middle piece, black
- Knight and queen, white
- Knight and queen, black
- Pawn, white
- Pawn, black
Here’s a video of the process. For the photos and breakdown, keep scrolling.
Supplies:
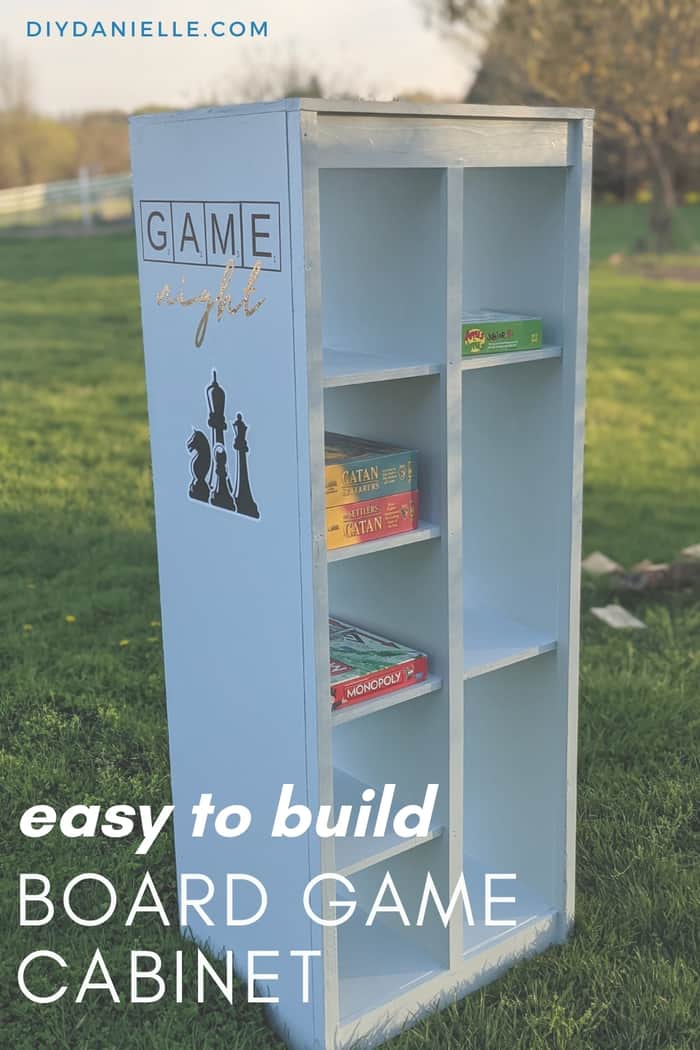
Step 1: Paint your wood. Let dry completely. I wrote a tutorial on our DIY Board Game Cabinet if you want to build your own.
Step 2: Snap a photo or two of your design for reference as you work. This is a tutorial that I wrote on designing SVGs with a website called Canva.
Step 3: Start by adding your bottom most piece. I hit each layer with my hair dryer. Don’t melt the vinyl. Just warm, then press the vinyl into the wood.
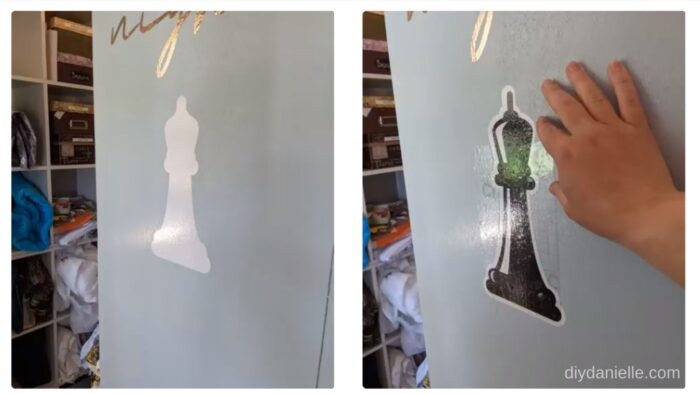
Step 4: Add your second layer.
Step 5: Line up your next layer. I did two because they don’t overlap each other.
Step 6: Here I am, using my hair dryer to warm the vinyl. I use my fingers to press the vinyl into the wood.
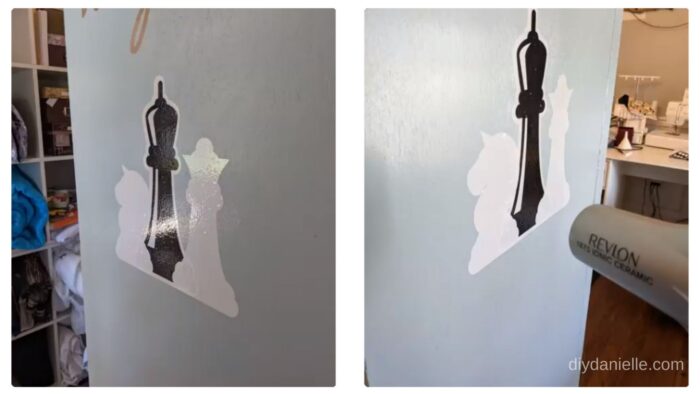
Step 7: I added the black layers over the white.
Step 8: Next I added my white pawn layer.
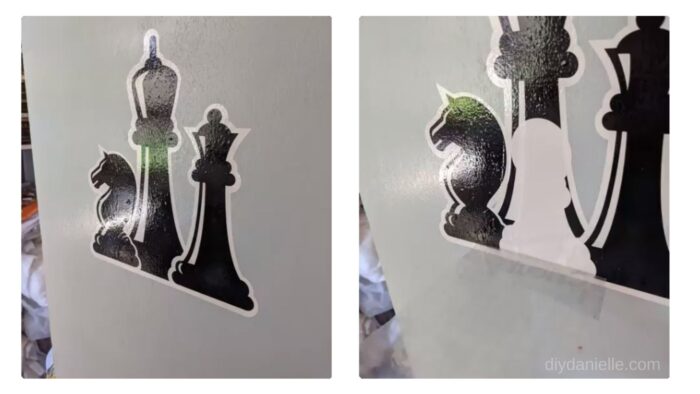
Step 9: And finally, I added the black later for the pawn.
Permanent Vinyl vs. Iron On Vinyl on Wood
There are three things you want to consider when deciding between permanent vinyl or iron on vinyl for a wood project.
#1 Bigger Cuts vs. Small Lettering
I find that bigger cuts are easier to press into the texture of the wood and stick. Smaller lettering, such as the “night” script that I added above the chess set, seems more prone to peeling off. My dog grooming boxes used iron on vinyl for the script lettering with no peeling issues.
#2 Will You Ever Want to Remove It?
I haven’t tried to remove iron on vinyl from wood, but it’s easy to remove permanent vinyl from wood, walls, and other objects. When I first got my Cricut machine, I made a wall decal with permanent vinyl instead of the removable vinyl- oops! I SHOULD have used removable as it’s far easier to remove without taking the paint and drywall with it.
While these designs adhered well to my cabinet, I think I could hit them with the hair dryer to release the adhesive and carefully peel them off. I might lose a little paint, but I could redo it.
I don’t think I’d want to paint over either iron on or permanent vinyl without removing them first.
#3 Can You Easily Use an Iron or Heat Press on the Design?
The last thing to consider is if you could easily use an iron or heat press on the design, should you choose to use a heat transfer vinyl. A hair dryer is a lot easier to haul out to a shed or use on a large piece of furniture.
Where Can I Find the Chess Design?
If you’re interested in using this specific chess design, check it out on Canva. Click ELEMENTS once you have a project open and search for “chess pieces” (“chess emblem” is also an AWESOME design). It’s free for anyone on the pro plan.
I didn’t realize that I could design SVGs with Canva and I am SO excited about playing around with this more because it was really easy. I added the image to my Canva project, clicked DOWNLOAD, chose SVG, then clicked the transparent background button. Click download and it should show up in your downloads folder! Super easy!
Learn how to make your own SVG files in Canva.
Please share and pin this post! You can also post your project and tag the DIYDanielle team on Instagram @doityourselfdanielle!
How to Layer Vinyl on Wood
How to layer permanent vinyl on a wood cabinet. We made this cabinet to hold our board games and I LOVE the chess design we added to it!
Materials
- Oracel Permanent 651 Vinyl- White/Black
- Cricut Transfer Tape
- Hair Dryer
- Cricut Maker
Instructions
1. Paint your wood. Let dry completely.
2. Snap a photo or two of your design for reference as you work.
3. Start by adding your bottom most piece. I hit each layer with my hair dryer. Don't melt the vinyl. Just warm, then press the vinyl into the wood.
4. Add your second layer.
5. Line up your next layer. I did two because they don't overlap each other.
6. Here I am, using my hair dryer to warm the vinyl. I use my fingers to press the vinyl into the wood.
7. I added the black layers over the white.
8. Next I added my white pawn layer.
9. And finally, I added the black later for the pawn.
Google Web Story: Tips for Layering Vinyl on Wood