

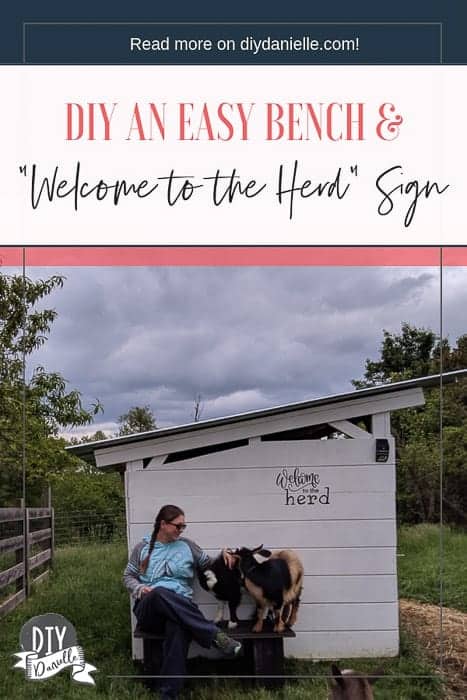
How to make a simple DIY bench for a goat pen, along with a cute barnyard sign, to create a comfortable petting area for you and your pets.
This post may contain affiliate links which may earn me commissions should you click through them and take certain actions. As an affiliate for Amazon, Cricut, xTool, Home Depot, and other sites, I earn from qualifying purchases. Please DIY carefully. View my full legal disclosures here.
The majority of my content is generated by me, as are 99% of the photos and videos, but I utilize technology for titles, descriptions, video editing out all of my ums, and occasionally for text overlay on images.
Please read the whole post so you don’t miss any important information!
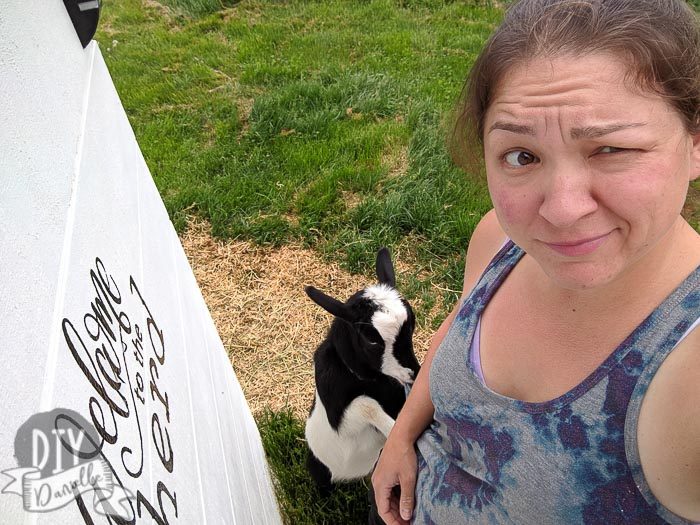
I love my goats. You’ll see me say that a lot. They’re pretty spoiled, but I’ve been a bit sad that there’s no safe place to sit in their pen. I want to sit and pet them, but the ground is pretty muddy right now and there’s goat chocolate down there too.
So when our monthly challenge for At Home DIY Challenges was “Make it pretty outdoors,” it made sense to tackle this project finally.
Building a bench for the goat pen has been on the list for a while. I wanted something simple, but it couldn’t be a hazard for the goats. I LOVE the cinderblock benches because they’re super easy, but using 4x4s would leave gaps between the 4x4s that their legs could get caught in. I try to avoid vet bills whenever possible.
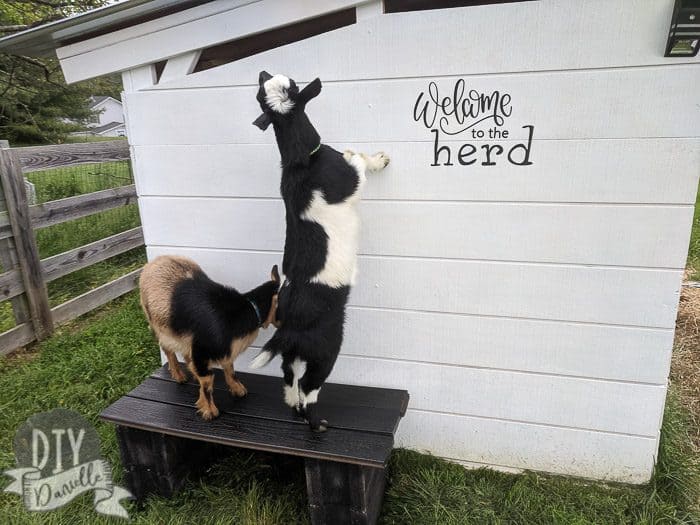
I decided to create a more simplified version of those cinder block benches. I also added a cute sign for the side of the goat house to make the area a bit prettier.
Keep in mind that the goats will climb on this. They’ll probably poop on it too. But it’s better than the ground by my estimation.
Here’s how I made mine.
Supplies for the DIY Bench
- (4) Cinder Blocks
- Rustoleum 2x: Black
- Old decking or wood: 3 pieces cut to 41″ each
- Some type of adhesive that will work on concrete
- UV Krylon UV Resistant Spray Paint in Clear
Supplies for the Goat House Sign
- Cricut Air 2 or the new Cricut Maker™(and associated supplies)
- Outdoor Vinyl: Oracel 751
- Transfer paper
Use the Discount Code DIYDANIELLE on cricut.com for 10% off any cutting machine or heatpress (no minimum). Excludes: materials/accessories/mystery boxes/etc. Applies to US/CA only, code expires 12/31/23.
How to Build a Cinder Block Bench
This was super simple. I grabbed four used cinder blocks that were collecting dust (and some moss). I washed and dried them off.
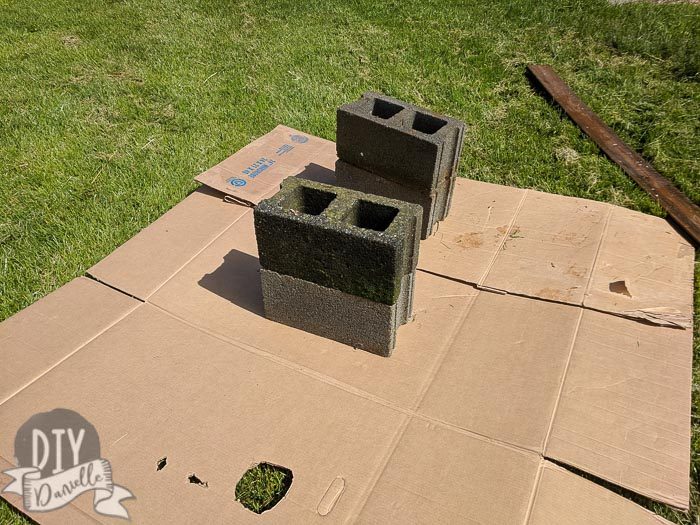
Once that was done, I spray painted them black with Rustoleum 2x Paint and Primer. This is my preferred paint when I’m trying to paint something for outdoors. They probably could have used another coat.
We have some old decking material that the previous owner left so I cut this into (3) 41″ pieces so I had a 16″ depth or thereabout for the bench. I decided I didn’t like the color so I spray painted them black too.
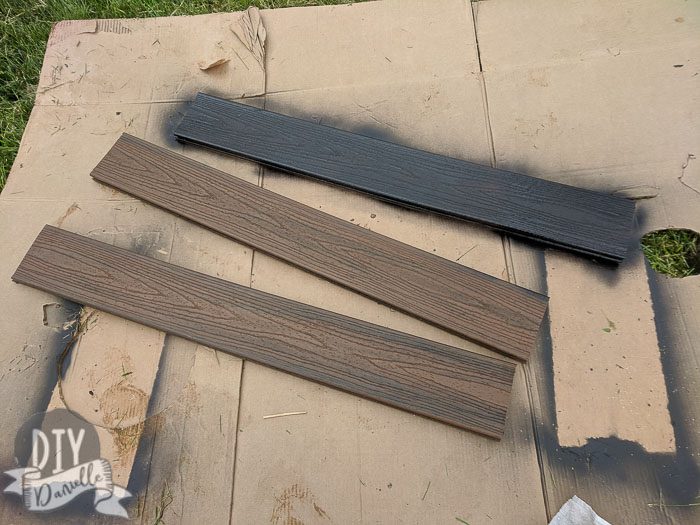
It might be good to put some UV spray on top of this to help protect it further from fading or peeling in the sun/weather.
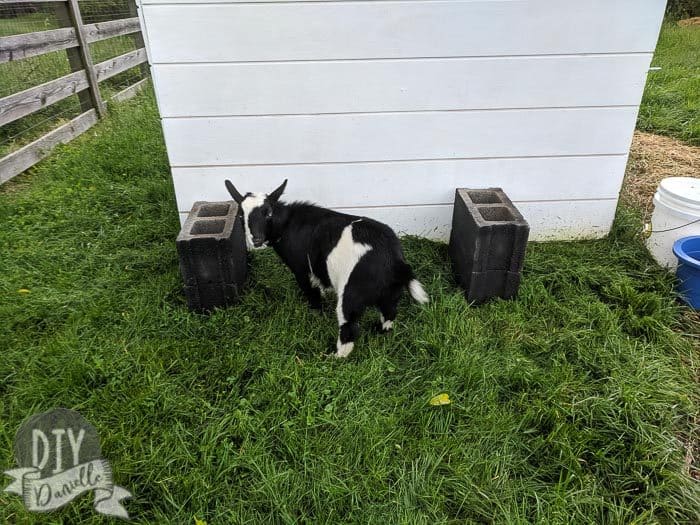
After everything dried, I just glued the blocks together using an adhesive. You want something that will work with the concrete.
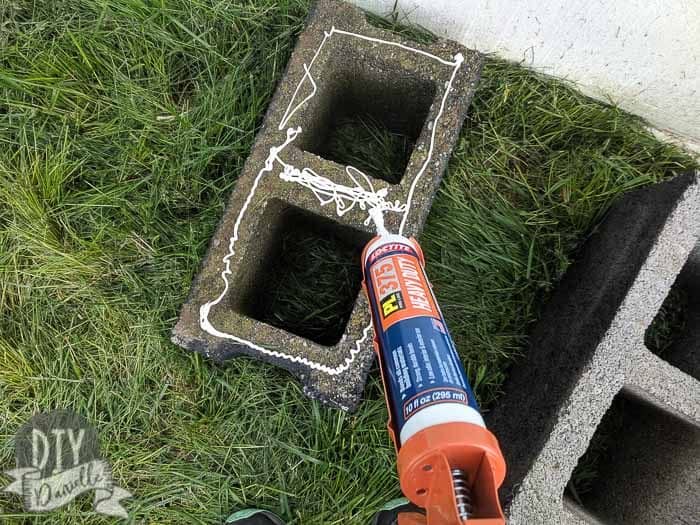
The decking boards were glued on top of those concrete blocks. Easy peasy!
For what it’s worth, I’m not 100% happy with the bench… I think the wood I used for the seat probably should have been flipped because it was starting to bow. I’m going to see how it all lasts over time… worse case, I build something new later on.
But realistically, this seat has a 100% chance of getting pooped on so I figure this will work great with zero cost to build.
“Welcome to the Herd” Sign for the Goat House
This was super fun and simple to make. You can get access to the free Cricut design by signing up for my newsletter below:
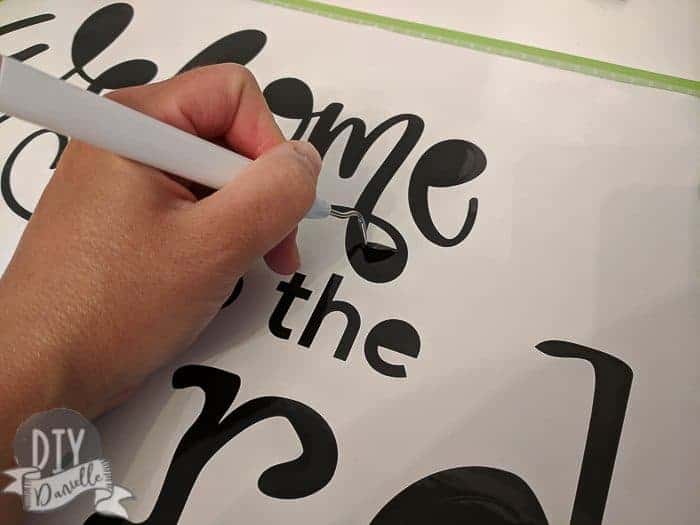
I cut this using my Cricut Maker and used Oracel 751 vinyl which is intended for long term outdoor use. I can’t compare it to the outdoor vinyl from Cricut in terms of longevity, but I had it leftover from my Kids Garage project so I wanted to use it. Essentially the machine takes a piece of vinyl that’s on a cutting mat and cuts out the words. When it’s done, you peel away the excess vinyl to reveal the words. Good stuff.
Once it was cut and weeded, I applied it using Cricut Transfer paper. Sometimes this stuff is a bit overly strong so I like to use it over as possible. By the second or third use, it’s easier to apply stuff.
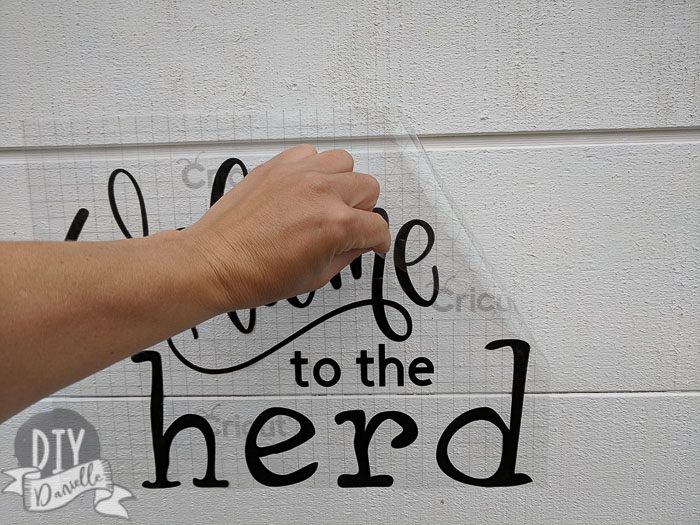
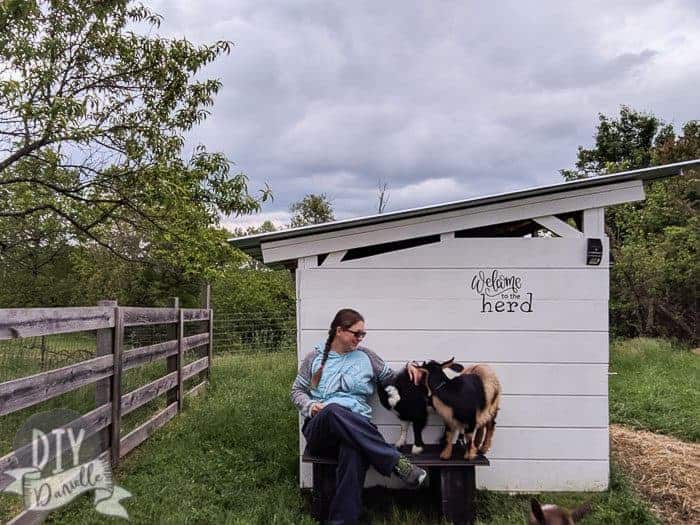
Once applied, peel the transfer paper off. Done! I LOVE it. So far it seems to be staying on really well. I was worried that it might not because of how rough the wood is for the goat house.
I had helpers of course…


Would you please pin and share this post with your friends? Thanks!
Love creative homestead ideas? Check out these posts too: DIY Duck House | Goat Barn Accessories | Framing the Goat Barn | Siding & Roofing for the Goat Barn | Easy Solar Lighting for a Shed or Barn | Beginner’s Guide to Milking Goats | No Mess Duck Waterer
It’s always fun to visit your blog and see what you have been up to. I love your attention to detail with even the simplest projects!
What a fun area for your goats and visitors. Too fun!
Thank you 🙂 The goats are really enjoying the seat, as are we. 🙂
When I saw the finished bench I did not realize that the base was bricks, love the idea! Thanks for sharing!
a goat petting area!!! I wish I had a reason for this haha this is awesome