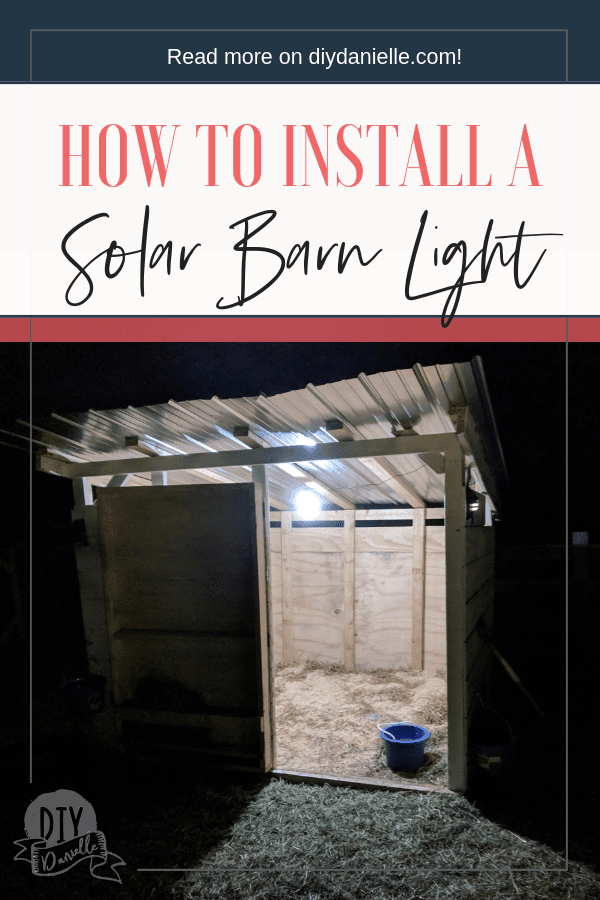
How to install a solar shed light with a remote control to help light your goat barn or chicken coop.
This post may contain affiliate links. If you make a purchase using these links, I may receive a commission on the sale.
Most nights I try to milk our Nigerian Dwarf goat, Ivy, before it gets dark. Then I shut the goats in their goat house for the night to protect them from predators and to keep them warm.
Occasionally my husband comes home late though or for some other reason, I need to delay milking. We live in the country and it’s pretty dark at night. Having electricity run to the goat house is a no for now- it’s costly and doesn’t make a lot of sense. I’ve been using our heavy duty Ryobi flashlight, but I frequently wish I had my hands free. When I saw this super affordable solar light for sale, I knew I had to give it a try.
I was, however, quite skeptical that it would produce a lot of light. We have several other solar lights around our yard that are motion activated and they are fantastic- but not bright. I was SO pleasantly surprised to see this worked as well as an electric powered light bulb that I just HAD to share our new shed light with you!
The nice thing about this light is that there’s no risk of an electrical fire (to my knowledge) from a solar light like this.
Supplies
- Flyhoom Solar Light Bulb Camping Lights Dimmable
- Drill and drill bits
- Screw or Command Strips
- Something to hang the light from
How to Install an Easy Shed Light
So this is very, very easy and you can tailor it to your needs. To begin, I made sure to charge the light using the provided USB cord. I read one review that said the light may not charge using the solar panel. I’ll see. Nobody else had the issue so I’m gambling on it working. Regardless, it’s easy enough to bring it inside to charge on the USB cord if needed. I don’t need the light often enough to run down the charge on it.

Once charged, I used my drill bit to create a small hole on the 2×4 that holds my roof. I wanted a fairly central location, but I also needed to make sure the cord for the panel was long enough to reach the outside. It is plenty long for the size of my shed. Make sure the cord and bulb is out of reach of your pets.

Once you add your hook, you can just hang the light bulb on there. The kit came with a clip, but I didn’t need it for my open hook (shaped like a C, no idea what it’s called… I usually grab stuff from our overflowing toolbox).
Plug in the cord for the solar panel into your bulb and run the cord/panel out your shed to a sunny spot. You want your cords and solar panel to be out of the reach of your goats- for obvious reasons if you have goats. They may not EAT everything, but they do like to give everything a taste.
I added a screw to hang the panel on, but you could also use Command Strips.

You can now give your bulb a test. You do need to switch it on initially using the button on the bulb. Then you can use your remote to turn it on or off, set a timer, etc.
The one thing about this setup is that the remote is pretty lame. It has a VERY short range… I can’t stand outside my goat pen and turn it on/off. I assume the building may block the range a bit… or something. But I usually turn it on when I get close, then set a timer for 30 minutes or 60 minutes. This allows me to bring Ivy to milk and return her. Because I can go hands free on the way back, I can bring along a bucket of warm water… which BTW they ADORE in the cold weather. I have a heated water bowl I could run an extension cord for, but our weather isn’t THAT cold and I am 100% that they’d poop in the bowl (it’s on the ground).
What do you think?


Please pin and share this post!


