
How to make an SVG file. I struggled for too long with expensive programs before discovering THIS easy method for making personal SVGs!
I’ve been messing around with SVG design for the past year or so. While I love creating my own designs and ideas, it’s a struggle to use some of the programs. For a time, I was paying for the full Adobe Suite but it cost so much money. I ended up paying someone to create some of the SVG designs that I sell in my shop, but occasionally I want something quick and easy for my personal use.
I’m good at crafts and sewing, but art? Not so much. Cricut Design Space has a lot of fonts and graphics, but I can’t always find what I want or need. Sometimes the program is slow and I get frustrated choosing fonts.
This post may contain affiliate links which may earn me commissions should you click through them and take certain actions. As an affiliate for Amazon, Cricut, xTool, Home Depot, and other sites, I earn from qualifying purchases. Please DIY carefully. View my full legal disclosures here.
The majority of my content is generated by me, as are 99% of the photos and videos, but I utilize technology for titles, descriptions, video editing out all of my ums, and occasionally for text overlay on images.
Please read the whole post so you don’t miss any important information!
For a lot of my blog graphics, I use a program called Canva. I pay $120/year or thereabouts to use it and it’s HELLA CHEAPER than Adobe Suite which runs $53/month (that’s over $600 a year!). And I can never figure out how to do what I want on the Adobe apps. There’s so many of them, I often have to switch between apps, and for some reason my SVG exports always had issues when I went to upload them to Design Space. If my whole job was SVG creation, it’d be worth learning and paying for the suite. But that’s not my goal.
Sometimes I just want to make something cute.
When I went to make this cute game board storage cabinet, I discovered something AMAZING.
Canva now allows us to export in SVG format!!!!
I could not have been more excited.
Creating the SVGs in Canva is super easy and they all uploaded to Design Space with NO issues. In the case of the chess board design, I simply downloaded the image from Canva, uploaded to Design Space, resized and played with it a bit to make sure it would print how I wanted, and I was DONE. I was able to cut it with my Cricut Maker and layer the chess design on my wood cabinet.
All of that time I normally would waste on messing with Adobe or trying to find someone to put my vision into an SVG file? Poof! Gone. This is great for designing SVGs for personal use; I haven’t delved into the legalities of using it for designing SVGs as a business, but it’ll work for making my own things.
I did a tutorial for YouTube, which is quite a bit longer and more detailed. But this is the photo tutorial too… they’re different designs and the horse design was quite a bit less complicated. Keep scrolling if you want to get to the YouTube video.
Supplies:
Use the Discount Code DIYDANIELLE on cricut.com for 10% off any cutting machine or heatpress (no minimum). Excludes: materials/accessories/mystery boxes/etc. Applies to US/CA only, code expires 12/31/23.
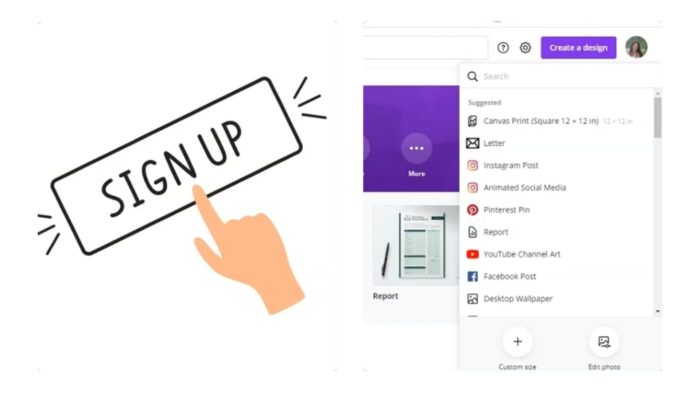
Step 1: Start by subscribing to Canva Pro. This allows you to use all of the graphics without getting charged extra. They have some options that come with their free plan, but the pro plan really gives you access to a lot more.
Step 2: Click “create a design” and select “canvas print 12×12 in.”
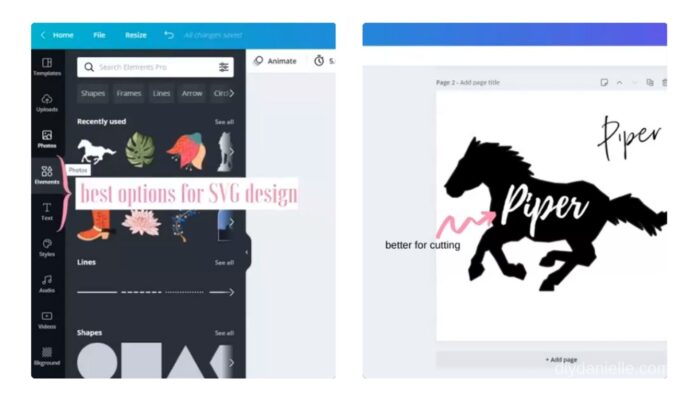
Step 3: Design your SVG using elements and text from Canva.
Step 4: Keep in mind what the Cricut Maker will be able to cut. Use fonts that work for your project. If you’re planning to engrave or use pens to write, then a thinner font makes more sense.

Step 5: Images can be cropped or flipped. You can also change the color.
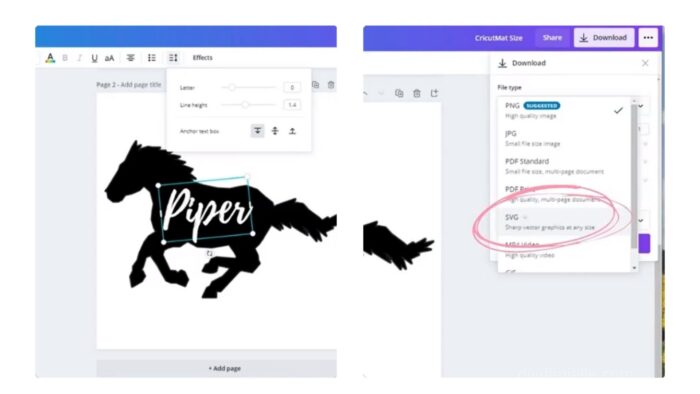
Step 6: When you add text, you can change letter spacing and line height as needed.
Step 7: Click download when you’re ready. Choose SVG. Click the box for a transparent background.
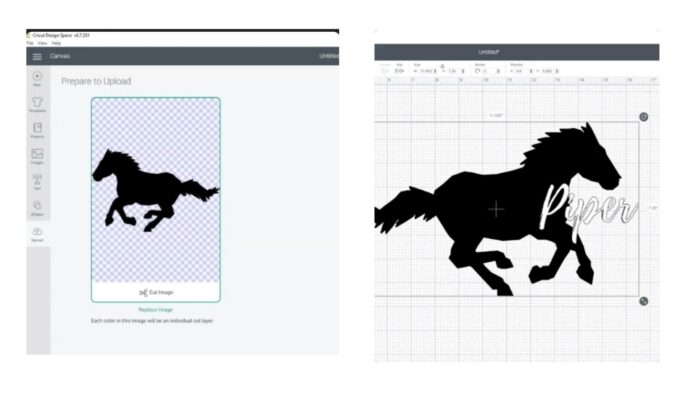
Step 8: Open a new project in Design Space. Click upload.
Step 9: Upload your design.
Step 10: Resize and adjust your design as needed. Occasionally I run into issues with a particular image or design. You may need to do almost no work on some designs, but need to do considerable contouring on another.
Step 11: Weld your script letters.
Step 12: Contour as needed.
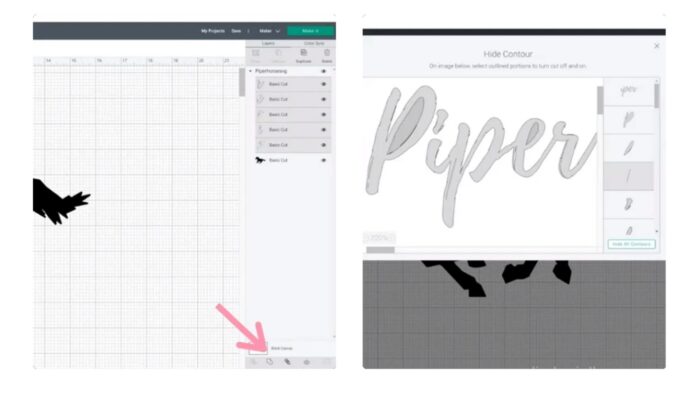
If you want to make your own designs using Canva, here’s how. ***NOTE: Make sure to weld your script letters. I didn’t do this but I should have. I didn’t notice until after I pressed my design (but I edited my video to include this detail.***
I WISH I hadn’t used the patterned iron on for the wolf. It didn’t come out as nice as I wanted- the white blended too much with the fabric on the bag and you can’t tell what the shape is. Oh well. Lesson learned- keep all colors of iron on available for crafting emergencies (wink).
Want to Check Out Canva?
Canva is good for all sorts of projects; design hand outs, art for your social media channels, Pinterest pins, desktop wallpaper, invitations, posters, presentations, and more. You can even print photos, business cards, t-shirts, and more directly from the app. I haven’t tried getting those types of products made yet, but I’ll definitely check it out the next time I need something printed professionally.
Try Canva Pro Today
Please share and pin this post! You can also post your project and tag the DIYDanielle team on Instagram @doityourselfdanielle!
