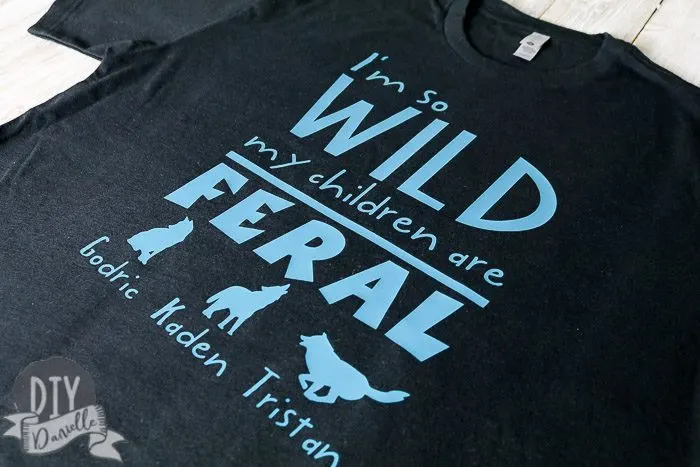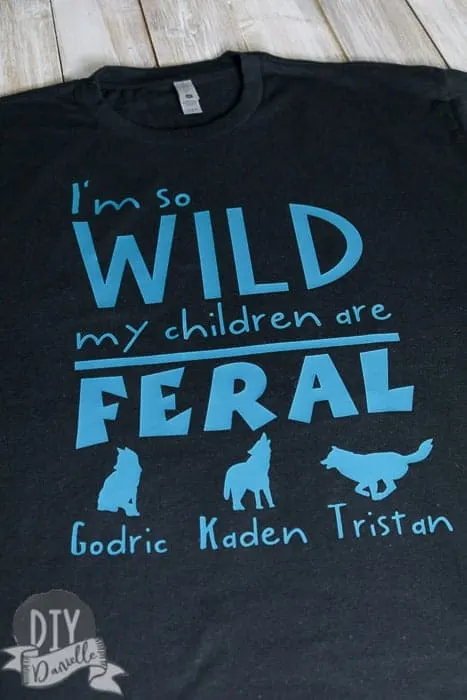
Learn how to make this easy “I’m so wild, my children are feral” tee-shirt and get the free Cricut cut file. This is an easy Father’s Day gift to DIY with your Cricut!
This post may contain affiliate links which may earn me commissions should you click through them and take certain actions. As an affiliate for Amazon, Cricut, xTool, Home Depot, and other sites, I earn from qualifying purchases. Please DIY carefully. View my full legal disclosures here.
Please read the whole post so you don’t miss any important information!
My husband and I have three wild boys. They “go go go” as my toddler likes to say from sun up to sun down. Honestly, it wears us down just watching them, but the chasing is great exercise. I was trying to think of a cute Father’s Day shirt idea and whipped this up quick. I LOVE it.
I used the same type of shirt that I used for my funny Mountain Biking shirt that I made my brother for Christmas.
Supplies
- Shirt in the size of your choice: I’m using these Next Level shirts off Amazon
- Cricut Air 2 or the Cricut Maker
- Heat Transfer Vinyl
- Iron, a Cricut EasyPress™ or a Heat Press
- Teflon Sheets
Use the Discount Code DIYDANIELLE on cricut.com for 10% off any cutting machine or heatpress (no minimum). Excludes: materials/accessories/mystery boxes/etc. Applies to US/CA only, code expires 12/31/23.
Subscribers can get the free cut file below. Use HTV to add it to a teeshirt or regular vinyl to put it on a cup or other item. Sign up below (light blueish/gray form)
Funny Father’s Day Shirt with the Cricut
So I won’t get into the full process for making this. It’s the same as my funny Mountain Biking shirt. If you need the full instructions, make sure to check that post out.
Most of the work is resizing the image to fit your shirt. Add your kids’ names. Then have the Cricut cut the vinyl- don’t forget to mirror and place your heat transfer vinyl in the correct direction.
Weed away the stuff that ISN’T the design (don’t forget inside the letters and wolf legs).
Assuming you have a cotton/poly blend shirt like mine, I preheated the shirt for 5 seconds with my heat press. I pressed the design on, according to the Cricut directions. Then I flipped my shirt and pressed from the opposite direction. Once it’s on, you’ll be able to peel away the plastic piece when the design is still warm.
Because I made my design so large (9″ wide and 13″, I believe, long), I needed to press the sections separately.
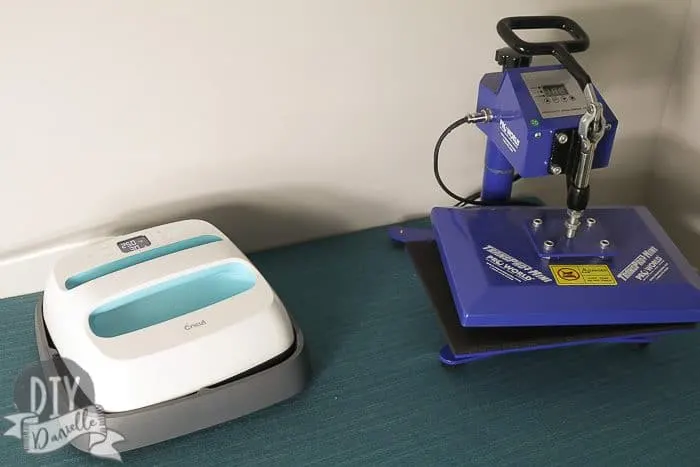
For what it’s worth, I KNOW the image isn’t on perfectly straight. I need to sell my small heat press. I have a Cricut EasyPress™ and a mini heat press… sometimes I use the mini heat press just to justify the fact that I have it. I have a HORRIBLE time getting images straight on it. A normal heat press raises up… this one pivots to side. That means I’m trying to avoid touching the 330 degree metal to the wall or with my arm while trying to get the t-shirt straight. This was really meant for smaller projects. I’m not sure why I do this to myself!
The Cricut EasyPress™ has the benefit of taking up less space and not being as likely to set fire to stuff or burn me. I think a large heat press would be fantastic, but I just don’t want to dedicate that amount of space to one.

Love your Cricut? Here are a few projects that you might also like: DIY Wooden Shields | Make Minecraft Themed Windows | Baby Nursery Signs | Kids Garage with Pretend Play Autobody Signage
Want more gift ideas for dad? Check out Gifts for Grandparents (some of these are perfect for dad too) | Sew him a Bath Apron | Take Cute Pictures of the Kids and Frame for His Office | Get him a digital photo frame | Make him funny boxer briefs | Make him a photo puzzle of the kids
Please pin and share this post! Thank you!

