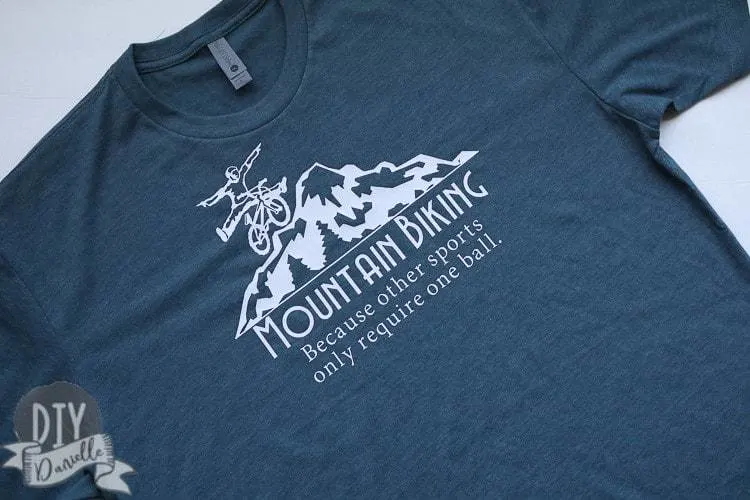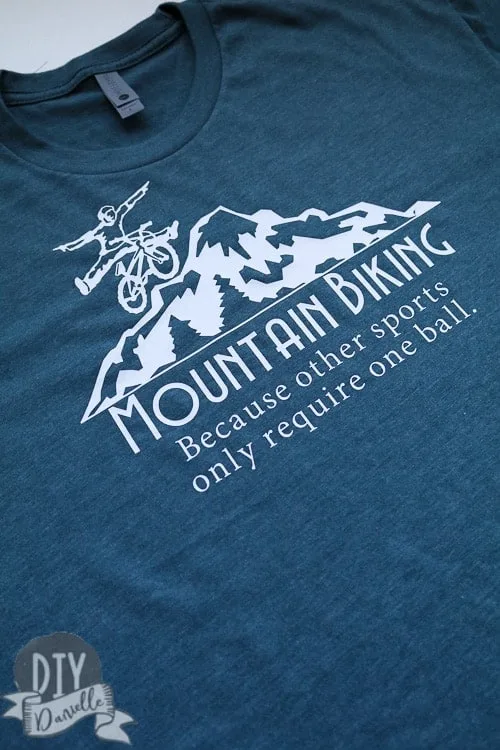
How to make a quick and easy mountain bike shirt. This project is the perfect gift for someone who loves mountain biking!
This post contains affiliate links. If you make a purchase using one of these links, I may receive a commission from the sale. This does not affect your price for the product. Thank you.
I have a number of VERY difficult people to shop for in my family. My brother is one of them. He has a few hobbies, but works a LOT. He has a condo and he has everything he needs or wants for it. And he has the money to buy himself whatever he wants. But this year I saw a cute idea on a Cricut group I’m in and I tweaked it for his favorite hobby- mountain biking!
It’s such an easy project and he LOVED it. Also, my dad thought it was hilarious so that is just impressive. Now I just need a funny idea for a shirt for him. He’s THE HARDEST to buy for.
Supplies for the Mountain Biking Shirt
I used my Cricut Maker to make this. If you don’t have one yet, they’re pretty awesome. Click here to check the current price of the Cricut Maker! You could also make this with the older model Cricut machines too.
- Basic Tools Set
- A Cutting Mat
- Heat Transfer Vinyl
- Iron, a Cricut EasyPress™ or a Heat Press
- Blank tee-shirt. I bought Next Level Tee-shirts (Check the price on the Indigo colored shirt or a 2-pack with Black and Warm Gray) off Amazon because I’ve heard good things about their quality.
Get the free cut file by subscribing to my email list below!
DIY Mountain Biking Shirt
This is a fairly easy project if you’re familiar with using heat transfer vinyl, but I’m going to walk you through it in case you have never made shirts before. Unfortunately, I didn’t take step by step photos for some reason… but you can see step by step photo instructions on my post about the gym shirts I made.
Start by measuring your shirt. I was working with a large shirt and I took my design (available free to subscribers) and resized it for the width of my shirt.
Once that was done, I clicked “Make it” on Cricut Design Space, mirrored the image, and followed through to print my image on regular heat transfer vinyl.
After your image prints on the heat transfer vinyl, you can peel the mat away from the HTV and use a weeding tool to scrape away the bits of HTV that AREN’T part of your design. You’re eventually left with the design itself, stuck to the clear transfer paper. Make sure you get ALL the pieces… I left a bit and had trouble removing it which left a slight flaw in my finished product.
This design goes face down on your shirt. Assuming you mirrored your image, you’ll now see the design face forward, just as it will appear on your shirt. Make sure to center your image properly.
Follow the instructions for your shirt type (the fabric type matters) and HTV to press the image onto your shirt using an iron, EasyPress, or heat press.
Once pressed, you’re finished! Do you love it!?!
Other Mountain Bike Shirts
Here’s some other mountain bike shirts that you can buy on Amazon, if you don’t want to make your own!
Other Cricut Projects
Here’s a few other Cricut projects that you can make for gifts!
- Wall Decals
- No Soliciting Signs (come on, doesn’t everyone want these?!)
- Diaper Duty Baby Shower Gift
- Gym Shirts (Beware: Only give this to someone you know loves the gym!)
- Make Christmas Tags with your Cricut
- Mario Invincibility Star shirts for kids
Please pin this!

Google Web Story: Mountain Biking Shirt with Cricut
Use the Discount Code DIYDANIELLE on cricut.com for 10% off any cutting machine or heatpress (no minimum). Excludes: materials/accessories/mystery boxes/etc. Applies to US/CA only, code expires 12/31/23.

Jess
Wednesday 12th of June 2019
This mountain bike shirt is the best! I’m new to making shirts and have a silhouette. Could I still use this awesome design you made on my silhouette?
Danielle
Thursday 13th of June 2019
I used images from the Cricut library so it won't work on Silhouette. Sorry! Someday I'll figure out how to make SVGs off Cricut ;)