
Making reusable gift bags is something I really enjoy and it makes cleaning up at Christmas a lot easier. I haven’t loved my sew on tags though so I’ve been adding paper tags. I’m kind of a mess with my handwriting though because I’m a lefty and tend to smear ink so I loved the idea of making these tags with my Cricut machine. And they came out so cute! Plus they used up some of the holiday scrapbook paper stash.
This post may contain affiliate links which may earn me commissions should you click through them and take certain actions. As an affiliate for Amazon, Cricut, xTool, Home Depot, and other sites, I earn from qualifying purchases. Please DIY carefully. View my full legal disclosures here.
The majority of my content is generated by me, as are 99% of the photos and videos, but I utilize technology for titles, descriptions, video editing out all of my ums, and occasionally for text overlay on images.
Please read the whole post so you don’t miss any important information!
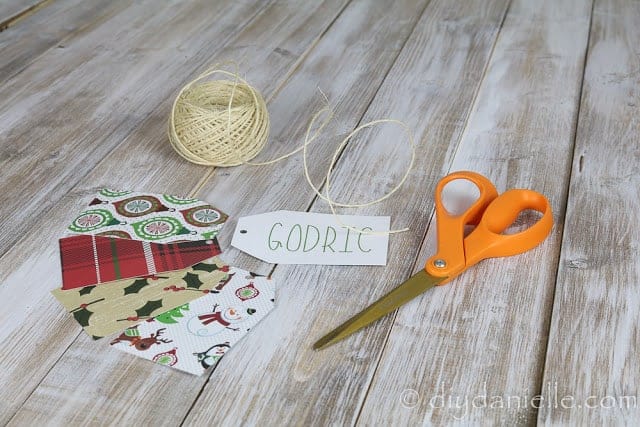
Supplies
- Seasonal cardstock/scrapbook paper
- Cricut and supplies: I originally used the Air 2, but have the Maker 3 now.
- Free tag design
- Cricut pen in the color you want (I used red and green)
Use the Discount Code DIYDANIELLE on cricut.com for 10% off any cutting machine or heatpress (no minimum). Excludes: materials/accessories/mystery boxes/etc. Applies to US/CA only, code expires 12/31/23.
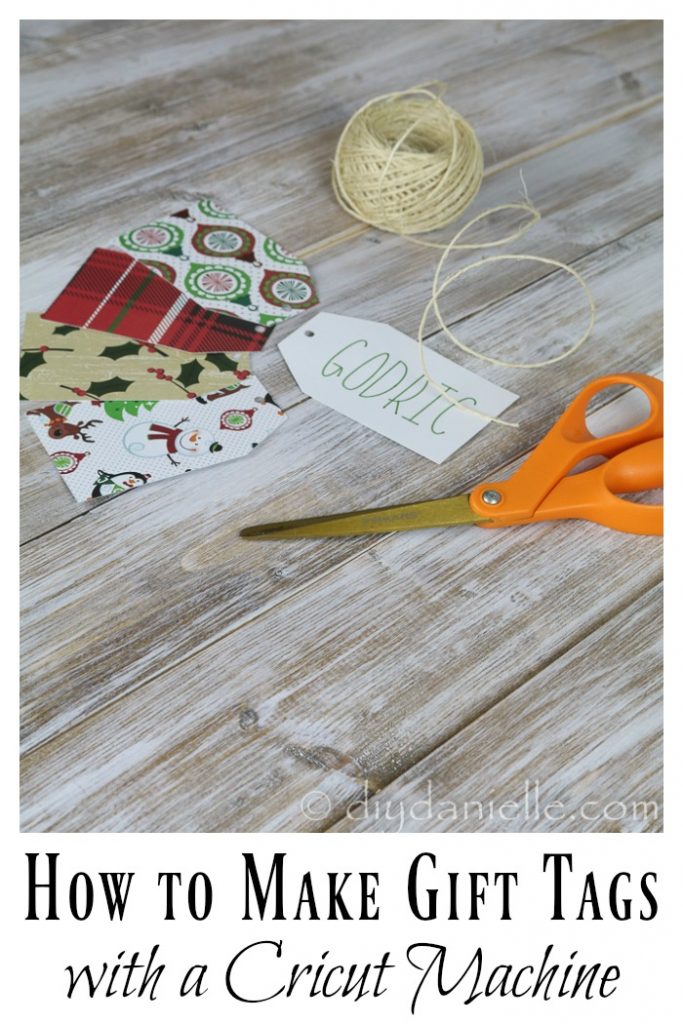
How to Make Gift Tags with a Cricut Machine
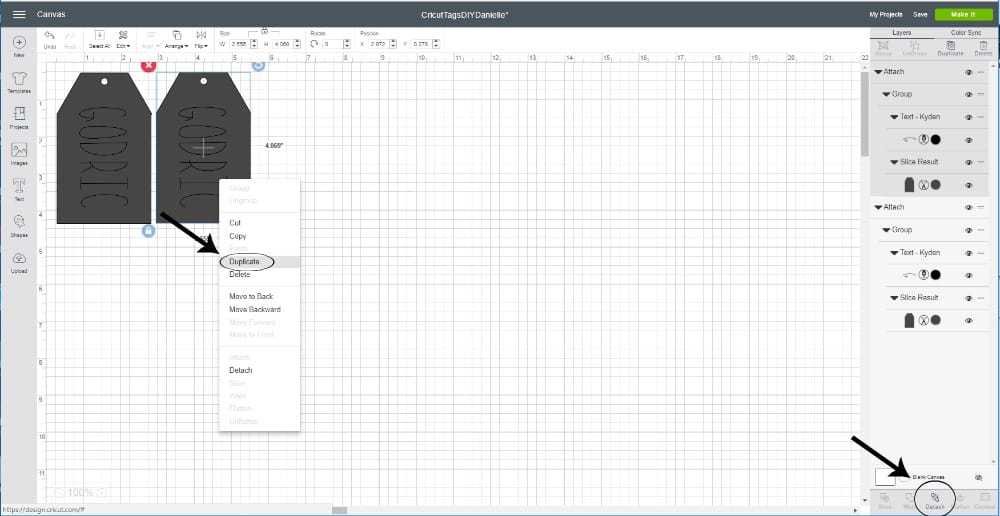
Open up the free Cricut file for these tags. Update the name. Then select both the tag and the name and click “attach.” Right click and hit duplicate for as many tags as you need.
Setup your scrapbook paper pretty side down on your cutting mat. My mat isn’t super sticky anymore which I found makes it easier to use for paper items.
Put your pen (cap off) into the left section of your machine (the knife is on the right).
Load your mat into the machine, click “make it” on your computer, and press go on your machine.
Once it prints the names, it’ll go through and cut the tags and the hole for the string.
After it finishes, unload your machine and remove your tags. Use a piece of string to connect your tag to the gift!
Thanks for taking the time to read this post! I really appreciate the time you’ve taken. Please share, like, and pin my post if you enjoyed it. Follow me on social media and subscribe to my email list to keep up to date on all of my latest projects!

Google Web Stories: DIY Gift Tags with Cricut