
How to make tooth fairy pillows quickly and easily with the Cricut Maker. This project is the perfect gift for young children who are about to lose their first teeth!
This post contains affiliate links. If you make a purchase using one of these links, I may receive a commission from the sale. This does not affect your price for the product. Thank you.
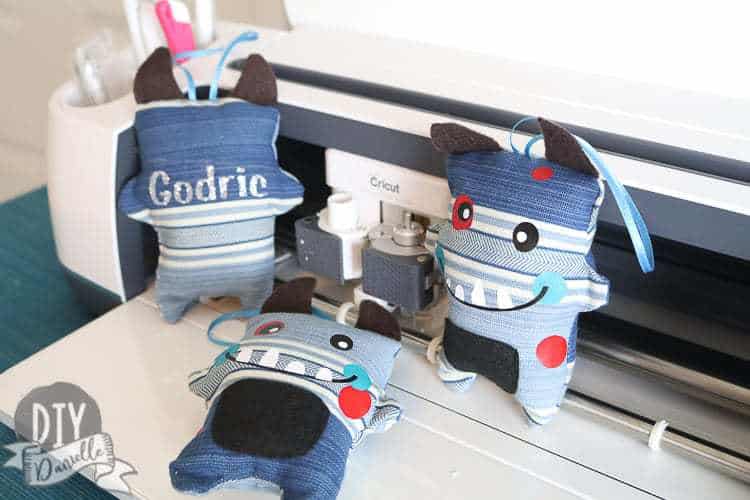
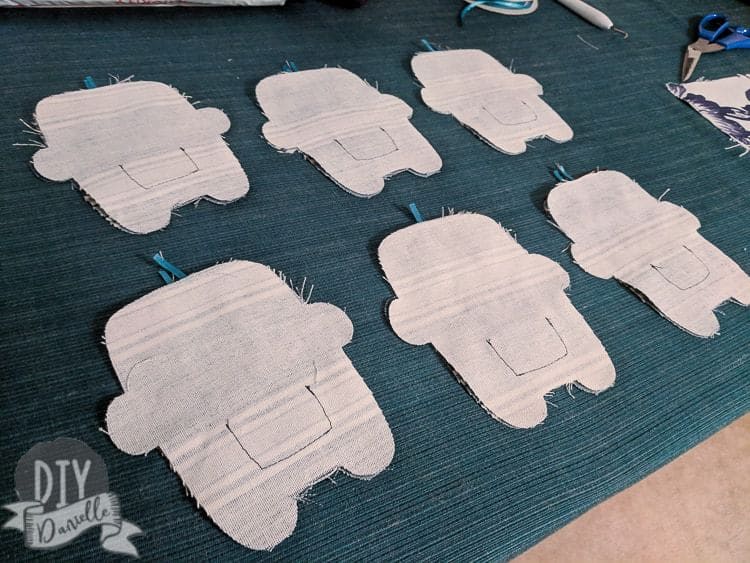
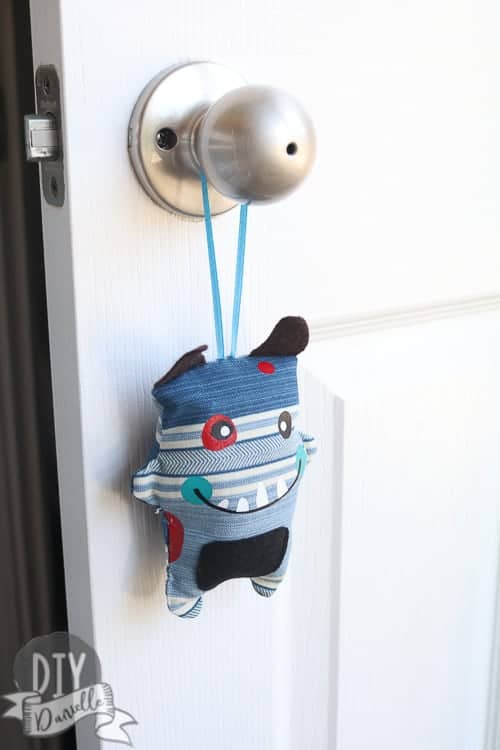
When I got my Cricut Maker, one of the first things I wanted to try making was these adorable tooth fairy monster pillows that I saw! They looked SUPER cute and easy to make. When I opened up the file though, I realized this would be a bit more involved. I have three little boys and I figured that I’d get the best bang for my buck with my Cricut Maker if I cut multiple projects at once. In this case, I cut enough fabric for six of these so I could send three to my step sister as well, who also has three boys.
I made a few adjustments for this project.
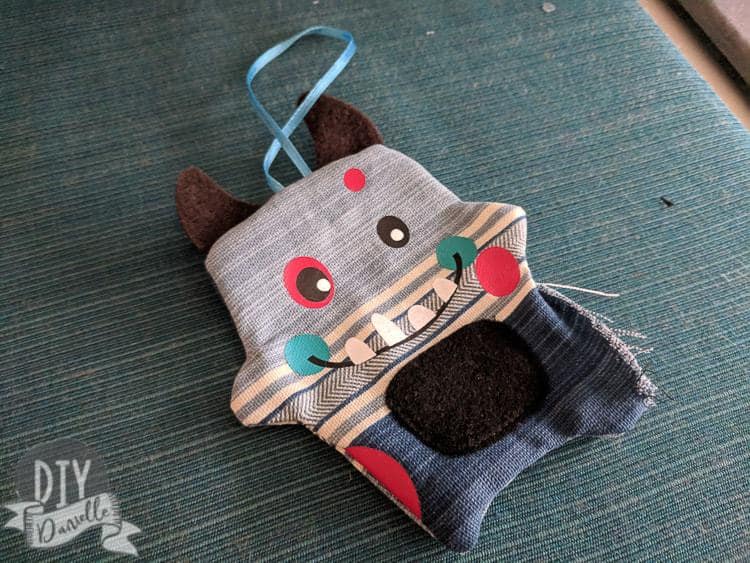
- Added a piece of ribbon to each so that the pillow could hang from the door knob.
- Personalized the tooth fairy pillow with each child’s name.
- Customized the colors of the iron on and fabric.
The fun thing about the project is that the design is there for you to use, but you can customize it completely by choosing your own fabrics and colors for iron on. It’s such a fun way to customize the pillows.
Supplies for the Tooth Fairy Pillows
I used my Cricut Maker to make this. If you don’t have one yet, they’re pretty awesome. Click here to check the current price of the Cricut Maker!
- Basic Tools Set
- A Cutting Mat
- Heat Transfer Vinyl: I mixed up what I had on hand. The project instructions said to use iron on lite which I’ve never used.
- Iron, a Cricut EasyPress™ or a Heat Press
- Coordinating fabrics the main body of the pillow, the ears and the pocket. Make sure the ears and pocket are felt or fleece or something that doesn’t fray. It might be smart to just use allllll non fraying fabric, just in case you mess up sewing. Non fraying fabrics include knits, fleece, and felt. Cottons fray less than upholstery fabric (at least in my experience) and you can tell how bad they’ll fray by looking at the seams after you prewash the fabric.
- Stuffing for the inside!
- A ribbon if you want it to hang from a door knob.
Use the Discount Code DIYDANIELLE on cricut.com for 10% off any cutting machine or heatpress (no minimum). Excludes: materials/accessories/mystery boxes/etc. Applies to US/CA only, code expires 12/31/23.
DIY Hanging Tooth Fairy Pillows
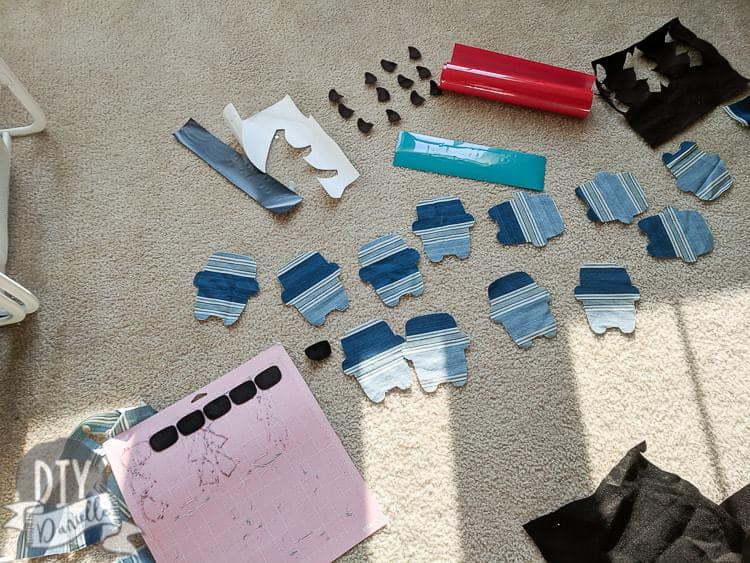
First you need to go ahead and print/cut all of your pieces. Find the project in Cricut Design Space first and click make it. This was a bit difficult for me because it doesn’t let you mess with the design at all… it brings you right to the printing page. I was frustrated because I wanted to duplicate the project. BUT WAIT! You can do it! It took me a half hour to see that there’s the option at the top to change the number of “project copies.” I made six copies. Click ‘apply.’
I skipped using the fabric pen. I’m not sure how helpful it would be but I felt like I could do this without it. I hate wasting any supplies if not completely necessary.
When you are printing all of these different pieces, you need to be VERY CAREFUL to use the right supplies for the right pieces. The items that are on HTV need to be mirrored. It requires paying more attention during the loading process, although you can walk away while it’s cutting it all for you.
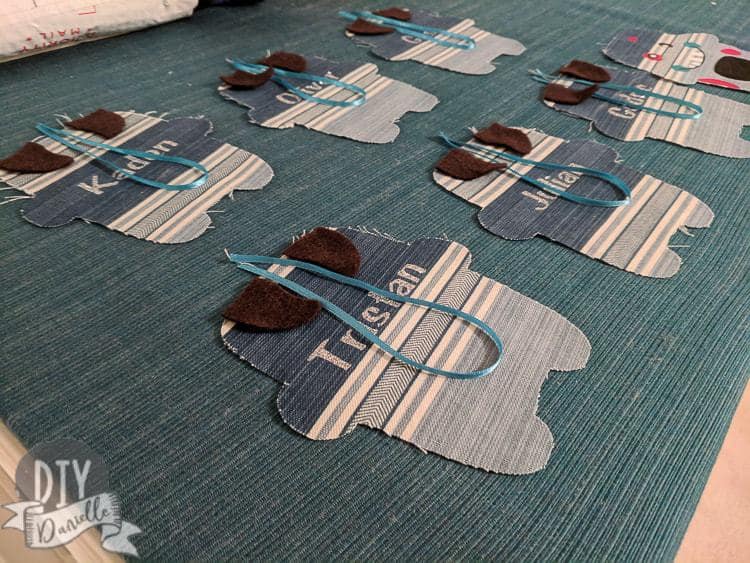
Once you print the project itself, you can go into a new project in Design Space and print your names out too. Don’t forget- these require iron on and mirroring too. You’ll press these onto the back piece for your monster pillow. I did this first.

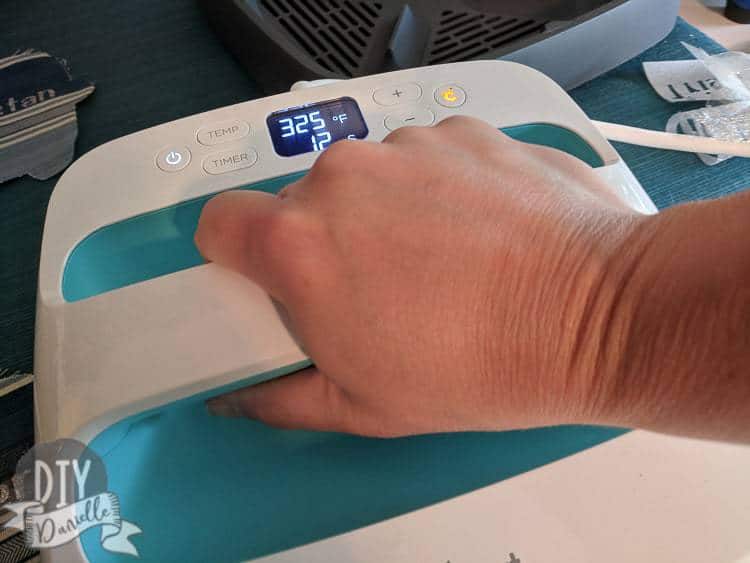
I used my EasyPress but a normal heat press or an iron would work too. Supposedly an iron won’t work as well as a press, but I’ve had good and bad luck with both. It’s important to press hard, but more is also not more… so you can over press (in my opinion) some projects if you’re not careful. I over water and kill my plants and likewise, I also have a tendency to over press my iron on. I find the timers on the presses to be helpful.
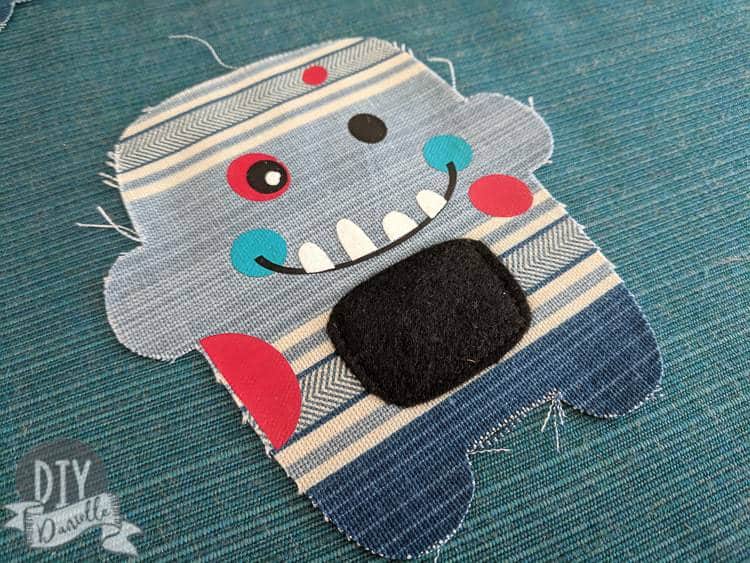
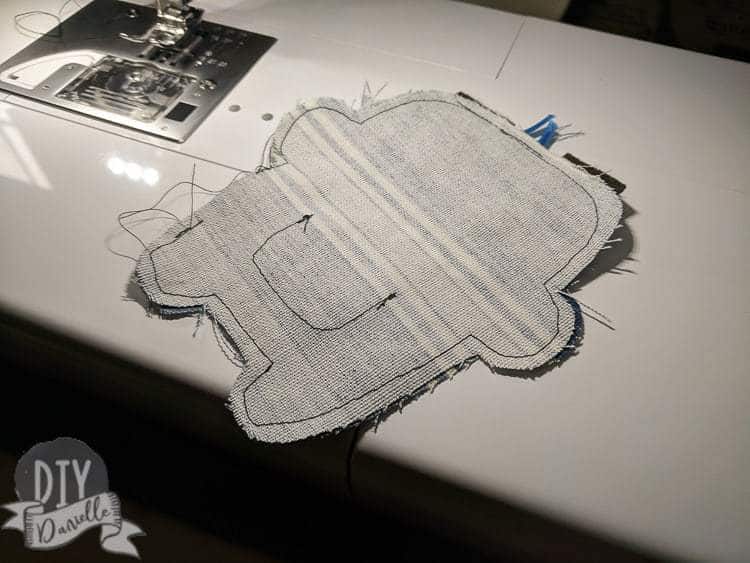
Once you finish the back piece of your body, you can work on the front piece. I started by sewing on the pockets. You’re sewing them on the lower front portion in a U shape. Leave the top open so it acts like a pocket, of course. The nice thing about doing six at once is that you won’t be so irritated about swapping thread colors out because you can get six projects worth of the thread all at once.
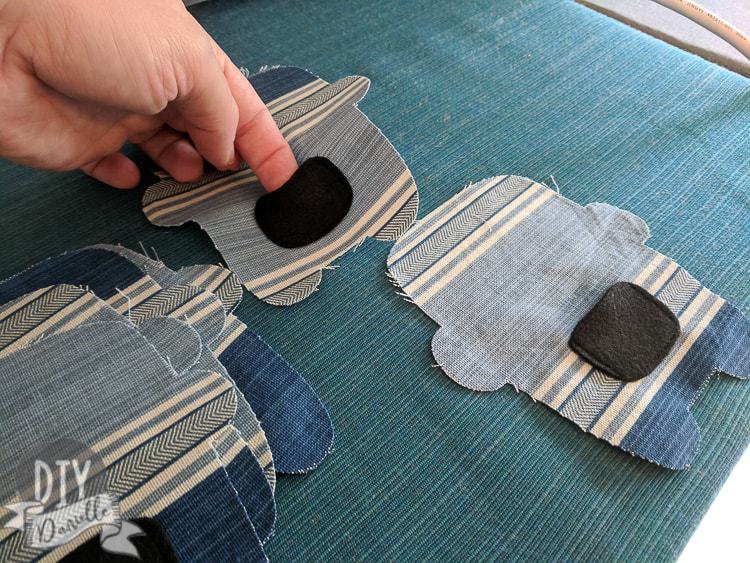
Lay out your iron on pieces for the front. Press.
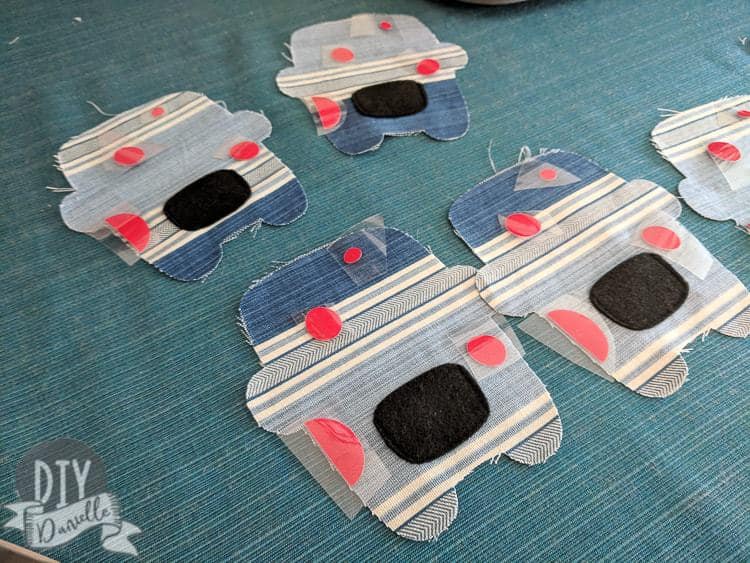
Some of the pieces require layering. I pressed the pieces that were underneath, then added the pieces that went on top and worked my way up. Some types of iron on DO NOT layer well.
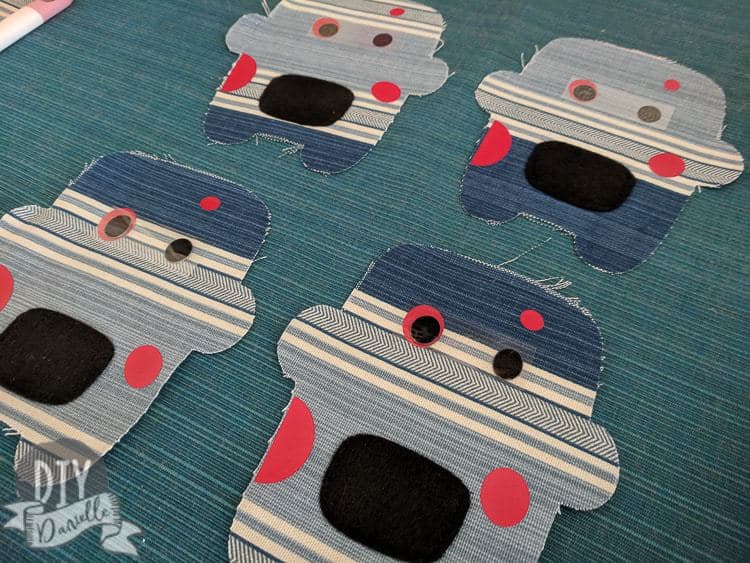
As you can see, there’s a lot of layering involved.
Now lay your back piece, right sides up. You want to lay the ears on top, as well as the ribbon, just like below.
Lay your front piece right sides down on top. Pin.
Sew around, leaving a small area to turn and top stitch. Remember you need to be able to turn the thing right sides out through the hole and if you make your area too small, you’ll have to seam rip a bit… just like I did.
I had some regrets about sewing this with a machine… I can’t help but think that I could have hand sewed it more quickly and easily due to the sharp corners. But maybe not and I DO hatesssss hand sewing. It would make a good small project to hand sew while at a sports event or while watching television though.
Here it is, turned right sides out. I found the ribbon makes it easier to pull through the gap. Make sure to use something to poke all of the edges out completely… I find chopsticks work well for this purpose.
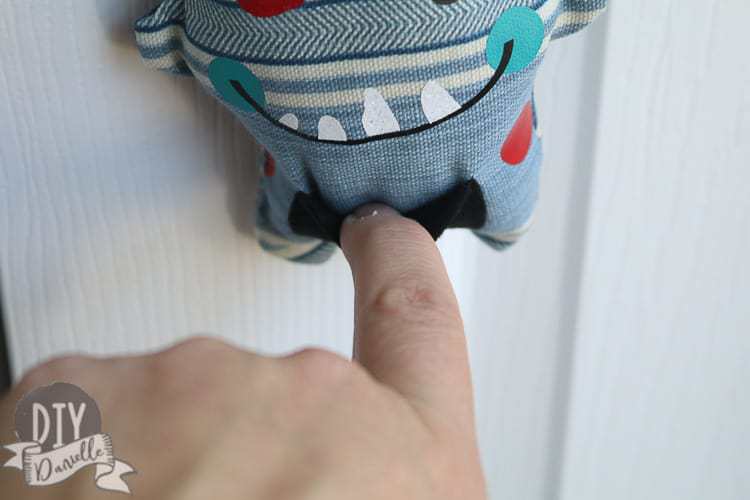
Now you just need to stuff it with polyfill and sew up the gap. I regretted my choice in fabric here because it loves to fray and I was worried it wouldn’t stay together. I wish I had thought this through better, but they work.
Here’s a video on how to sew an invisible stitch… I am not quite sure I got it right but hey… that’s why you’ll sometimes see my photos from only one angle. Muhahaha.
Suggested Adjustments to the Tooth Fairy Pillows
Once thing I’d suggest is to consider making your pillows larger than the standard size. While you could easily print and cut at the current size- and fit more of these per sheet of fabric- you may find a slightly larger pillow easier to work with in terms of sewing it together by machine. I was thinking afterwards that hand sewing this might have been easier, considering the many corners of the pillow. The other benefit to a larger pillow would be a slightly larger area to insert the tooth… it’s actually the perfect size for a tooth, but it could be bigger for the tooth fairy to insert money. It works, but… yeah.
THAT SAID, I’m not sure there’s a way to do it… let me know if you manage it. I was mid moving and packing so my brain wasn’t functioning at 100%. It still isn’t… who am I kidding…
So here’s the question of the day! How much does the tooth fairy leave at your house? What’s the going rate for your area?
Buy Tooth Fairy Pillows on Amazon
Here’s some other tooth fairy pillows that you can buy on Amazon, if you don’t want to make your own!
Other Cricut Projects
Here’s a few other Cricut projects that you can make for gifts!
- Wall Decals
- No Soliciting Signs (come on, doesn’t everyone want these?!)
- Diaper Duty Baby Shower Gift
- Gym Shirts (Beware: Only give this to someone you know loves the gym!)
- Make Christmas Tags with your Cricut
- Mario Invincibility Star shirts for kids
- Funny Mountain Biking Shirt
Please pin this!
Google Web Story: DIY Tooth Fairy Pillow for Boys