How to make easy gym shirts with Cricut Sportflex Iron On Vinyl.
This is a sponsored conversation written by me on behalf of Cricut. The opinions and text are all mine. This post includes affiliate links and using those links helps
I love my gym. Love. I take yoga and barre classes 3-4x per week. But I have to chuckle because I look around and I’m the only woman who shows up in sweatpants. Everyone looks so pretty when they workout. In the meantime, I’m just there for the childcare. Needless to say, I’ve been trying to up my gym game. Seeing I spend so much time there, I might as well put a little effort in. I made a yoga mat bag and a bag for my gym clothes. Now I just need some appropriate clothes.
While I love yoga pants, I’ve been digging sweatpants because I just had a c section 7 months ago and I’m still a bit fussy about waistbands on pants. I’m finally starting to feel more comfortable with them, but… well… if you’ve had a c section, you probably understand.
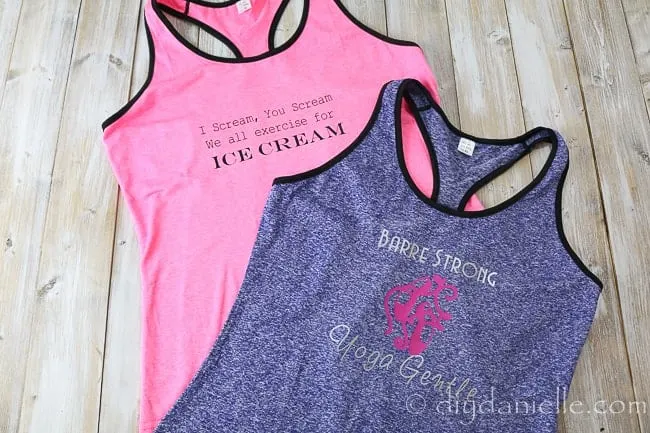
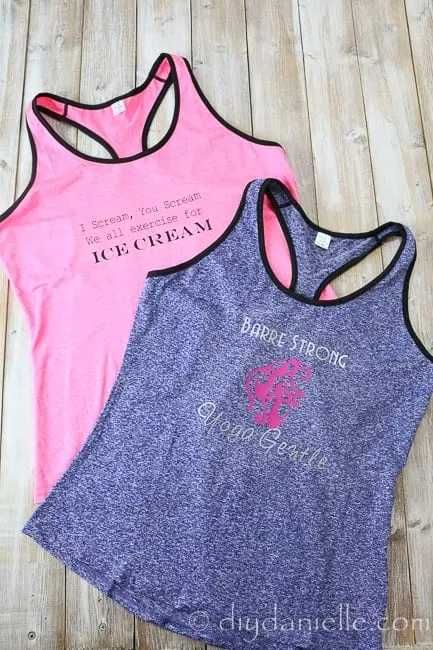
I decided to whip up an easy gym shirt, but then didn’t love it so I ordered a few cute shirts on Amazon to use instead. I wanted to fix them up with some iron on vinyl and some cute sayings.
Here’s where I need to introduce you to Cricut’s new product, SportFlex Iron On™ Vinyl. This product is meant for stretch fabrics- that’s pretty much any fabric that’s form fitting. You can tell if something is a stretch fabric by… you guessed it… trying to pull on in vertically and horizontally to see if it stretches. Woven fabrics, such as quilting cotton, will not stretch. Your yoga pants WILL stretch… otherwise they’d pop a seam whenever you change poses. If you check your clothing tag, you’ll usually see words like ‘spandex’ for stretchy fabrics. Fabric can have one way stretch or two way stretch. When you sew, this is pretty important to understand, but in this case, I’m using store bought shirts.
The reason a special type of iron on vinyl like SportFlex is nice is because it’s meant to withstand the stretching that goes on for gym clothes and other clothing that has a lot of stretch. You’ll notice that areas like your chest and butt get a lot of ‘flexing’ action which could cause other types of iron on to break down over time. This iron-on is meant to withstand that better. I can’t attest to how it stands up over time because I just tried it today, but I wanted to show you how it looks and applies.
I used my iron this time, but my Cricut EasyPress™ is on its way and I can’t wait to try it out. It’s very hard to hit all the spots evenly when you use an iron- a heat press will help with that.
Supplies for Applying Sportflex
- Workout tanks from Amazon (make sure to prewash before adding iron on vinyl)
- Cricut SportFlex Iron On Vinyl
- Cricut Maker™
- Cutting mat
- Weeding tool
- Iron or a Cricut EasyPress™
- FREE Gym Shirt Cut Files
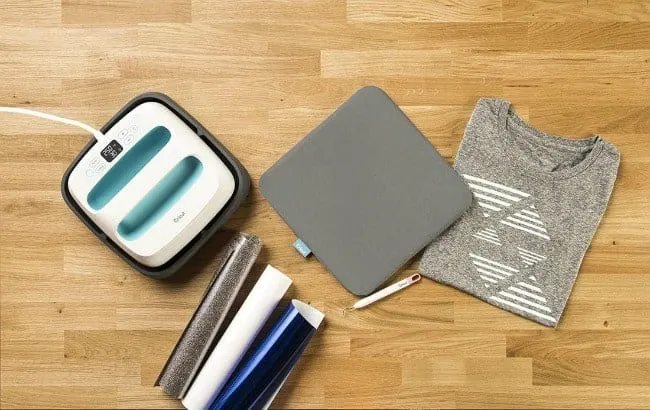
Cricut EasyPress and mat (with some other supplies)
How to Apply Sportflex Iron On Vinyl
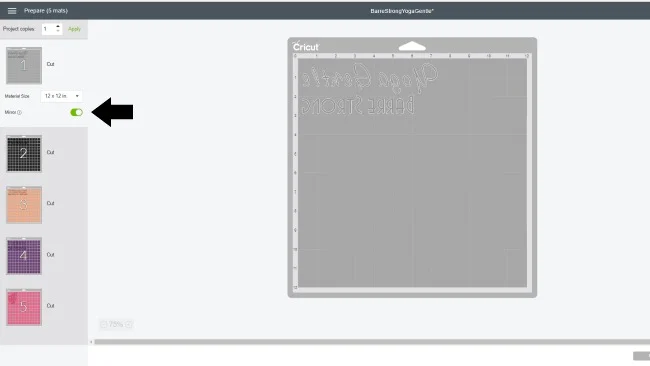
Click ‘mirror’ for your image.
Once printed, you can weed the iron on vinyl that is extra around the words, making sure to get the insides of letters (like the dot in the middle of the ‘a’).
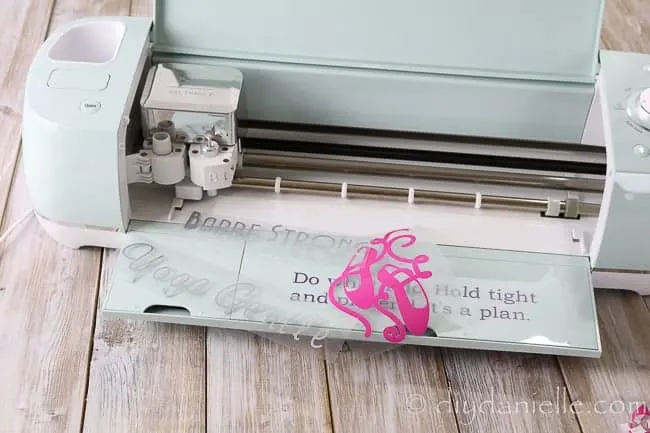
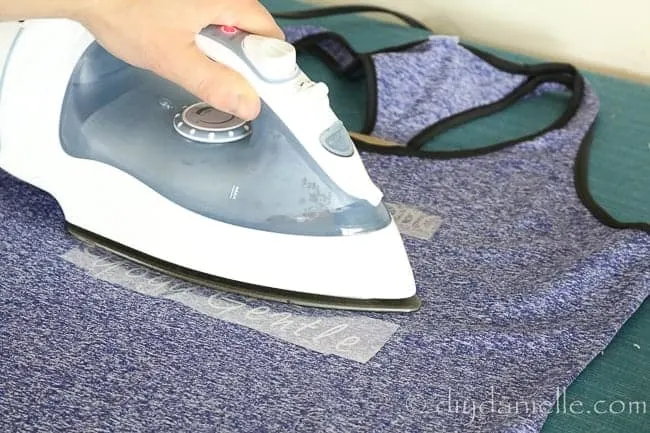
Let cool 1-2 minutes, then slowly peel off.
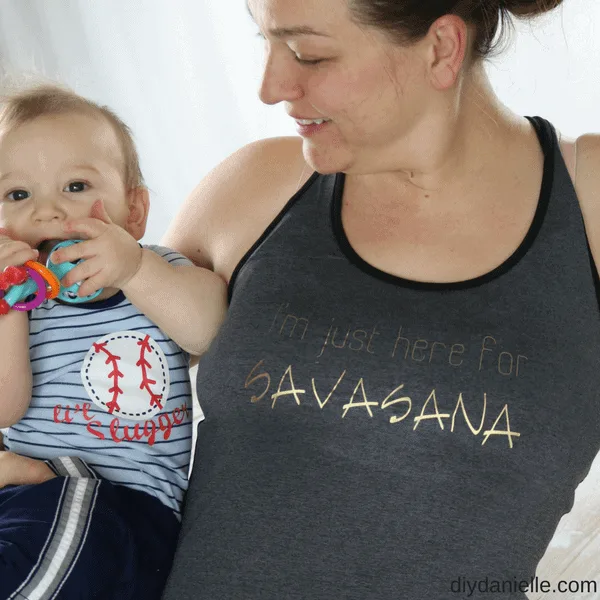
This guy is why I love Savasana so much.
Here’s a video showing exactly what I did if you want it broken down in small steps!
This is a sponsored conversation written by me on behalf of Cricut. The opinions and text are all mine.
Use the Discount Code DIYDANIELLE on cricut.com for 10% off any cutting machine or heatpress (no minimum). Excludes: materials/accessories/mystery boxes/etc. Applies to US/CA only, code expires 12/31/23.


mary
Wednesday 28th of March 2018
I love all of these designs, especially the one you are wearing! I am going to be using the SportFlex on everything!
Danielle
Wednesday 28th of March 2018
Thanks :) I really like that one too. LOL hope my yoga teacher isn't insulted, but it's a huge motivating factor in going to class. ;)