

Learn how to make a DIY guinea pig cage from scrap wood. I recommend lining this cage with corrugated plastic to help make it easier to clean and to keep wood away from guinea pigs.
This post may contain affiliate links which may earn me commissions should you click through them and take certain actions. As an affiliate for Amazon, Cricut, xTool, Home Depot, and other sites, I earn from qualifying purchases. Please DIY carefully. View my full legal disclosures here.
Please read the whole post so you don’t miss any important information!
I’m an amateur woodworker… but I KNEW I wanted to build our guinea pigs an epic cage and I didn’t want to be restricted by C&C cages.
I wanted to make adjustments and figure out what worked best for height, style, and ease of cleaning. And I wanted the guinea pig cages OFF THE GROUND.
Leaning down to clean it is bad for my back.
When I made this, we were using a Midwest guinea pig cage with a rolling base that I built for our furry friends.
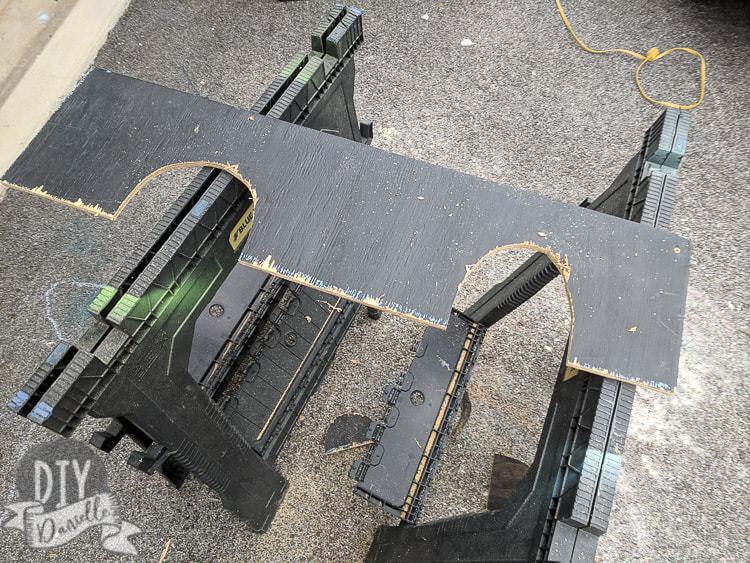
So I threw this together with scrap wood while I was in the midst of packing to move last November.
Totally logical right? I figured if I needed to move this wood, I might as well move it in the form of a new cage, ha.
I was afraid my husband would throw all of the scrap wood away so I attacked a few projects such as this and my dog bowl holder last minute before we moved.
This extra large indoor guinea pig cage is perfect for two guinea pigs, but you could easily expand its size if you needed to fit more than two guinea pigs in it.
That’s the beauty of making your own cage. This is something that would also work on top of a coffee table as a base. You can usually find them for cheap at thrift stores.
If you’re new to guinea pigs, make sure to check out my tutorial on how to care for guinea pigs.
Two things to think about when designing a wood cage:
- You want it to be easy to clean. Having a cage height that is convenient to clean out is better for your back. I love this idea for a cage with a trap door for easy cleaning, but I was concerned that the trap door may be unsafe for them and that a younger kiddo might open it and drop a guinea pig through. It didn’t feel safe for our household of kids ranging from 1-7 so I skipped the trap door idea. I also worried that even with the trap door, it would be difficult to get over the top of the cage to sweep all of that into the trap door area. Again, I have younger kids and they help so I need the sides to be short enough for them. This would probably be a really neat setup for adults or teens.
- Make sure you can get the cage inside your house with the dimensions you build it. If I’d made my legs on this cage any longer, I would have needed to build it in the house. When we were about to move, I didn’t want to have to take it apart and rebuild it AGAIN when we moved.
How to Make the Homemade Cage
This is going to be a realllllly rough description of how I made the cage.
There’s a lot of stuff I would do differently next time which I’ll talk about at the end, but all in all, this makes a really great addition to our growing farm.
I’m a better woodworker now than I was back in October/November when I built this… I’ve since done a couple of larger projects like our goat barn and our front porch chairs so I’ve got more experience that I’d apply.
We ended up making an outdoor hutch and run when we moved which I’ll be posting about soon… but eventually, I’ll remake this with a slightly better woodworking structure.
I’ll try to update as that happens! We’re keeping both an outdoor cage and an indoor cage so that we can move the guinea pigs indoors if needed for very cold weather.
For outdoors be sure to add lots of fleece bedding and a lot of toys are always fun to keep the guinea pigs entertained!
pvc pipes,
Supplies
- Corrugated plastic
- Wood scraps
- Screws and woodworking supplies
Tutorial
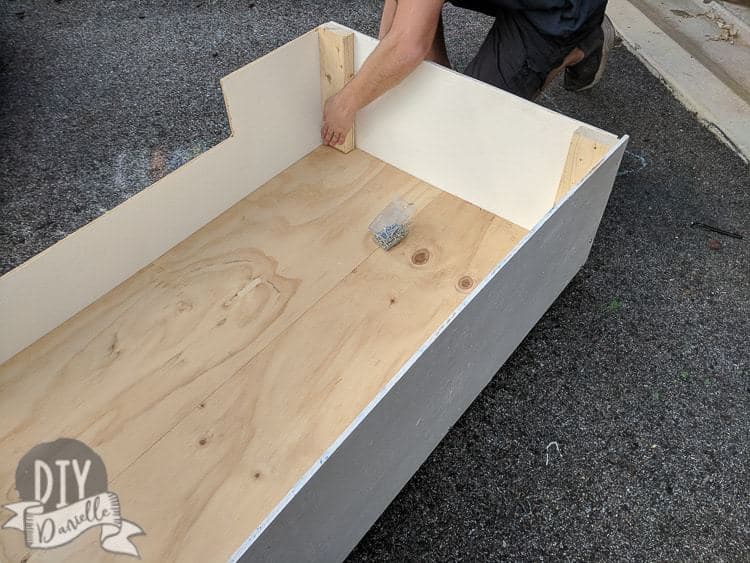
We started with the rolling base that I built for our Midwest cage.
I could have started something from scratch- and probably should have- but I was trying to be quick.
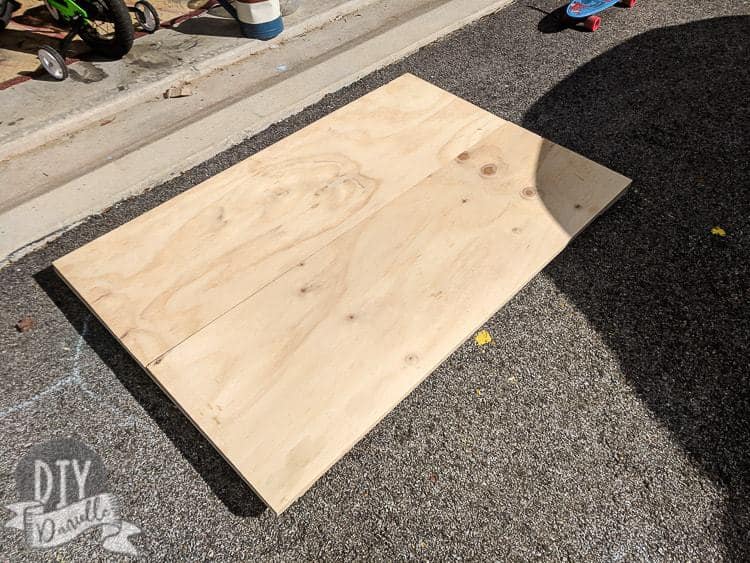
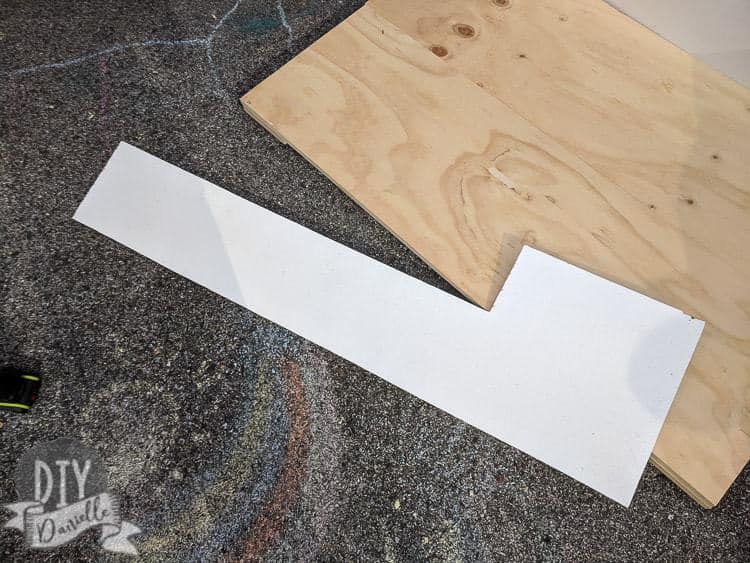
We cut the sides out for the cage. I made sure to make the sides high enough that the guinea pigs couldn’t get out.
I decided to do taller sides for the back and short sides with a shorter side for the front of the cage.
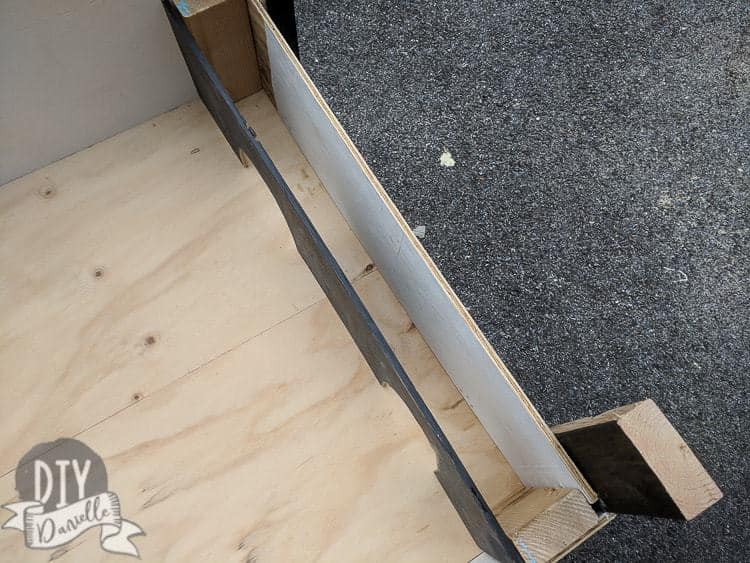
This was just some thin plywood.
We used scrap 2x4s to give us something to attach the walls to.
This is one of those things I’d fix for next time – it would be ideal to have the interior be a full rectangle so you could line it with corrugated plastic.
You also don’t want the guinea pigs to be able to chew on the wood and wood that sticks out gives them that opportunity.
I added legs… I wanted it tall enough that cleaning wouldn’t be hard on my back.
Now that we’ve had it this height, I’ll say that it was perfect for kids to get their guinea pigs in and out of the cage.
The downfall is that it was PERFECT for the kids to get their guinea pigs in and out of the cage.
My 1.5-year-old crawled in there so many times.
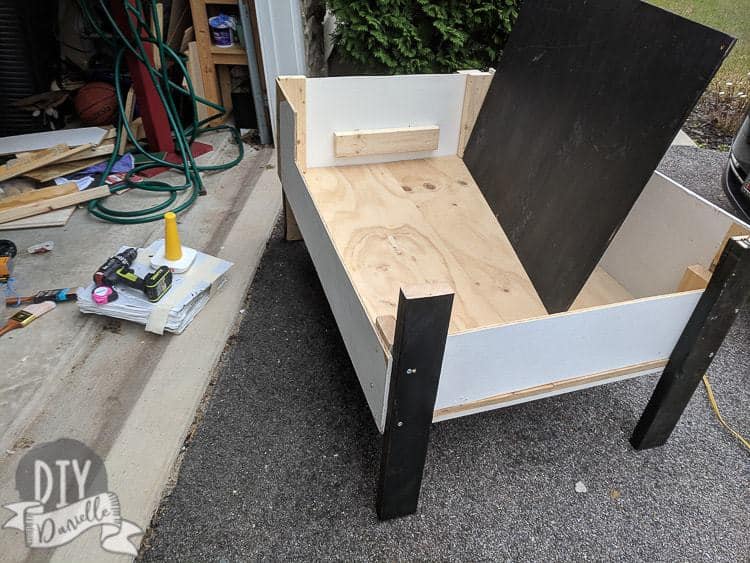
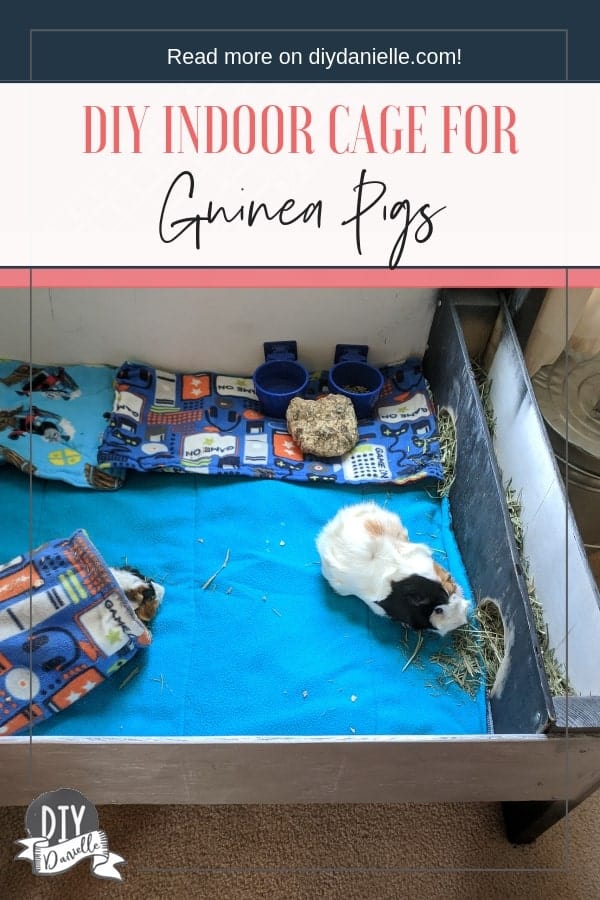
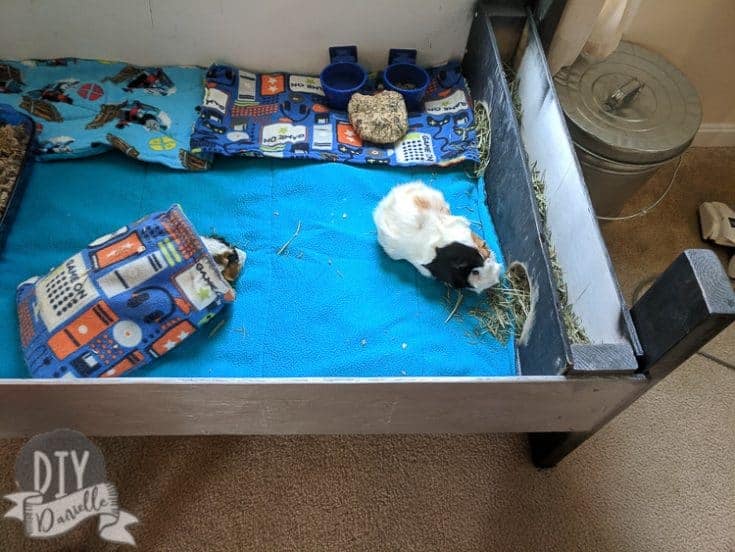
I cut a piece of scrap wood to create a hidey nook for them. Sanded down the edges.
Here’s the initial setup… This area was big enough for the guinea pigs to fit through and I would stuff hay in there (it looks thin in this picture so I may have bumped it out further at some point).
Downfall: This was extremely hard to clean out. They loved the area though.
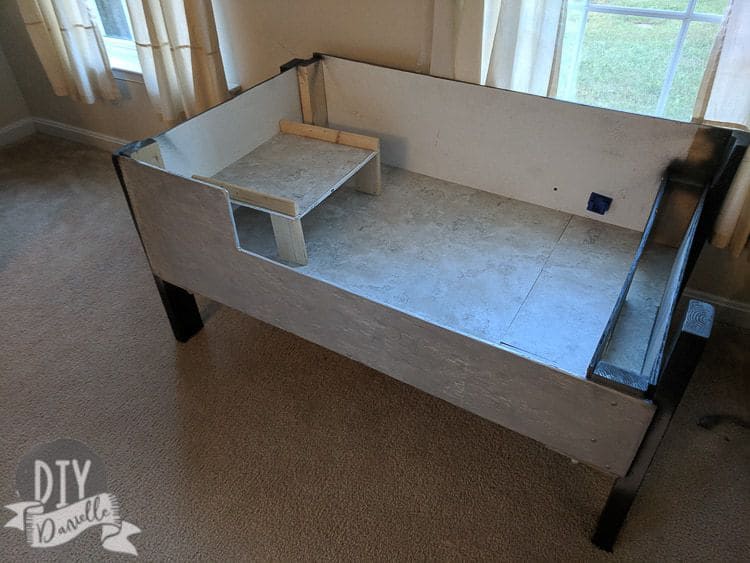
I wanted to add a second level. They could easily get on and off this without a ramp.
Honestly… I wouldn’t do this again like this. The kids thought it was the best.
But the reality is that it’s another wood thing for the guinea pigs to chew on, I attempted to put a rail and it looked awful, and overall it didn’t get a lot of use.
Instead, I’d probably try to plan ahead better for adding a more extensive second level, maybe with PVC pipe.
This just didn’t add enough square footage to make it worth the effort and loss of space/cleaning ease below.
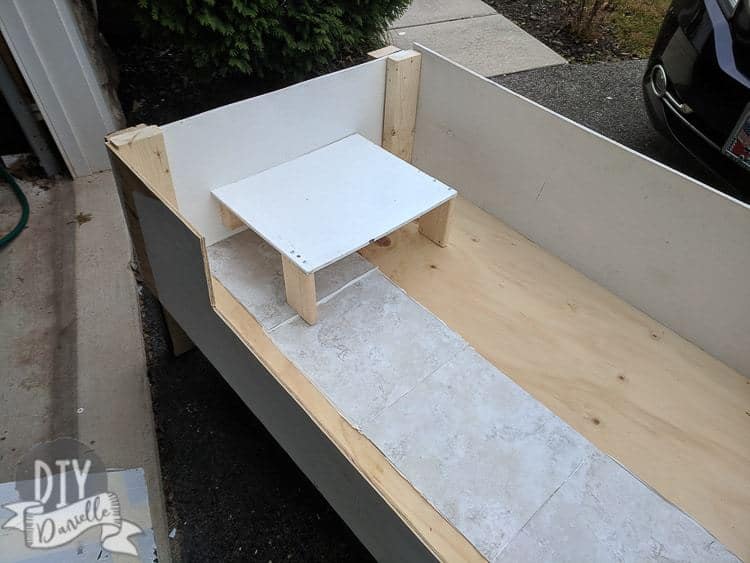
Note that I used stick-on tiles for the bottom of the cage.
This did a good job of protecting the floor, but I’ll do corrugated plastic next time to protect the wood.
It’s just cheaper and easier.
Here’s the cage empty without the liners in.
I made some fleece cage liners to fit this cage to make cleaning easier.
Thoughts on this Cage Design
I’m pretty happy with how this came out, but I have a few thoughts and adjustments I will try to make in the future.
Problem 1: There are too many gaps.
Next time I’ll use food-grade silicone caulk for gaps and make sure that there aren’t so many structural gaps between pieces of wood.
This was just #amateurwoodworkingproblems. I wince looking back at this.
Also, the pee leaks through those cracks, and in areas where the liners can’t go right up against the wall, there’s a lot of opportunity for leaking.
Problem 2: Too short
The current height is just the right size for my 16-month-old and dog to hover over the front side.
It’s not ideal. It’s also a bit shorter than I’d like for me to conveniently clean it.
It is, however, a great height if you want to sit on the floor and watch them as it puts them at eye level.
And if they happen to fall from that height, it’s not as bad as if the cage was up high.
It is, however, a great height if you want to sit on the floor and watch them as it puts them at eye level.
And if they happen to fall from that height, it’s not as bad as if the cage was up high.
Also in regard to height, I wish I could fit my supplies under this better.
A taller design would allow for that. I really want to be able to fit my litter box under it.
Problem 3: Attractiveness
Next time I’ll stick with one consistent paint or stain color… or just skip it altogether.
And honestly, the wood isn’t safe for guinea pigs to chew with or without paint… but it’s probably a lot better without it.
Problem 4: Accessibility to Wood to Chew
I have heard so many people say NOT to use wood for pig cages because most wood will be toxic to guinea pigs WHEN (not if) they chew it.
Honestly, our guinea pigs didn’t chew the wood. But I think I’d design this differently to prevent wood chewing next time.
To do this, I would leave most wood pieces on the exterior of the plywood sides so the inside would have just a rectangular flat cage area. Inside that cage area, I’d cut some corrugated plastic to line the cage.
This would be a cheaper and easier alternative to the stick-on vinyl that I used.
And I’d skip the “accessory” items made from wood. I might decide to make those accessories from fleece instead, however.
Problem 5: Mess
I LOVED the hay area… I have no idea why I put the hay area on the short end though.
The hay falls over the edge. It would have been better to put it on the side with the top level, keeping the front of it lower that the high back.
Then the top level could be placed on top of the hay section for additional support.
Ideally, I’d redesign this to just prevent as much hay and bedding from escaping the cage.
When we moved the guinea pigs to their outdoor hutch/cage, I ended up pulling out the second level, caulking the gaps, and sprucing it up a bit, but I really just need to completely redo the project.
These are fun to build though and experiment with. I’m always on the lookout for the perfect animal structures for all of my pets because I like to make my cleaning and care for them easier.
Alternative Guinea Pig Cages
I’ve been really interested in guinea pig cages and finding one that is perfect- easy to clean, safe for guinea pigs, and convenient for petting/caring for my pets.
I have a ton of blog posts about guinea pig care and cages, including the following:
- Can Guinea Pigs be kept outdoors?
- DIY base for a Midwest cage
- How to care for guinea pigs
- How to sew cage liners for guinea pigs
- Easy litter box ideas for guinea pigs
- DIY guinea pig hay bag
- How to cut chloroplast for a guinea pig cage
- DIY outdoor guinea pig cage
Recently I’ve been eyeballing the Eglu Guinea Pig cage which is meant for outdoors but could EASILY be used indoors if you popped a cage liner over the bottom of the run.
I love the idea of doing the 6-9′ run, then using cage liners to protect their feet.
You could wheel the cages outside (after removing the critters of course) for nice days so they could enjoy pleasant weather, then back indoors when it’s icky out.
Here’s a tutorial on how to customize your Guinea Pig Igloo!
If you want to make things for your guinea pigs, make sure to check out my book on Sewing for Guinea Pigs!
Thanks for reading. I hope this is helpful if you’re planning to build your own guinea pig cage. Please share and pin this post!
DIY Wood Guinea Pig Cage
Learn how to make a DIY guinea pig cage using scrap wood.
Materials
- Corrugated plastic
- Wood scraps
- Screws and woodworking supplies
- Thin plywood
Instructions
- Cut the sides out for the cage using thin plywood.
- Make sure the sides are high enough so the guinea pigs can't get out.
- Use scrap 2x4s to attach the walls to.
- Line with corrugated plastic.
- Add legs.
- Cut a piece of scrap wood to create a hidey nook for them.
- Sand down the edges.
- Add stick on tiles for the bottom of the cage.
- *Optional-add fleece cage liners to make cleaning easier.