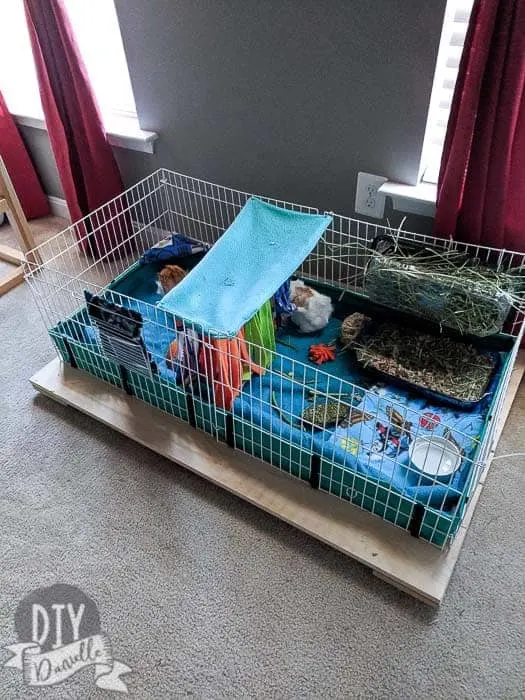
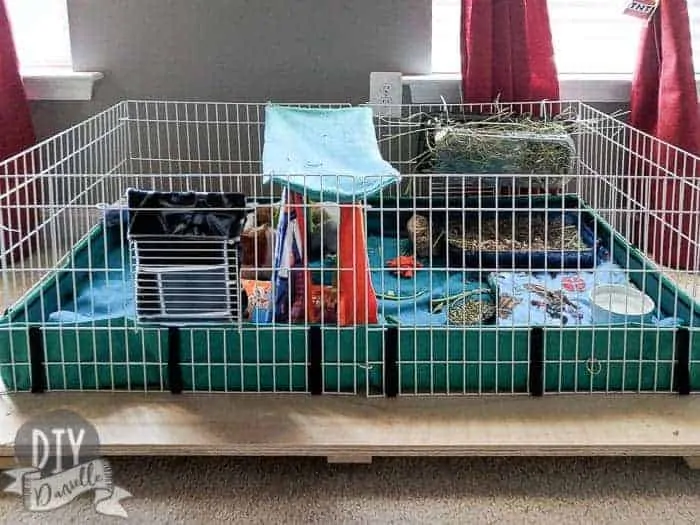
How to build a base for a Midwest Guinea Pig cage that can move around on wheels for easy cleaning.
This post may contain affiliate links which may earn me commissions should you click through them and take certain actions. As an affiliate for Amazon, Cricut, xTool, Home Depot, and other sites, I earn from qualifying purchases. Please DIY carefully. View my full legal disclosures here.
Please read the whole post so you don’t miss any important information!
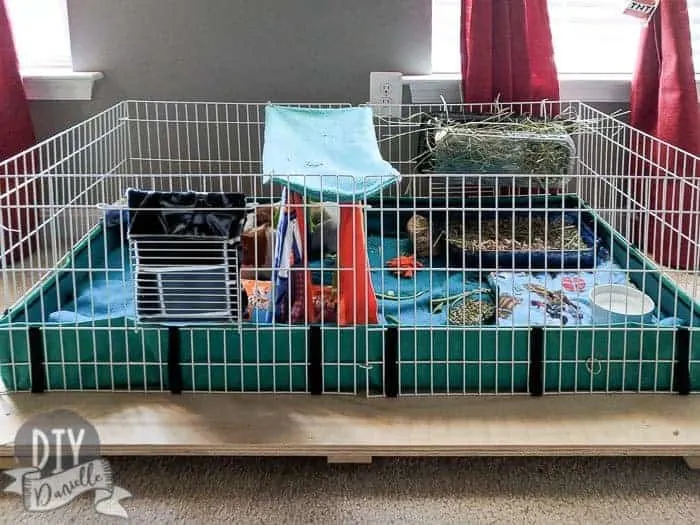
When we first got our guinea pigs, I was surprised to discover that our Midwest Guinea Pig Cage had a soft floor. The cage itself was fine, but it was difficult to move the cage around for easy cleaning. Our guinea pig cage was placed UNDER my son’s loft bed and WHAT A PAIN to clean! The cage was the perfect size and super affordable so I hated to replace it.
The thing is that the canvas floor to the cage is ideal… metal bars would hurt their feet, something rabbits apparently do fine with but guinea pigs don’t. So you need something solid under the canvas.
For a while, I just dealt with it. Unfortunately, if the cloth cage liners (or disposable bedding) got soaked, the liquid leaked through to the floor underneath. Ugh. I didn’t want my carpet getting ruined or to have unpleasant smells.
So I finally threw together an easy base. I wish I’d done this sooner! It was quick and easy. It made it SO much easier to clean!
New to guinea pigs? Check out my post, How to Care for Your Guinea Pigs. If you sew, pick up my book, Sewing for your Guinea Pig.
Supplies
- Plywood or a large panel of wood.
- Wheels: I think I used these ones, but you might want to pick something heavier duty or with larger wheels, particularly if you have thicker carpet.
- Optional: Paint or stain/polyurethane to protect the bottom. Or an alternative would be to lay some stick on tiles over it.
How to Build a Cage Base on Wheels
You could easily just place the cage on a table or bureau, assuming you found one that was the correct size. I didn’t have the space for another piece of furniture in the kids room. This low-to-the-floor base made the cage easy to access for the kids to clean or play with their guinea pigs.
The best way to do this would be to use one big piece of plywood that is cut to the size of your cage or slightly bigger. I wanted to use some scraps so I used two smaller pieces.
As you can see below, I cut two pieces of plywood that are 48×16″. Then I used three smaller cuts of wood- one in the middle and one on either end. Those are all 32″ long. These hold the pieces together.
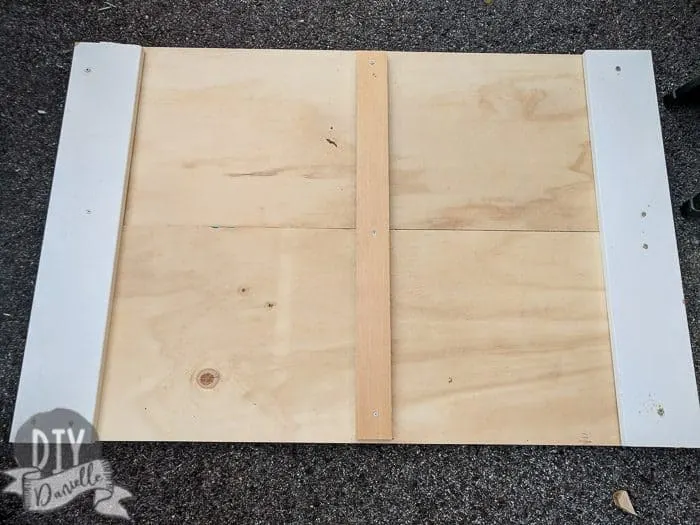
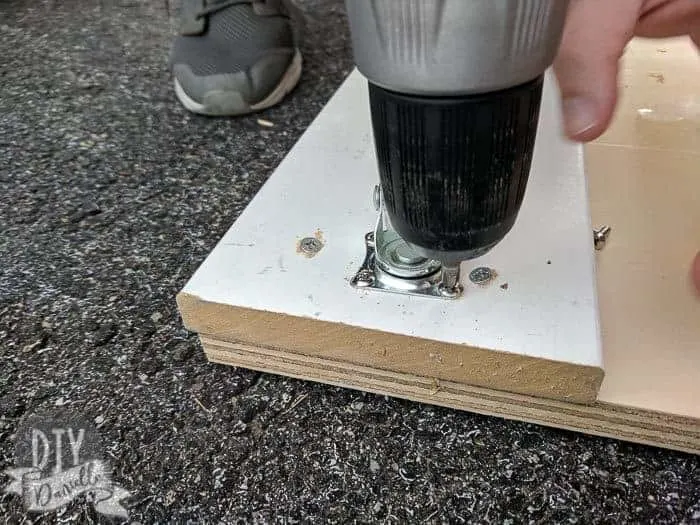
Once you’ve done this, you can add your wheels.
Now you can flip it over… paint it or do something to protect it. I didn’t… I like to live dangerously. I will probably fix it at some point.
Options for protecting the wood:
- Paint it
- Stain and polyurethane
- Staple a water resistant liner around the top.
- Place a layer of chloroplast on top of the wood
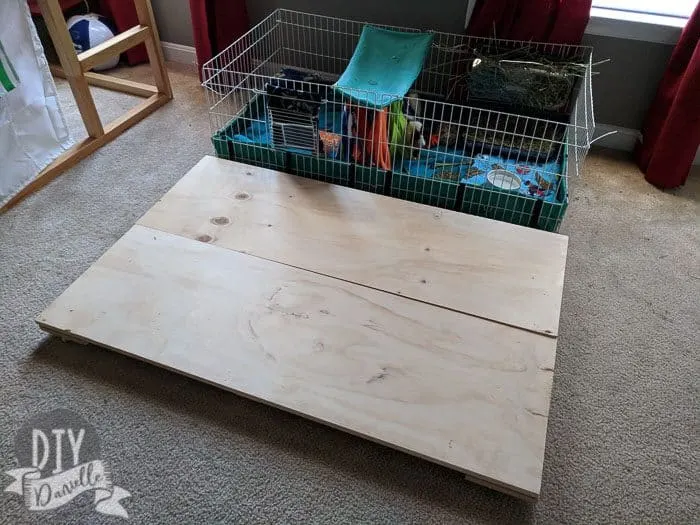
Now you can flip it over and place your cage on top.
Other Guinea Pigs Posts
- How to Sew Guinea Pig Cage Liners
- How to Make a Guinea Pig Hay Bag
- How to Care for Your Guinea Pigs
- Easy Guinea Pig Litter Box
- Sewing for your Guinea Pig
- Midwest Guinea Pig Cage Base
- Customized Guinea Pig Igloo
If you’re not into building OR want a fun outdoor cage for your cavies, consider the Eglu guinea pig cage + run. They have up to a 12′ attached run that you can buy and the house is insulated.
Please pin this post!
DIY Base for a Midwest Guinea Pig Cage
Make a DIY base for a Midwest Guinea Pig cage that makes it so much easier to clean. Plus it's on wheels making it easy to move.
Materials
- Plywood or a large panel of wood.
- Wheels
- Optional: Paint or stain/polyurethane to protect the bottom
Tools
- Drill
Instructions
- Cut two pieces of plywood to 48×16″.
- Use three smaller 32" long cuts of wood for the middle and ends.
- Add your wheels.
- Paint or stain.
- Flip it over and place your cage on top.
Recommended Products
As an Amazon Associate and member of other affiliate programs, I earn from qualifying purchases.

