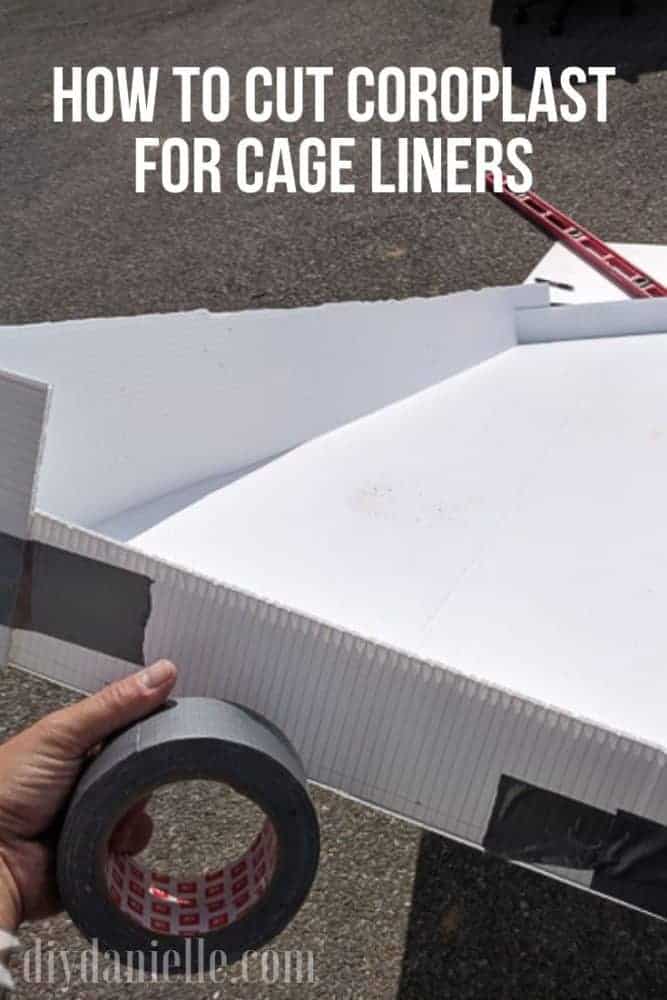
Tips for cutting coroplast or corrugated plastic panels to use for a cage liner in a guinea pig cage.
When people are making a DIY guinea pig cage, they usually use those fun cubes that you can pick up pretty cheap. We never tried to make a cage from those, but I’ve heard a lot of positive feedback on using corrugated plastic sheets for liners.
Why corrugated plastic?
It’s weather proof which means it can handle water spills, urine, and cleanup that comes with being part of a pet cage.
The corrugated plastic, depending on where you buy it, can usually be found fairly cheap and that makes it an ideal liner.
It’s easy to transport as it’s lightweight and it requires no special tools to cut… a sharp knife will do the trick.
These are good for use inside an indoor wood cage or an outdoor hutch.
This post may contain affiliate links which may earn me commissions should you click through them and take certain actions. As an affiliate for Amazon, Cricut, xTool, Home Depot, and other sites, I earn from qualifying purchases. Please DIY carefully. View my full legal disclosures here.
The majority of my content is generated by me, as are 99% of the photos and videos, but I utilize technology for titles, descriptions, video editing out all of my ums, and occasionally for text overlay on images.
Please read the whole post so you don’t miss any important information!
How to Cut Corrugated Plastic to Use for a Guinea Pig Cage
I feel like it would be fun to upcycle an old sign to make these liners and then it would be even more economical. I’m thinking giant political signs? I don’t know how hard it is to get your hands on those. It wasn’t voting season so I bought my corrugated plastic from the store.
Supplies
- Coroplast/corrugated plastic for the bottom liner
- Box cutter or some type of utility knife
- Duct tape
How to Cut the Corrugated Plastic
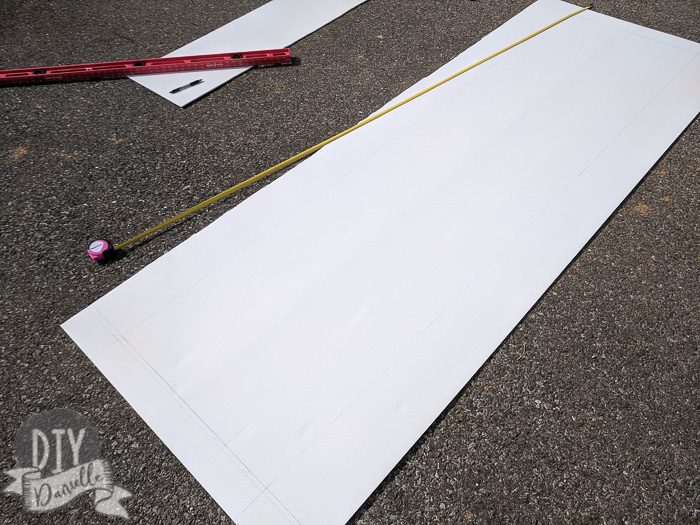
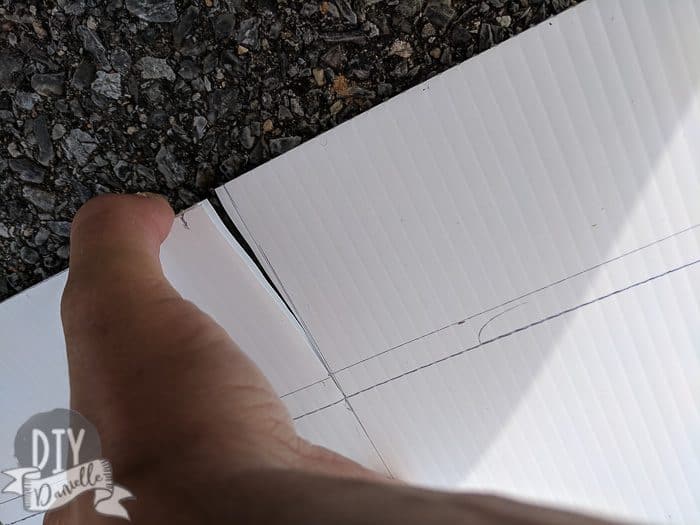
You need to plan this out and measure the space that you’re placing the plastic. You also want to know how tall to make the sides.
The outer line that I drew is for the sides. The inside of that will be the size of the floor of the cage.
You’ll cut the bent areas only half way through… but for ONE side of each corner, you need to cut all the way through. I’m going to show this better in the video.
The reason is that you need to be able to bend on side over the other to create the sides. I hope that makes sense.
All other areas get cut only through the top layer. You DO NOT want to go through both layers.
Once you’ve done all of your cuts, you can flip this over and fold up the sides.
The ends can fold over at each corner and you’ll tape them with duct tape.
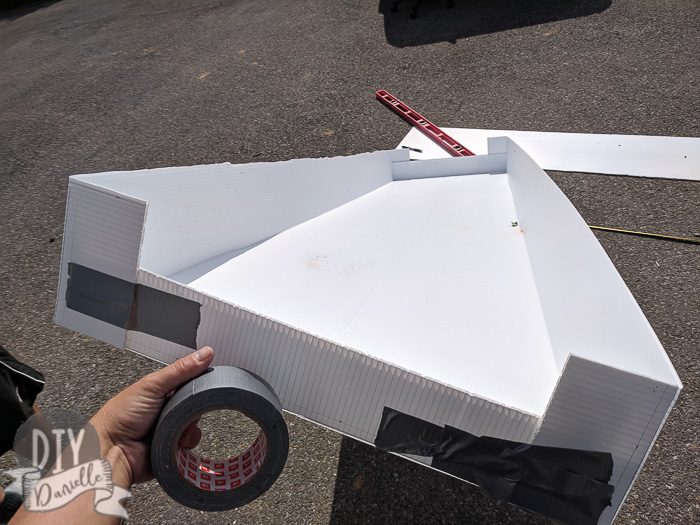
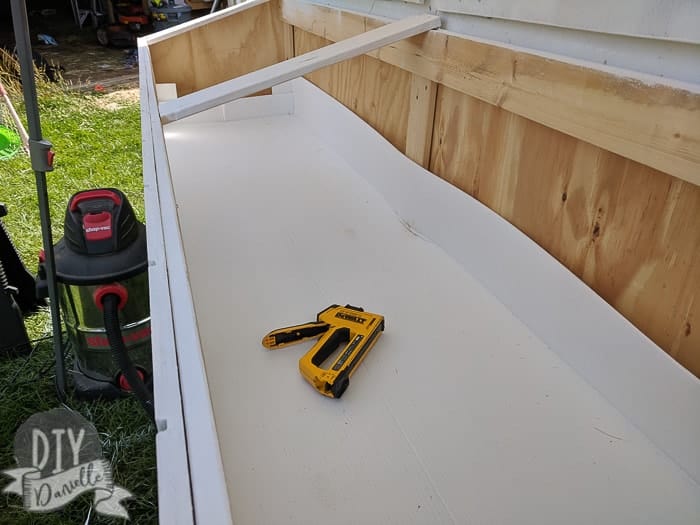
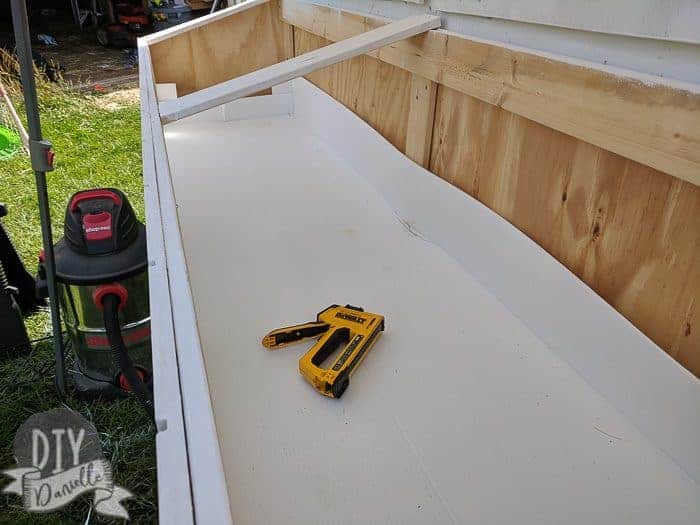
Then you can place them inside the hutch. I stapled mine inside.
Here’s a video for more detail!
Make sure to check out my outdoor guinea pig cage, as well as my other guinea pig posts:
- How to Sew Guinea Pig Cage Liners
- How to Make a Guinea Pig Hay Bag
- How to Care for Your Guinea Pigs
- Easy Guinea Pig Litter Box
- Sewing for your Guinea Pig
- Midwest Guinea Pig Cage Base
- Customized Guinea Pig Igloo
Looking for an easy to clean guinea pig cage? Check out the Eglu Guinea Pig Cages and attached runs! You can purchase a 3′-13′ attached run to go with it, add wheels and handles, and the cages look super easy to clean. I love that you can use them outdoors because the main cage is insulated, but I think you could use them indoors too if you added chloroplast and cage liners to the wire on the bottom of the run. If you decide to buy one, email me for a coupon code at [email protected]!
I also have a book about sewing for your guinea pigs that you can purchase on Amazon!
Please share and pin this post! Thanks!