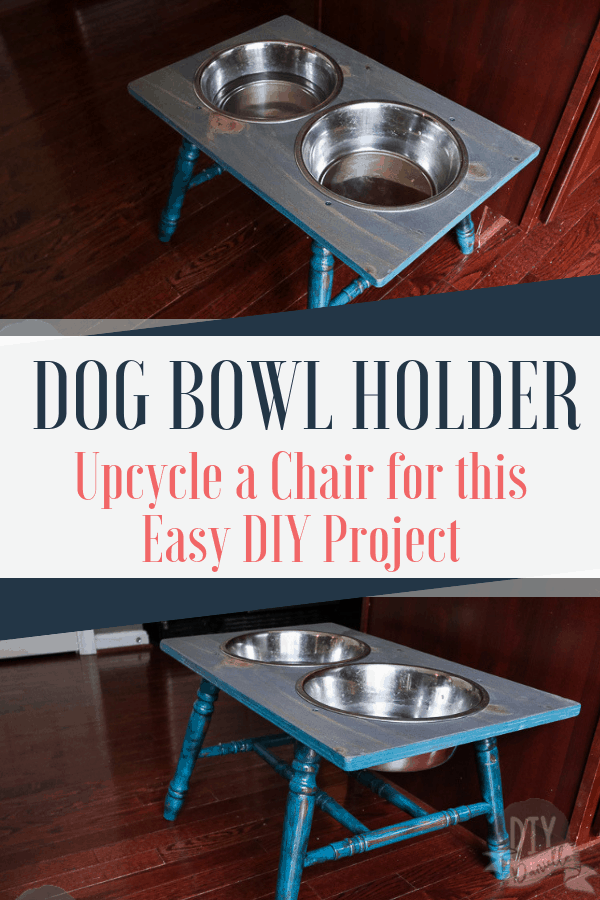
How to make a dog bowl holder. This rustic dog bowl stand is easy to make with an upcycled chair and a scrap piece of plywood.
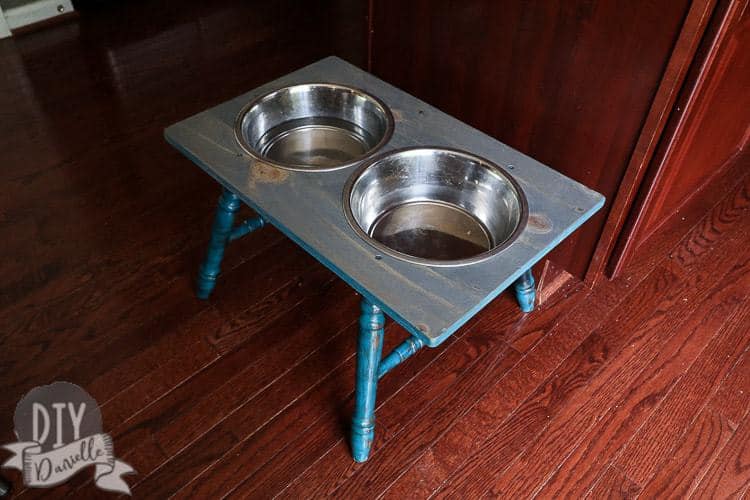
I have some regrets. The kind of regrets you have when you’ve been eyeballing a project for a few years and never got to it… just to finally do it and see how EASY it was. I REALLY wish I’d made this sooner. It’s so pretty and functioning. No more bowls sliding across the floor and the baby seems to have a bit more difficult time spilling the water bowl when it’s inside this dog bowl stand.
It’s love. My only complaint is that I don’t have a great place to put it. We’ve been staging our house for sale and it doesn’t fit ‘just right’ in any particular spot that’s free right now. Maybe we’ll find a nice spot for it at the next house.
If you love pet content, make sure to check out my popular post about installing an affordable fenced dog run and learn how to make a PVC dog bed!
Supplies for a DIY Dog Bowl Stand
- 2 Metal bowls
- 3/4″ Plywood
- Old chair
- Screws
- Tools: Hand saw, Ryobi Circular Saw, drill and spade bit, jig saw
- Varathane Ultimate Polyurethane Water Based, Interior- Crystal Clear Matte (1/2 pint)
- Varathane Weather Gray Stain, 1/2 Pint
- Rustoleum Painter’s Touch 2x Ultra Cover Paint + Primer, Satin Lagoon
You might be able to adjust this tutorial to place three bowls across if you wanted. You just need a longer piece of plywood.
Dog Bowl Holder DIY
Begin by cutting the top of your dog bowl holder. I used a piece of 3/4″ plywood. I have a bunch of higher quality plywood leftover from a miscalculation on a closet shelf project similar to the shelves we made for our master bedroom closet. You need your wood piece to be wide enough to fit both bowls side by side with enough of a gap between them so they won’t overlap. I recommend flipping your bowls over upside down on top of your wood.
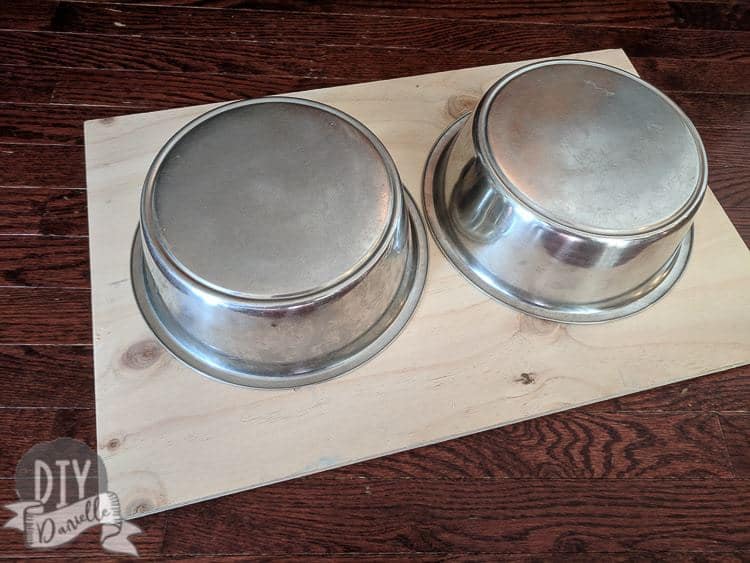
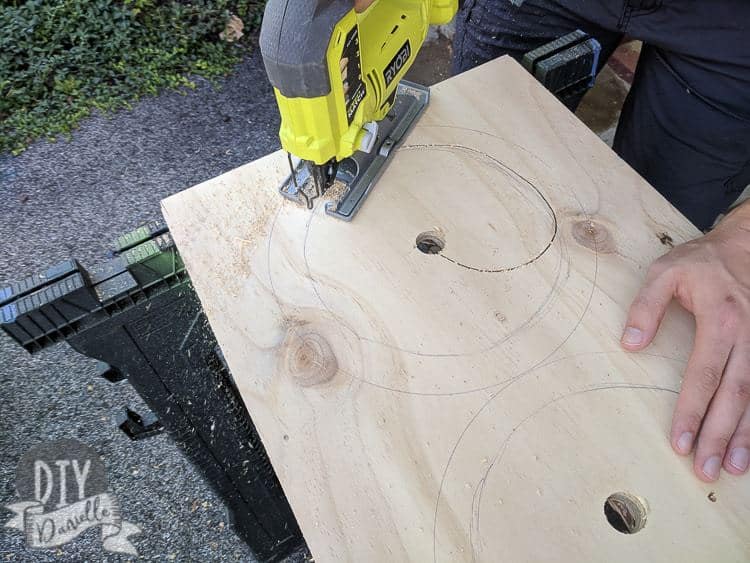
Once you figure out where you want those bowls placed, draw a circle around each bowl. NOTE that you want the actual circle you cut to be slightly smaller than this circle. I went back and drew a smaller circle inside it. The inner circle needed to be smaller than I drew but I was able to make it smaller later… it’s no big deal if you made the hole too small, but it’s impossible to put wood back once you cut it.
Here’s my spade bit. I used it in the center of the circle to create a hole. This gives me a starting point to use my jig saw.
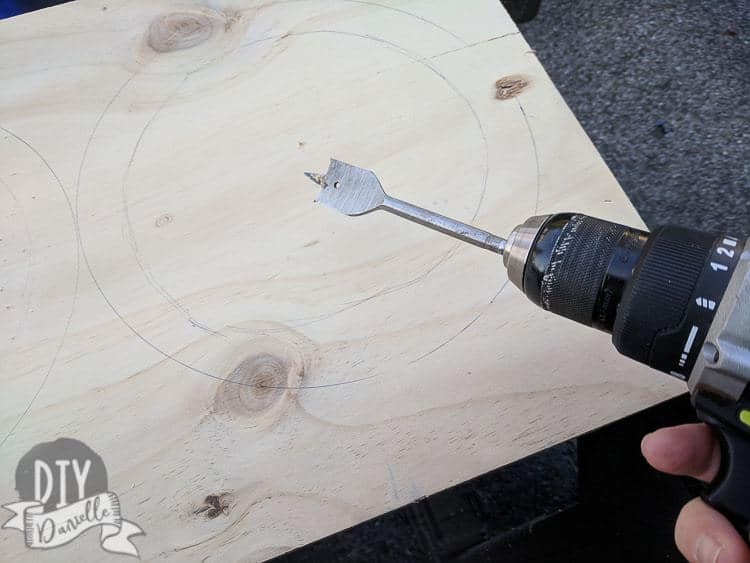
Once you create the hole, you have a started point to start using your jig saw. This hole ended up being too small so I went back later and cut it a bit bigger.
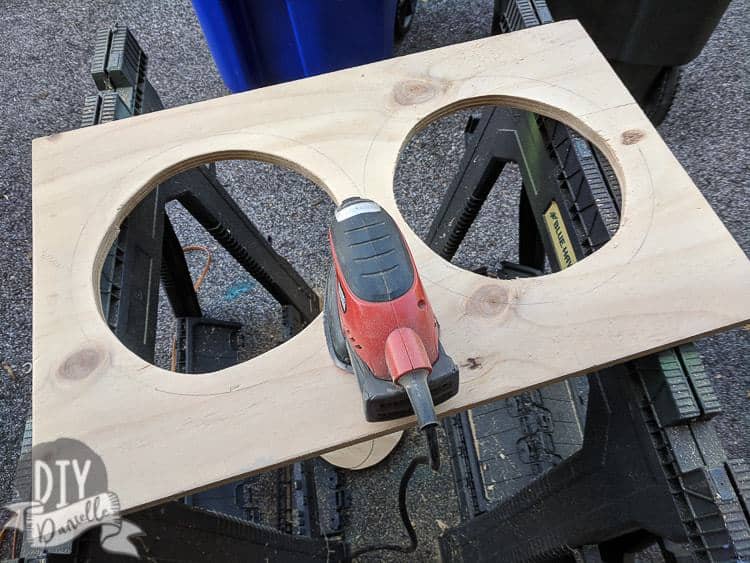
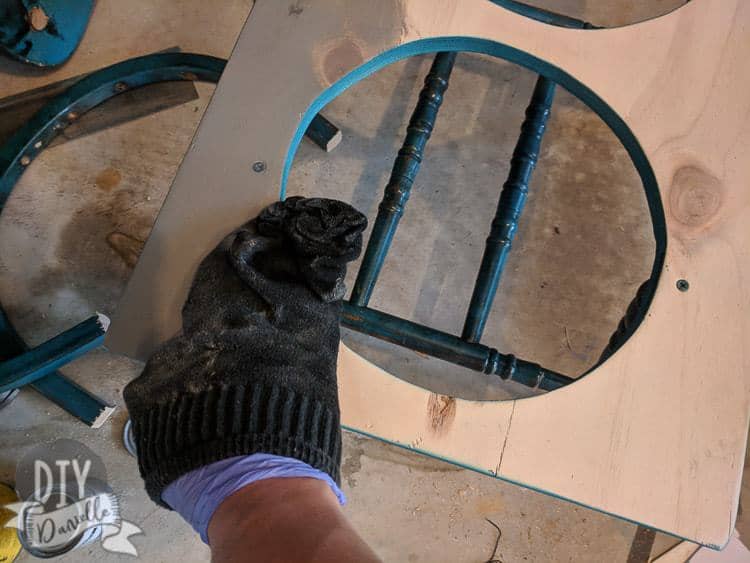
When you’re done cutting your holes, you want to finish your edges inside the holes and around the outside of your dog bowl holder with your sander. This just makes the edges smooth so you and your pet don’t get cut.
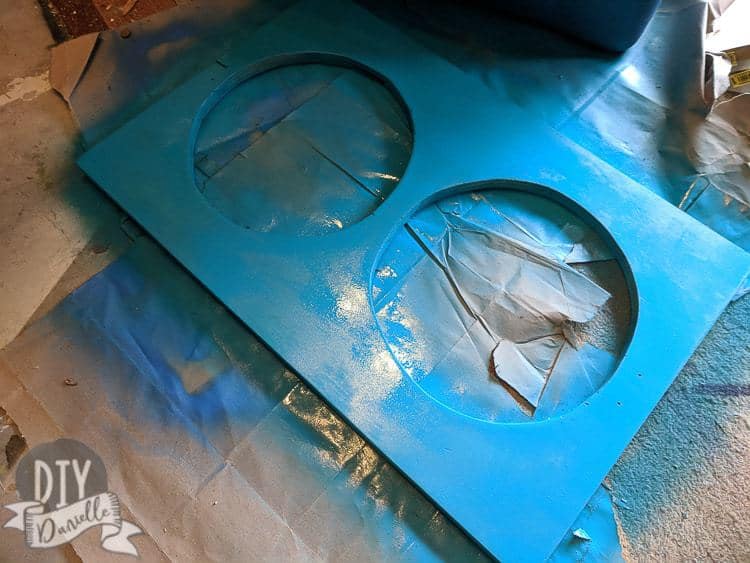
I spray painted the bottom of this stand (the side with the pencil marks) with the Satin Lagoon spray paint. The top was stained, then I applied several coats of polyurethane. The spray paint isn’t fabulous, but it’s the same color used on my chairs (except my chairs were distressed) and I didn’t want to worry about doing several layers of poly on both sides of this dog feeder. I was trying to finish it fast.
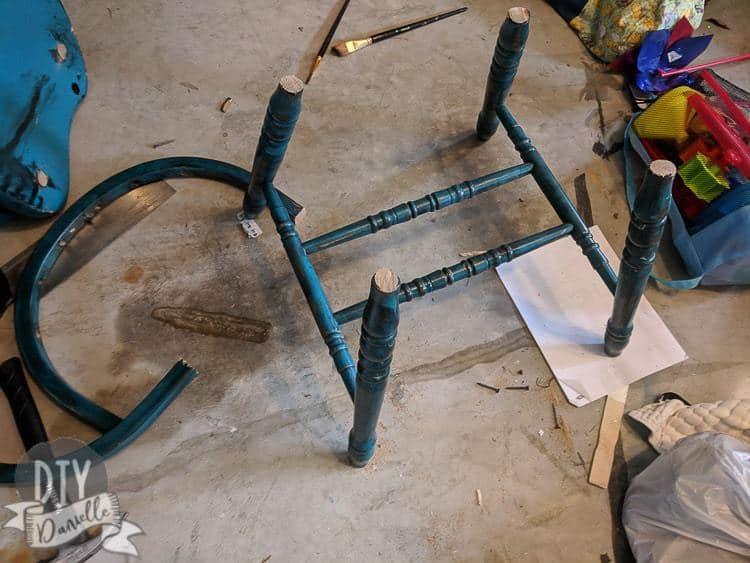
When I started this, I had thought to make the legs for the stand, but then I realized I should probably use the chairs I’ve been hoarding FOREVER from my Farmhouse Kitchen Table. The chairs were falling apart but I managed to make one work for this purpose.
I used a hand saw to remove the legs from the original chair.
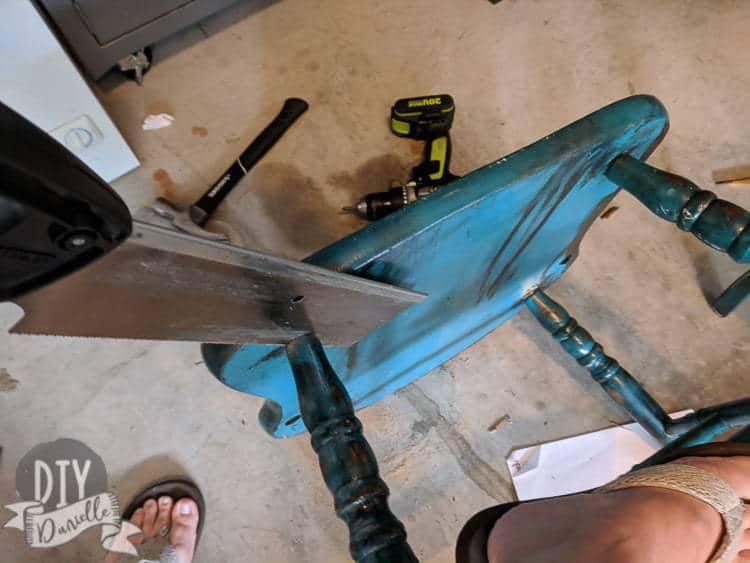
Then I used my Ryobi Circular Saw to even the ends up. I figured out how high I wanted the bowls to be and cut the legs accordingly.
The weathered gray stain to the top was applied at the end. Once that dried, I added several layers of polyurethane as this will obviously have a lot of water drooled all over it. I applied the stain with an old sock. It’s my favorite way to use old socks with holes in them. I was hoping for a slightly darker look, but I went with ‘good enough’ because I needed it finished fast.
Here’s a video of the process:
If you love pet projects, check out my other DIYs and ideas for pets. I have blog posts about dogs, guinea pigs, and ducks. I also added a dog bowl holder to our built-ins for our mudroom where we keep our dog food. I like the look of this project better, but this feeder didn’t fit in our new house as well.
If you have cats too, check out these fantastic DIY cat crafts.
Please share and pin this post! You can also post your project and tag the DIYDanielle team on Instagram @doityourselfdanielle!