
How to make a toy holder for the baby’s playpen. This dispenser is a great way to store toys for the gated play area so they aren’t scattered all over the floor.
This post may contain affiliate links. If you make a purchase using these links, I might receive a commission from the sale. This does not impact the price of your purchase. Thank you.
I work from the table in our dining room. The room is setup so I can supervise the big kids if they’re on their computers and supervise the baby as he plays in the playpen by the table. He’s got safe toys in there and I work when I can. If he fusses, we do something else. But he’s pretty good at playing solo for short spurts.
The toy situation can quickly get out of hand inside the playpen though. He plays better when there’s a few toys out and everything else is neat. I’ve found this is pretty typical for most kids. The chaos is almost too much for them to find the toys they want.
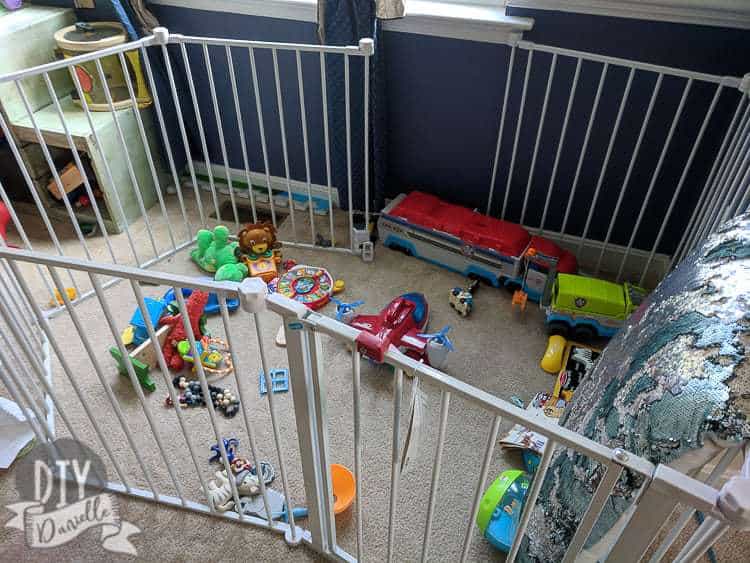
I have bins on the left but they’re outside of the playpen and I wanted to make something that would stay on the playpen. This was appealing because we’d be able to move the playpen around if needed WITH the toys in it… when you have a baby in one arm, it’s better if you can juggle everything else in the other hand. I kept think about how I wanted to move the playpen to our lawn occasionally so they baby could play outside while the big guys rode bikes.
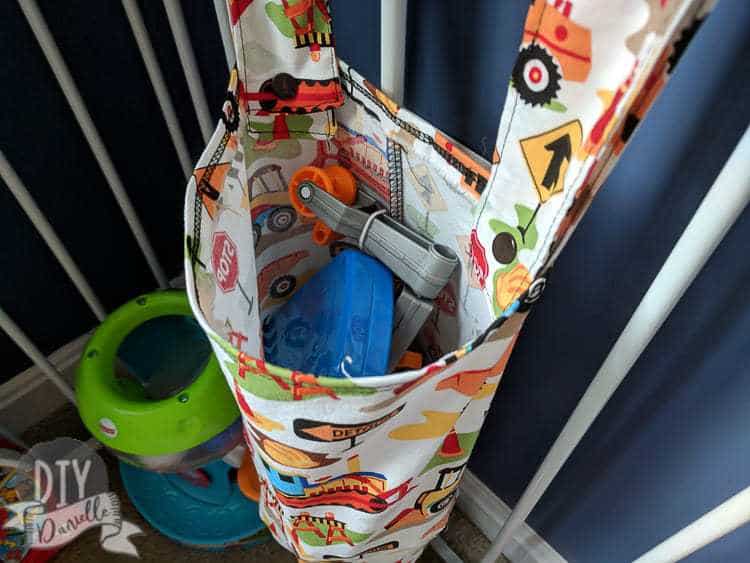
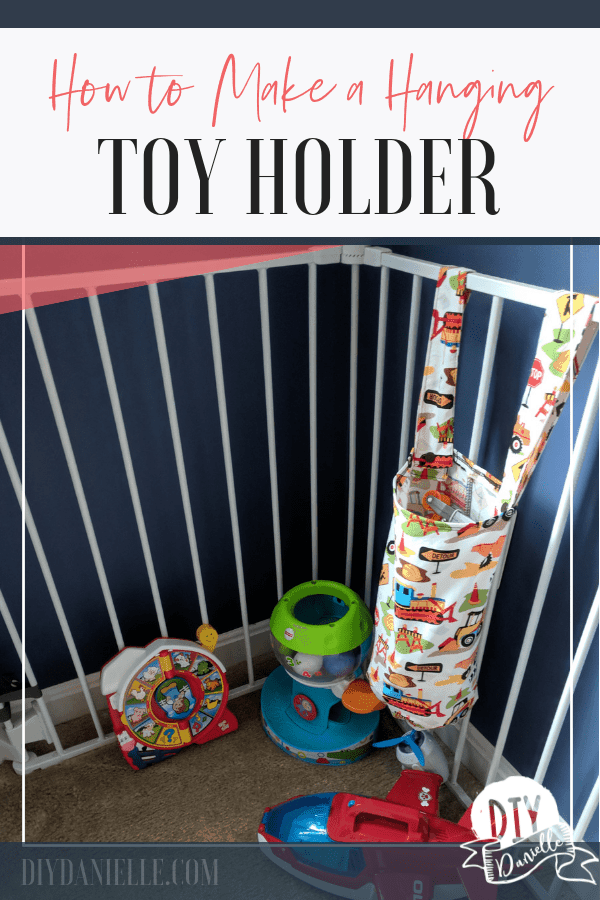
My best solution was to make something similar to the grocery bag holders that are so popular and easy to sew. They won’t take up much room, they can snap onto the playpen, and they allow the baby to pull toys out from the bottom. I may end up making a few of these.
This is useful for small toys and stuffed animals… big items are still going to be a challenge, but that’s okay. We have other options for them.
Here’s how to make the toy dispensers.
Supplies to Make a Toy Dispenser
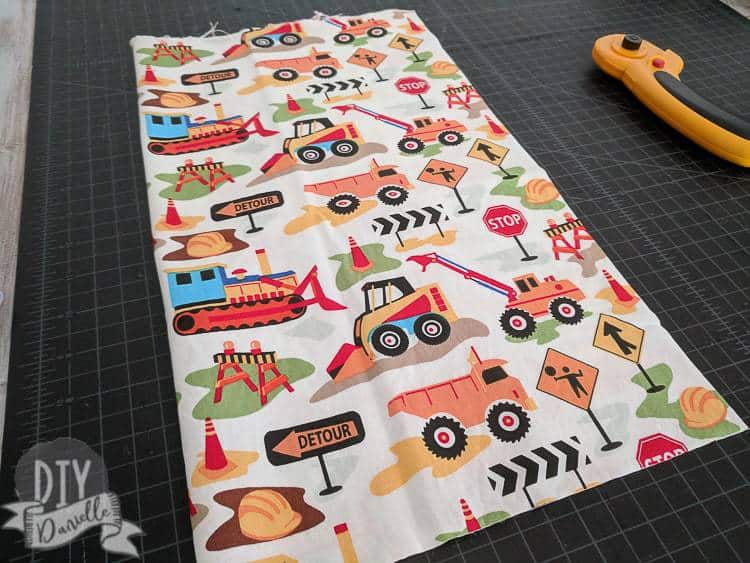
- Cotton Fabric (nothing stretchy, you want a woven of some sort): Construction Truck Fabric Choices on Fabric.com or Construction Fabric on Joann.com
- Elastic
- Snaps: Learn how to apply snaps here.
- Sewing machine and associated supplies.
If you love sewing, don’t forget to check out the Sew Organized phone app!

How to Make a Hanging Toy Holder for the Playpen
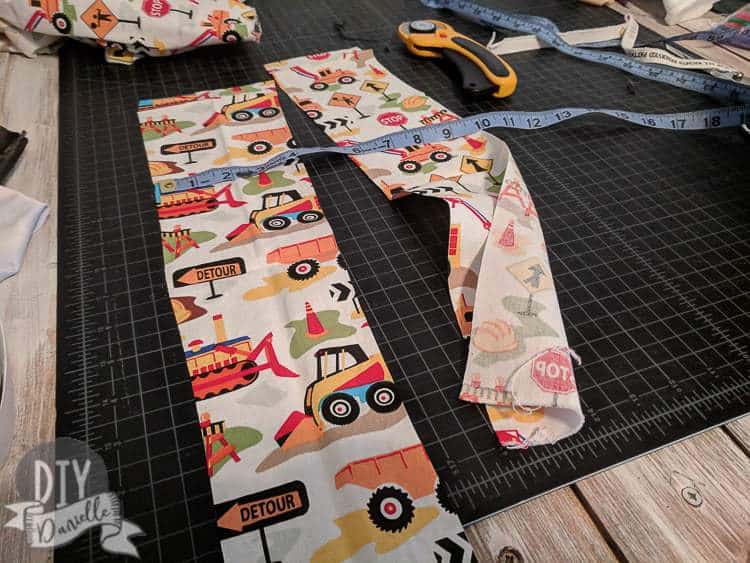
To begin, you need to figure out how long you want the toy holder to be. My gate is the Regalo 192-Inch Super Wide Adjustable Gate and Play Yard, 4-In-1 and I made three toy holders altogether. Each is a slightly different size, but they’re all around 19″ long and 8″ wide with 10″ x 2″ straps. You can make yours as long or short as you want, although obviously longer makes for more storage. You do want your holder to be longer than it is wide so kiddo can pull out one toy at a time. If you do a really wide hanging toy holder, small toys will fall out pretty easily.
Here’s my cut of fabric. I believe this was 20-22″ long and 17-18″ wide with the seam allowances. It’s folded in half, wrong sides together here.
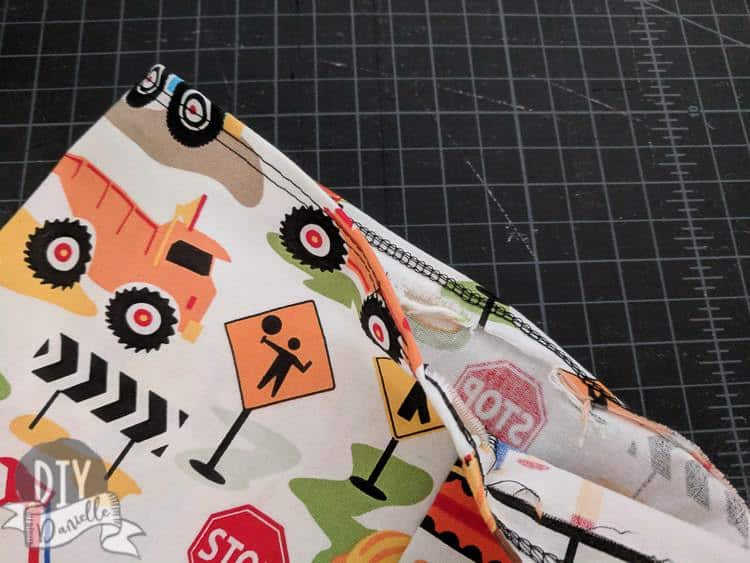
To make the body, you just fold it right sides together and sew up the long edge. I used my serger, but a sewing machine should do just as good of a job, if not better (sergers aren’t ideal for wovens apparently).
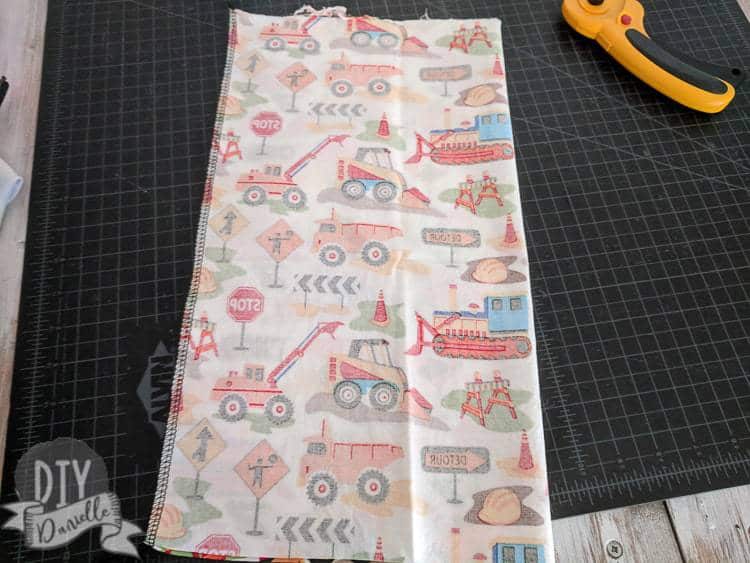
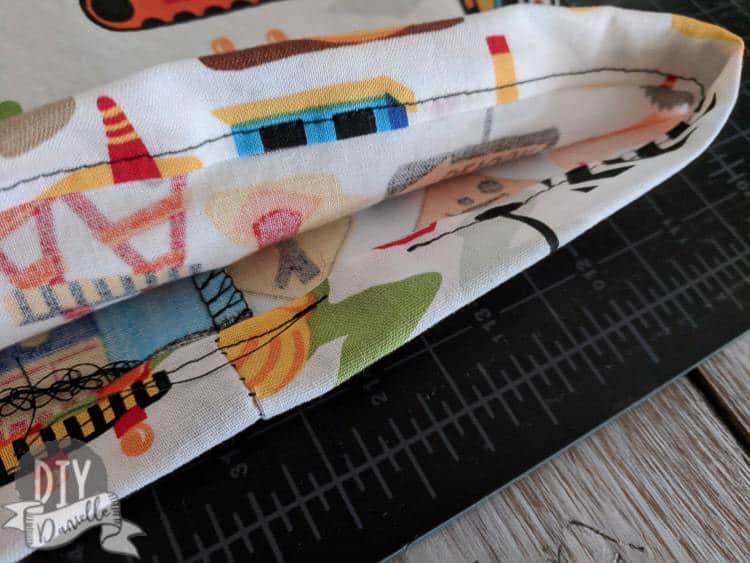
Finish your top edge by turning the edge over and sewing a straight stitch. I used my coverstitch machine (pretty sure the tension is off, but let’s pretend you didn’t see that).
Now you can add your straps to the top. Cut enough for two straps. These were around 11″ x 4.5″ strips of fabric- 2 per toy holder. They get folded in half.
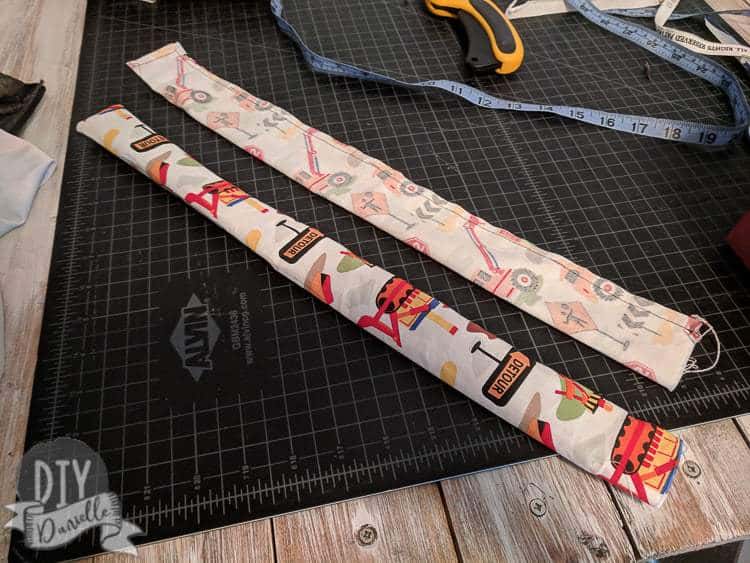
Fold right sides together, sew up one short side and one long side (right photo), then turn right sides out (left one). Then you just press (iron), turn the edge under for the raw end, and top stitch the whole strap.
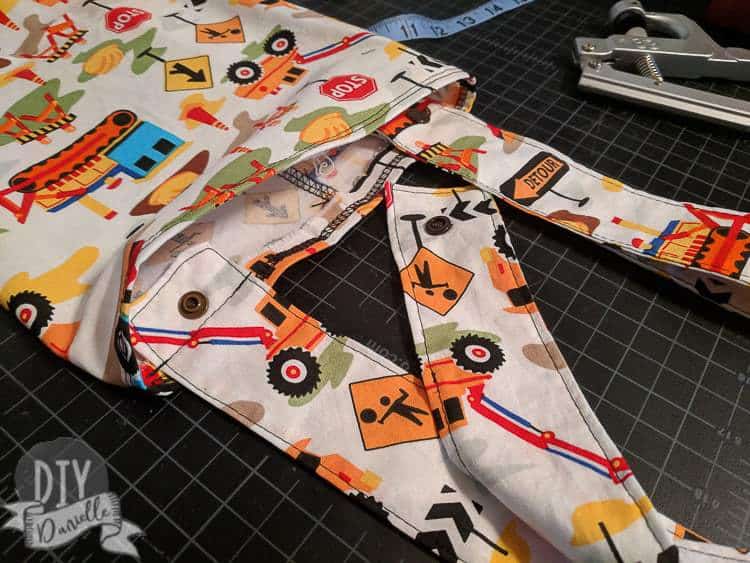
At this point you want to attach the straps… I just placed them and sewed a straight stitch across each. I back stitch a lot to reinforce them as they will hold a lot of weight. You’re only sewing down one end for each strap.
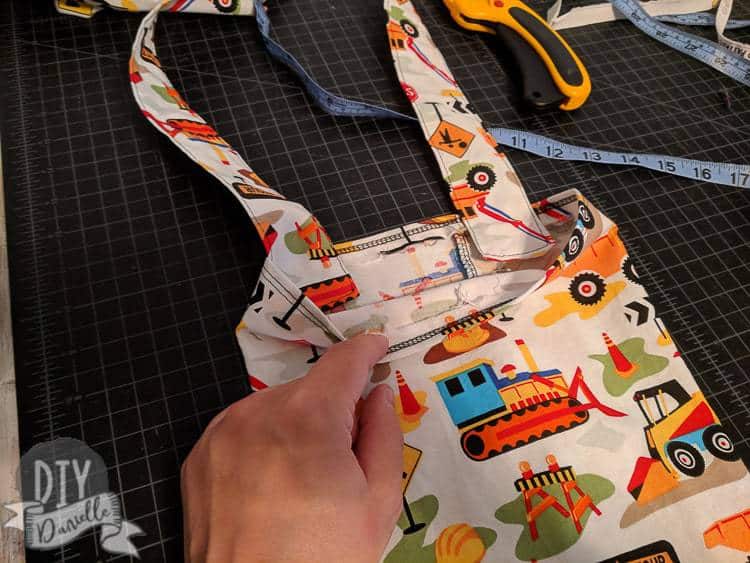
Once you’ve sewn them on, add your snaps to the bottom of the strap and the top so they can snap together to form a loop.
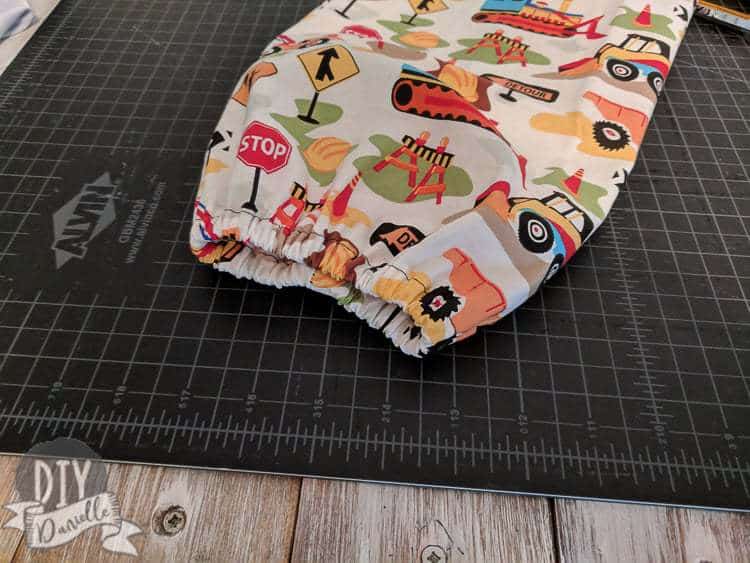
The last thing you need to do is add your elastic to the bottom. You need to turn over the edge twice, press (ideally), then sew a straight stitch around, leaving a small opening.
Insert your elastic. You can use a bodkin or a safety pin to hold onto the elastic to feed it through the casing. Once you have it all the way through, pull the elastic to your desired tightness, then cut the excess elastic off. Then sew your two ends together.
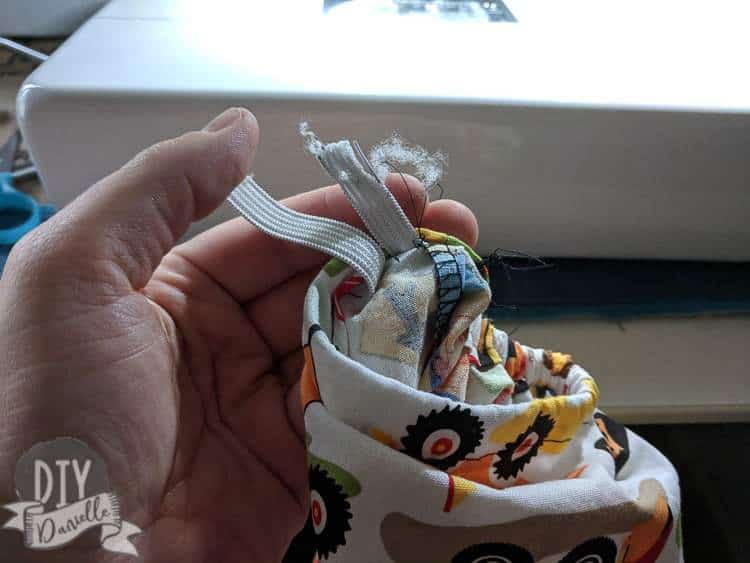
Finish by closing up the small hole with a straight stitch.
Please pin this!
If you love baby related content, learn how to fix footie pajamas that have holes in the toes or get tips on organizing to travel with your kids.