
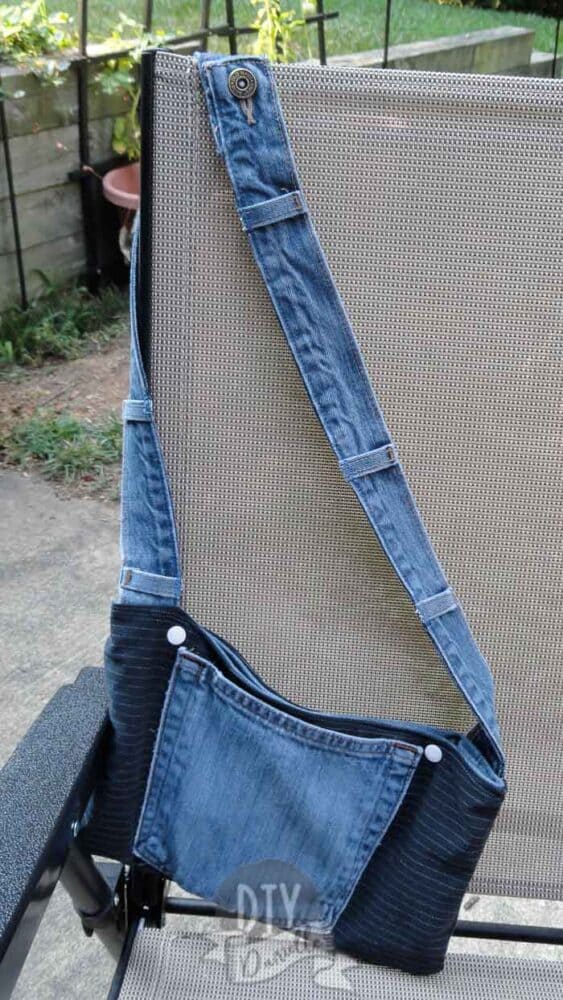
How to make a basic denim purse with no interfacing. This project uses upcycled jeans.
This post may contain affiliate links which may earn me commissions should you click through them and take certain actions. As an affiliate for Amazon, Cricut, xTool, Home Depot, and other sites, I earn from qualifying purchases. Please DIY carefully. View my full legal disclosures here.
The majority of my content is generated by me, as are 99% of the photos and videos, but I utilize technology for titles, descriptions, video editing out all of my ums, and occasionally for text overlay on images.
Please read the whole post so you don’t miss any important information!
This is a very early jean purse that I made using my husband’s upcycled pants. It is soft sided with no interfacing used. As part of the series of projects that I made using these jeans, I also made a skirt with a jean top and knit bottom, a patchwork knee length skirt, a denim bracelet, and a kerchief. Make sure to check them out.
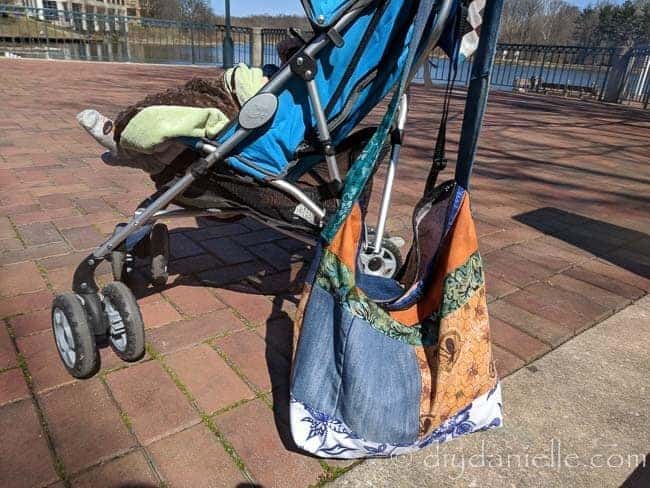
As this was a project I did when I first was starting to sew, it’s probably not my best project- I actually made a patchwork jean tote bag recently that’s hobo style that I prefer.
If you love sewing, don’t forget to check out the Sew Organized phone app!
How to Make a Denim Purse
Supplies for this Jean Purse
- Old jeans
- Coordinating fabric or a pair of dress pants
- Jean sewing needle
- Heavy duty sewing thread
This is a project where you really want the right sewing needles and thread. Want to learn more about how these impact your sewing projects? Check out my posts: How to Choose the Right Sewing Needle and How to Choose the Right Thread for Your Project.
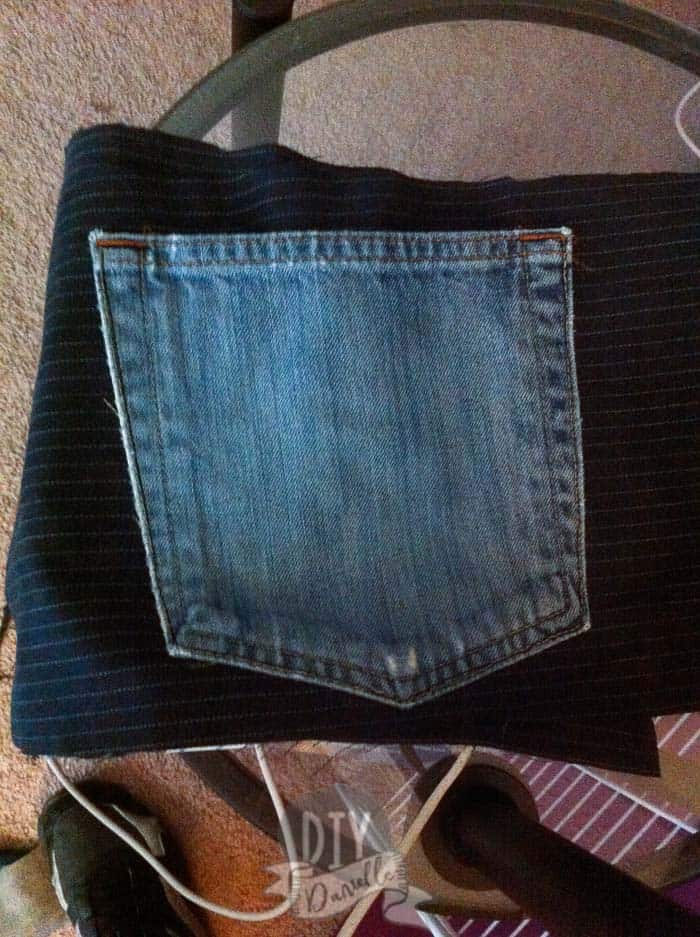
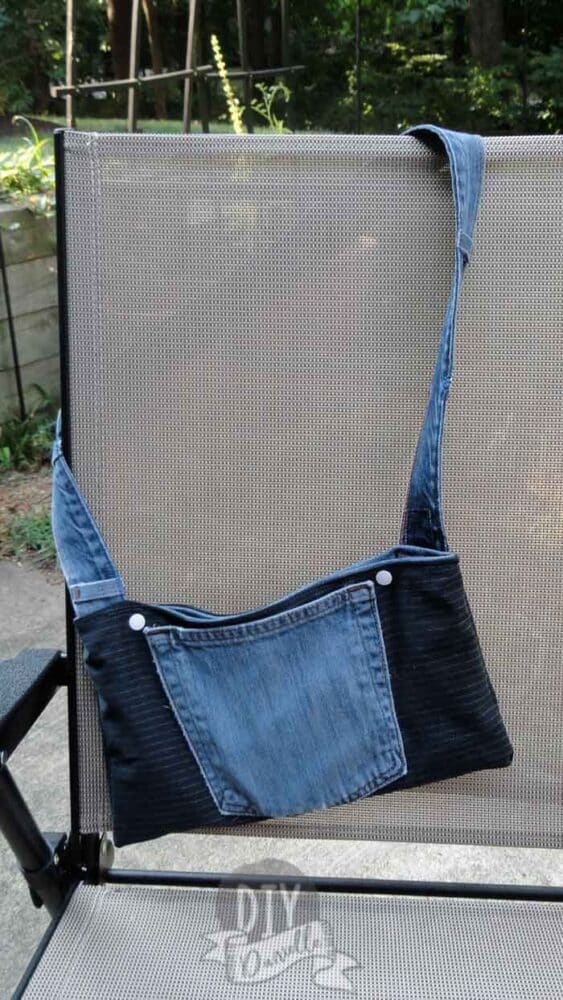
This purse could technically be reversible, but I added snaps to the top of mine so it’s a bit awkward if you try to reverse it on mine. I ended up using the dress pants side with the jean pocket as my purse and added snaps accordingly. I think the jean pocket was a way better pocket than the dress pant pocket… which was more suited to being inside the purse.
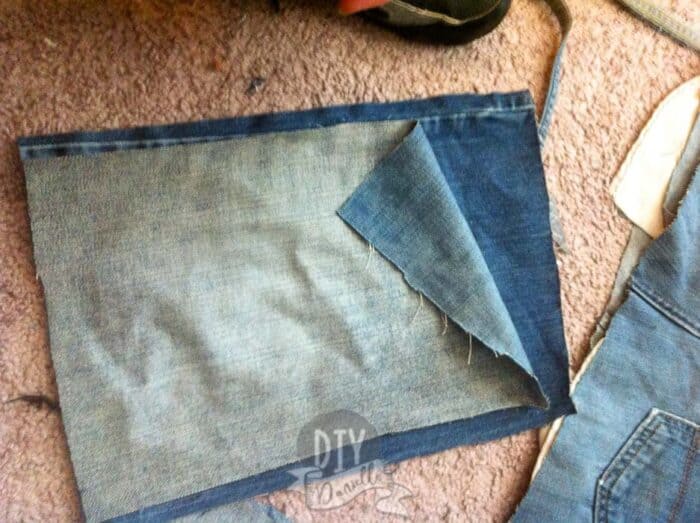
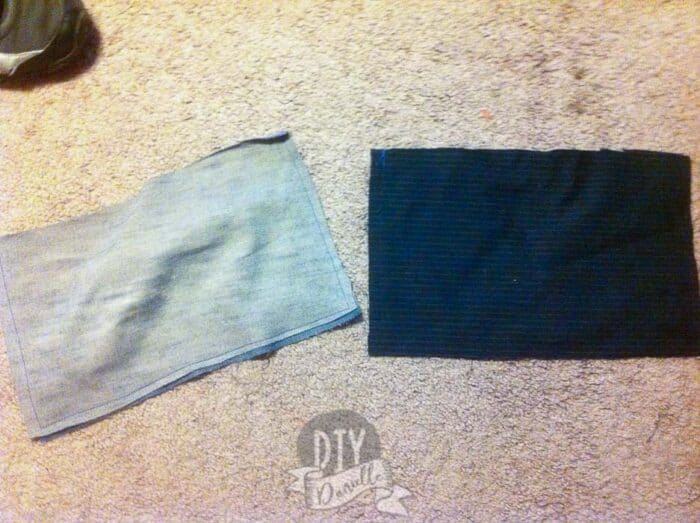
Cut four pieces of fabric that are the same size: Two from the jeans, two from the dress pants.
On the jeans side, I want to add a dress pant pocket. I cut a piece of the dress pants to the size I wanted for the pocket (plus a little extra to fold over for the hem).
I folded over the long top edge twice and straight stitched across.
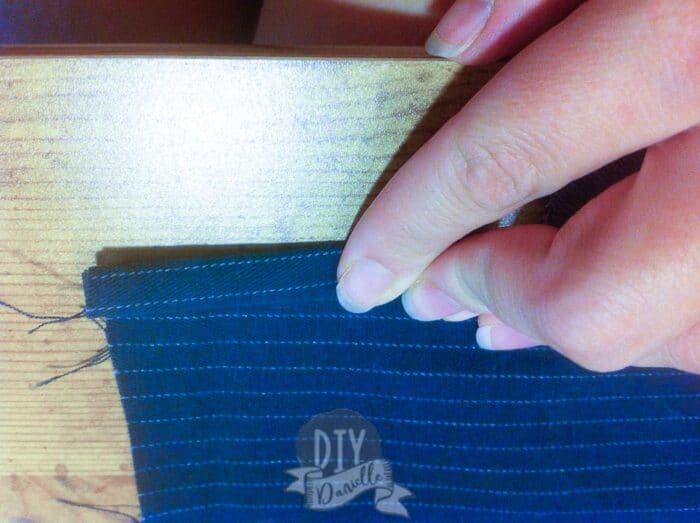
Finished top edge.
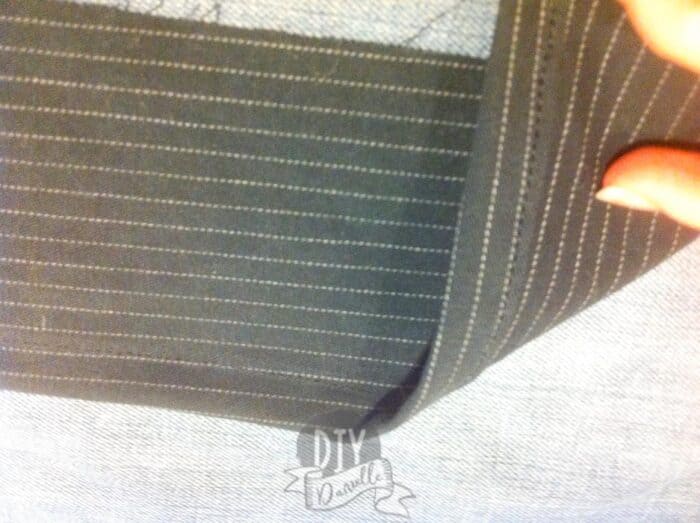
I folded over the other three edges and stitched them down with a straight stitch to one piece of the jean fabric. Ideally, you want to press these edges first.
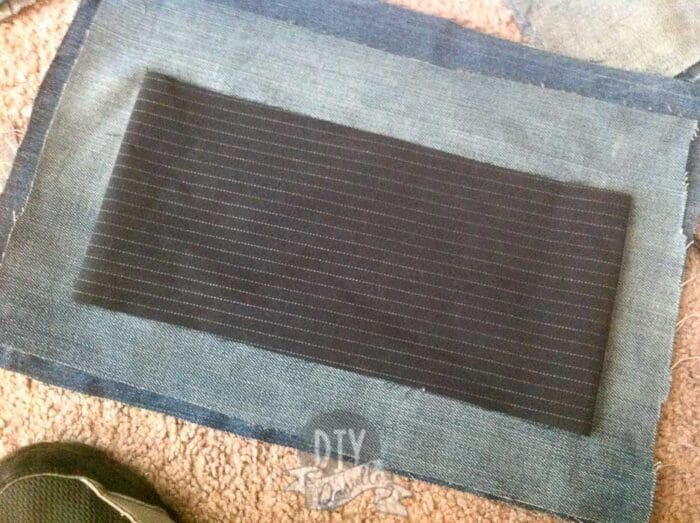
Here’s my fabric laid out with the pocket added to the jeans.
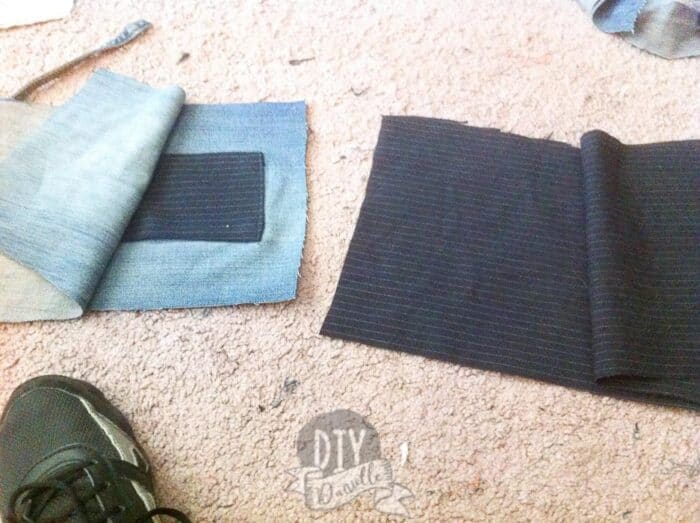
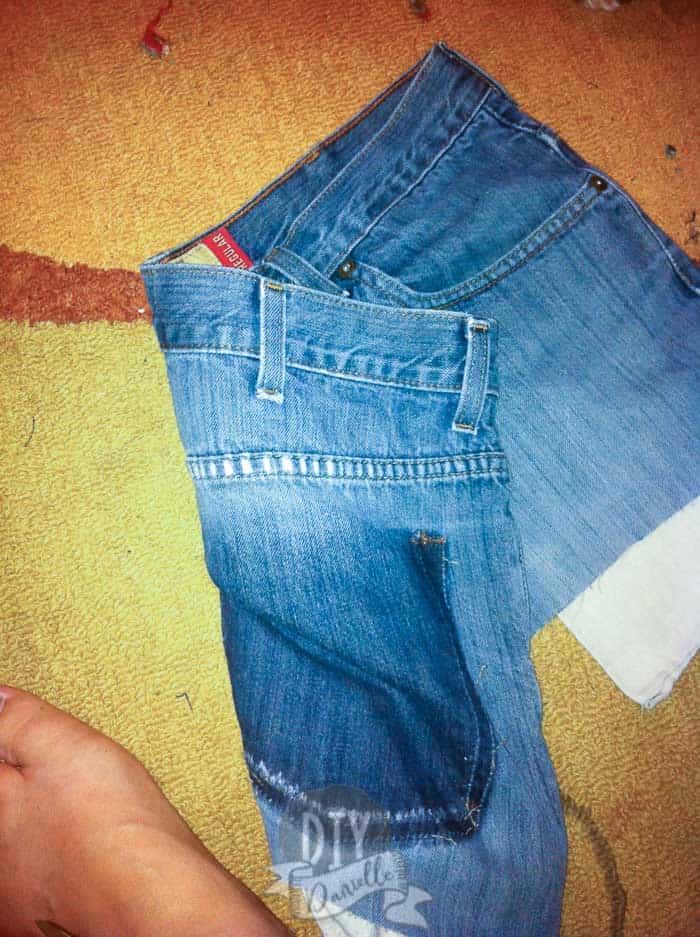
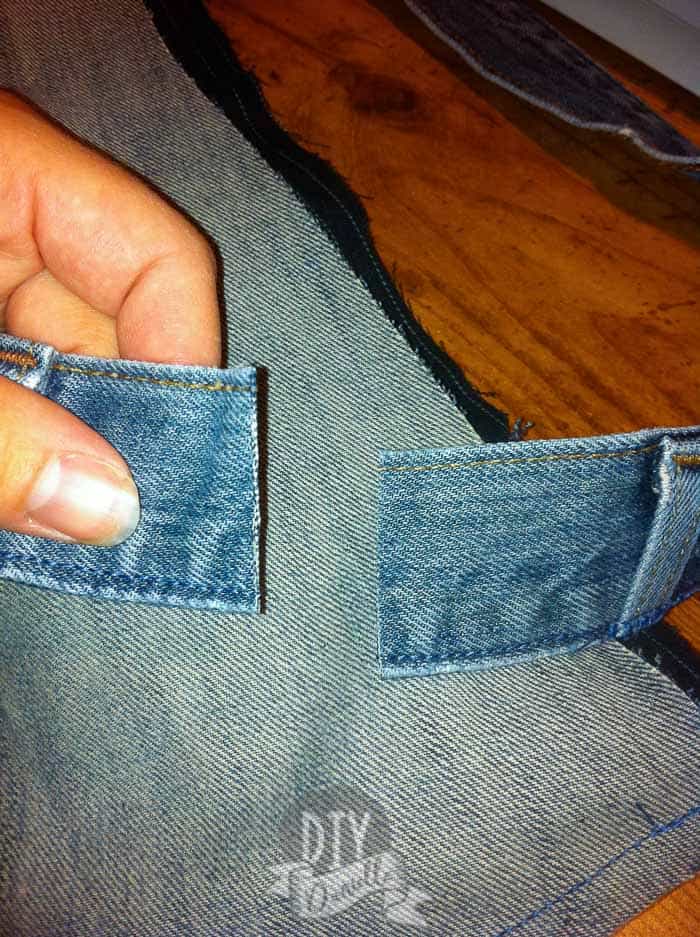
To make a pocket for the dress pants side, I seam ripped a pocket off the remainder of the jeans. This is a pretty great way to reuse those jean pockets!
The cool thing about reusing jean pockets is that you don’t need to do a lot of extra work to fix them up! You can just place them in the spot you want, then sew the three sides in place (U Shaped).
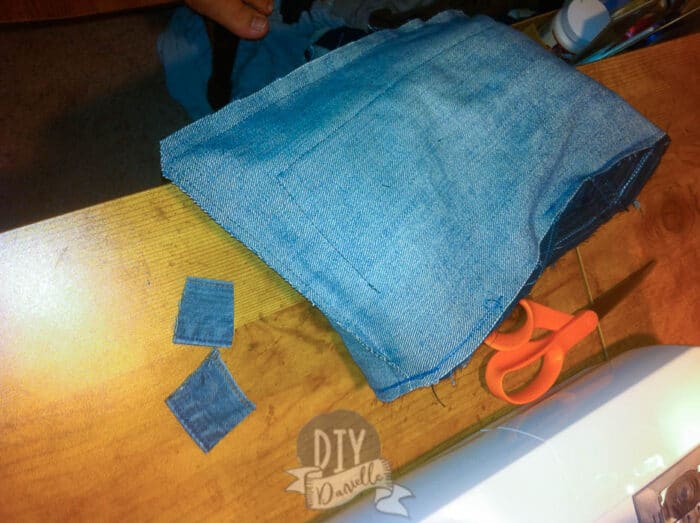
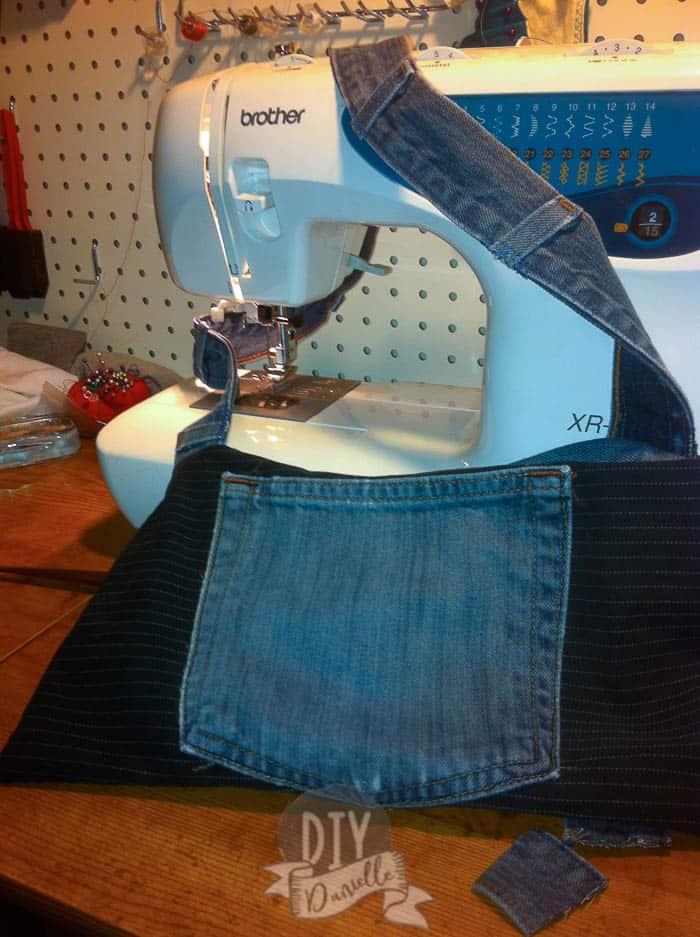
Take your two pieces of jean fabric cut out for the purse and sew them right sides together along the sides and bottom. Repeat for your dress pants fabric.
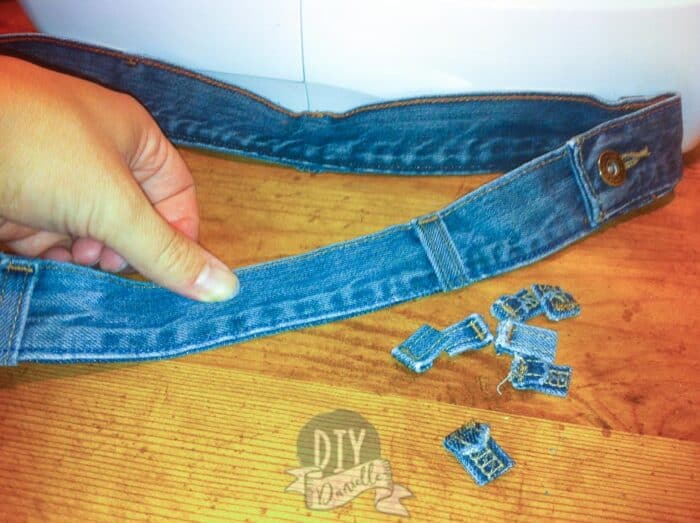
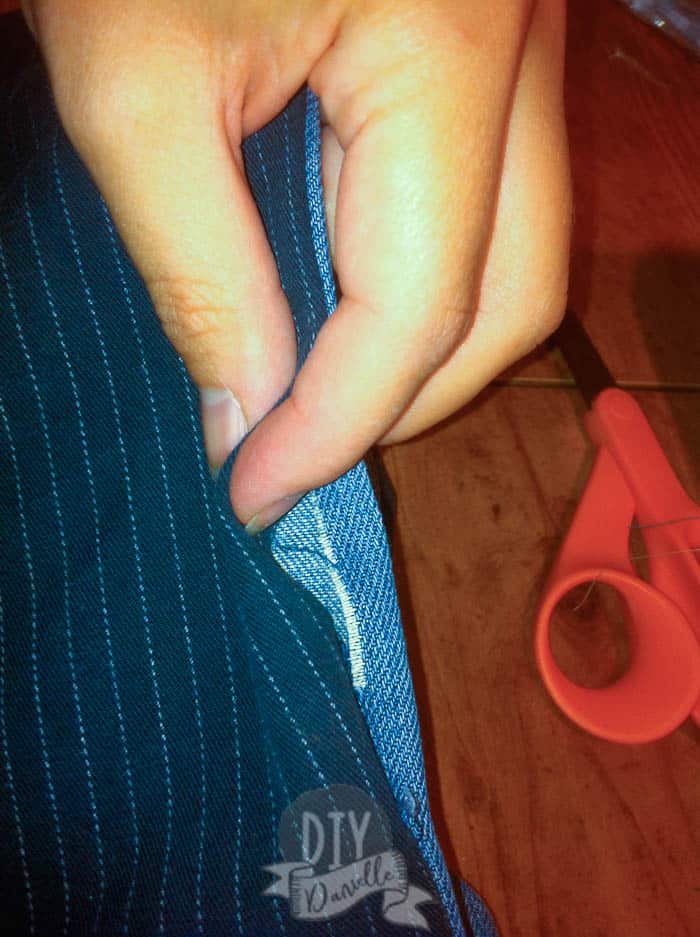
I decided to use the belt loops/top of the pants for the straps of the purse. I cut it off, making sure to seam rip the bottoms of the loops so I could keep those with the strap.
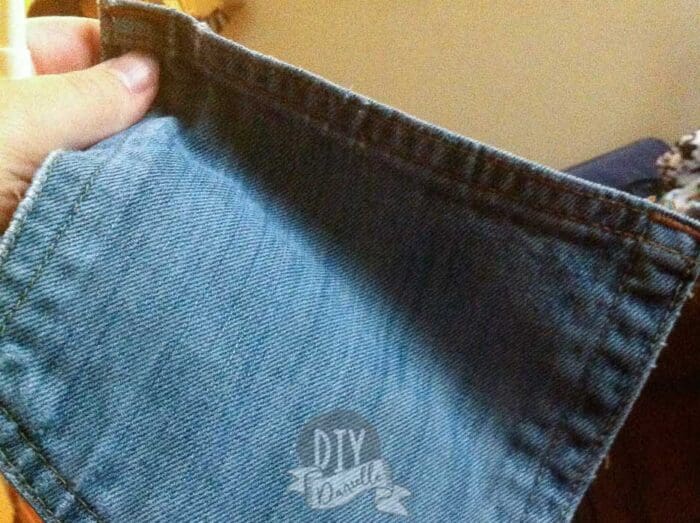
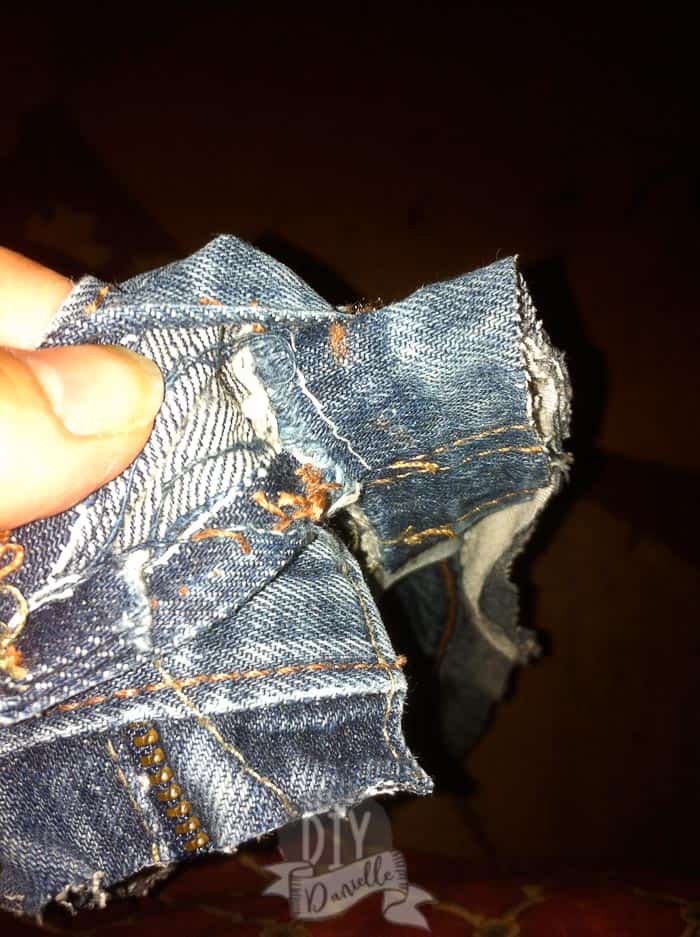
This is what it looks like before I seam ripped the excess fabric off under the waistband.

When you seam rip, you’re cutting the threads holding the waistband together at the bottom… and pulling out the excess fabric. Hopefully you can see what I mean in the photo below.
This is what you’re left with. You can seam rip the belt loops off as well if you want.
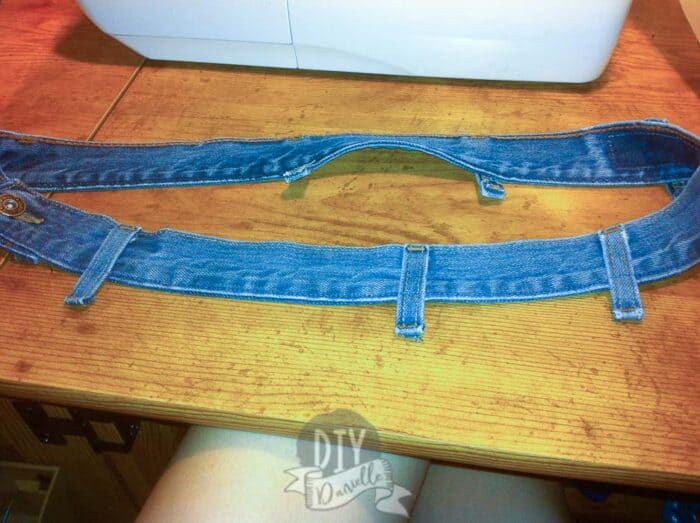
I decided to keep them, but shorten them. I cut off the excess and sewed them back onto my strap.
You’ll want to sew a straight stitch along the bottom of the strap where you seam ripped to reattach the layers of the waistband.
I cut the strap in half… keep in mind what parts of the strap you want
where when you cut. I tried to keep the button off center from the top of my shoulder because I thought it’d be cuter on the side.
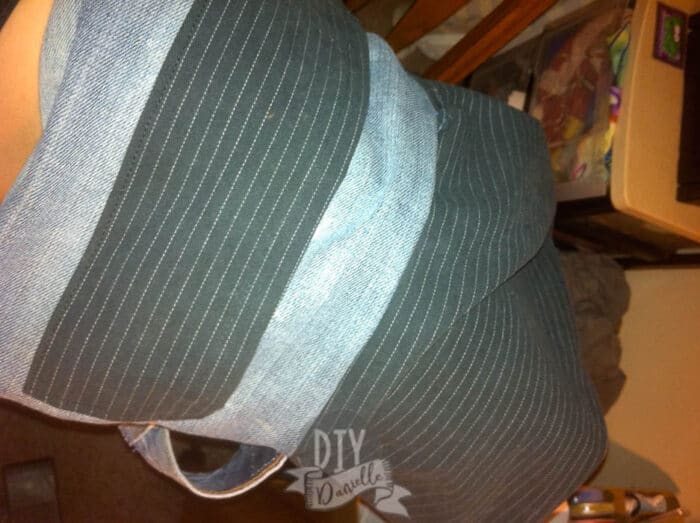
You should insert one bag into the other so the two bags are facing right sides together. You will insert your strap between those two right sides with the raw edges of the strap sticking up from the bags.

Sew around the bag with a 1/4″ seam allowance, leaving a fist width’s gap to turn the bag right sides out. As you can see, I snipped off the extra bits of the strap that were sticking out.
I prefer to backstitch and secure my stitches over the areas where the straps are to ensure they’re secure.
Turn the purse right sides out through your gap, then push the inside of the bag into the outside.
It should look like this.
All you need to do now is close up the gap you turned it through! I used a straight stitch to go around the top of the bag. It’s always a great idea to press these edges before top stitching for a more finished look!
Check out these other Secondhand Fashion Ideas!
Please share and pin this post! You can also post your project and tag the DIYDanielle team on Instagram @doityourselfdanielle!
Here is a more recently tote bag that I made from upcycled jeans and other fabric!
Love your DYI on recycle jeans
Thank you!