
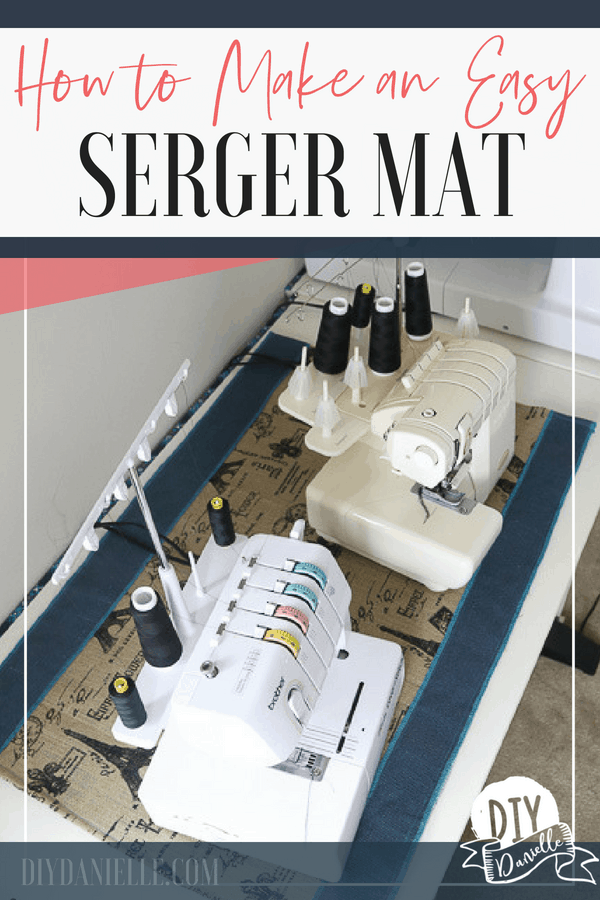
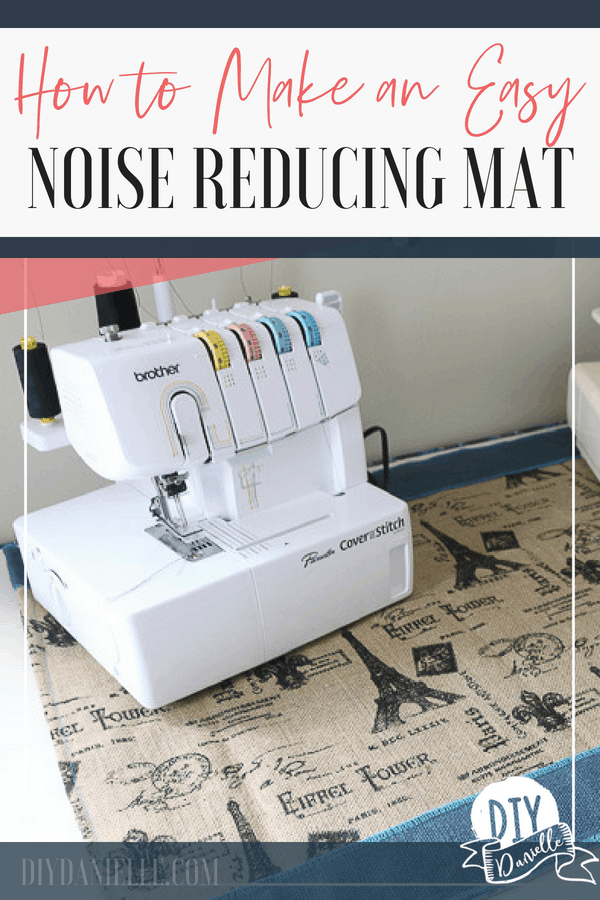
How to make a serger mat to reduce vibration, sound, and movement. These anti vibration mats are great for muffling sewing machine noise.
The baby is 11 months old now and he’s so busy! With two other kids, it’s rare I get a moment to myself. My current baby proofing mostly involves shutting doors, prayer, and maintaining eye contact at all times. I’M SO TIRED. Nap time and bedtime is sacred. During that time, I steal moments to sew, read, or sleep (which is what I should be doing now). I was in such a bad mood this morning, but the baby took a nap and I had a chance to make this. Sewing brings me joy, but it’s honestly hard to sneak in sewing time. The sewing machine is LOUD and it sometimes wakes the baby. I decided to make this anti vibration mat for my sewing machine and serger. Hopefully it will help reduce some of the extra noise, and keep my serger from vibrating off the table on me.
This post may contain affiliate links which may earn me commissions should you click through them and take certain actions. As an affiliate for Amazon, Cricut, xTool, Home Depot, and other sites, I earn from qualifying purchases. Please DIY carefully. View my full legal disclosures here.
The majority of my content is generated by me, as are 99% of the photos and videos, but I utilize technology for titles, descriptions, video editing out all of my ums, and occasionally for text overlay on images.
Please read the whole post so you don’t miss any important information!
Sergers and coverstitch machines tend to make noise, vibrate, and even move sometimes due to the speed that they sew. A serger sews many, many times faster than a sewing machine. I find the sound pretty soothing, but the baby does not.
Also, my high end serger has suction cups (that I dislike) that keep it in place. The problem with the suction cups is that I need the machine to be easy to move around because I have to switch between three machines when I sew.
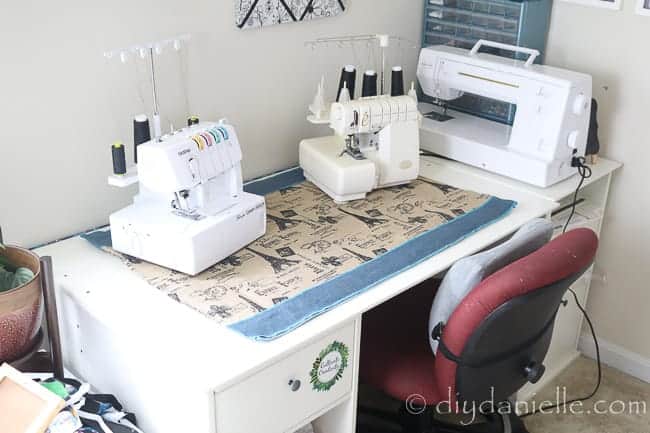
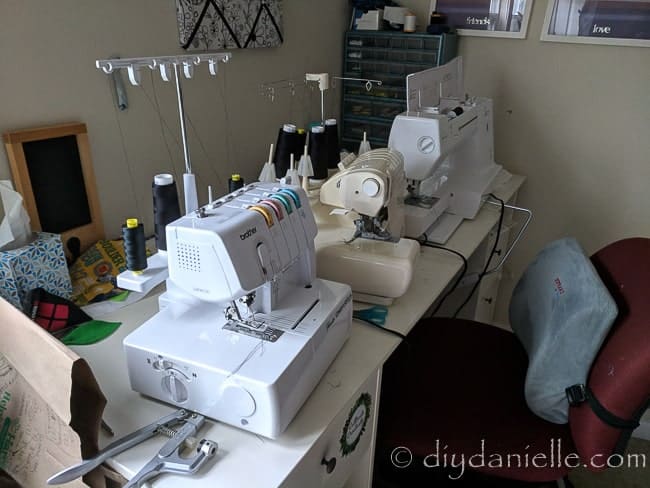
This is my area before…
I’m hoping that the mat will make it easier to swap out machines while also quieting things down a bit when I work. I don’t think it will be a perfect solution, but if it helps then that’s great.
If you don’t have time to sew one, you can always buy the Janome Muffling Mat on Amazon.
This is part of the Craft Lightning Burlap tour… a bunch of bloggers are all posting their quick ideas for burlap fabric. Make sure to check out the link at the bottom of this post.
Supplies for a DIY Muffling Mat
Note: You’ll likely want to adjust your sizes for your own sewing surface. This fits my two machines, but not my sewing machine too. I’m hoping I’ll be able to slide them around as needed to swap out with my sewing machine.
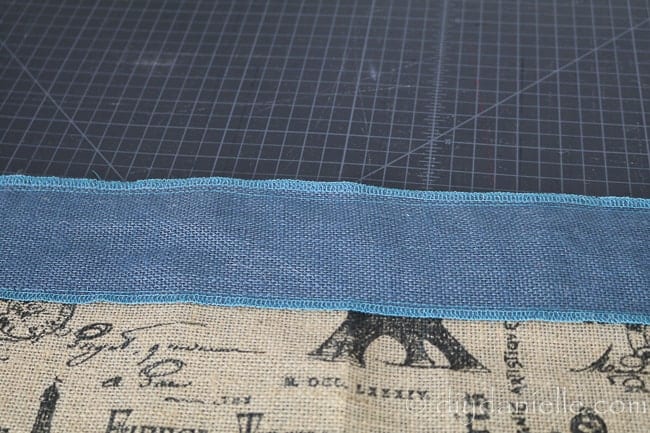
- Blue burlap strips- (2) 3″ x 38″ with serged long edges
- Decorative burlap- (1) 24″ x 38″
- Yoga mat cut to 24″ x 38″
- Pins, optional if you like to live dangerously
Need fabric? Try Fabric.com.
I bought my yoga mat at 5 and Below a lonnnnng time ago. I didn’t use it as I have a nicer mat, but I’ve been slowly upcycling the pieces into various projects like these mouse pads: DIY Mousepad with Wrist Rest | Reversible Mouse Pad | How to Sew a Mouse Pad. The mat has been cut down a few times so the 24×38″ size was based off that size.
How to Make a Serger Mat
Cut your fabric and yoga mat to the size you want them. The length of the burlap fabric was 2″ long that the mat length to allow for the burlap to wrap under the mat.
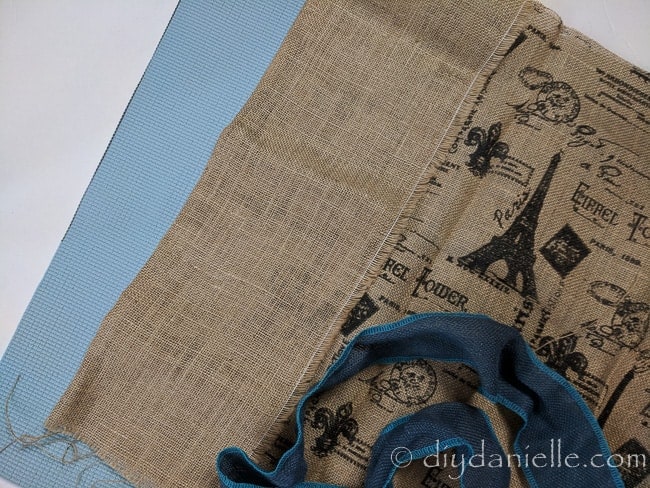
Serge the edges of your blue burlap or just cut the burlap so it won’t fray. Mine was already serged. I needed to iron my burlap because it’d been thrown into a drawer.
Place your big cut of burlap on top of your yoga mat, then pin the blue burlap to the long top and long bottom edge of the serger mat. Or don’t pin if you like to live dangerously.
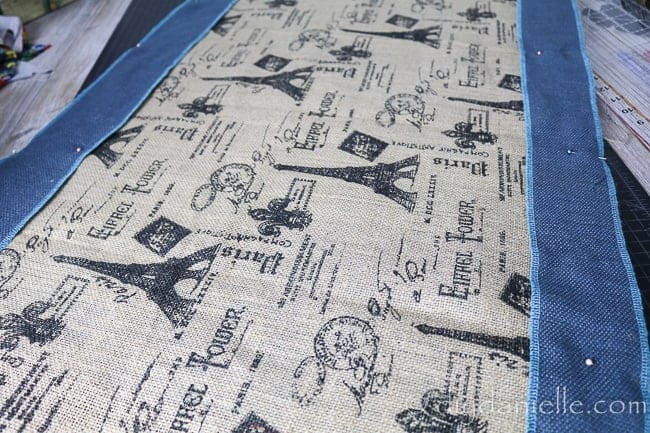
Sew a straight stitch on the bottom and top of each blue burlap strip. I used the same color thread as I used with the serging.
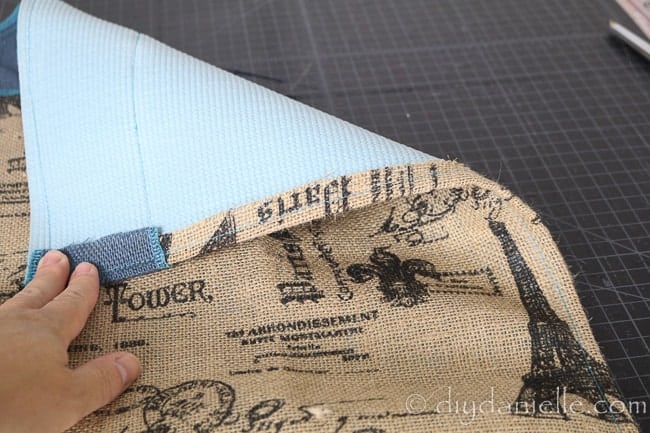
Once I sewed those 4 lengths of straight stitches, I turned the excess fabric (both burlaps) over on the short ends and sewed a straight stitch up each side so the raw edge of the yoga mat on the short ends wouldn’t show.
All done! Very simple. My sewing area looks super organized now! Woot!
Want more fun sewing ideas? Check out these other fantastic sewing posts:
How to Babyproof a Sewing Room | How to Thread a 1034 D Serger | Sewing Tools | How to Choose a Sewing Machine | Sewing Tips and Tricks for Beginners
Here’s the video tutorial if that’s more your jam! There’s a cute clip of my naughty baby at the end… he’s waving now, awww.
Please share and pin this post! You can also post your project and tag the DIYDanielle team on Instagram @doityourselfdanielle!
Check out other burlap crafts with the Craft Lightning Burlap Tour!

Great idea! And pretty too!
Thank you!