
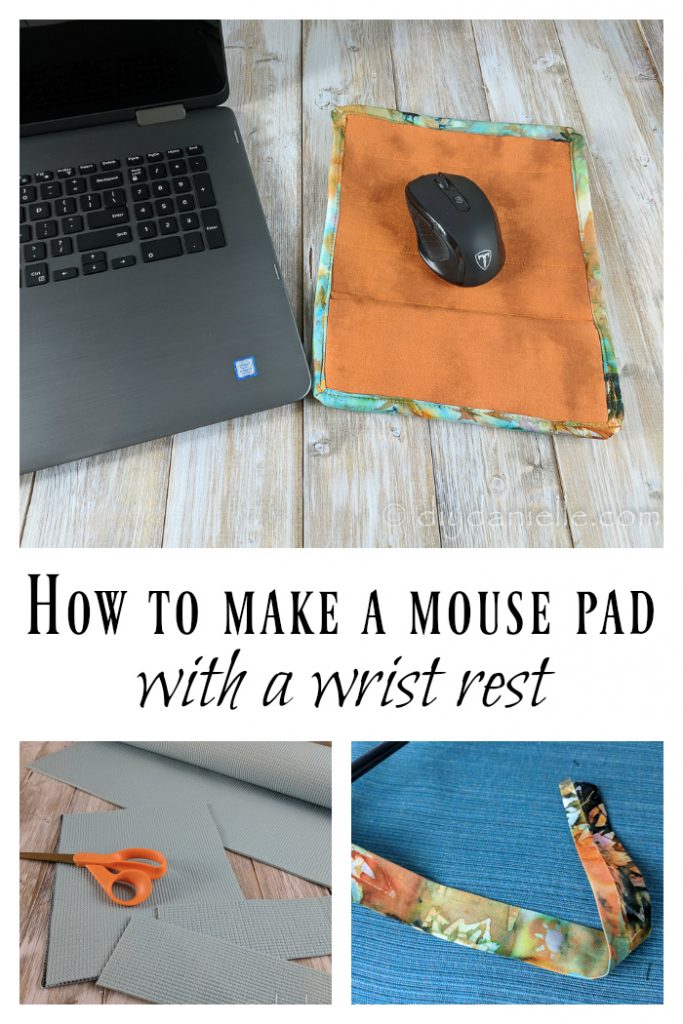
How to make a mouse pad with a wrist rest from an old yoga mat.
This post may contain affiliate links. Using these links helps support my blog. Thank you!
In December I did a post on how to create a reversible mouse pad and during the process, I ended up created three different DIY mousepads as I couldn’t quite decide which one I liked best.
And I was having a lot of fun upcycling an old yoga mat into mouse pads. Here’s the version with the wrist rest… I was using a mousepad with a wrist rest currently so I felt like it was a good challenge to try to replicate that.
My wrist rest isn’t quite as high as my store bought one because my store one feels a bit too high.
Supplies Supplies listed below may include affiliate links to the products.
- Yoga mat
- Fabric
- Hot glue gun
- Bias tape
- Needles for your sewing machine that can tolerate sewing through the yoga mat + fabric. I think I used a needle meant for jeans. I still had to be careful and go slow because it was a lot to sew through.
Video Tutorial
Photo Tutorial
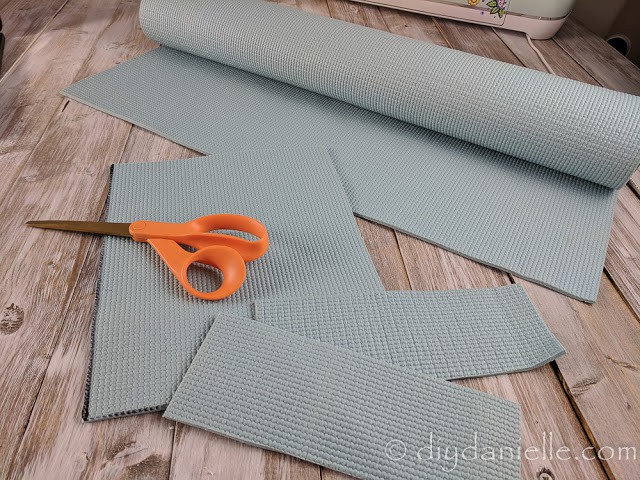
Start by cutting out your mouse pad the size you want it to be. Cut out two small rectangles for the bottom to use as a wrist pad.
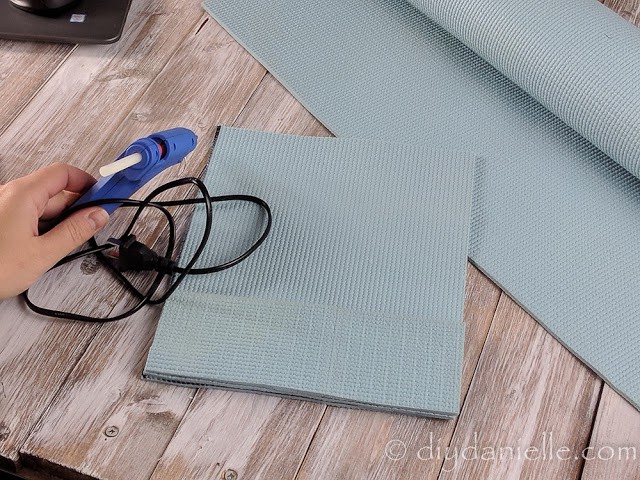
Using a glue gun, glue the rectangles for the wrist pad at the bottom of the mouse pad, on top of each other. You could add a third or fourth layer if you want your wrist rest taller.
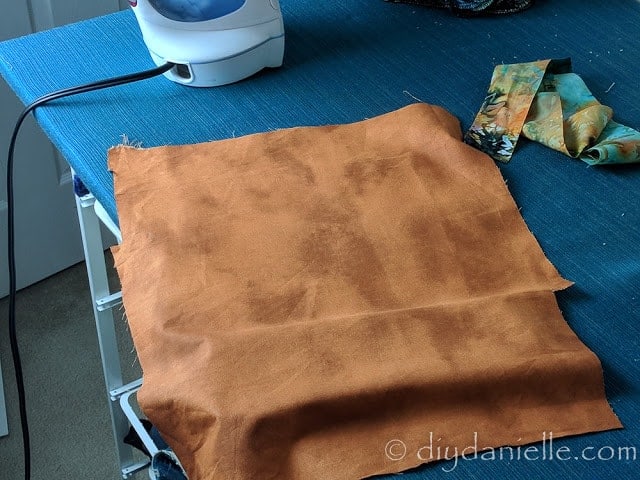
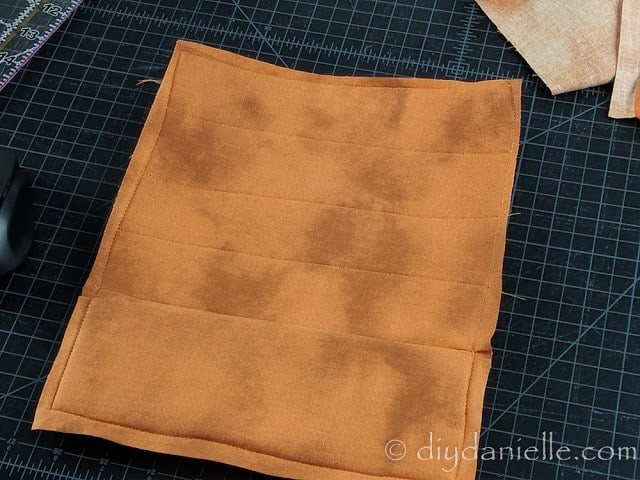
Next you want to add your fabric. I ironed a scrap piece of fabric and laid it over my mousepad to make sure it was the right size.
Then I really carefully sewed it on. Nothing fancy because I’ll be adding bias tape. I just trimmed off the excess fabric.
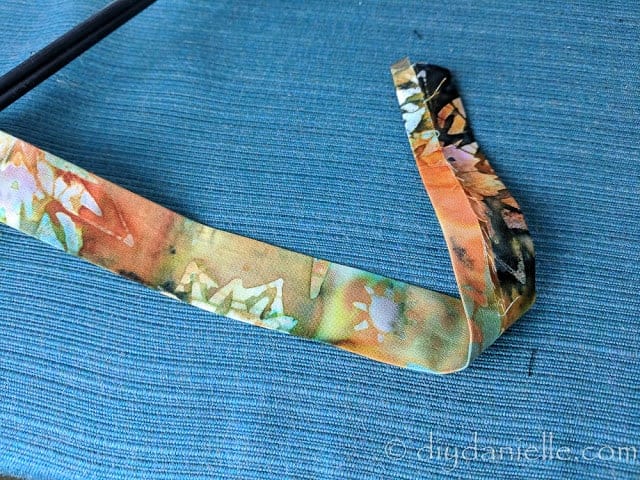
I made my own bias tape which is super fun and easy with my bias tape makers.
Then I just sewed on my bias tape. Still not sure I did this right… me and my bias tape game are not strong.
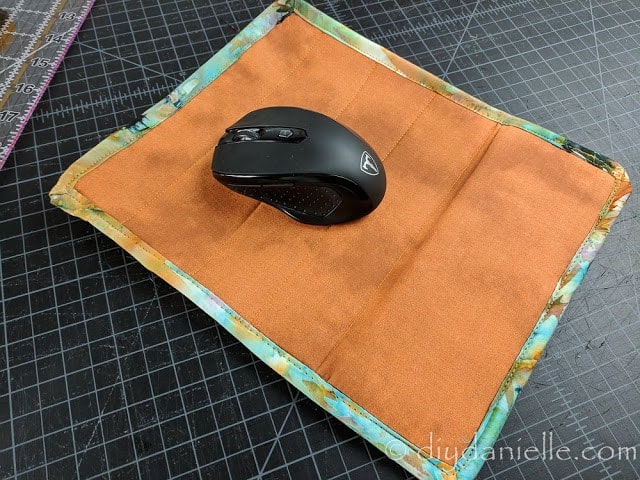
Finished!
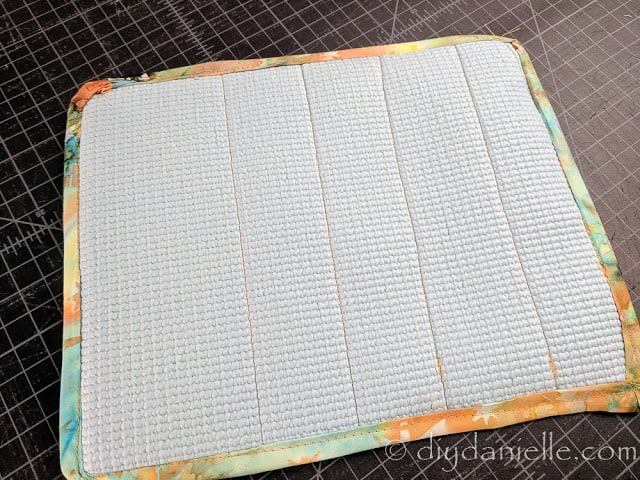
Here’s the back. The yoga mat helps keep the mouse pad from slipping around.
Thanks for taking the time to read this post! I really appreciate the time you’ve taken. Please share, like, and pin my post if you enjoyed it. Follow me on social media and subscribe to my email list to keep up to date on all of my latest projects!