
How to make an introvert door sign. This “no small talk” sign will say what you are really thinking.
This post contains affiliate links. If you make a purchase using those links, I may receive a commission from the sale.
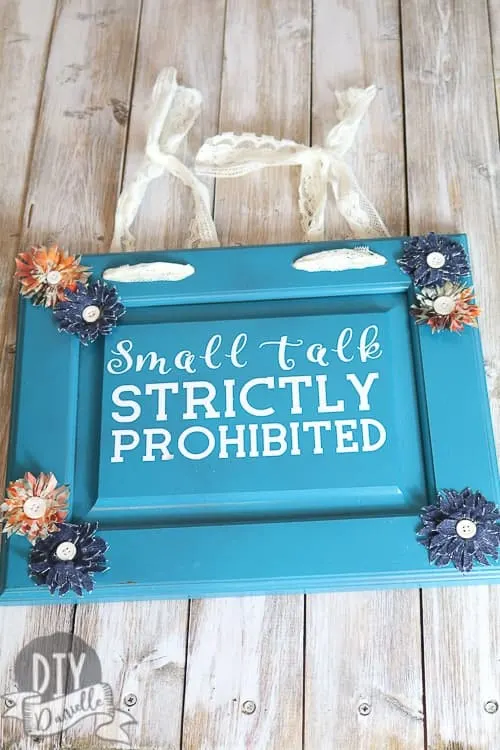
As part of this month’s “thrift store” challenge, I decided to post about the introvert sign that I created… a while ago. It’s been hanging around in my sewing room, waiting for a few final touches.
This sign evolved from a set of cabinets that I bought from the Restore, a thrift store specifically for furniture and construction type products like cabinets, door knobs, lighting, etc.
We’ve bought used cabinets from the store quite a few times to save money, such as the cabinet we used for our DIY Arcade Machine and the cabinets I used in our closet organization system. The sign is an upcycled door from one cabinet that we purchased. And goodness, I can’t even remember what I used the base for.
For the record, I love people. I just love people in small doses because I’m an introvert and peopling really, really exhausts me.
Supplies
- Cricut design from DIYDanielle.com
- Old cabinet door
- Paint for the door
- Lace/Burlap Ribbon
- Cricut Maker™
- Cutting mat
- Weeding tool
- Outdoor Vinyl from Cricut
- Transfer paper
Use the Discount Code DIYDANIELLE on cricut.com for 10% off any cutting machine or heatpress (no minimum). Excludes: materials/accessories/mystery boxes/etc. Applies to US/CA only, code expires 12/31/23.
How to Make an Introvert Door Sign
I started with an old cabinet door.
First I added extra holes to each side where the hinges used to be, using a drill bit. This will give you something to thread ribbon through later to hang it. Sand the area around the holes if needed. As you can see in the photos below, I actually added my screw holes after painting. Do as I say, not as I do.
Paint with the paint of your choice. You probably will want to read these tips on applying vinyl to wood and choose your painting supplies accordingly. Personally, I painted these with Rustoleum 2x Painter’s Touch spray paint, something I had laying around because I use it for painting plastic.
My vinyl didn’t stick as well because I didn’t read that article before making them (wink). It works, but I recommend taking the path of least resistance.
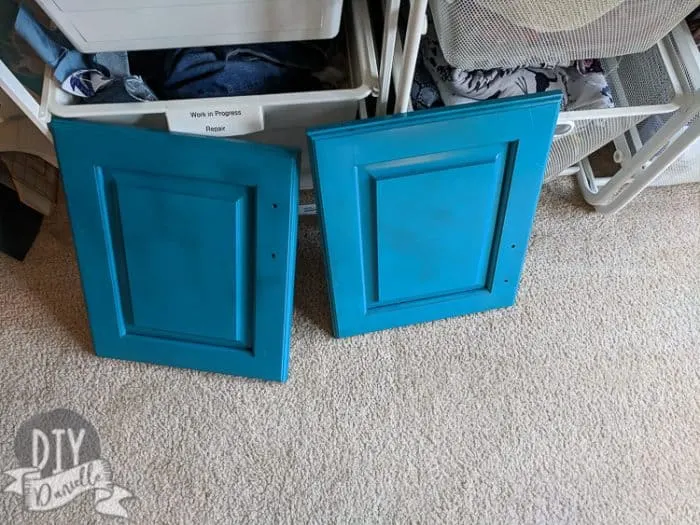
Once your paint has dried, you can now apply your vinyl using your transfer paper.
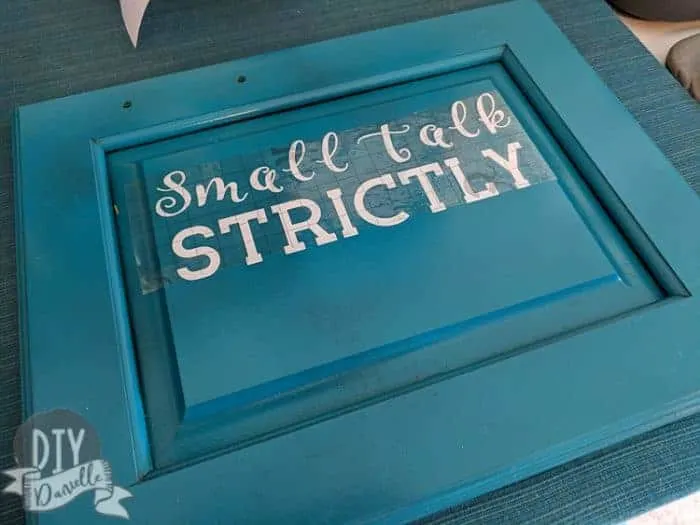
Last, thread your ribbon through and hang!
Optional Step: Adding Flowers
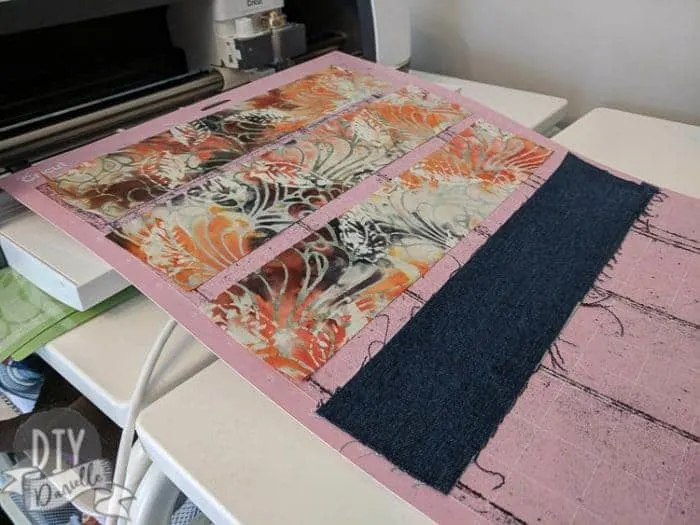
You can add paper flowers or make fabric flowers like I did. I bought this “pattern” for my Cricut Maker and it cut the flowers out for me. The blue ones are made from upcycled denim jeans… they’re the bottoms of my son’s jeans that I cut off to make shorts. The multicolor flowers are made from some cotton fabric that I got while attending the Snap Conference for craft bloggers.
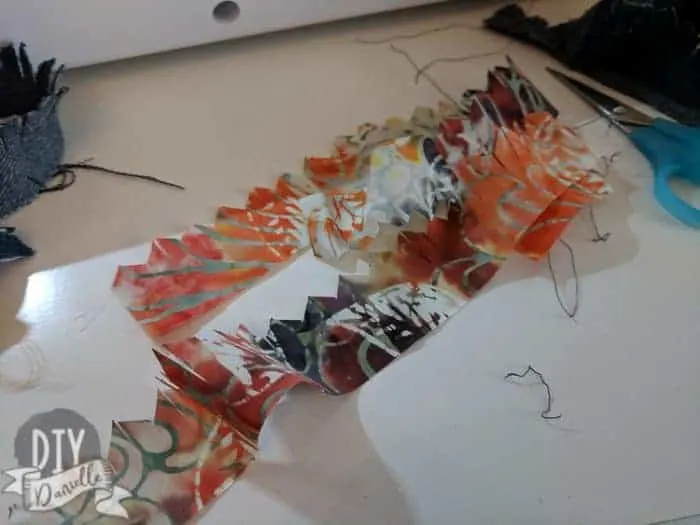
I used my serger to gather the flowers, but you could use a sewing machine too as stated in the directions for the pattern.
Once gathered, I moved the pieces around just how I wanted them then hand sewed them in the middle, finally sewing a button on.
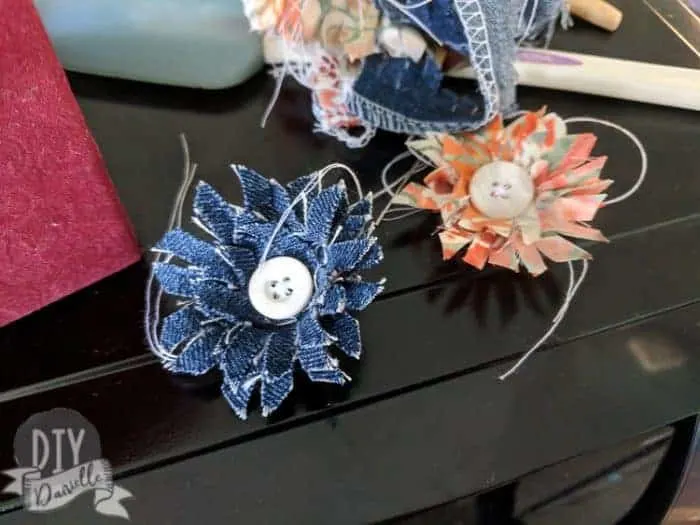
You can hot glue your flowers to your sign.
Love sign making? I also made these super cute nursery signs and two Harry Potter signs for our Halloween decor: Front Door and Garden Sign.
Please pin and share this post!
This link party is powered by Link Party Animal


meegan
Saturday 16th of March 2019
Cute! What a fun way to use a cupboard door. I LOVE your fabric flowers, too.
Marianne
Saturday 16th of March 2019
Lovely idea to upcycle doors like that. And I love the added details of the flowers. Pinned