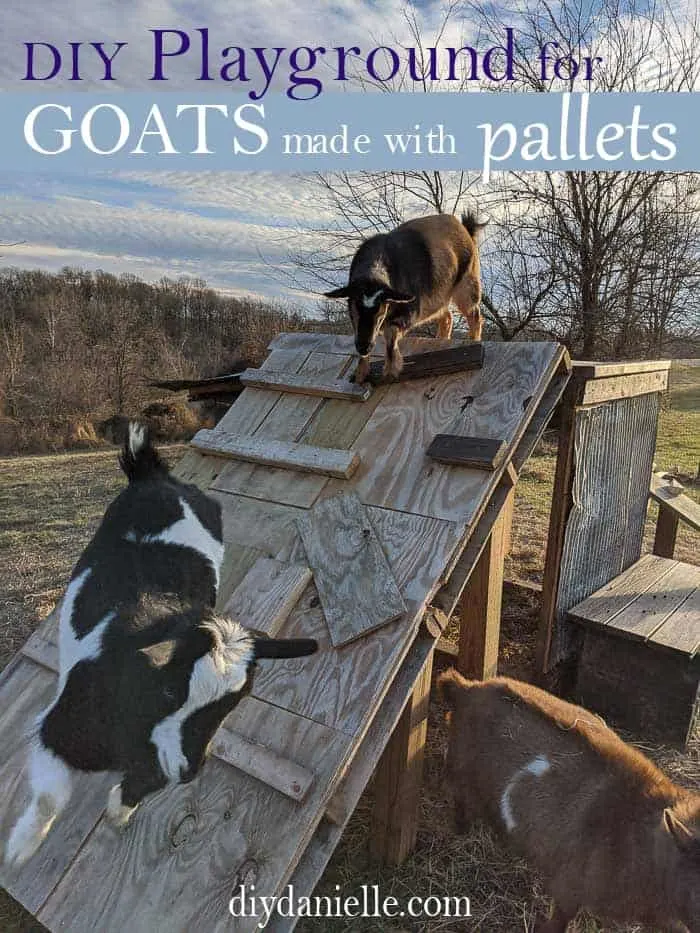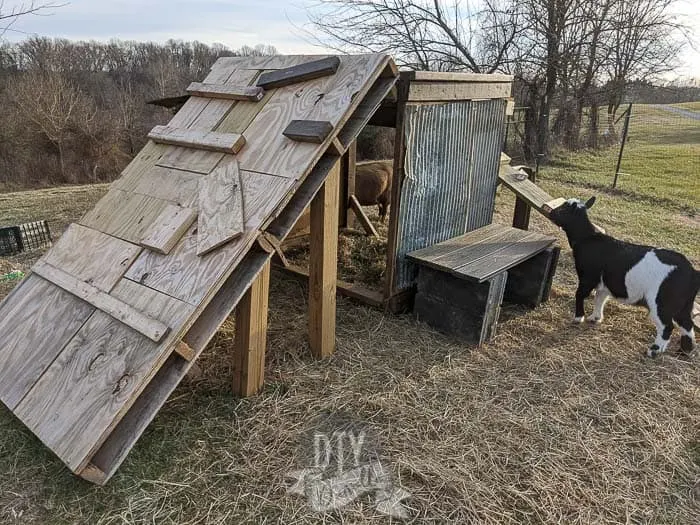
DIY goat playground that I made using pallets and other scrap wood around our homestead.
This post may contain affiliate links which may earn me commissions should you click through them and take certain actions. As an affiliate for Amazon, Cricut, xTool, Home Depot, and other sites, I earn from qualifying purchases. Please DIY carefully. View my full legal disclosures here.
Please read the whole post so you don’t miss any important information!
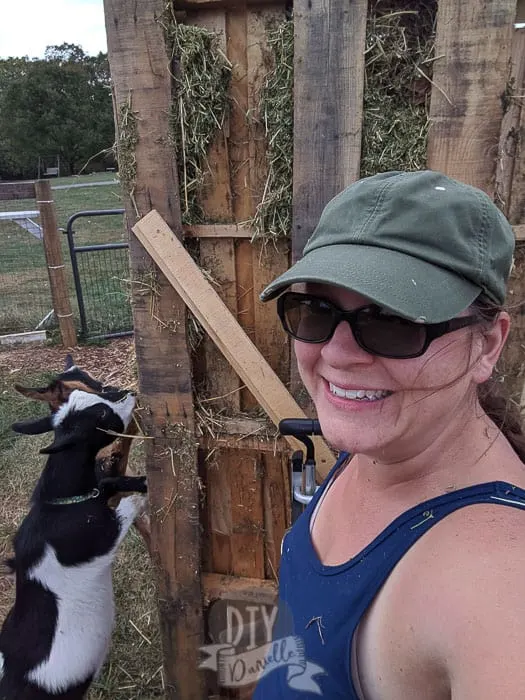
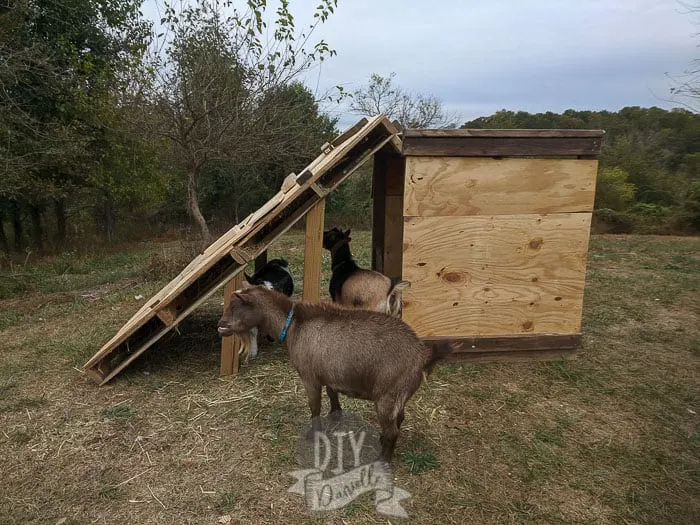
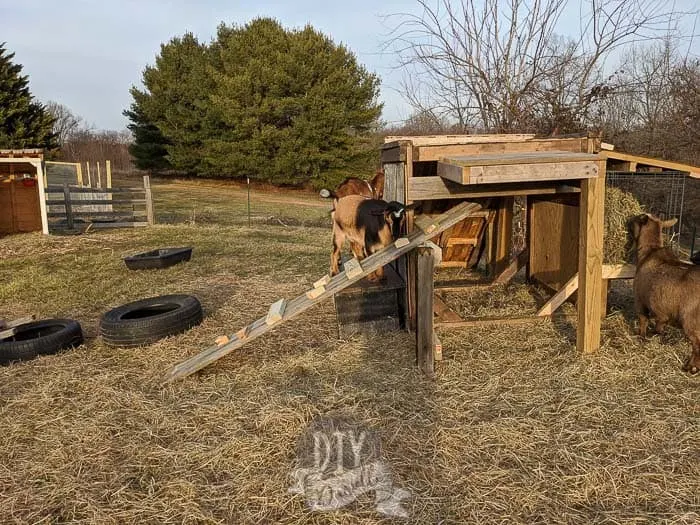
This goat playground sort of evolved off the diy dog cabana that I made for my dog. He didn’t use it much so I decided to flip the wood so I could create another goat structure. This gives the goats another place like their goat house to escape from rain and wind, plus something to play on. They love sitting on top and soaking up the sun.
My mama goat can’t get up there… the ramp is too steep and she’s a bit chubby.
Things I want to add soon:
- Shingles along the ramps to help keep their hooves “filed” and to provide a bit more traction. I don’t like how slippery the wood gets. I’ll attaching them using roofing staples or nails… whatever works.
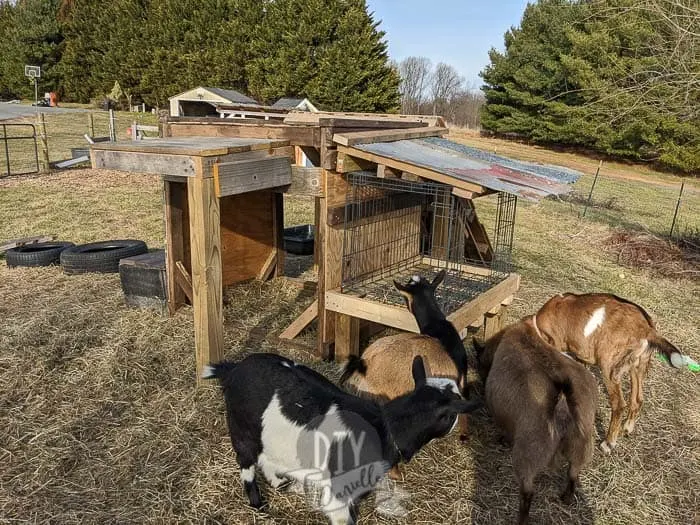
- Pool noodles along the metal edges of the roof of the goat hay feeder. The edges are a bit sharp and while the goats don’t seem to be getting near those, I’d rather not risk us or the goats getting hurt on the edges. It’s OLD metal.
If you know me and have old shingles laying around… I’m just sayin’… haha. It’s the ONE thing the old owner didn’t leave in our sheds… we have tiles, old wood, and everything else under the sun.
This is going to be more of a progression of the playground rather than a tutorial. I just put things together in pockets of time when the kids were playing happily outside… I used materials I had on hand and nothing else. It was a fun job because it required a little bit of creativity.
And unlike most experienced woodworkers, I didn’t do anything at all to plan this out ahead of time. I just did things, screwed up, took it apart a bit, fixed it, repeat. It is a great way to learn.
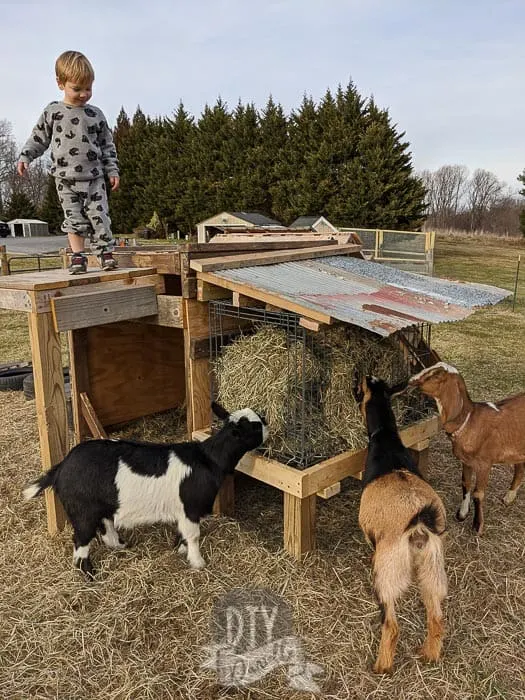
My main priority was making sure it was stable enough to support the goats and heavy enough that it wouldn’t blow over. So far so good! The human kids AND the goats get up there, despite the fact that I keep telling my children to get OFF.
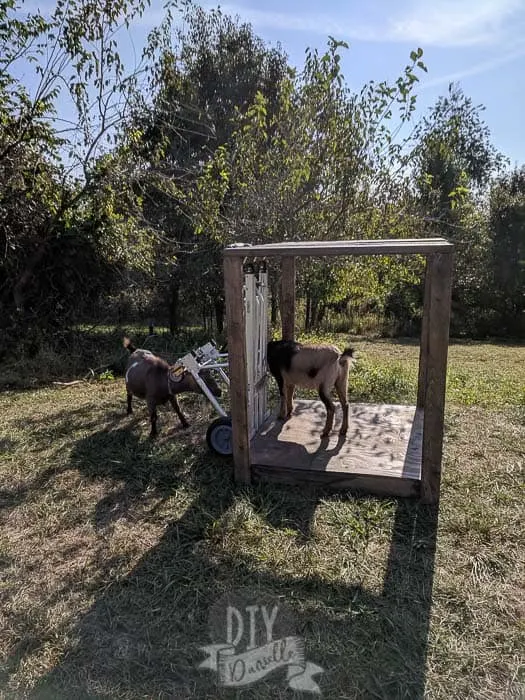
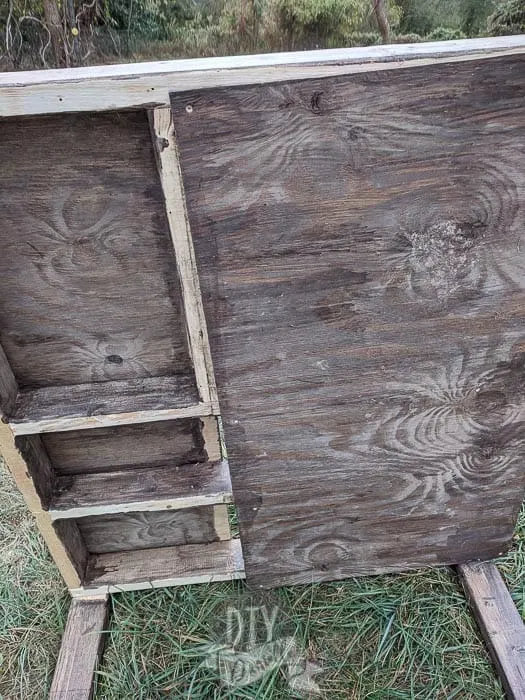
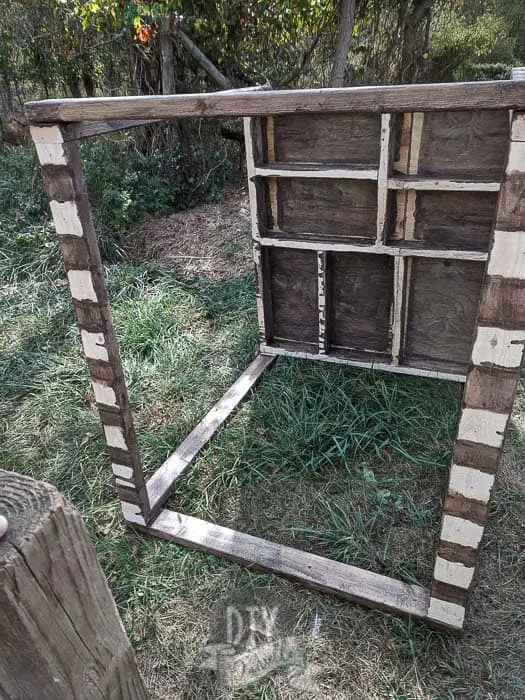
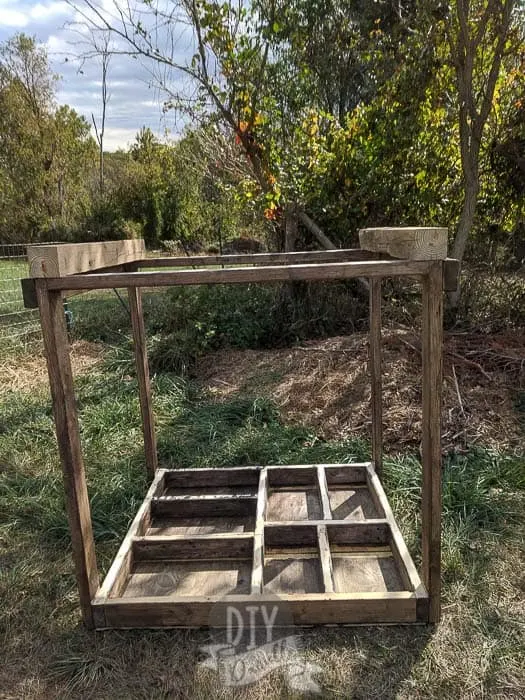
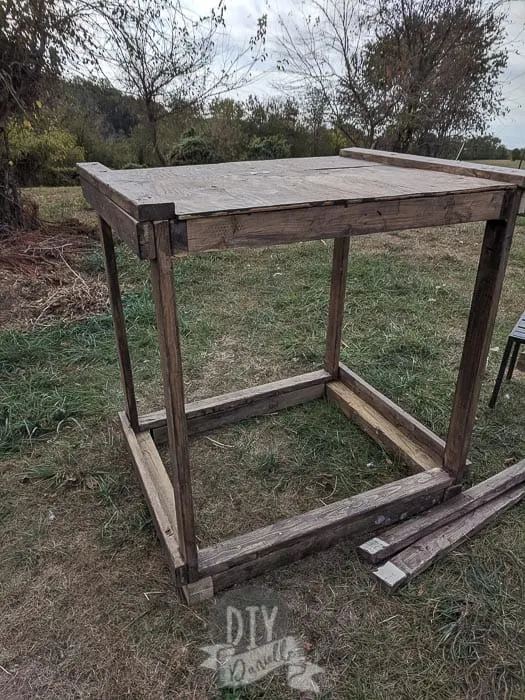
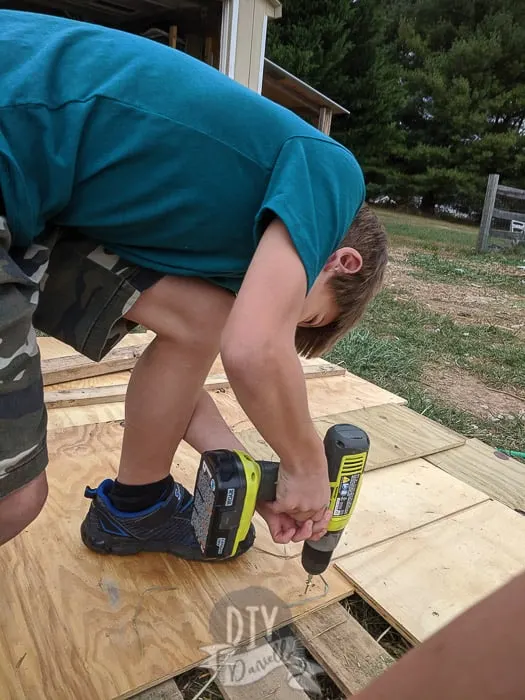
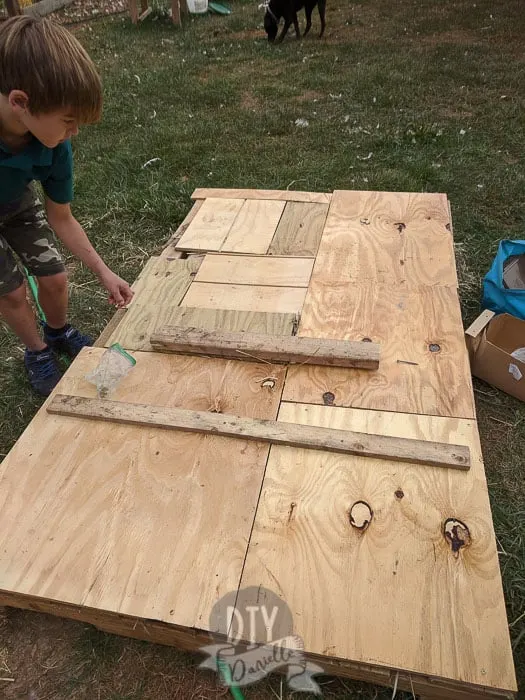
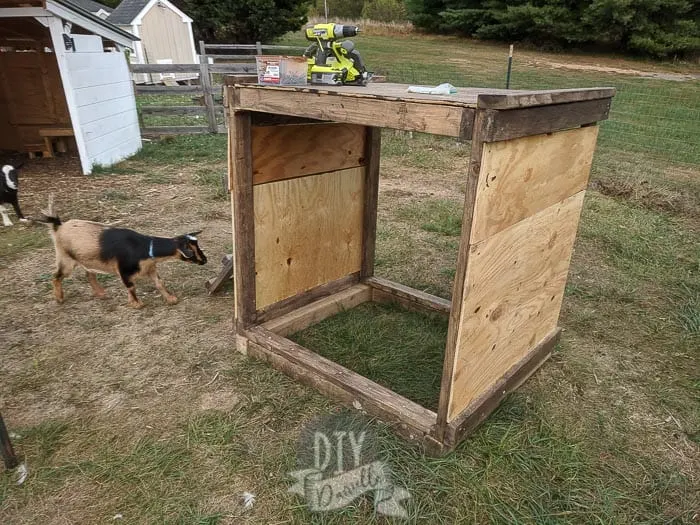
For the first stage, I took the original cabana, sans the curtains because we know the goats would eat them, and turned it upside down. I realized I’d want to remove the “floor” and make it the roof. You need plenty of 2x4s to brace the roof because the goats will be on top of it.
A couple of thing. You want the bottom pieces to be pressured treated… but preferably all of them. If not, you need them stained/primed & painted with outdoor paint. Otherwise the wood will rot pretty quickly.
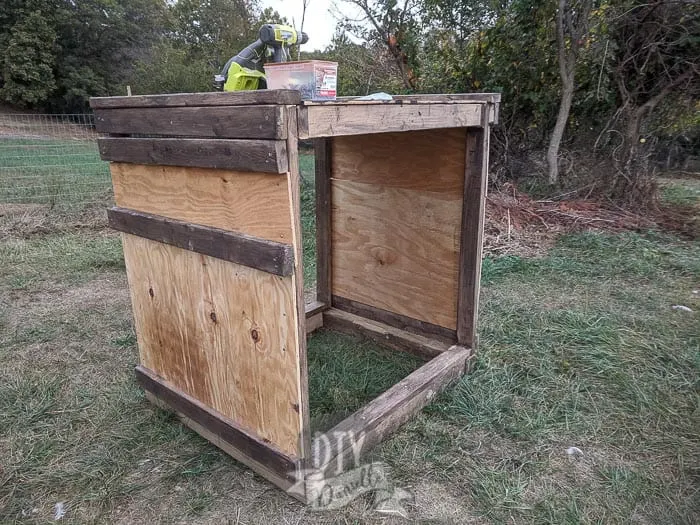
I added some scrap wood for siding. This really needs to be stained or painted at some point, but I wanted them to have an area to get away from wind and rain. This does the trick, even though it’s small.
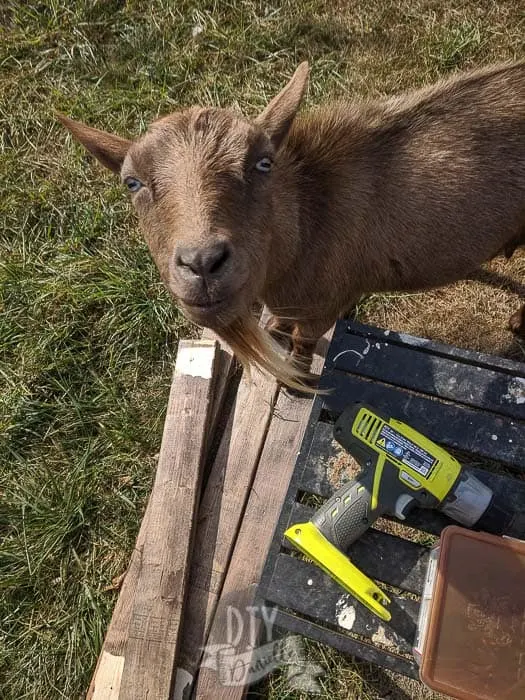
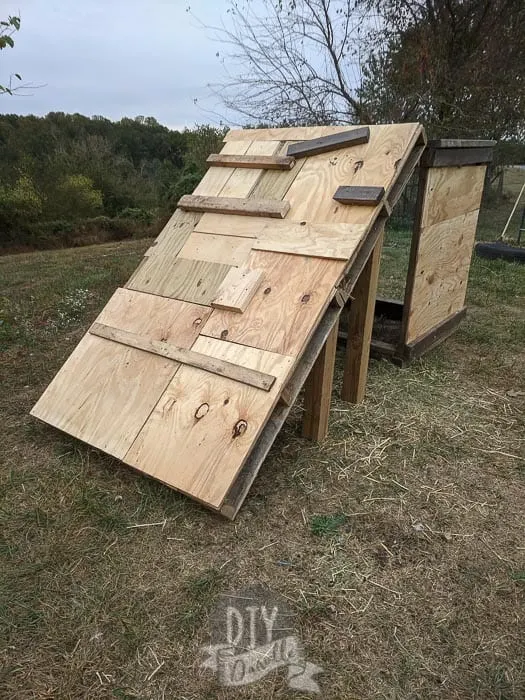
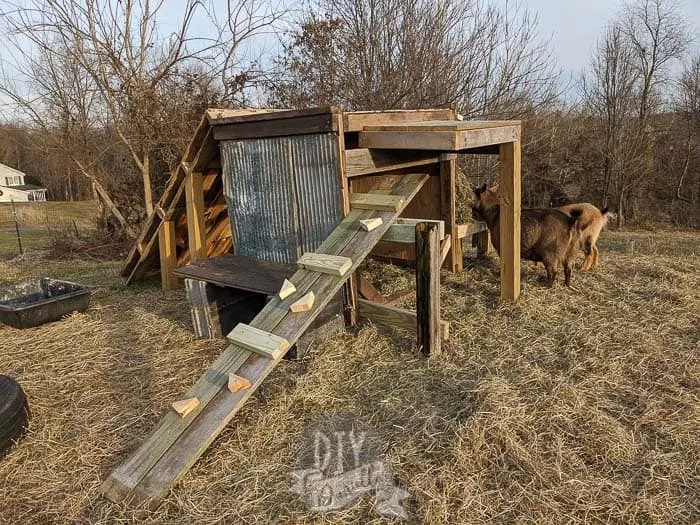
My next step was to add a ramp. I had a long pallet that I wanted to use. It was in previous use for storing hay on top and the goats thought the leftovers that were stuck in the pallet were delicious.
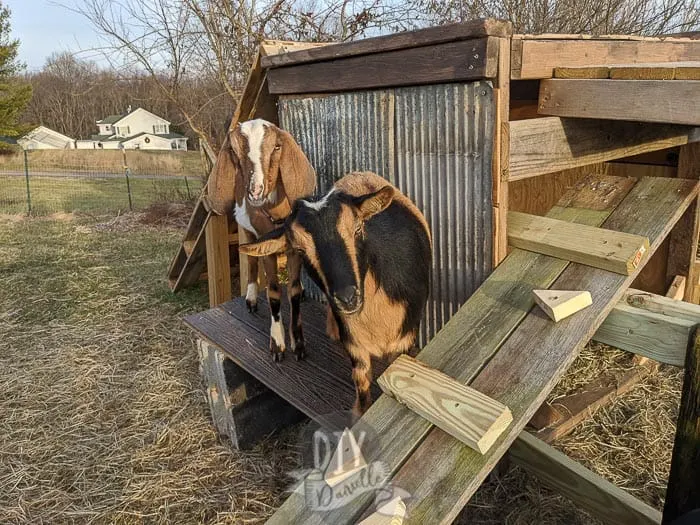
As you can see, we added random scraps of wood for the top of the pallet to make sure there weren’t any gaps for the goats to get their legs stuck in, added 4x4s for supports in areas that looked like it was necessary, and added more scrap wood so they’d have something to use as grips as they climbed.
They really need those shingles put on because that would be better. But the human kids appreciate the handholds when they’re climbing it.
At this point I wasn’t really happy with the ramp height, but I wasn’t sure how else to attach it so it stayed. It worked okay. The younger goats could climb it and my plan was to add more ramps eventually. So it sat for a while…
I had a few more scraps so I put an additional little section on… no clue what I was going for here… In my head, I’d be able to attach a ramp easier onto this… but eh.
If you’re thinking, “WOW that can’t be supportive”… you’d be surprised. I didn’t have a second 4×4 but the other ends of that are tucked between two pieces of wood. It works surprisingly well. I would recommend 2-4 legs normally though, ha. As you’ll see in later pictures, my sons get on it and haven’t broken it yet.
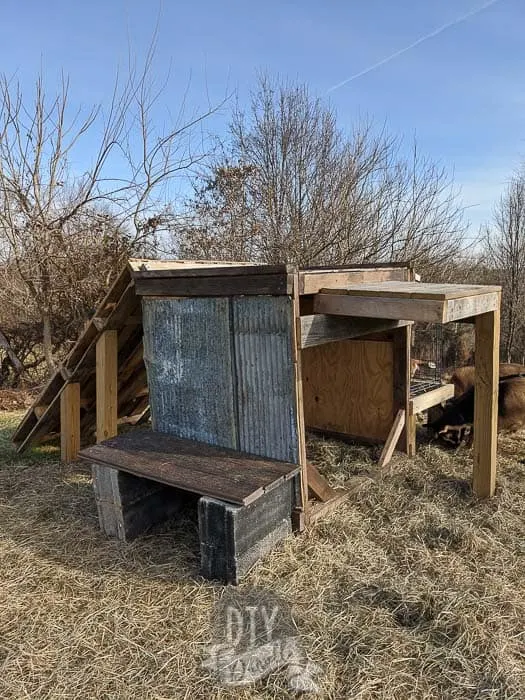
Oh and I popped my other scrap pieces of metal on the side that gets hit with the wind. Just hoping to keep the wood from getting destroyed and wasn’t motivated enough to stain/paint it.
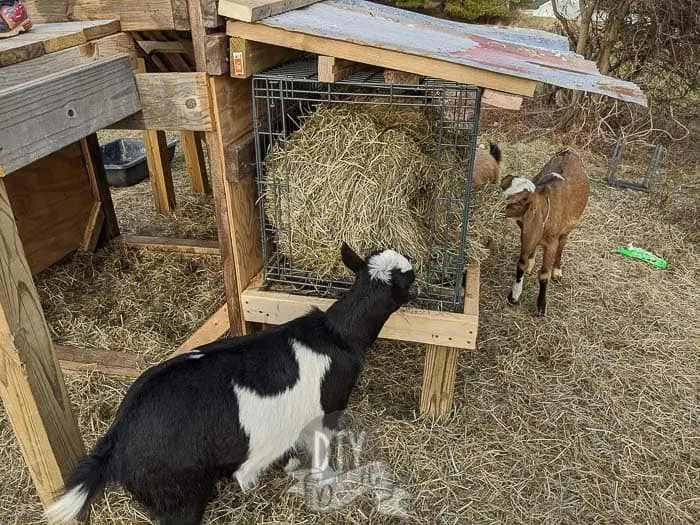
We were heading on a week vacation and our neighbor was watching the goats so I decided to put together a quick DIY hay feeder using an old crate so she wouldn’t need to haul hay quite so much.
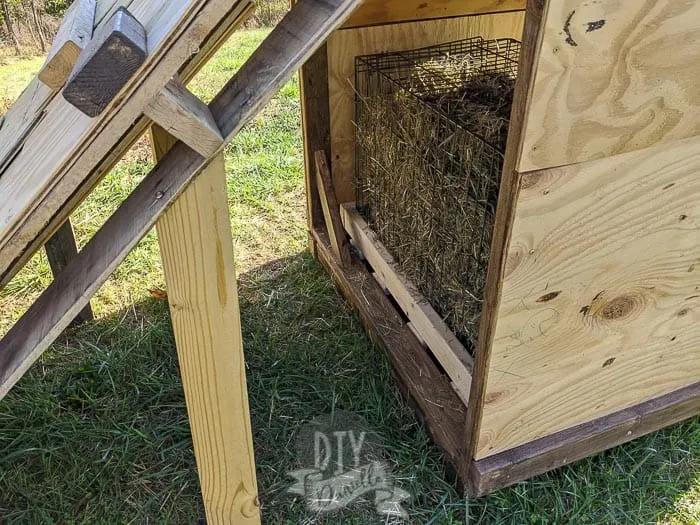
This was a pretty neat setup, but the goats thought it was a bed after a while and would climb in (if I kept the door of the crate off). With the door on the crate, it was hard for them to get all of the hay.
I was worried about being able to clean out under there and I didn’t love climbing under to add the hay in there. So I decided to build the hay feeder off the bare side instead.
And the last part was an additional ramp… it’s thinner, longer, and at a less steep incline. The goats still don’t trust it. I REALLY need to add some shingles.
My husband has made fun of this SO MUCH. He says it looks like I’m creating a little shanty town for goats.
But on nice days, the younger goats love sitting on top of it and soaking up the sun… and my human kids play on it more than their store bought swing set (much to my chagrin because I don’t really trust this build with their weight). So it’s a win.
With a few adjustments it’ll hopefully be a bit more sturdy, easier to climb, and safer.
Here’s my other, much better thought out, goat projects… DIY Milking Stand | Framing the DIY Goat Barn | Siding & Roofing for Goat Barn | How to Milk a Goat | How to Pasteurize Goat Milk in a Sous Vide | DIY Goat Hay Feeders | DIY Goat Petting Area with Bench | Goat House accessories
Please share and pin this post! If you make this project, share it in our Stuff Mama Makes Facebook Group. We have regular giveaways for gift cards to craft stores. You can also tag me on Instagram @doityourselfdanielle; I love seeing everything you make!
