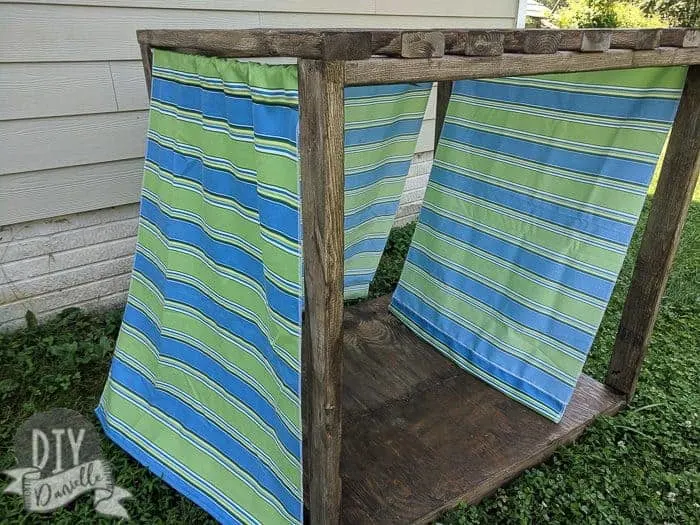
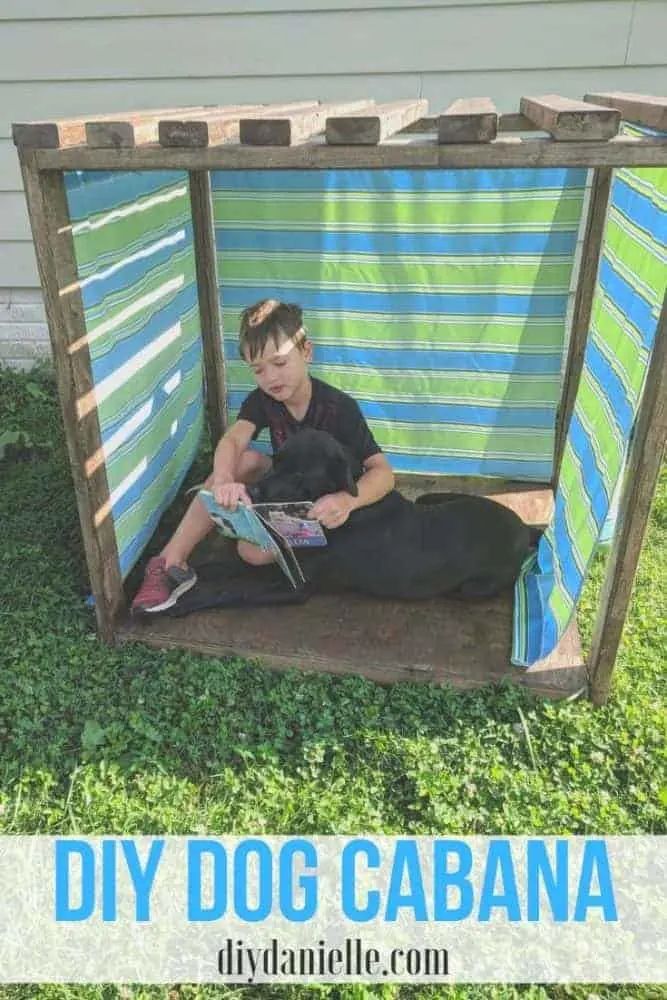
This outdoor dog cabana is the perfect DIY dog “house” for your pup to get a little shade from the sun. It’s built almost completely with 2x4s.
This post may contain affiliate links which may earn me commissions should you click through them and take certain actions. As an affiliate for Amazon, Cricut, xTool, Home Depot, and other sites, I earn from qualifying purchases. Please DIY carefully. View my full legal disclosures here.
Please read the whole post so you don’t miss any important information!
August’s challenge was “What Can I Build with a 2×4?” I had started on a different project, but my husband suggested that I let my 7 year old make a dog house with the 2x4s. So this evolved from a boot rack into a dog house into a dog cabana. And once my kids saw it finished, suddenly it was “That’s a really cool playhouse for us!” Funny how that works!
For what it’s worth, this would be great for kids or the dog. It might also work nicely to let vines grow up if you wanted to leave the curtains off (or not).
I did make the top fairly tall which was more than the dog needed, but I figured I wouldn’t have enough scrap wood leftover for much else. So I just cut a 2×4 in half for the side pieces. But it works well for the kids too and the dog can stand up in it easily.
How to Build a Dog Cabana
You’ll need to get your saw out (I used my miter saw), a measuring tape, some screws, and eventually your sewing machine. And don’t forget- measure twice, cut once.
Supplies
- 8′ 2x4s: 11
- Plywood
- Stain: Behr Premium Waterproof Stain-Semi Transparent Cordovan Brown
- Sunbrella type outdoor fabric
- Heavy duty staple gun: I want this one by Ryobi or you can use curtain rods
Had to take the kids on a supply run to pick up more 2x4s. No, they’re not supposed to be sitting like that, but I cannot figure out a better way to contain them while I shop AND haul wood. Wish these came with a baby seat, ha.
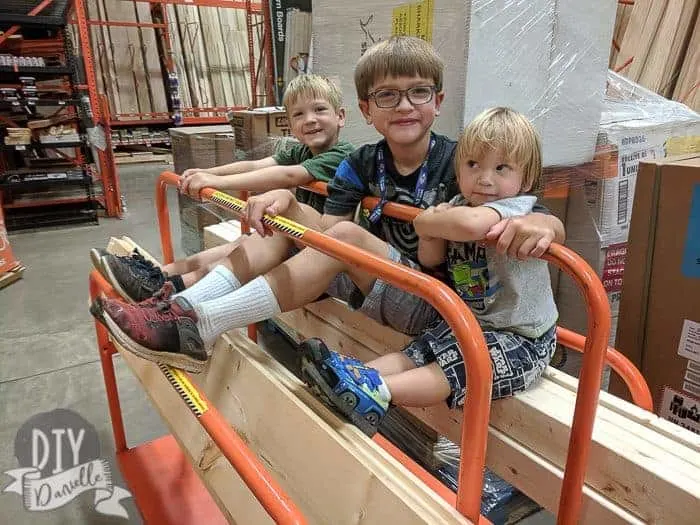
We also picked up some wood for the recessed shelves that my husband added to the living room- keep an eye out for that post. They’re GORGEOUS.
DIY Cabana Base
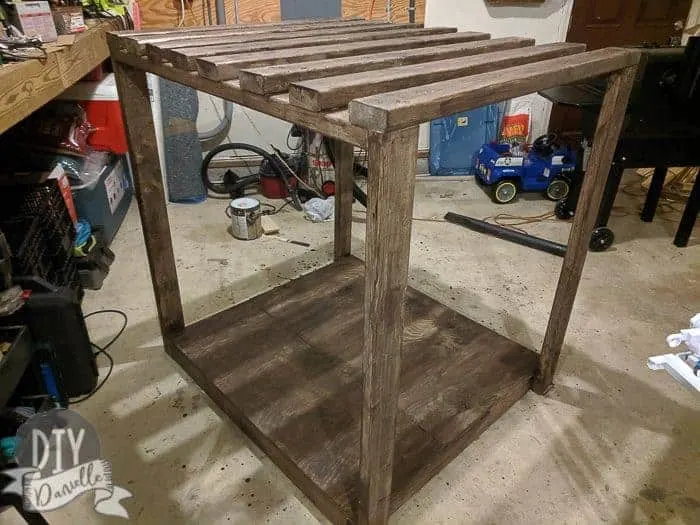
I’m not sure why I thought this would be a simple rectangular frame. I did this and was like, “DONE!” then realized pretty quick that I was not, in fact, done. Haha.
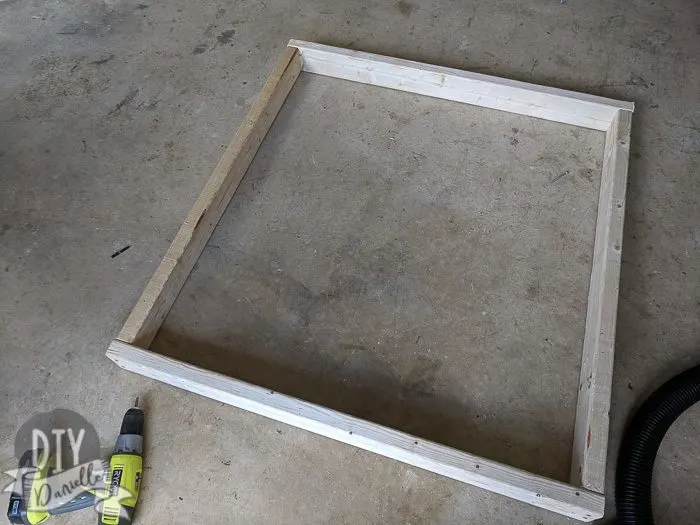
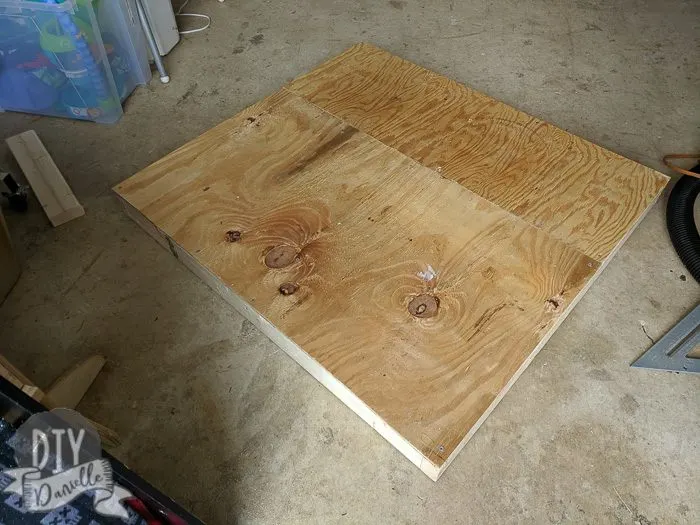
We JUST built a base for our shed so I should have guessed that I’d need additional supports. Needless to say, I made use of a bunch of 2×4 scraps and also cut some additional pieces because otherwise the plywood wouldn’t have held up to kids walking on it (the dog would’ve been fine, I’m sure).
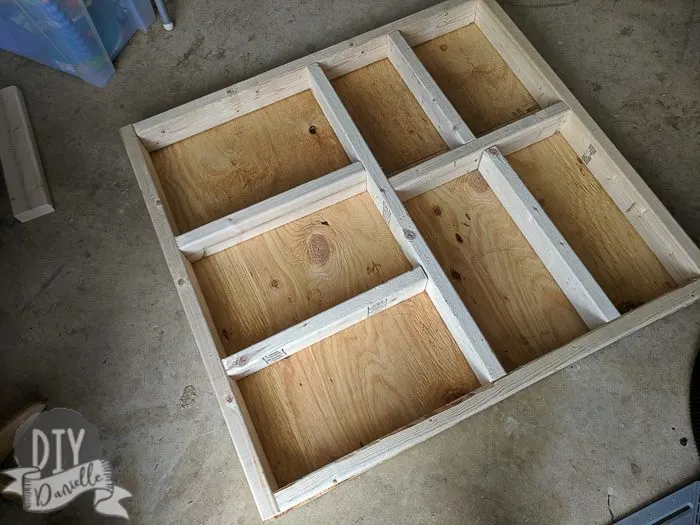
I added plywood to the top here. These were leftover scraps from our kid’s garage.
The screws for the top can be shorter than the 2.5″ deck screws that I used for connecting the 2×4 pieces.
Pergola Style Top
I started off by measuring how tall I wanted the sides to be. I ended up going slightly shorter than half of the 2×4′ (4′ approx). I screwed these into the sides.
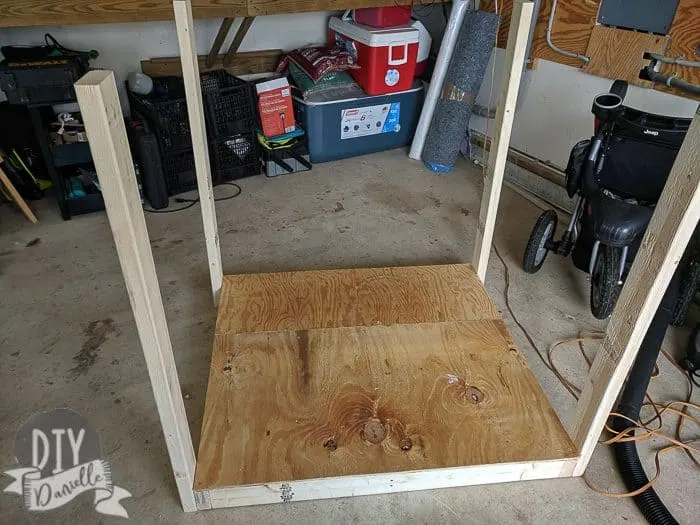
Once those were in, I added two horizontal pieces to hold them sturdy. Then the rest of the 2x4s were cut to lay across this. This helps keep the whole structure sturdy without building a frame piece for each side (like I did when framing the goat house. That would have been much heavier).
I thought about building a different type of solid top, but we don’t leave our dog out all day and we will probably put this away for the winter (although we don’t get much snow).
We just wanted a shady spot for him to sit if he wants to stay out on nice days. He loves chasing the squirrels.
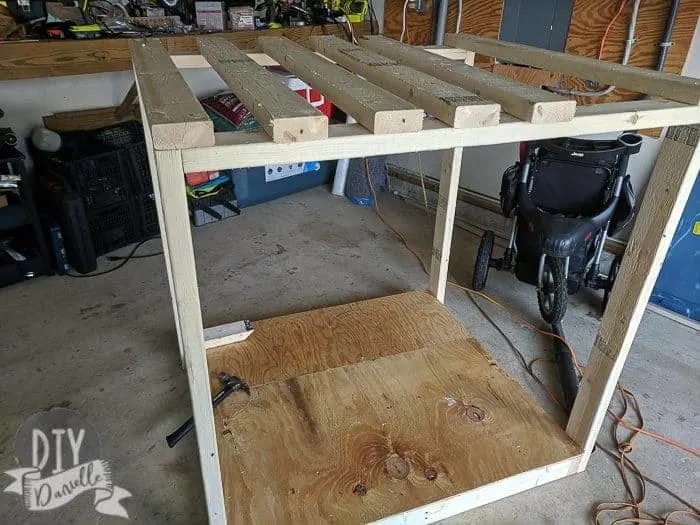
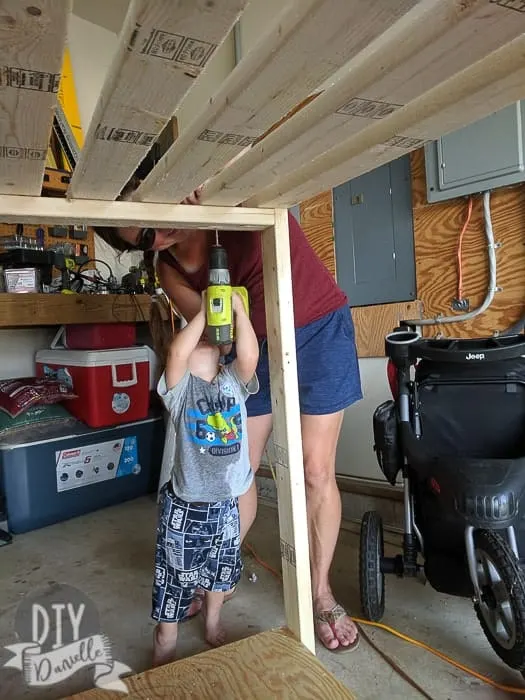
All of the top pieces except the two end pieces were screwed on from the bottom up. Mr. Almost 2 wanted to help and we had fun doing it like this.
Finally I added some stain to this. The stain matches my DIY Screen Door on the back porch and my DIY porch chairs. We’re hopefully planning to stain other stuff in our yard to match, but this is a long term project! We also would like to build a deck and stain it the same color, but we’re still working out the details (and cost, yikes!).
I should probably add another coat to this to darker it up a bit. I was in a rush and only did one coat.
Curtains for the Sides
I have a bunch of outdoor fabric (I hope- otherwise these will fade fast) sitting on the shelf in my sewing room so I figured I’d use up some of it for curtains.
I found a couple of old tension curtain rods laying in the garage that the previous owner left so I used those for two curtains- and I just stapled on the last curtain.
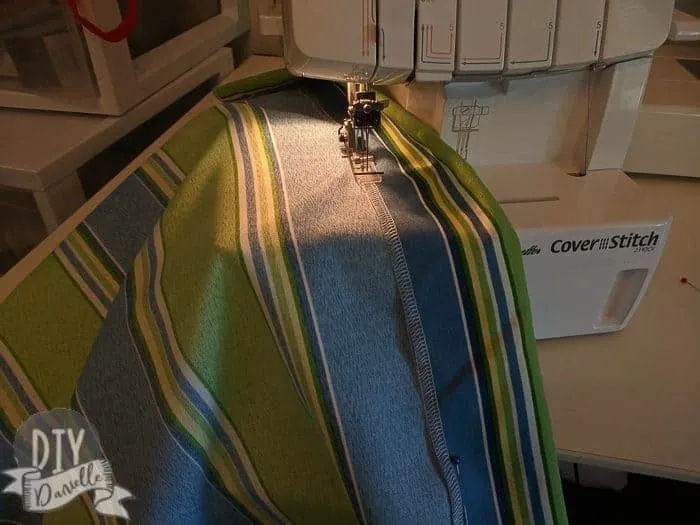
I could’ve make two curtains for each side so the kids could pull them back on each side, but I didn’t have enough fabric to do more. This will still allow them to push the curtains to the side (except on the side I stapled, of course).
Super happy with how it came out, even if I WAS skeptical about the dog needing a ‘dog house.’ At the very least, the kids will enjoy sitting here with the pup.
Here’s a kind of discombobulated video of the process for building this…
I’m debating if I should weigh down the curtains or keep them in place somehow. The curtains blow around a lot in the wind. Hm. What do you think? Leave me a comment!


Love this? You may like some of my other posts, such as DIY Furniture that You Can Make with Wood, DIY Dog Bed with PVC, and 19 DIY Projects for Your Garden and Patio.
Please share and pin this post! Thanks!

Sandra
Sunday 25th of August 2019
The side curtains probably do need to be weighted down, otherwise they may well flap about too much and Pooch will not like that. But the concept and build are so inspiring. Thank you.
Danielle
Sunday 25th of August 2019
Thanks!
Toni | Girl, Just DIY!
Monday 19th of August 2019
Oh my gosh what a great project! I bet your pooch loves hanging out there in the shade on a hot day.
Christine
Saturday 17th of August 2019
Oh!! Such a fun outdoor project!! The cabana is wonderful!!