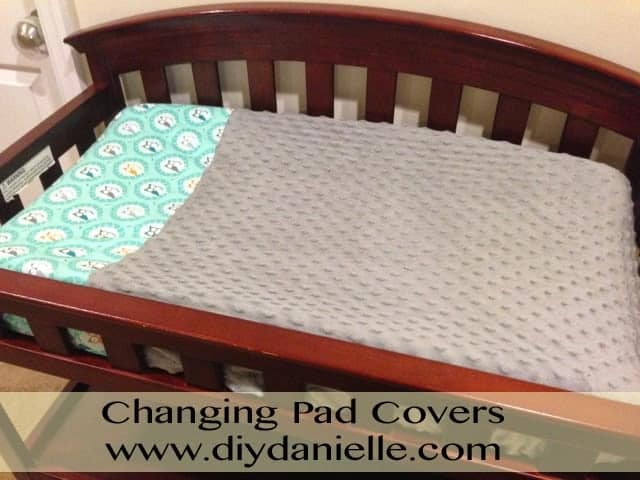
How to sew changing pad covers to customize your nursery for a little boy or girl.
Sewing my own changing pads was a great way to customize the nursery with all of the same fabric choices and theme. I used this tutorial from Prudent Baby for these changing pad covers.
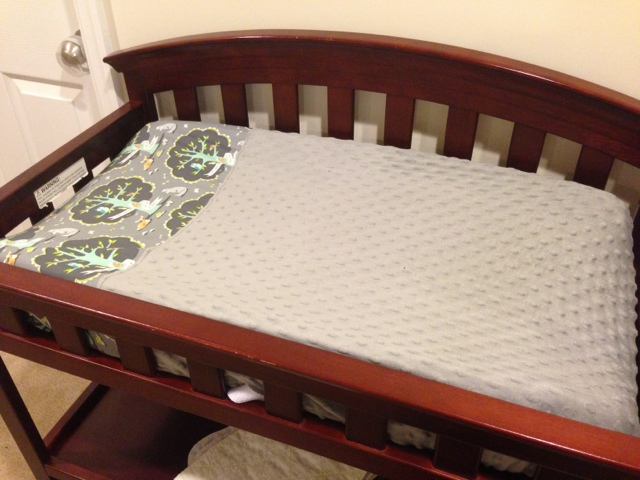
I’ve found that three covers suits my needs so I’m making three different covers. I did it mostly per the Prudent Baby instructions.
Cost to Sew Changing Pad Covers
- Cotton Michael Miller fabric:
$8.98/yard, but I used less than 1/2 a yard per changing pad cover. $4.49/cover - Gray Minky: $44.97-$17.99 (40% coupon) = $26.98 for 3 yards, $8.99/yard. I think it actually is slightly less than a yard per cover, but I’m estimating at one yard. $8.99/cover
- Elastic: 28 cents per cover. $0.28/cover
TOTAL COST: $13.76 per cover
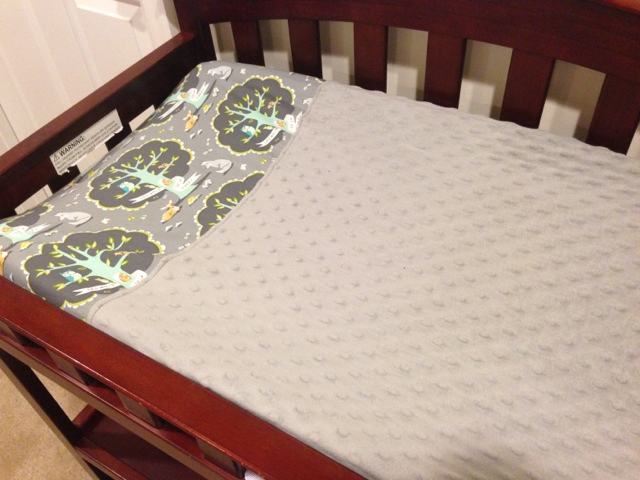
Here’s a few pictures from the first two I made (waiting on the third fabric to come in as it was back ordered):
 |
| With the 8×8″ squares cut out. |

:
- Zig zagged (or serge if you have a serger) the corners of the changing pad after I did my straight stitch.
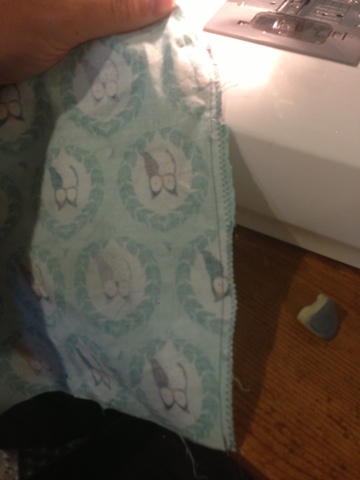
- Top stitched where my two fabrics met, after stitching them right sides together.
- I did not iron my fabric for the elastic casing because minky doesn’t iron well. Instead I pinned as described. Ironing would be better/easier if you’re using a fabric that will iron nicely.
- Pin and make sure you don’t stretch the minky or everything will turn out discombobulated. Minky is a lot stretchier than cotton. Using a walking foot helps, but I managed without it. I was just very careful not to pull on the fabric.
:

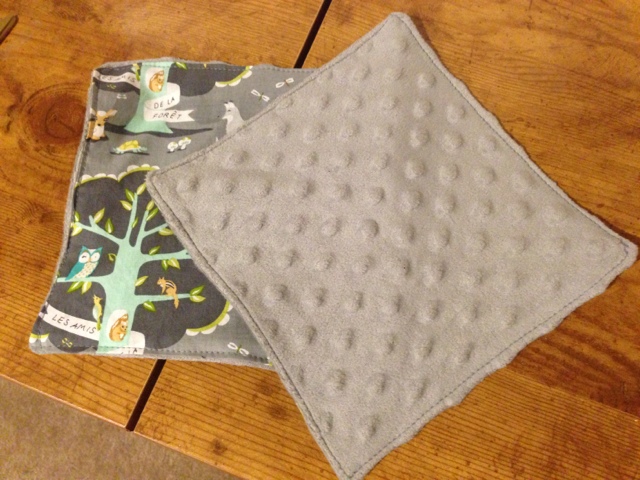
An Extra Project: Lovey Blanket
I used very nice fabric for this project. As a result, I saved those 8″ squares to make loveys.
They’re just the right size for a lovey or taggy blanket, the one side is cotton and the other is a soft minky so it’s a great fabric selection for them too.
If I’d used flannel (which I did for my first attempts at changing pads, way before Baby G was born) then I’d use those 8″ squares for cloth wipes. I recommend using high quality fabric for changing covers though because my flannel ones pilled pretty bad and these covers get a LOT of use.
I embroidered my boy’s names on the cotton side. Kaden only looks like “Kadeh” because the white image in the fabric blended with the embroidery thread white.
Kinda sucked.