This post contains affiliate links. If you make a purchase using these links, I may receive a commission from the sale. This does not impact your price for the product(s). Thank you.
I have made a few small wet bags for our kitchen, but the reality is that we’ve outgrown them. They’re small and we have used more and more cloth products over time, reducing our use of disposable products by quite a bit. It’s amazing to produce less garbage, but we needed a place to store dirty linens so that I could do one big load of laundry for the kitchen each week. My husband finally got me to sit down and make a large bag.
PUL fabric is the perfect fabric for wet bags because it’s water resistant, it can be washed on hot, and it is commonly used for items like cloth diapers. Unfortunately, I’m running low on large cuts of PUL fabric so I decided to make use of some of the scraps that I’ve saved over the years. Generally, you worry about patchwork items from PUL because you lose some of the water resistance when you sew together lots of pieces to make a larger product. Thread and sewing needles leave small holes and areas where wetness can seep through. I’ve made a few patchwork diapers though and I’ve had pretty good luck with them. Not only that, but a kitchen wet bag generally isn’t going to be holding items that are as wet as say, a wet bag for swim suits or diapers. So I felt pretty comfortable making this and I haven’t had any issues with leaking.
Keep in mind, however, that I never add soaking wet items to my wet bags. I always wring out linens.
Let me show you how I made this simple bag.
Make sure to check out my book: 14 Easy Sewing Projects for Your Kitchen!
Supplies for the Bag
- Scrap pieces of PUL fabric that coordinate (or not)
- Polyester thread
- Size 11 needle or smaller for your sewing machine
- Snap and snap pliers:
Make sure to read my tutorial on How to Use Snap Pliers
How to Make the Patchwork Wet Bag
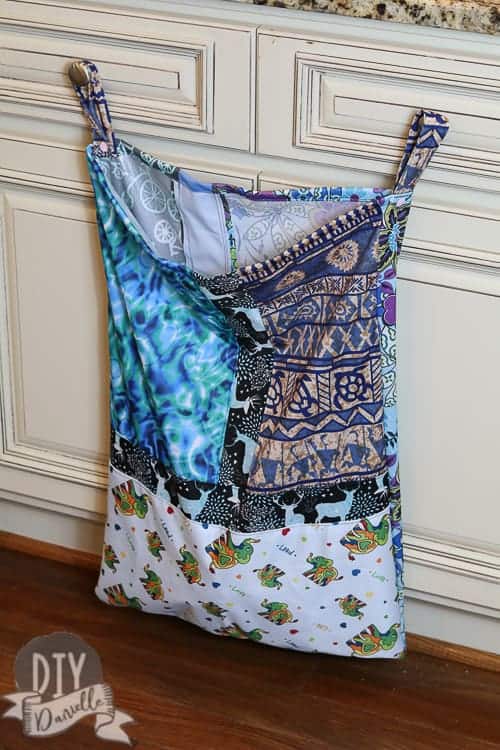
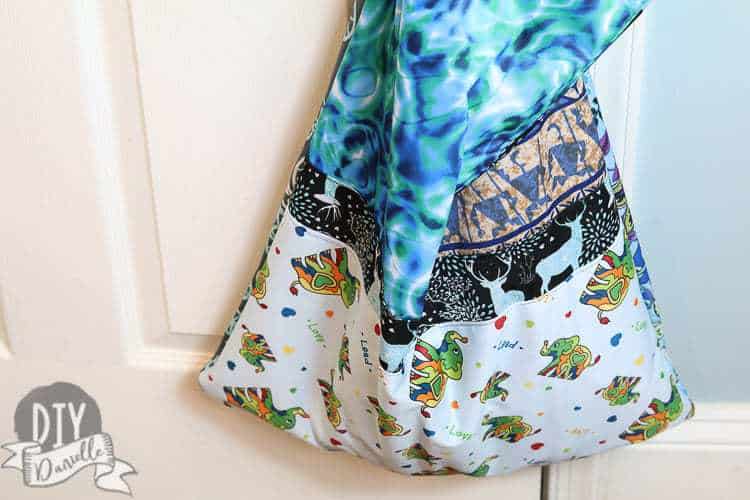
You need to decide on the size of your wet bag. I measured my door that I wanted to hang the wet bag on so I knew how far it was from the door knob to the floor. I didn’t want my wet bag to drag, but I wanted it to be as long as possible to maximize my storage space. My finished wet bag is 17″ W x 26″ T. The straps are 1″ W x 10″ L. So if you use my measurements, you’ll want to add a seam allowance to that (assuming 1/2″ on each side, you could do 2- 18×27 rectangles and cut 4- 2″x11″ pieces for the two straps).
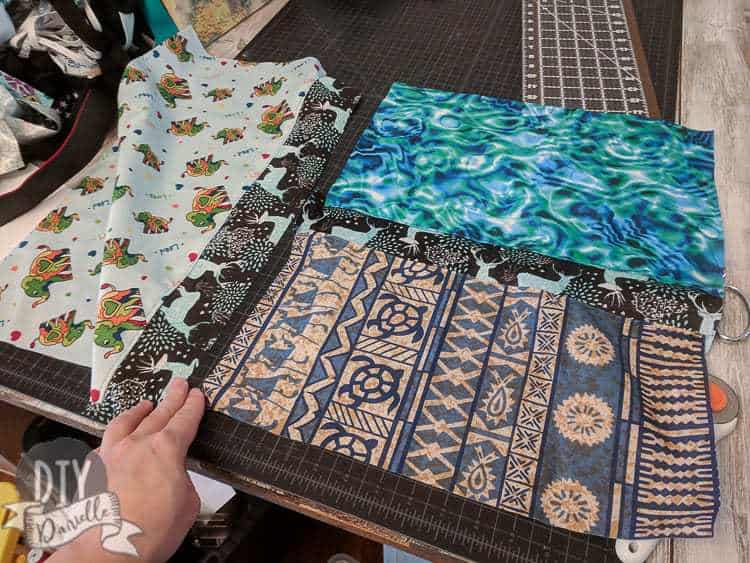
You’ll want to add a seam allowance to whatever size you decide to make your bag. I lay out my patchwork pieces in a rectangle. You’ll need two rectangles- one for the back and one for the front.
Once you’ve laid them out, you can sew them together piece by piece. You face the scrap right sides together with the other scrap, stitch, then top stitch once they’re facing out again.
Keep working your way through your fabric. Mine didn’t really coordinate perfectly, but honestly I LOVE how it came out because even though many of those diapers are gone and others will be eventually, I’ll still be able to enjoy the small pieces of that fabric that were leftover.
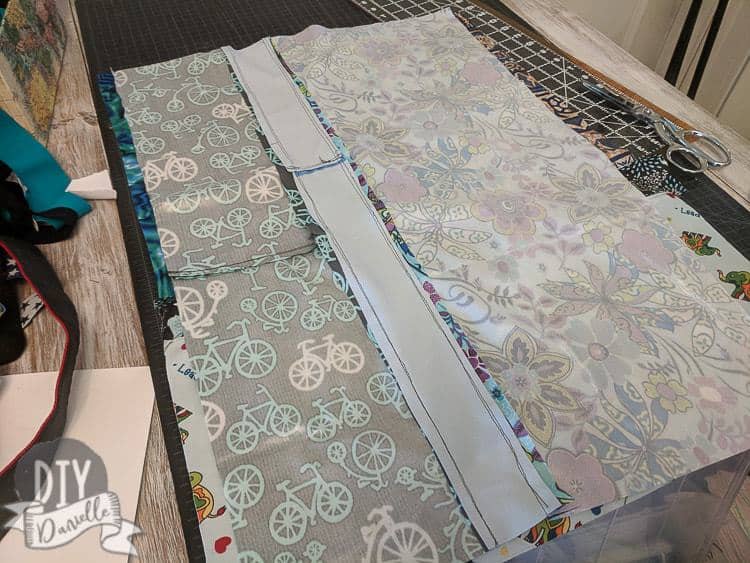
As you can see below, I sewed the pieces together across first, then sewed the bigger piece to the bigger strips of fabric. If that makes sense?
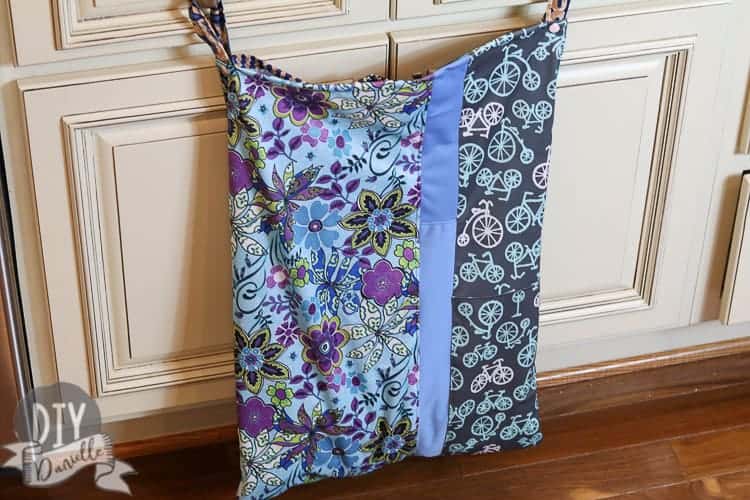
Here’s the back after top stitching.
Now that you have two large rectangles for the bag, face them right sides together, making sure the designs go in the correct direction. Sew around the bag, leaving the top open. It’s like sewing in a U shape- both long sides and the bottom.
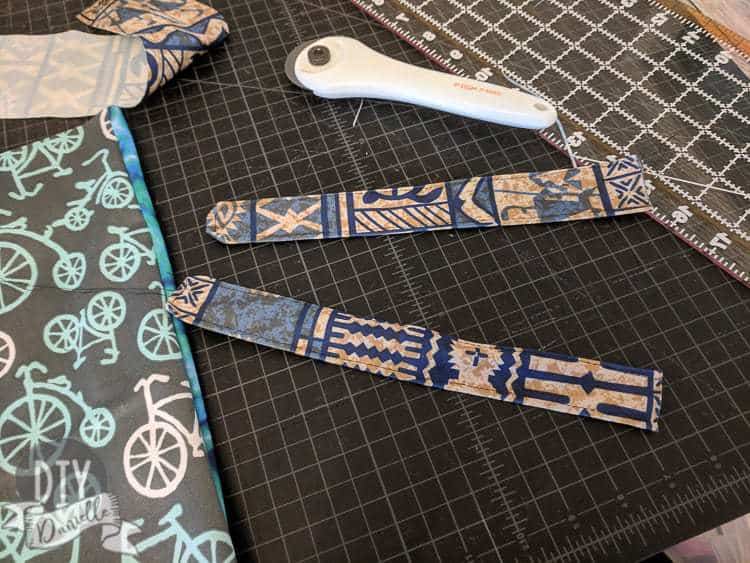
Once you’ve done that, you can make your two straps. You can get away with one strap but two is better in my opinion. To make a strap, cut 2 strips of fabric, face them right sides together, sew around 3 sides, turn right sides out, then top stitch.
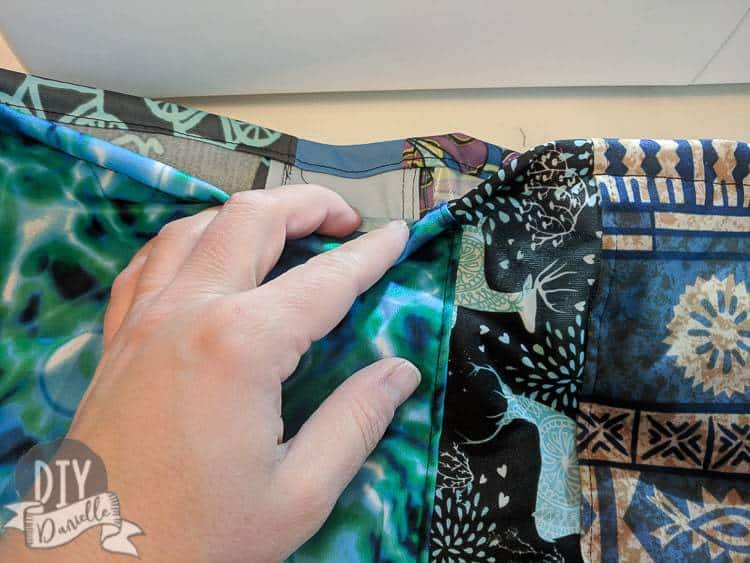
You now need to fold over your PUL at the top twice and sew a straight stitch around. This just makes for a neater top to your bag… from a technical point, you could leave it raw because PUL doesn’t fray, but eh.
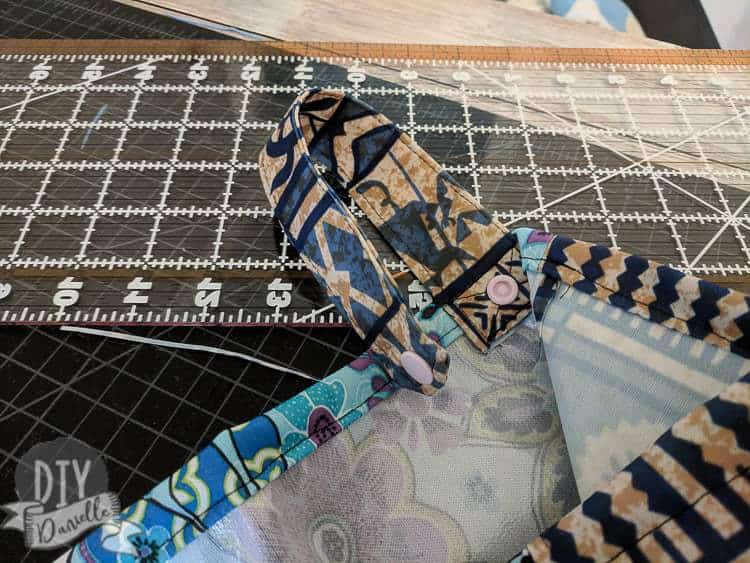
Go ahead and sew on your straps. I sew one end of my strap on. The snaps are then added so you can snap the strap down into a loop. I like this because then I can make shorter snaps that fit snug around a door knob or other handle. It’s pretty secure but allows you to snap the strap around a closed bar if needed too.
If you want to make a smaller kitchen wet bag, check out my tutorial. You can also check out these other ideas for PUL fabric. Love patchwork ideas? Check out my patchwork tote bag made with upcycled fabric and my patchwork jean skirt.
Please pin this!