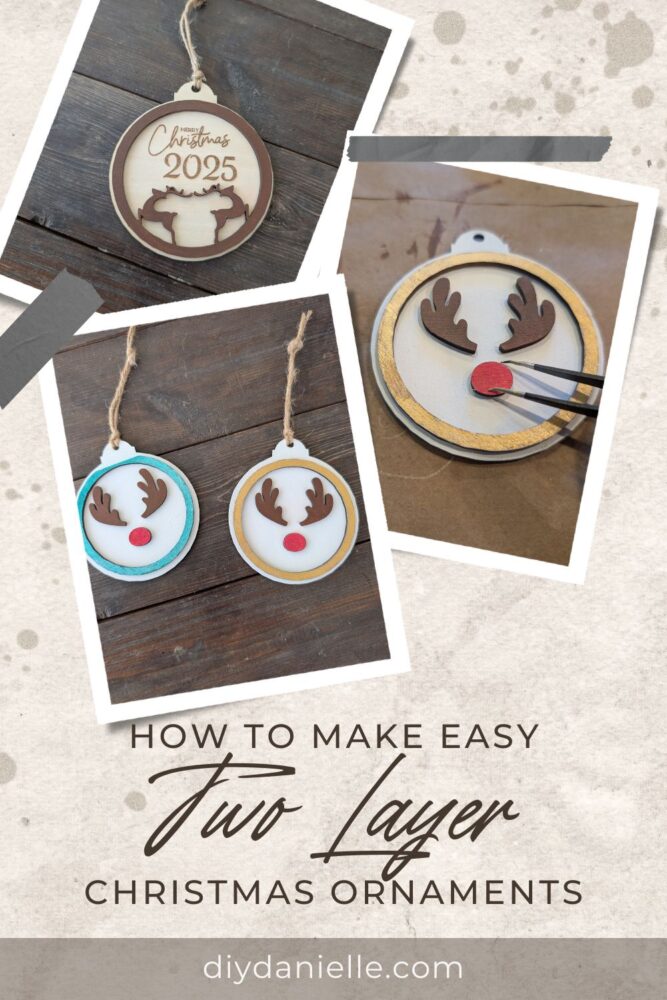
Learn how to make Christmas ornaments at home with easy DIY techniques. Perfect for personalized holiday decor, gifts, and festive fun.
Ornaments are simple, easy and fun to make. They can be great gifts as well. I’m going to share how I made these ornaments, but I’ll also include a roundup at the end of other types of ornaments that you can make.
This post may contain affiliate links which may earn me commissions should you click through them and take certain actions. As an affiliate for Amazon, Cricut, xTool, Home Depot, and other sites, I earn from qualifying purchases. Please DIY carefully. View my full legal disclosures here.
The majority of my content is generated by me, as are 99% of the photos and videos, but I utilize technology for titles, descriptions, video editing out all of my ums, and occasionally for text overlay on images.
Please read the whole post so you don’t miss any important information!
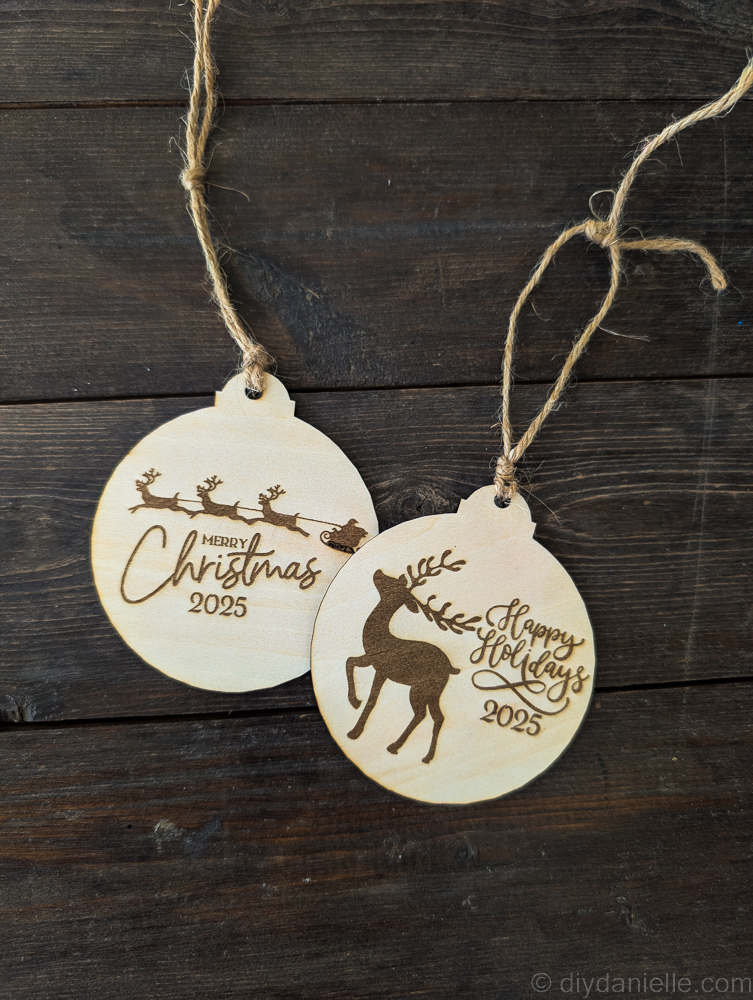
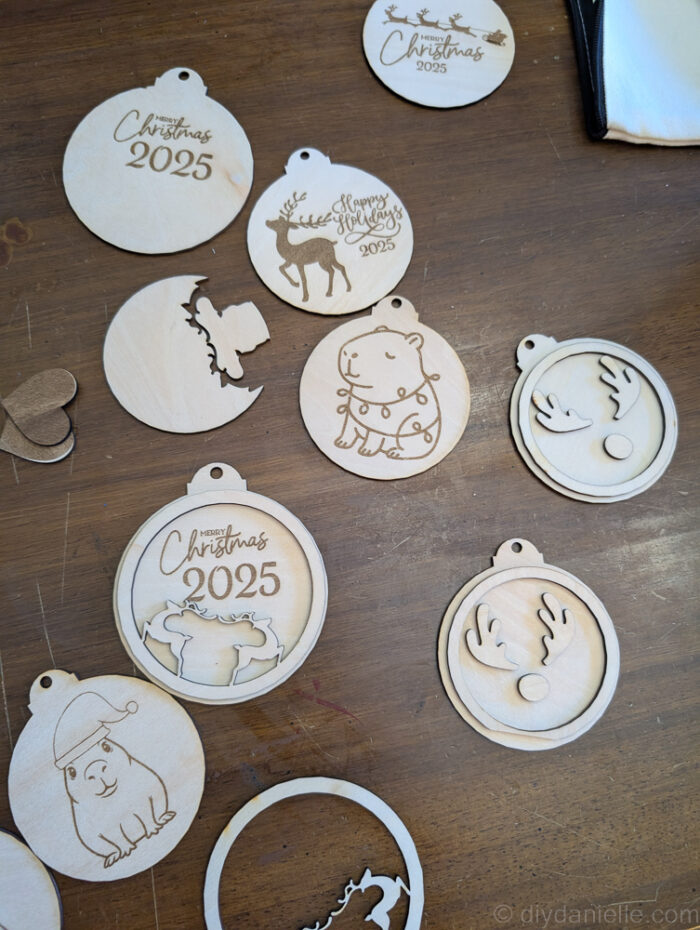
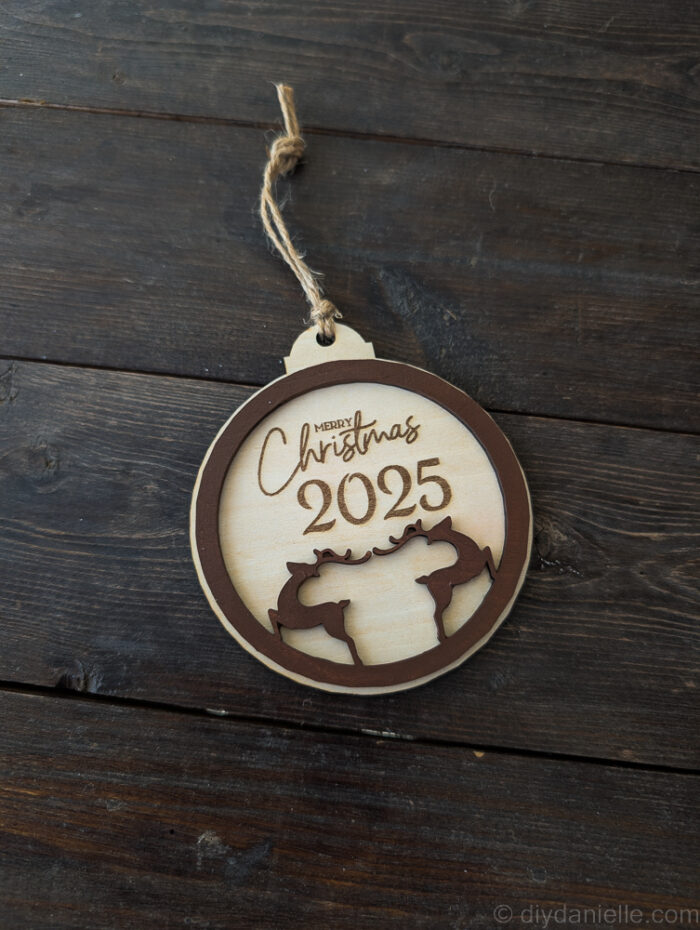
Today we’re going to be making some ornaments using laser cut wood pieces. The laser cutter allows us to make multi-layer ornaments that are wood.
I prefer wood ornaments because between me, the dogs, and the kids, fragile ornaments don’t last long in this house.
If you don’t happen to own a laser cutter, you can check out your local makerspace or even sometimes libraries will have one that you can use for a small fee. You could also buy a kit of pre-cut ornaments and paint them how you’d like.
How to Make Ornaments
Project Supplies
- xTool M1 Laser Cutter http://shrsl.com/3v9vq
- Honeycomb Riser http://shrsl.com/3yxwg
- Air Assist http://shrsl.com/3yxv6
- Balsawood 3mm http://shrsl.com/40aun
- Set of 15 Art Paint Brushes with Paint Brush Case. https://amzn.to/3Iy6rGe
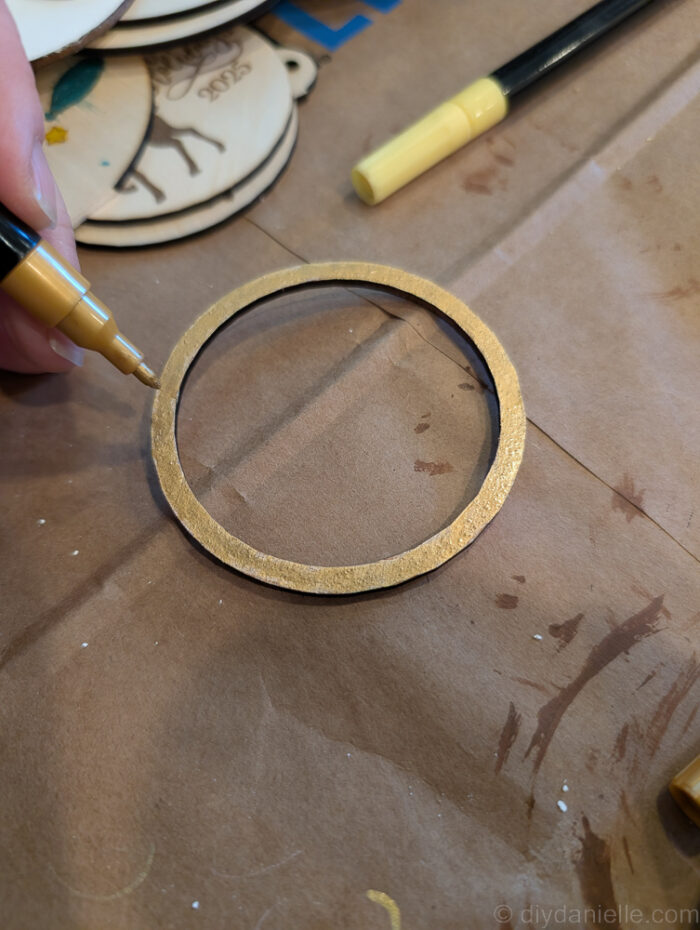
- NICETY 72 Colors Acrylic Paint Pens/Markers, Extra Fine https://amzn.to/4a1X9hw (this one has the sparkly pens which I used in this project)
- FolkArt Jewel Tone Acrylic Craft Paint Kit, 15 Piece Set Including 12 Metallic Colors and 3 Premium Paintbrushes https://amzn.to/4qCf0Vq
- Vintage Christmas Sheet Music: 36 Decorative Sheets Scrapbook Paper For Collage, Scrapbooking, Junk Journaling, Paper Crafts and Decoupage https://amzn.to/4nvqmHU
- Twine/Embroidery Thread/Etc.
*Note that I didn’t use scrapbook paper. The list of supplies above is a list of basic items that may come in useful, but your personal preferences to how you customize these are most important. I like the idea of using modpodged on scrapbook paper for the back, but I also like the look of the raw wood on the back.
Step by Step Instructions
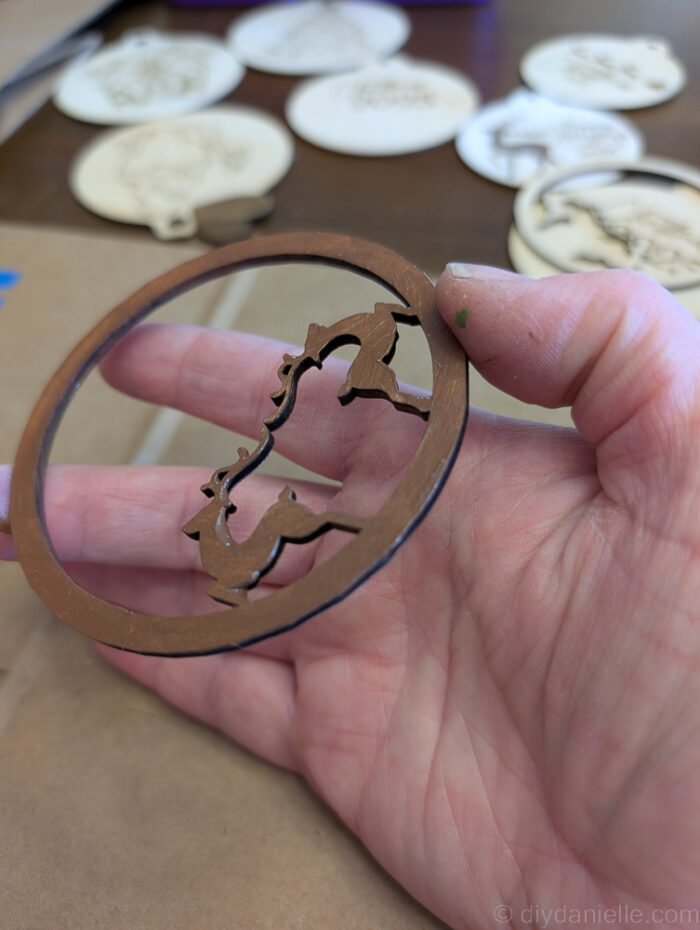
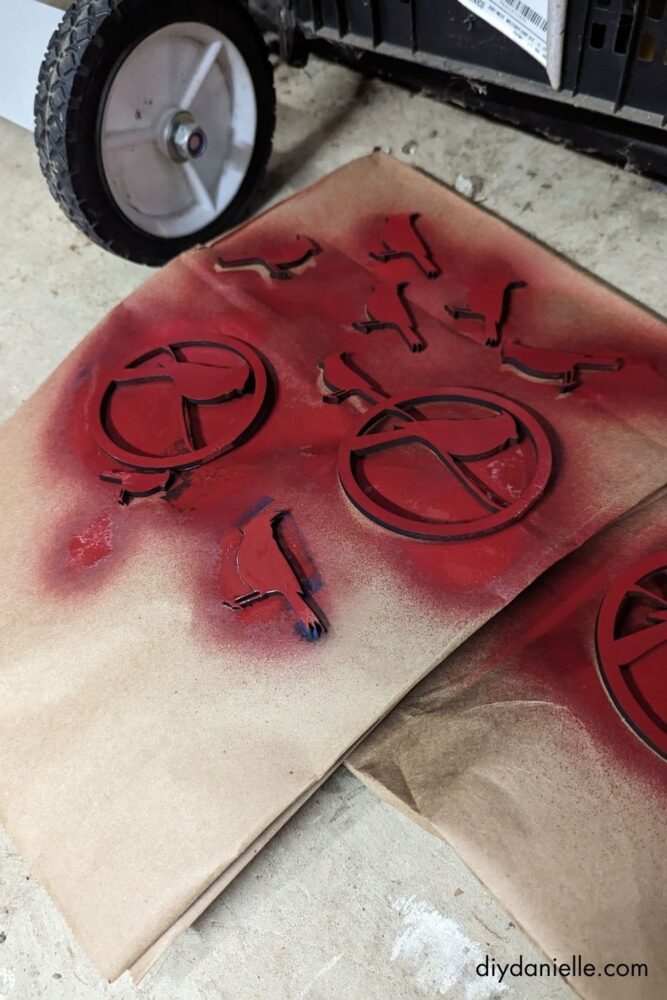
Optional Prep: If I want to engrave a painted wood, I will sometimes paint the 3mm basswood with acrylic paint and let it dry first. You’ll see this with my cardinal ornaments.
Step 1: I started by making my designs on Canva. You can buy my designs in the store or make your own. It’s up to you! I export as an SVG with a transparent background.
There are a lot of things you can do with with canva to make your own items, but unfortunately, you can’t export in dxf format yet. I’m hoping they’ll add that feature eventually.
Sometimes the SVG format goes into my software perfectly and sometimes the circular ornament looks like a square. I can’t quite figure out why it works some of the time. Regardless, I usually will convert them to dxf format using a free app.
Step 2: Once they are in the correct format, I drag them into my software for my laser cutter. I make any adjustments needed.
This generally entails highlighting the entire ornament and setting it to ENGRAVE (note: I could select only the parts I actually want engraved, but usually selecting the whole thing is faster with more complicated designs).
Sometimes I use score but that tends to add a double line.
It’s good to preview it to see what you’re going to get. Zoom in when you do it.
If the letters are combining with the centers of the letters when using the engraving option, I select the lettering and use the SUBTRACT option in the software.
After I’m happy with the design minus the ornament shape itself, I select the outer ornament in the hole.
I select CUT for the outer ornament and for the hole for the twine.
If your design looks good and you’re happy with it, you can select your wood type (ie. 3mm basswood) and frame your ornament with your machine.
Framing just means that the light will shine on the area of the wood where your design will take place. This just makes sure that you get the right placement.
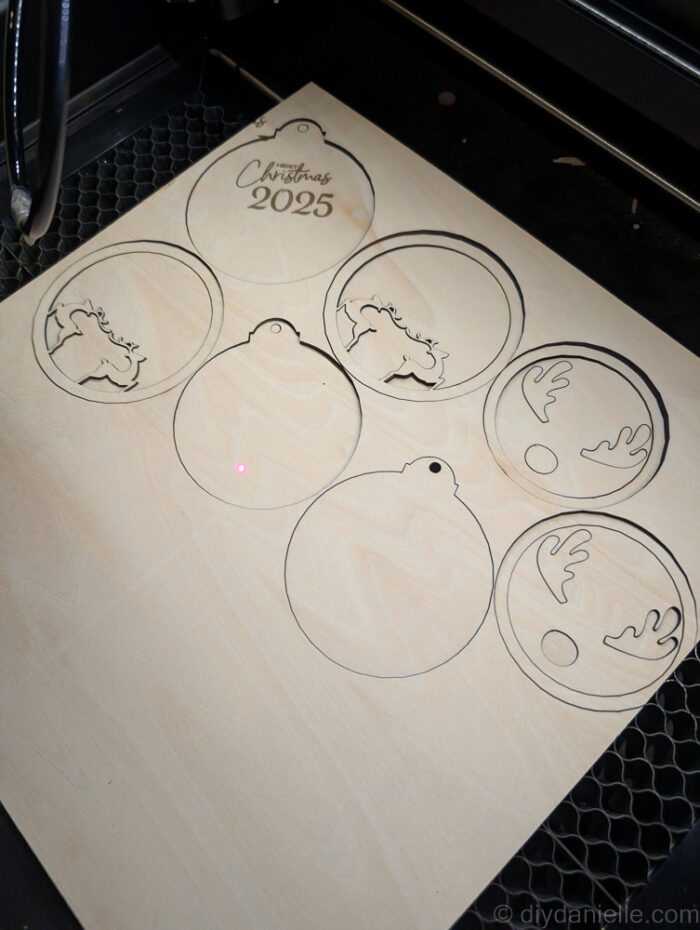
If it’s all good to go then let your machine start cutting and engraving your design.
Please ensure you reading your laser cutter’s manual and follow all safety guidelines for your machine! These machines cannot be left unsupervised because they are cutting wood with… essentially… fire. Wood burns. I keep a extinguisher next to the laser cutter in case I need it.
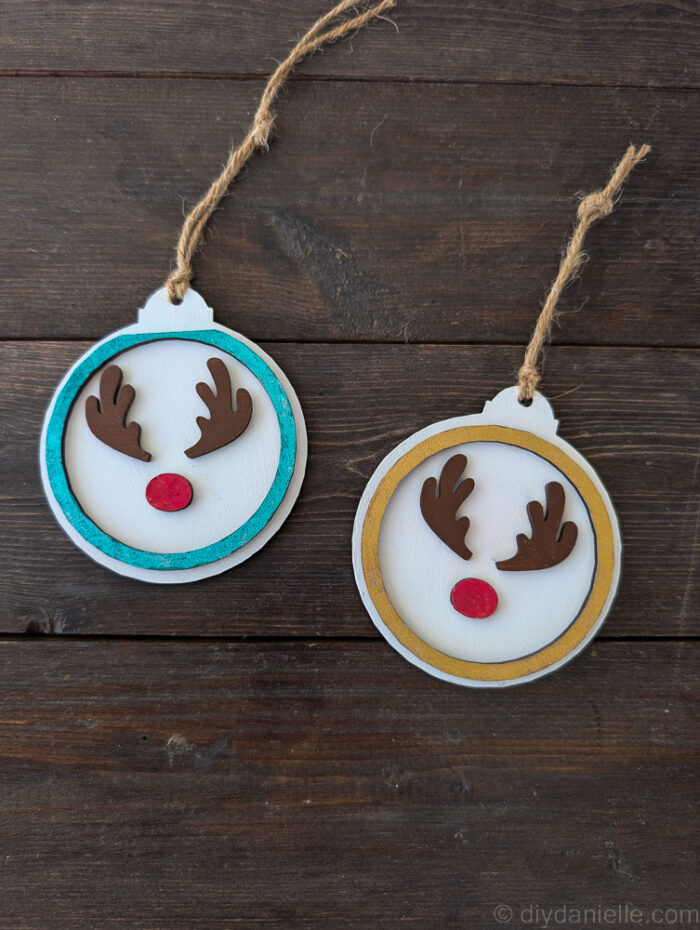
Now with some of my ornaments, they are two layered. That means that I have two different pieces that are cut and then I glue the top pieces on top of the base. I like this a lot because it allows me to paint certain areas easily before gluing them on. It just cuts down on the mess and it looks really nice as a thicker ornament.
After this is all finished, you can pull your designs off the laser cutter and start customizing them.
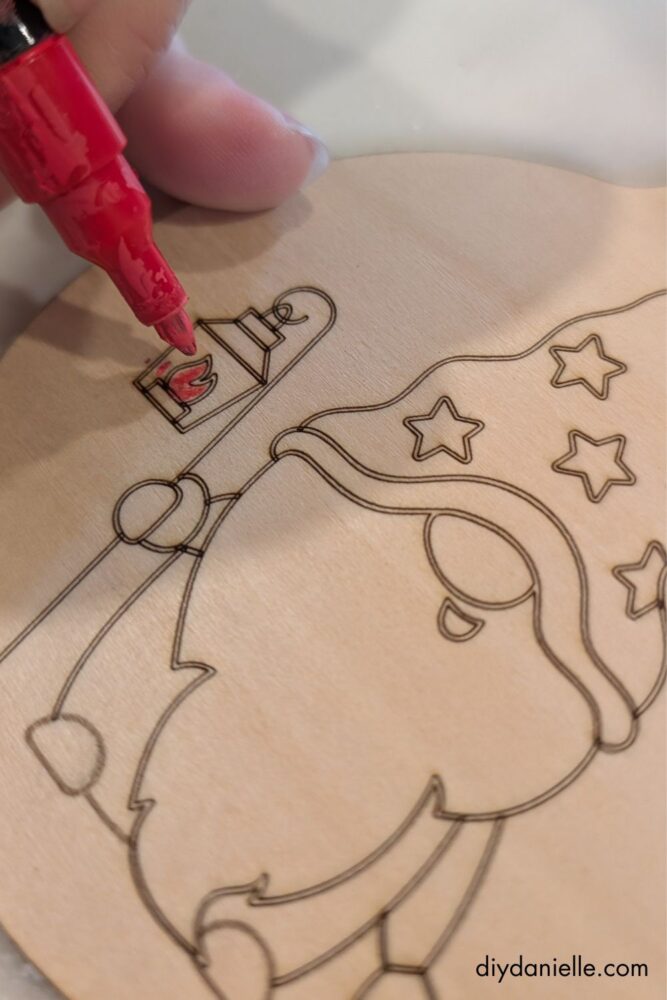
Some ornaments can be finished with the laser cutter… you just need to add the string. Or color the design like with these color me ornaments.

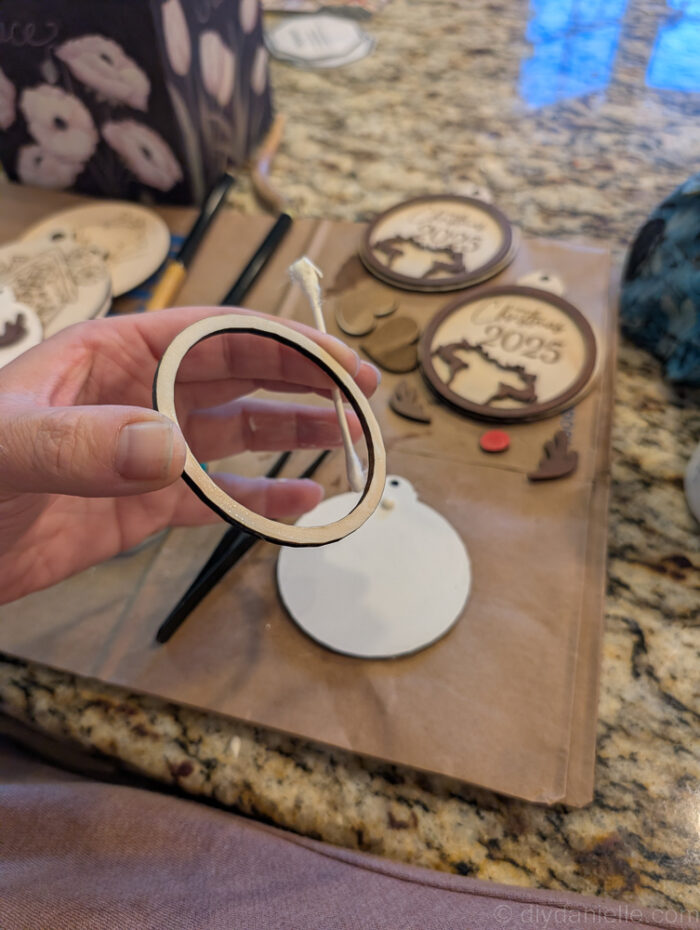
Step 3: I’m going to show you how to make the two layer ornaments though! With two layer ornaments, you need to cut two pieces of wood.
You have your base layer and then you have a top layer that will be glued on top later.

I try to fit them neatly on one piece of wood when possible. You could also switch up what types of wood you use for each layer if you want a different look.
Once cut by my machine, I remove them from the laser cutter.
Step 4: I prefer to paint them while they’re separate.
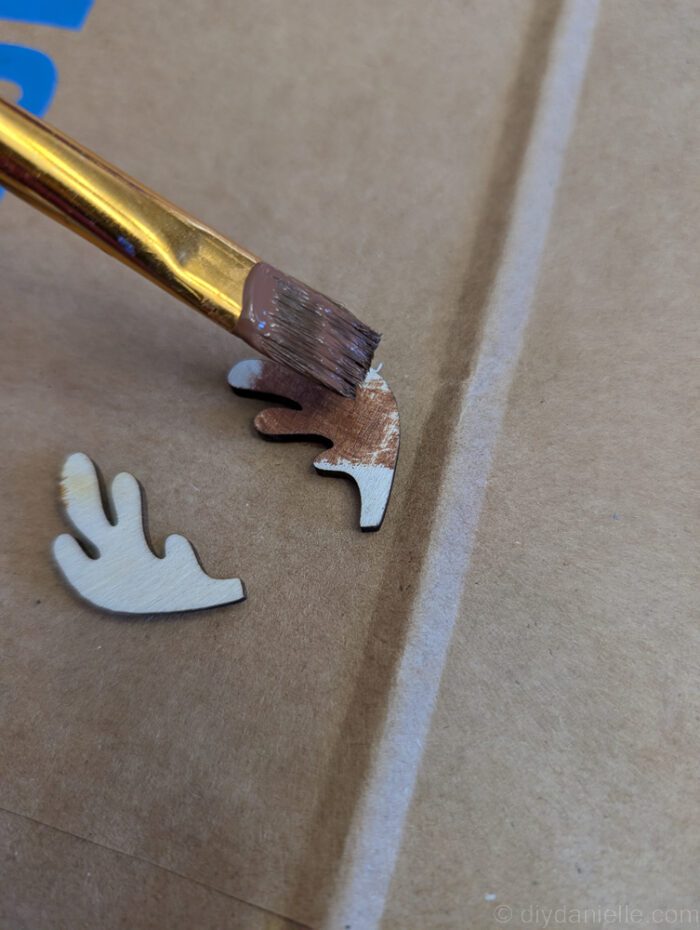
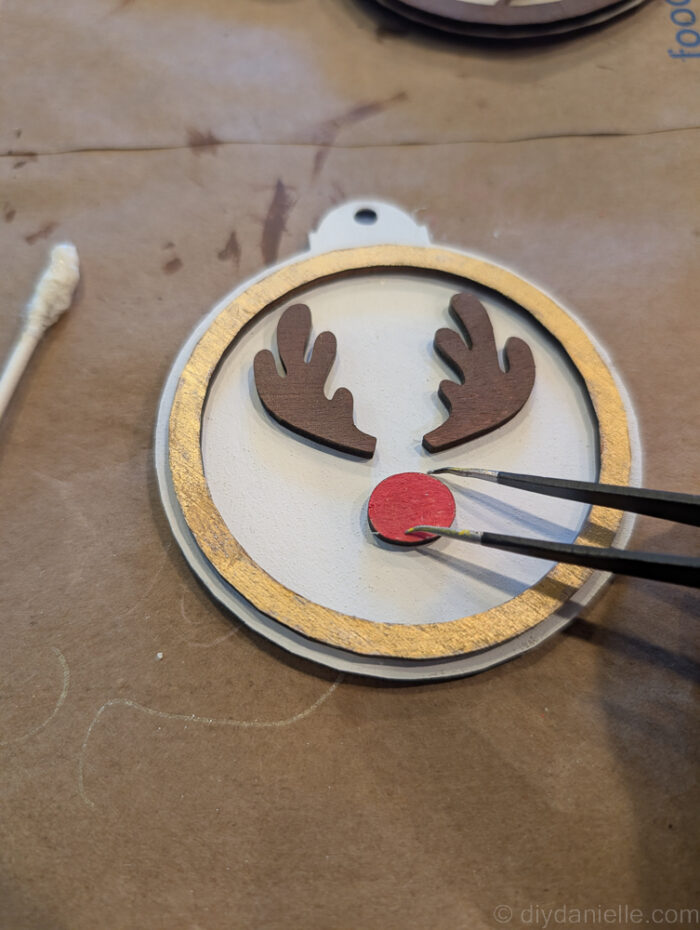
Step 5: Once the paint has dried, I center the top layer and use a little bit of wood glue to glue it to the base.
Tip: I find it helpful to use a q-tip to apply the wood glue to the back of the top layer so that it’s nice and thin. This prevents it from leaking out the sides. If you get a little leakage you can use a q-tip to clean it up.
I used tweezers for small pieces like the nose and antlers for this Rudolph.

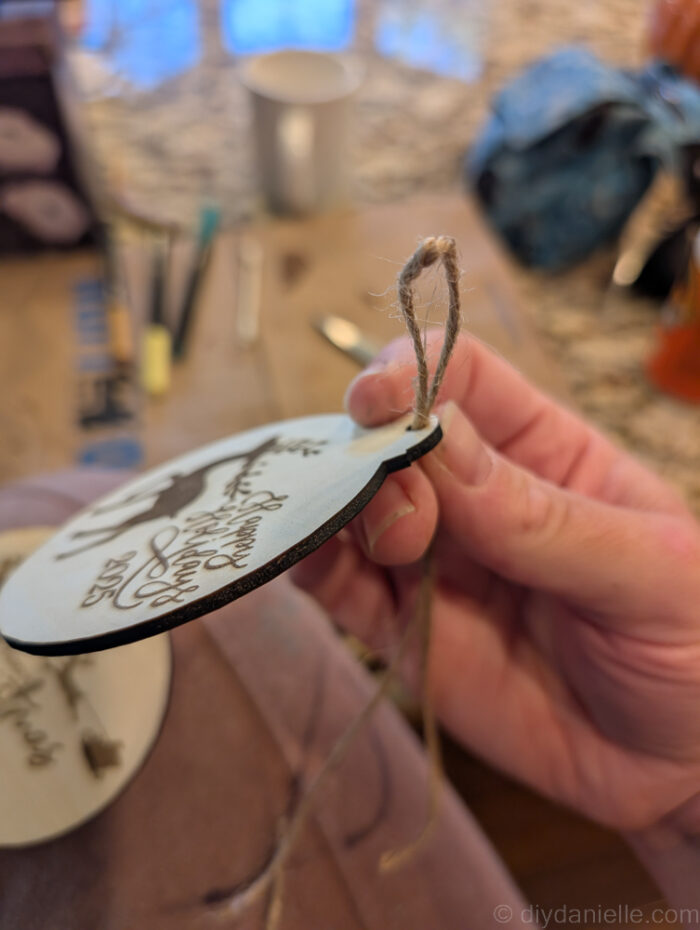
Step 6: All you have to do now is add your twine for hanging your ornament.
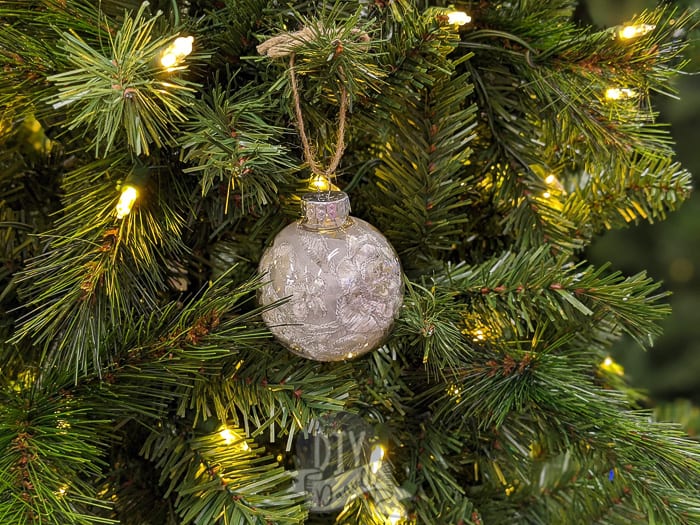
Here are a couple of the completed ornaments. I like to play with colors to see how different color combinations work.
Other Easy Ornaments
Easy Handmade Ornaments
Easy handmade ornaments with tutorials showing you how to make them.

Create a heartfelt keepsake with this personalized cardinal ornament, perfect for honoring and remembering a loved one. A meaningful addition to your holiday decor or a thoughtful gift.
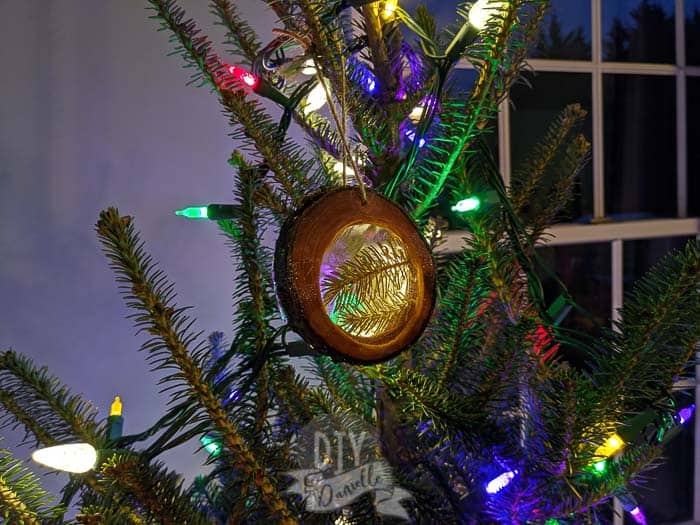
Turn your Christmas tree into a cherished keepsake with this DIY wood slice ornament. Easy to make, rustic, and perfect for personalized holiday decor or gifting.
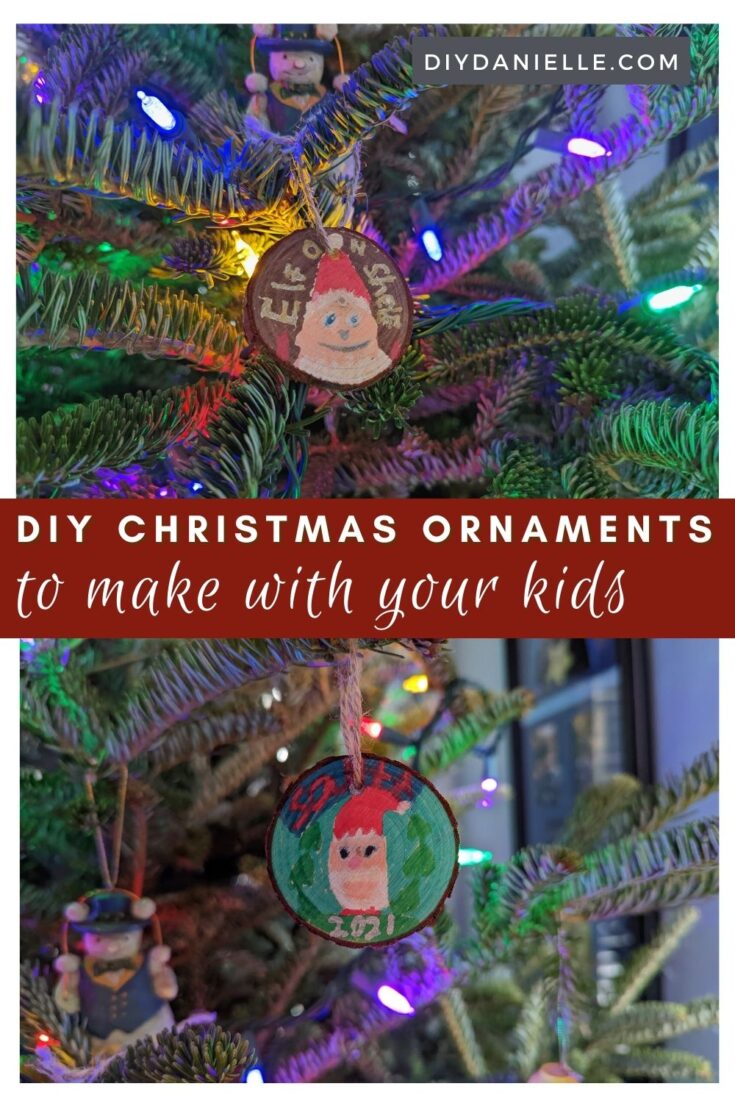
Create fun, easy homemade ornaments with kids using wood slices and paint markers. A simple, creative holiday activity that results in colorful, personalized decorations for your tree.
Celebrate your special day with this easy wedding Christmas ornament. Simple to personalize, it makes a meaningful keepsake for your tree or a thoughtful gift for newlyweds.
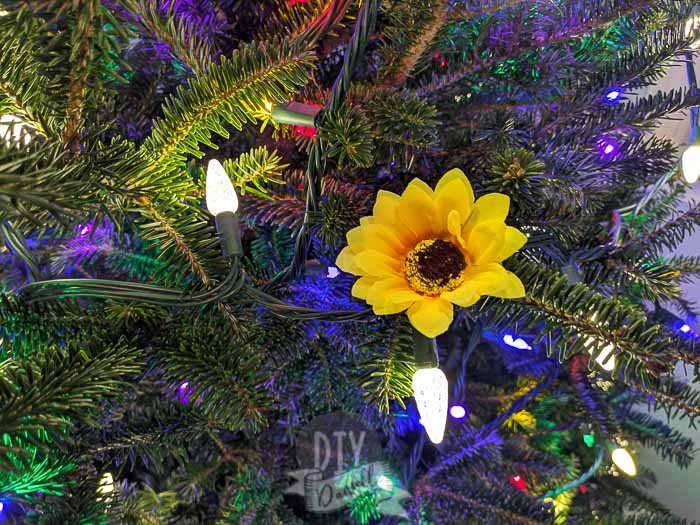
Technically not an ornament, but they're being used like an ornament! Sunflowers are so pretty up against the green of the tree.
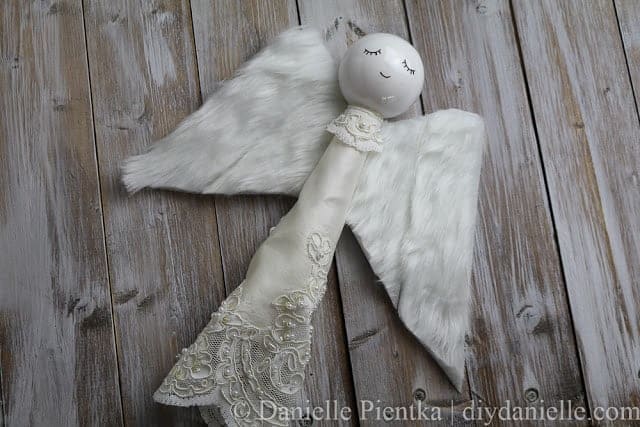
While also not an ornament, these diy angels make a great topper for your tree.

DIY Christmas ornaments are not only fun to make, but they are a thoughtful gift to give to kids and adults of all ages. You can personalize the ornament to make it unique to the recipient.
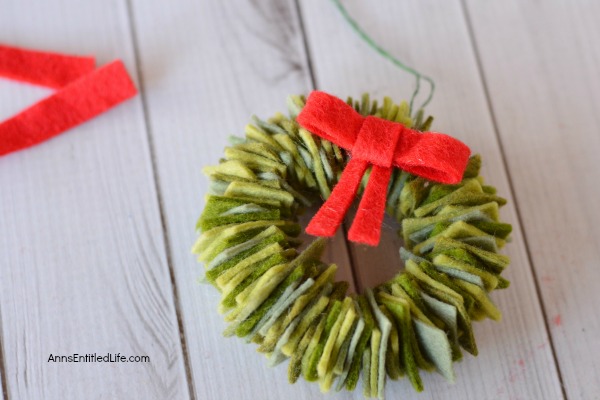
Create heartfelt memories with DIY felt Christmas ornaments. Perfect for family craft time!
Please share and pin this post! You can also post your project and tag the DIYDanielle team on Instagram @doityourselfdanielle!