
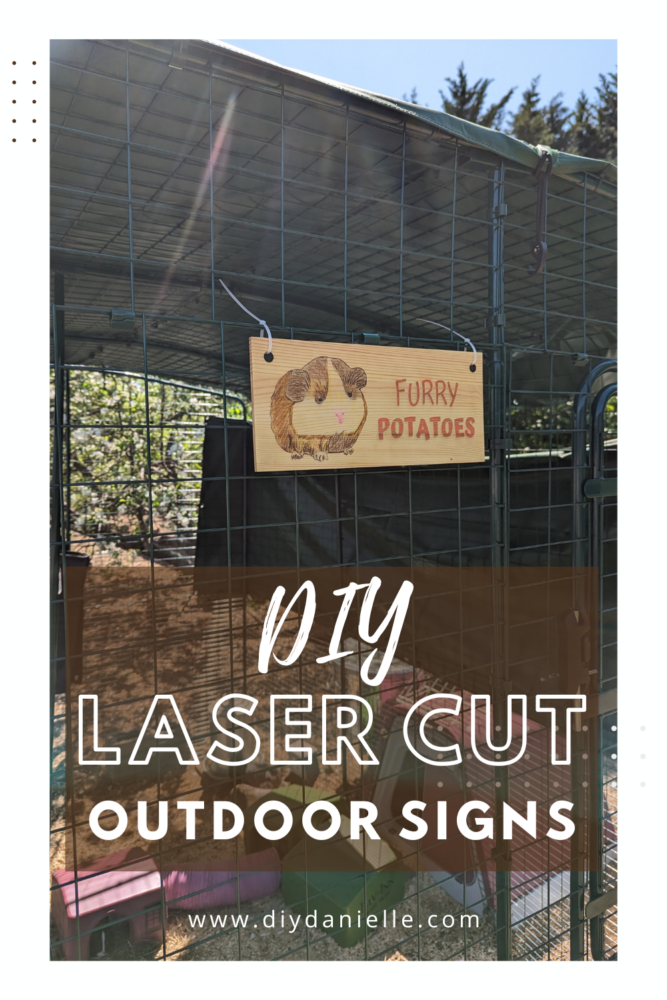
Create stunning laser cut wood signs with this DIY tutorial! Learn how to laser engrave a personalized sign on balsawood.
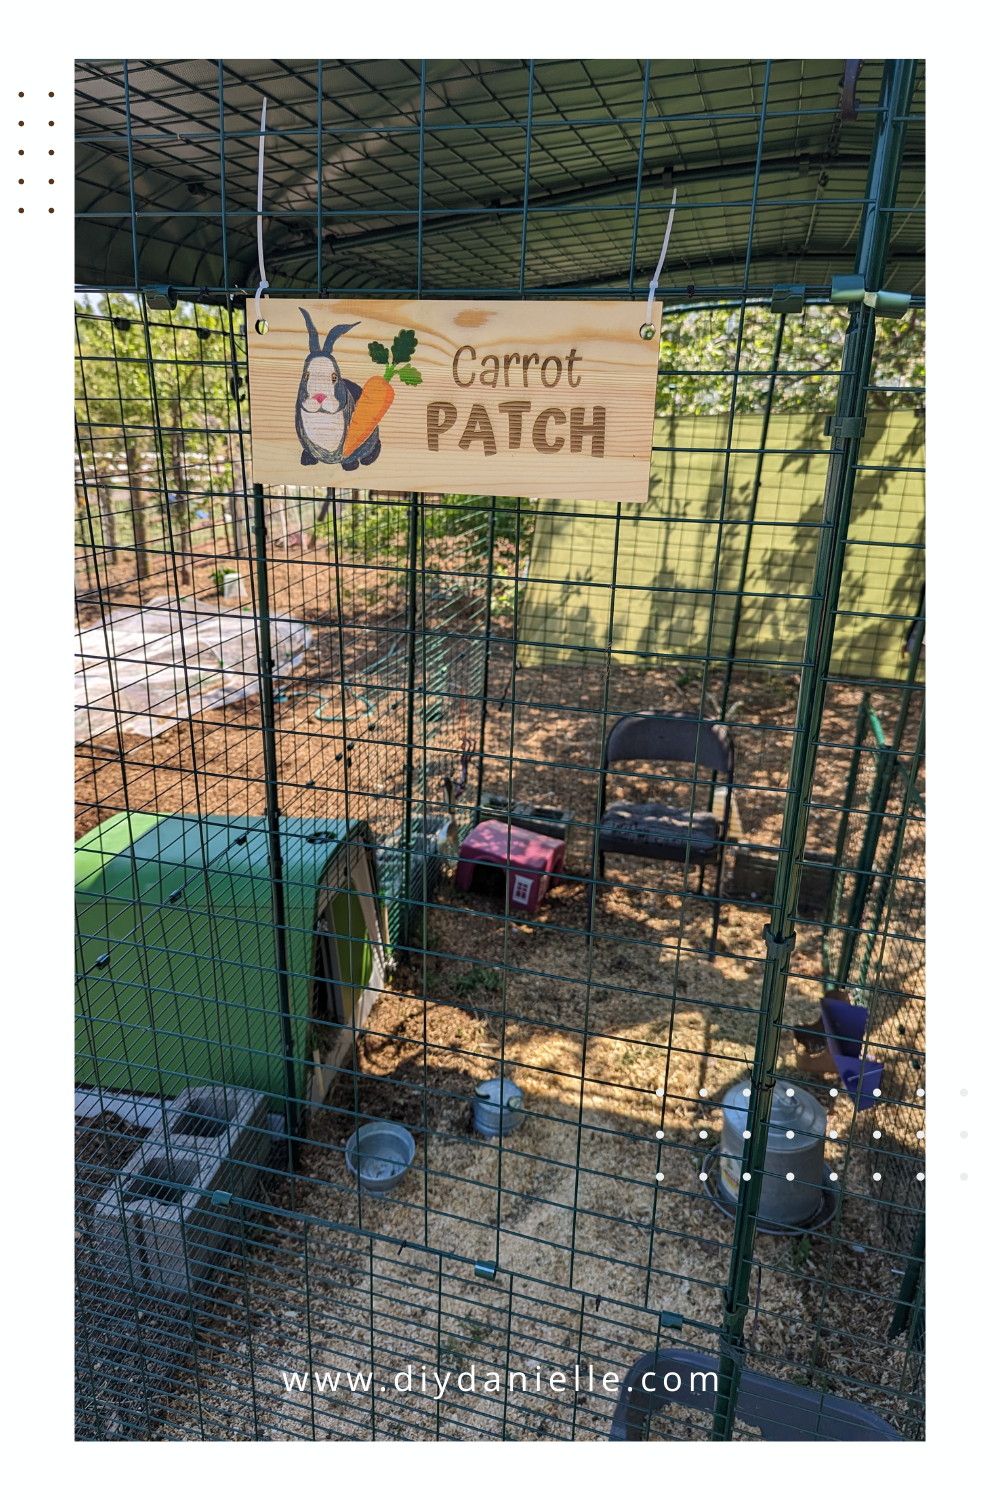
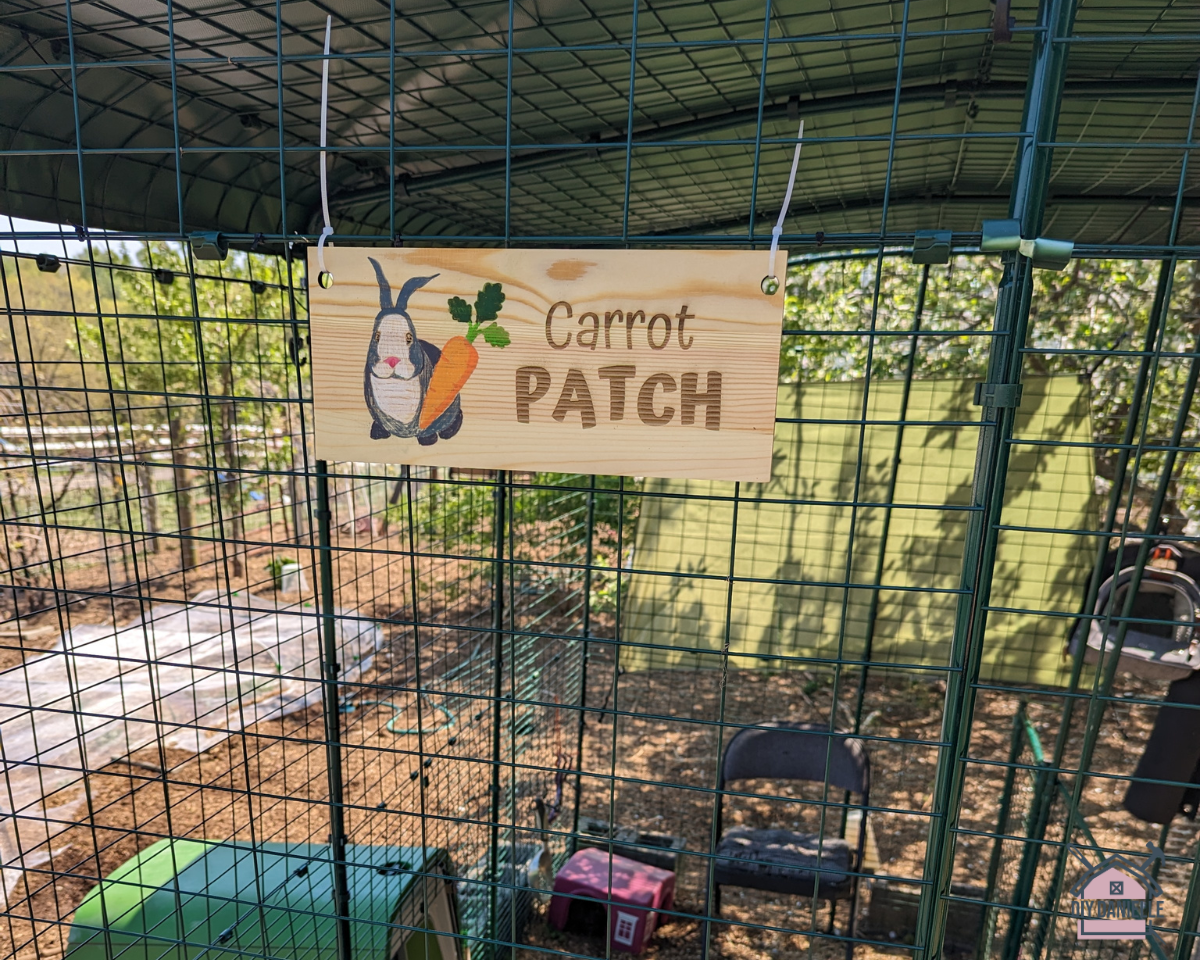
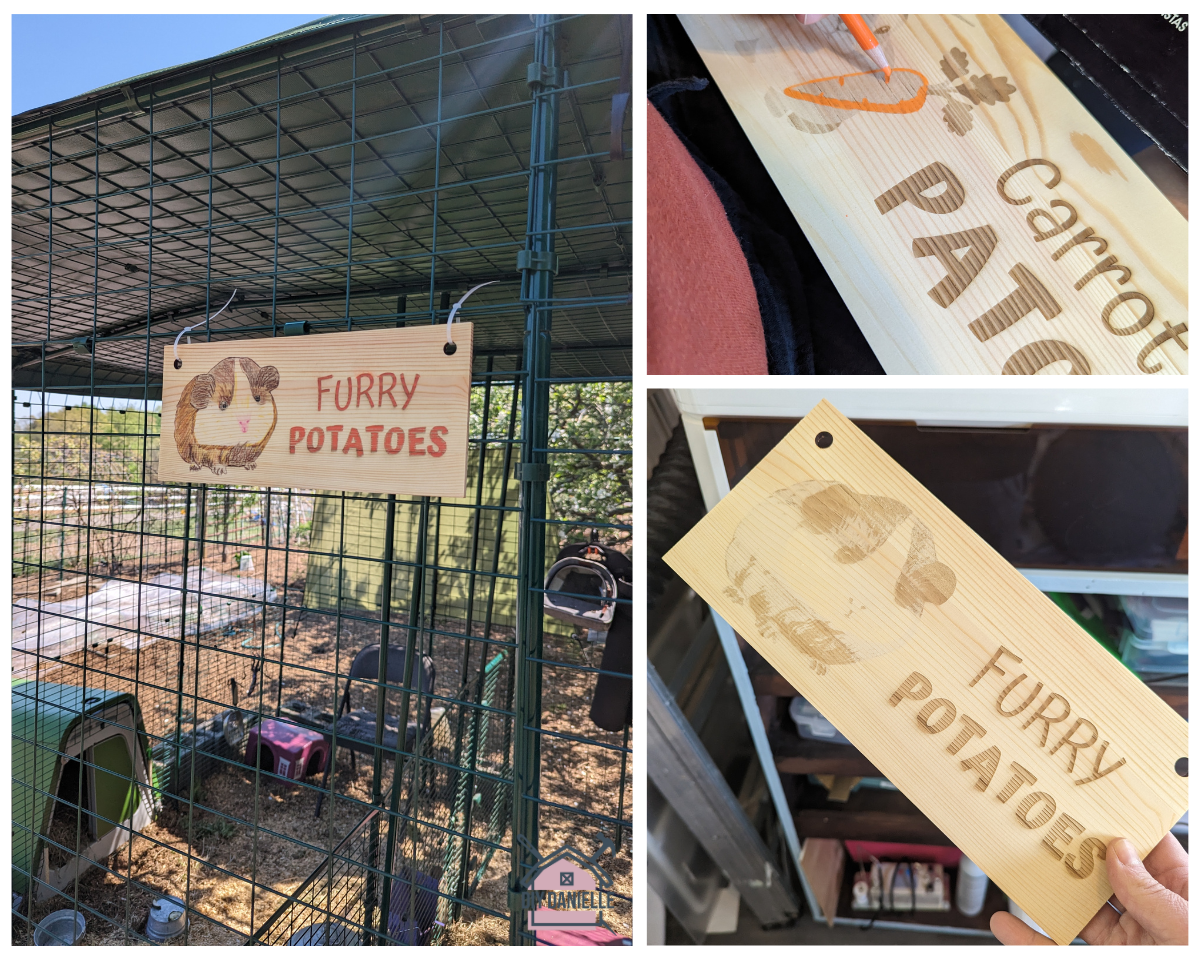
I have a small animal-assisted therapy practice, and my rabbits and guinea pigs share a divided outdoor Omlet Run. The run is located in a corner of my garden and I have it surrounded by an additional layer of security- an electric fence. I wanted to play around with making some wood signs for outdoors so I decided to make signs to identify what animals I have inside my run. I opted to play off the garden theme and go for “Furry Potatoes” and “Carrot Patch” with the respective animals on the sign. I LOVE how these came out.
This post may contain affiliate links which may earn me commissions should you click through them and take certain actions. As an affiliate for Amazon, Cricut, xTool, Home Depot, and other sites, I earn from qualifying purchases. Please DIY carefully. View my full legal disclosures here.
The majority of my content is generated by me, as are 99% of the photos and videos, but I utilize technology for titles, descriptions, video editing out all of my ums, and occasionally for text overlay on images.
Please read the whole post so you don’t miss any important information!
DIY Laser Cut Wood Signs
Supplies
- xTool M1 Laser Cutter: http://shrsl.com/3v9vq
- Honeycomb Riser: http://shrsl.com/3yxwg
- Air Assist: http://shrsl.com/3yxv6
- Balsawood 3mm (or other wood of your choice). We used a blank wood sign from the craft store. http://shrsl.com/40aun
- Coloring Pencils
- Thompson Waterseal
Tutorial
Step 1: Place your blank sign inside the M1 Laser Cutting Machine.
Step 2: Create your design. I made the text and circles in the xTool software, and imported the image. I used images from Canva, the editing software that I use most frequently. The circles are cut outs to give me someplace to hang the sign from.
Step 3: Set your material to 3mm Basswood Plywood and Auto-Measure the thickness.
Step 4: Process your design. Frame to ensure your design is where you want it.
Step 5: Click START when you’re ready for the M1 to cut and engrave. Let the laser cutting machine work its magic!
Step 6: Remove sign from machine. If desired, use coloring pencils to color in the design.
Step 7: Seal both sides of the sign. Let dry between coats.
Other Posts about Guinea Pigs and Rabbits
- Customizing Guinea Pig Igloos with Vinyl
- Review of the Omlet Guinea Pig Enclosure
- How to Sew Guinea Pig Cage Liners
Please share and pin this post! You can also post your project and tag the DIYDanielle team on Instagram @doityourselfdanielle!
Google Web Story: How to Make Signs with a Laser Cutting Machine