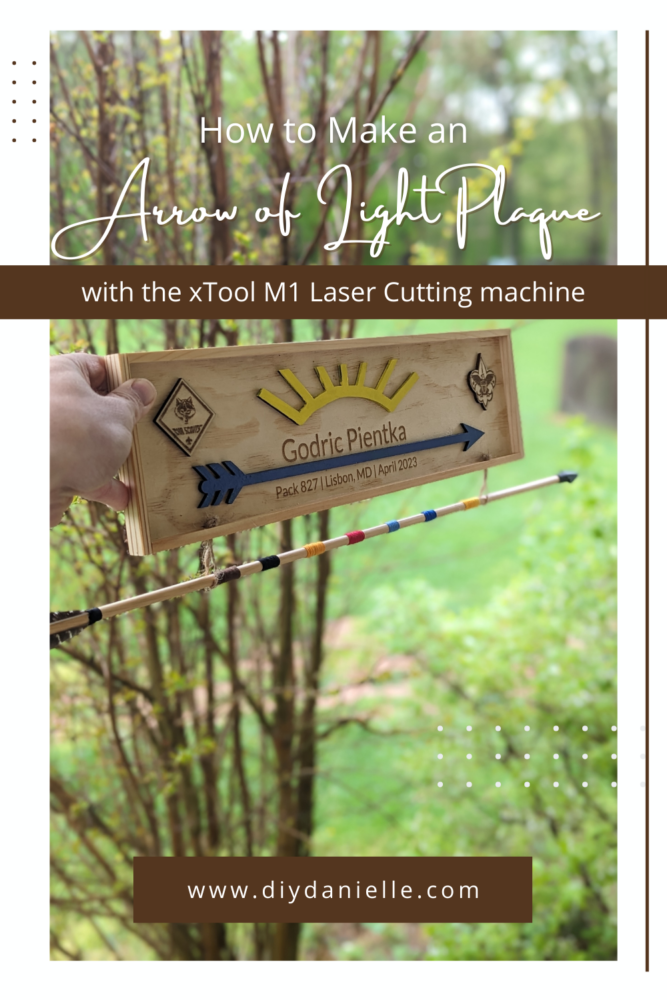
Get ready for your child’s Cub Scout graduation with this step-by-step DIY tutorial! Learn how to laser cut an Arrow of Light Plaque.
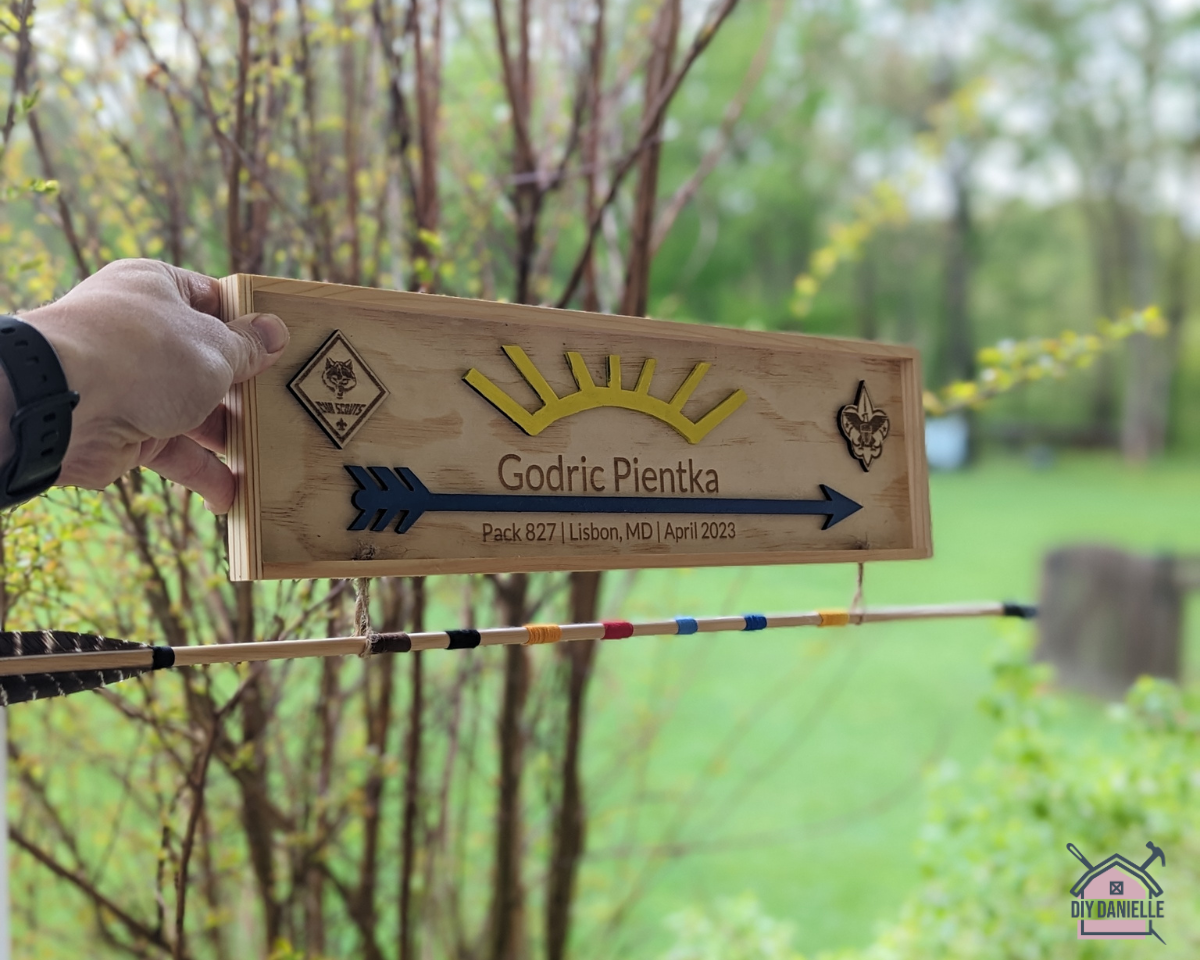
My kiddo is graduating from Cub Scouts this year My husband is the Den leader so we designed Arrow of Light Plaques with our laser cutting machine for all three “graduates.” While we could have engraved the whole plaque, we decided to do some cut out pieces to add dimension to the plaque. The other kids’ parents came over to help wrap their arrows with the colors of embroidery thread and to paint the arrow and sun burst cutouts. I’m really happy with how these came out!
This post may contain affiliate links which may earn me commissions should you click through them and take certain actions. As an affiliate for Amazon, Cricut, xTool, Home Depot, and other sites, I earn from qualifying purchases. Please DIY carefully. View my full legal disclosures here.
The majority of my content is generated by me, as are 99% of the photos and videos, but I utilize technology for titles, descriptions, video editing out all of my ums, and occasionally for text overlay on images.
Please read the whole post so you don’t miss any important information!
DIY Laser Cut Arrow of Light Plaque
Supplies
- xTool M1 Laser Cutter: http://shrsl.com/3v9vq
- Honeycomb Riser: http://shrsl.com/3yxwg
- Air Assist: http://shrsl.com/3yxv6
- Balsawood 3mm (or other wood of your choice): : http://shrsl.com/40aun
- Arrows
- Embroidery Thread
- Blue/Yellow Acrylic Paint
- Polyurethane Clear Sealant (spray paint is easiest)
- Plaque
Tutorial
Step 1: Design and cut your arrows and sun burst pieces.
Step 2: Paint the sun yellow and the arrow blue. Let dry.
Step 3: Cut the Scouts logos from your wood type of choice.
We tried two different methods for our Scouts logos cuts- one was uploaded as DXF files and they engraved the outlines. With the second method, we uploaded the file as a PNG and engraved the greyscale image… in this case, it’s treating the design like a photograph. HOWEVER- you want the outline itself to be a DXF so it will CUT that part. Alternatively, you can just upload the inner part as the JPG/PNG design, then create the square to cut in the software.
Different woods have different appearances so play with this to decide what you like best!
Step 4: Place plaque on the Honeycomb Riser with the wood cut outs in place, then arrange the engraved words in the software so it won’t overlap with the spots that you want to place the wood cut outs.
This was a bit tricky- I accidentally engraved on the edge of the plaque on my first try. I used one plaque as my ‘mess up’ plaque until I got everything how I wanted it. Then I placed blue painters tape on my honeycomb riser to make sure that I could place each plaque in the same exact place- and use the same file, simply replacing the child’s name. I needed to make three of these.
Step 5: Carefully remove the wood cut outs. DO NOT move plaque. Then click ENGRAVE on your machine so it can engrave your plaque. Repeat with other plaques if you’re doing more than one.
Step 6: Glue the wood pieces onto your plaque after engraving is complete.
Step 7: Add 2 holes in the bottom of your plaque to hang arrow.
Step 8: Seal the plaque. Let dry between coats.
Step 9: Hang your arrows.
Other Scouts Projects:
- How to Add Patches to Scouts Uniforms
- Pinewood Derby License Plate Photo Board
- How to Engrave Trophy Plaques
Please share and pin this post! You can also post your project and tag the DIYDanielle team on Instagram @doityourselfdanielle!