Engrave a name plate for your next trophy using an xTool M1 Laser Cutter! Customize your engraving and see your project come to life in minutes.
We LOVE doing the Pinewood Derby every year with the Scouts. The kids enjoy making their own cars and trying to win prizes- with our small troop, they usually win SOMETHING. This year I made the troop a Pinewood Derby Photo Board for kids to take photos with their cars, and donated it to the troop to use for future years. We were really excited to have our xTool M1 Laser Cutting machine this year to engrave our trophy plaques! This was SO easy with our laser cutter and took MINUTES. The kids were tickled pink to have trophies with their names!
Next year I may bring the machine to the event with me to help everyone else engrave their trophies after the race, but I’m a little concerned that this may be overwhelming. It’s quick and easy to do, but even with a small troop, there are quite a few trophies given out. What do you think? Nice gesture or overwhelming mistake? Leave me a comment at the end of the post!
This post may contain affiliate links which may earn me commissions should you click through them and take certain actions. As an affiliate for Amazon, Cricut, xTool, Home Depot, and other sites, I earn from qualifying purchases. Please DIY carefully. View my full legal disclosures here.
Please read the whole post so you don’t miss any important information!
Trophy Plaque Engraving Made Easy with an xTool M1 Laser Cutter
Supplies
- xTool M1 Laser Cutter http://shrsl.com/3v9vq
- Trophy with a Plaque attached (usually they’re taped to the bottom)
- Optional:
- Honeycomb Riser http://shrsl.com/3yxwg
- Air Assist http://shrsl.com/3yxv6
Tutorial
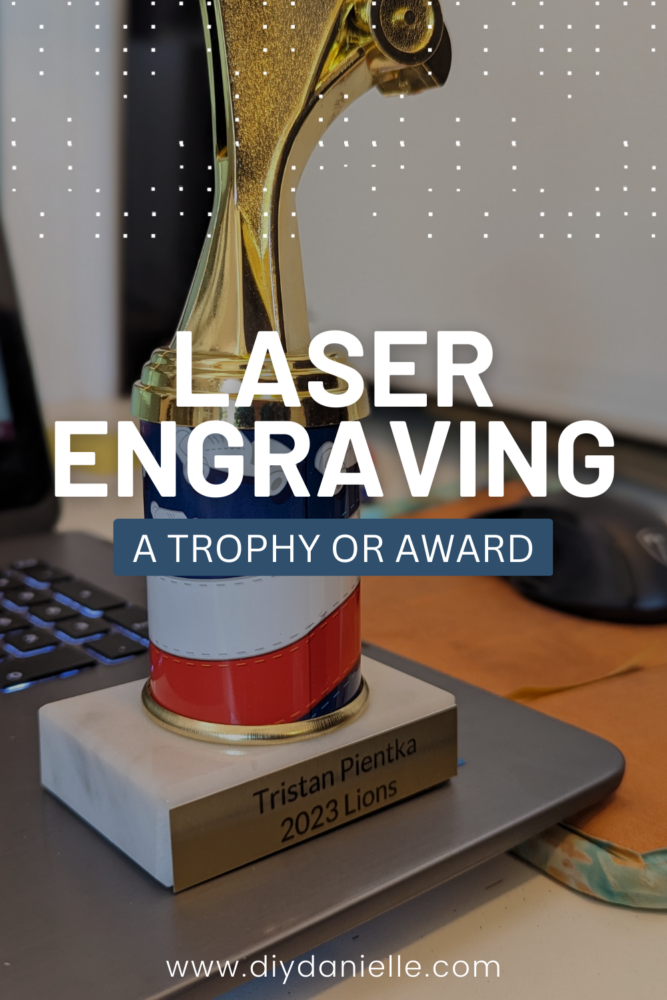
Step 1: Trophies come with a blank plaque / name plate taped to the bottom. Remove this.
Step 2: Place your plaque on your M1 mat or the triangular prisms. The triangular prisms help lift the item off the base mat, and reduce the chance of leaving marks on the base plate. It also adds air flow underneath. Some people choose to use a piece of tin foil on top of the base plate to help prevent marks.
Another alternative is to use the Honeycomb Riser and Air Assist. These have the same effect (and I like how the Honeycomb Riser allows for easy adjustment for the height of the project). The Air Assist just adds air, reducing how much singing you’ll see on wood projects.
Step 3: Add your text on the Creative Space design software and center it over your plate.
Step 4: Set your material to stainless steel tag & Click Auto measure. Readjust your text if needed.
Step 5: Click Process, frame, then start the engraving process.
Step 6: Let your M1 engrave the plaque. Once finished, remove from machine.
Step 7: Remove the backing on your metal plate and stick to your trophy.
Please share and pin this post! If you make this project, share it in our Stuff Mama Makes Facebook Group. We have regular giveaways for gift cards to craft stores. You can also tag me on Instagram @doityourselfdanielle; I love seeing everything you make!