
Learn how to install the Honeycomb Riser for the M1 Laser Cutting Machine. This tool creates airflow around projects, reducing burning.
We started using our xTool M1 laser cutter before we got the Honeycomb Riser, and while I loved the original machine, adding the riser has made projects SO much better. It also makes it easier for us to change the height of projects when we’re making something that’s a bit taller. Here’s a guide to the benefits of the riser, as well as details on installing it.
Benefits of the Honeycomb Riser
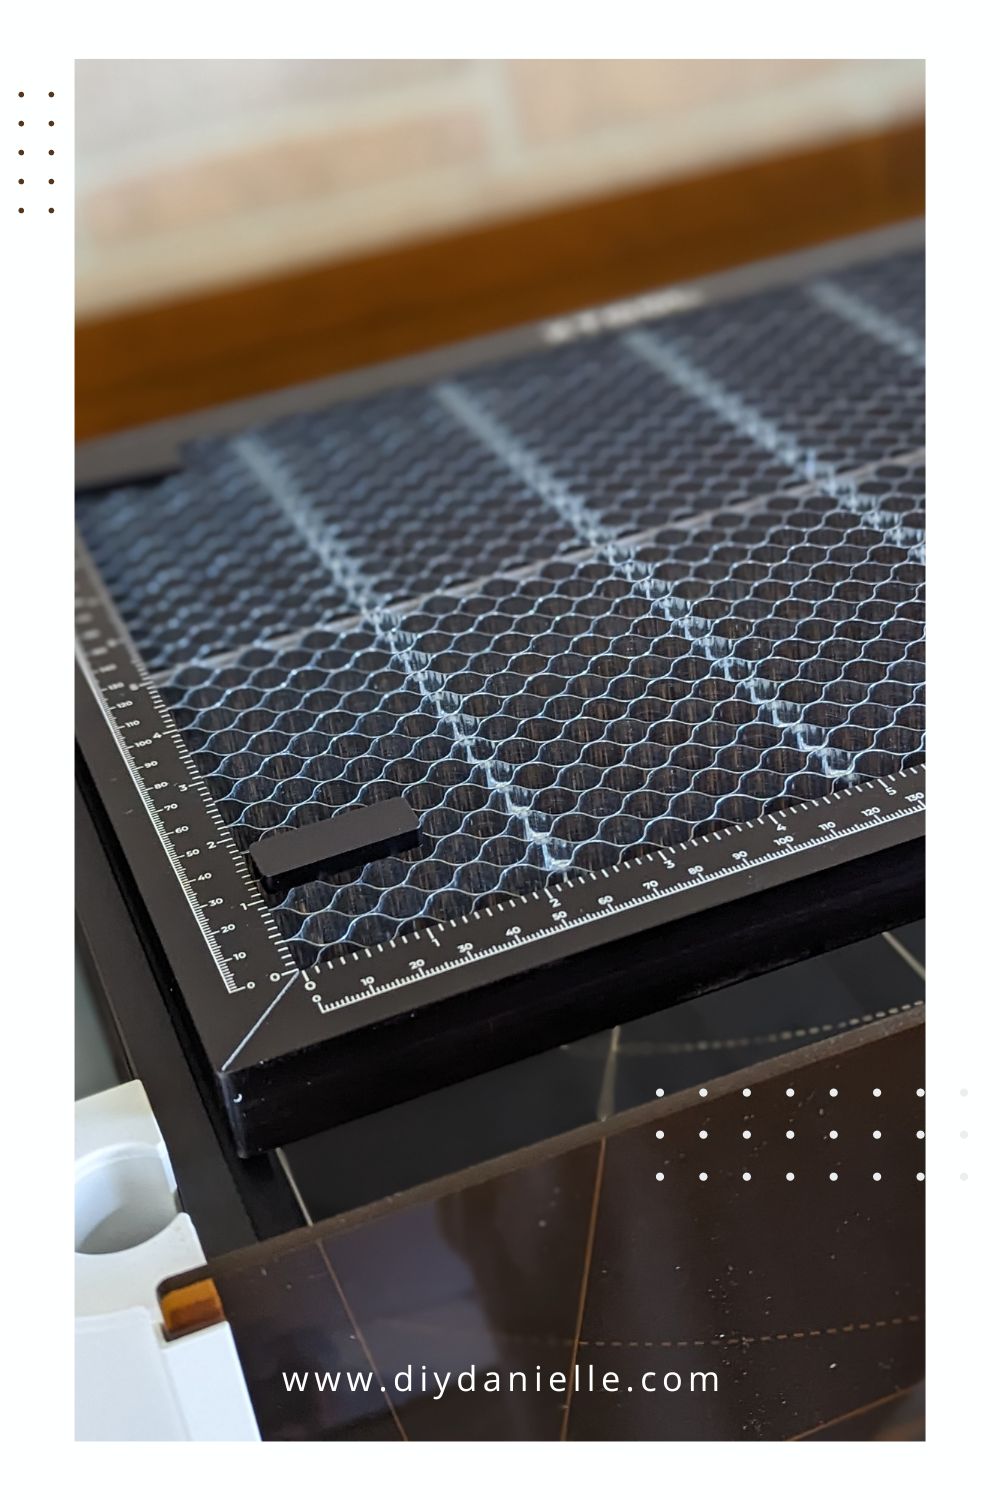
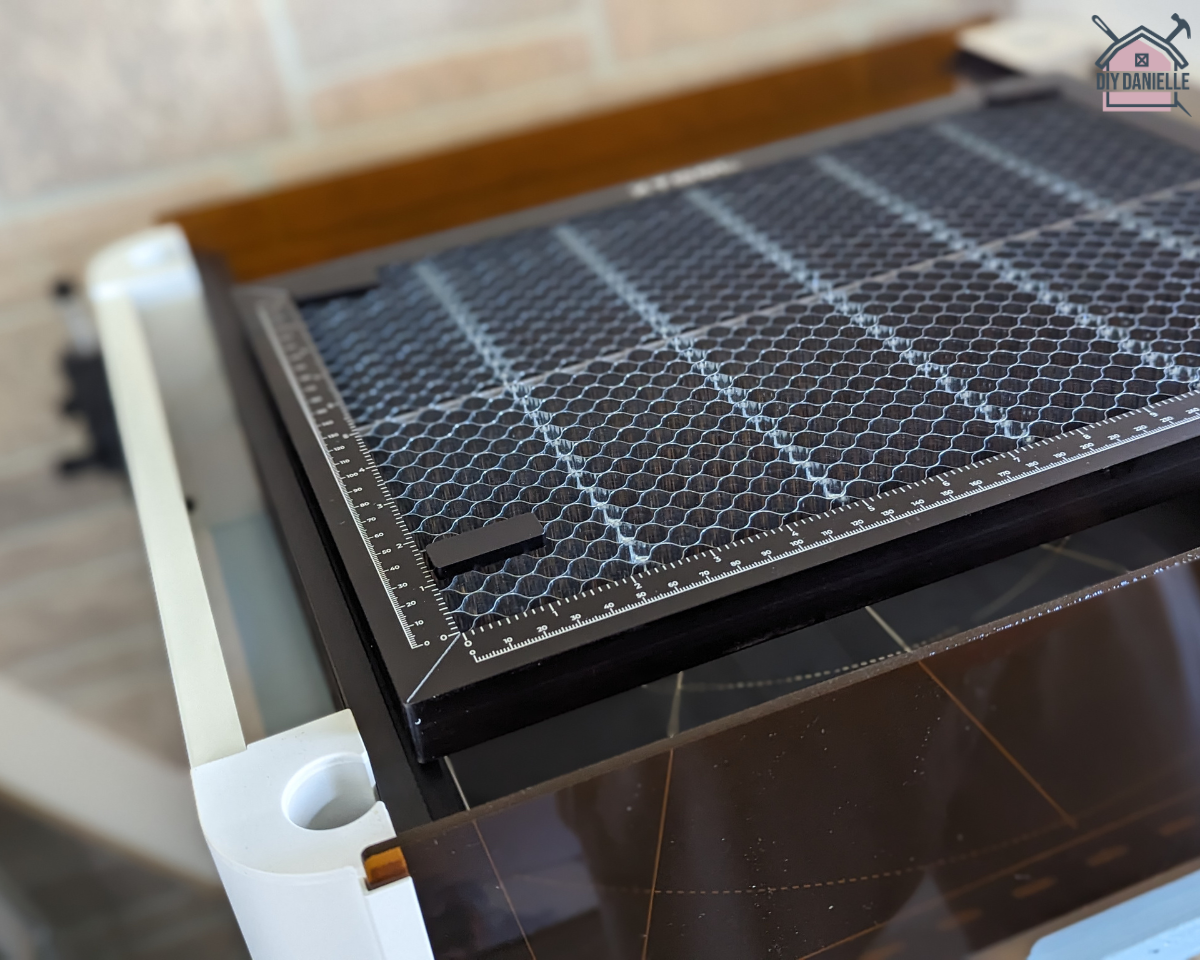
- Creates airflow around project.
- Reduces burning on project.
- The Honeycomb Riser supports your project in both directions, reducing the chance that the project will fall mid-cut.
- Project can be held in place with magnetic clips.
I anticipate that the risk of a fire is lower with the Honeycomb Riser and the Air Assist running because they improve the air circulation, but I cannot confirm that as- so far (knock on wood)- I haven’t had a fire before or after installing the riser and Air Assist.
This post may contain affiliate links which may earn me commissions should you click through them and take certain actions. As an affiliate for Amazon, Cricut, xTool, Home Depot, and other sites, I earn from qualifying purchases. Please DIY carefully. View my full legal disclosures here.
The majority of my content is generated by me, as are 99% of the photos and videos, but I utilize technology for titles, descriptions, video editing out all of my ums, and occasionally for text overlay on images.
Please read the whole post so you don’t miss any important information!
How to Install the xTool M1 Honeycomb Riser
Supplies
- xTool M1 Laser Cutting Machine: http://shrsl.com/3v9vq
- Honeycomb Riser: http://shrsl.com/3yxwg
- (Recommended) Air Assist: http://shrsl.com/3yxv6
Tutorial
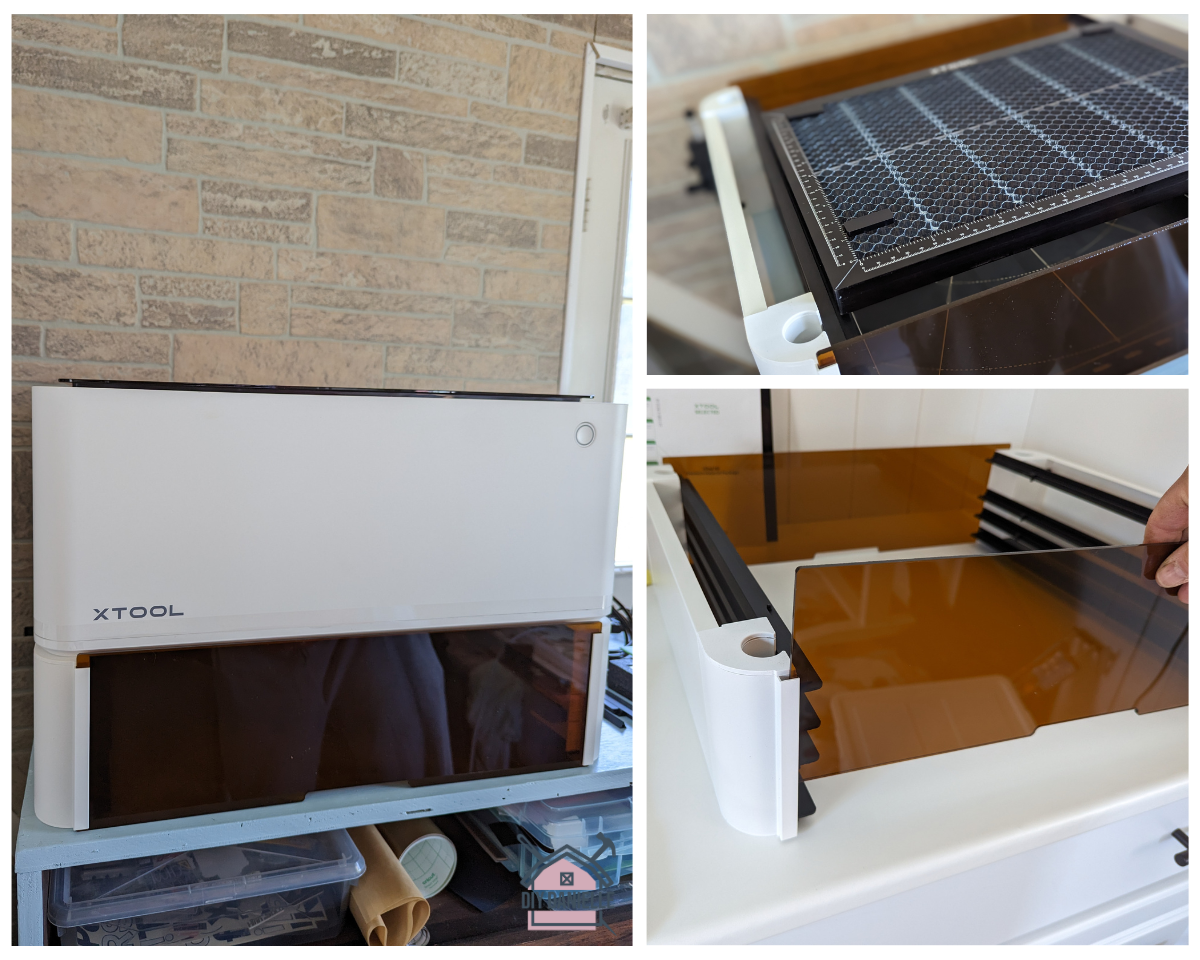
Step 1: Open the box for the Honeycomb Riser. Unpack. Peel off protective covers from the front and back panels.
Step 2: You’ll have two solid side pieces (make sure they’re placed in the correct direction- I got this wrong the first try)… the front and back panels slide into the slots on the side pieces to create your riser.
Step 3: Unscrew bottom plate on xTool M1 Laser Cutting Machine. Carefully remove the plate.
Step 4: Place M1 Laser Cutting Machine on top of Honeycomb Riser.
Step 5: Carefully place the Honeycomb Riser at desired height for project.
Notes:
- The removable panels protect your eyes from the laser.
- Slide the original plate under the bottom for storage.
- The included magnetic clips hold projects that may move!
- The front opens to allow you to easily move the Riser to another level for larger projects.
Please share and pin this post! You can also post your project and tag the DIYDanielle team on Instagram @doityourselfdanielle!

How (and WHY) to Install a Honeycomb Riser on a Laser Cutting Machine Web Story