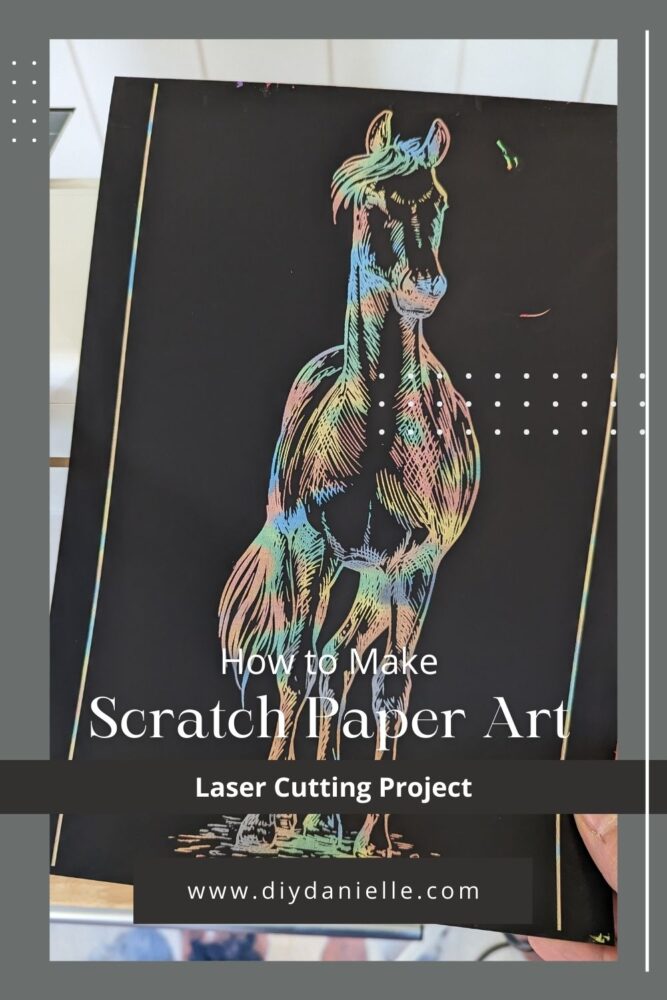
Create unique wall art with a laser cutting machine. This tutorial will teach you to create scratch paper art with a laser cutter!
I have seen some really neat looking wall art made from black scratch paper that was created with the laser cutter and I decided to give it a try. I am SO excited. While this process is more time consuming than a simple design, it’s so satisfying and the results were SO much fun.
If I did it again, I would have done any text (such as the quotes) with the machine, but initially I’d intended it to only be the animals shown. I had to revise my original plans when the machine ended up adding a bit more lasering to some areas than I’d expected. This may be due to noise from the original image or that the laser needed cleaning- I can’t be 100% sure. As I experiment more, I’ll try to update if I figure out the issue. Cleaning the laser DID help, but not perfectly. Of course, the process takes a while so it may require pausing the project half way through to clean the laser.
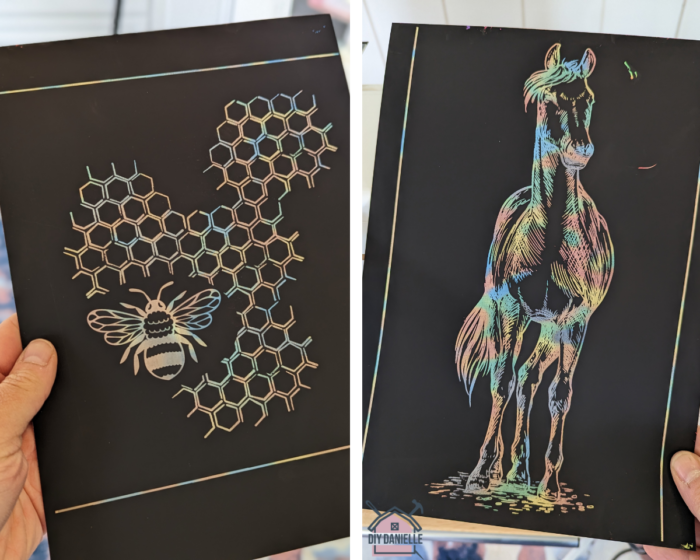
Each piece of art took about an hour to engrave with the machine.
This post may contain affiliate links which may earn me commissions should you click through them and take certain actions. As an affiliate for Amazon, Cricut, xTool, Home Depot, and other sites, I earn from qualifying purchases. Please DIY carefully. View my full legal disclosures here.
The majority of my content is generated by me, as are 99% of the photos and videos, but I utilize technology for titles, descriptions, video editing out all of my ums, and occasionally for text overlay on images.
Please read the whole post so you don’t miss any important information!
Scratch Paper Art with a Laser Cutter
Supplies
- Black Scratch Paper
- xTool M1 Laser Cutter: http://shrsl.com/3v9vq
- Honeycomb Riser: http://shrsl.com/3yxwg
- Air Assist: http://shrsl.com/3yxv6
- Frame for your art
Tutorial
Step 1: Order black scratch paper. xTool sells this specifically for their laser cutting machines. I’m unsure if normal scratch paper would work too- although I don’t see why not.
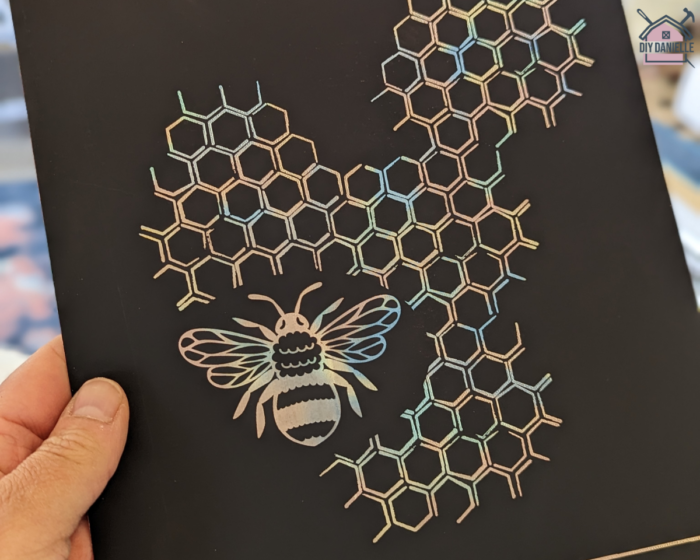
Step 2: Design your image and resize to fit your scratch paper. Sketches and photos work well.
I used Canva to grab some images that I liked. I recommend checking your design to make sure there isn’t any ‘noise’ to it. You can click EDIT on the image once you import it to see if there’s anything else in the image that’s difficult to see otherwise.
Step 3: Set design to ENGRAVE at 20 power/200 speed (10W machine)
Step 4: Click Process.
Step 5: Frame. Click Start.
Step 6: Let M1 Engrave . Supervise in case of fire!
Step 7: Remove from machine carefully- any little scrap can add more ‘decor’ to your art!
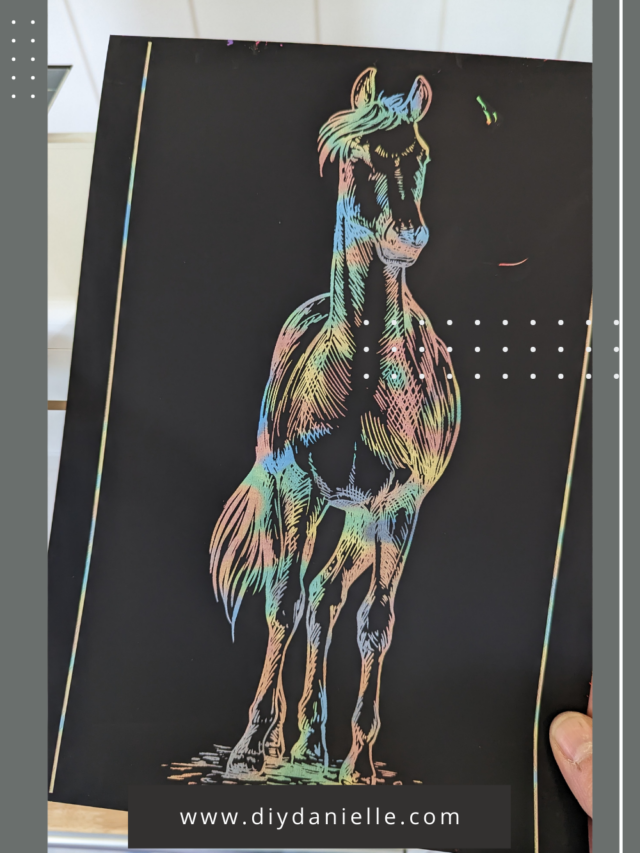
Many of the designs came out really well, but the scratch paper is VERY sensitive to any accidental scrape/touch.
If you want, you can embellish the paper after it engraves with the included ‘pencil.’ I decided to have fun and add text. I also tried to cover up the accidental issues with some scratches done by hand.
Step 8: I recommend framing this afterwards to protect the design.
Please share and pin this post! You can also post your project and tag the DIYDanielle team on Instagram @doityourselfdanielle!