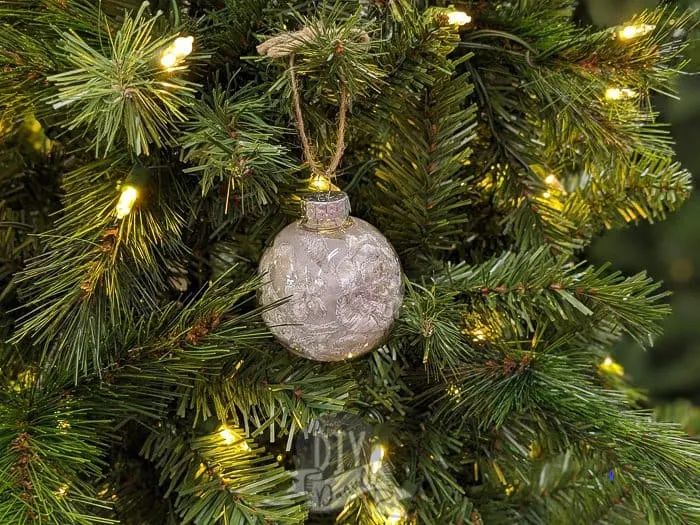
How to make an easy wedding Christmas ornament from an upcycled wedding dress.
This post may contain affiliate links which may earn me commissions should you click through them and take certain actions. As an affiliate for Amazon, Cricut, xTool, Home Depot, and other sites, I earn from qualifying purchases. Please DIY carefully. View my full legal disclosures here.
Please read the whole post so you don’t miss any important information!
This is our second week of the Christmas project challenges. The theme is “2 hour projects” so week I’m going to show you the super cute ornament that I made using old wedding dress scraps. This is pretty much a 10 minute project, max. Maybe 5.
Making ornaments from a wedding dress is a great way to keep a memento from your wedding without letting the whole dress sit collecting dust in your attic. Donate most of the dress to an Angel Gowns program or sew Angel Gowns yourself to donate.
Use scraps from your dress to make an Angel Topper for your Christmas tree and these ornaments which you can personalize however you want! Personally, I think they’re perfect AS IS.
Ornament Supplies
- Plastic empty ornaments: Glass is nice and would be fun to etch with your last name, initials or wedding date, but breakable. I have kids.
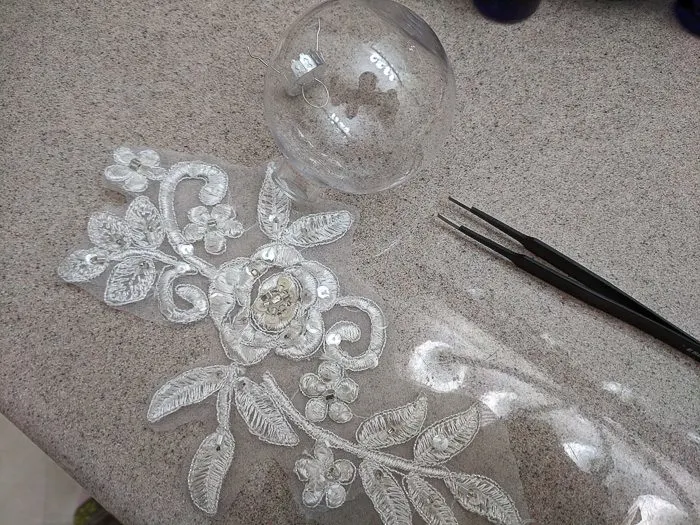
- Scraps from wedding dress: Pieces of embroidery/lace and also plain fabric for inside of the embroidery to help push it out.
- Tweezers and scissors
- Ornament hangers, if needed
How to Make an Ornament from Your Wedding Dress
Start by cutting out the pieces of the dress that you want to use. The thin fabric with embroidery is ideal for this.

Cut around the design, without clipping the stitching.
I try to separate into 5-7″ pieces.
Set aside some of the plain wispy fabric too.
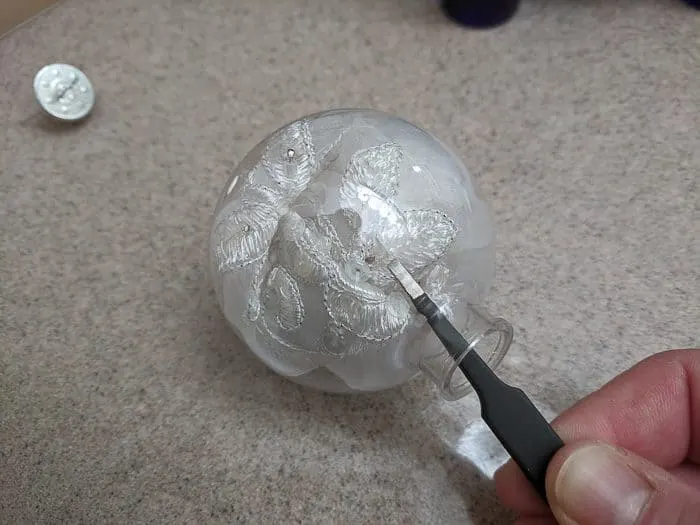
Now that you have your supplies ready, get out one or two pairs of tweezers. Use a pair to help put the embroidered fabric into your bulb. Make sure to keep the design facing out.

It took me a few minutes to get the hang of it, but you can mess around with the tweezers to put everything into place just right.
Once you have it where you want it, make sure there’s no fabric blocking your way at the top. Push the plain wispy fabric inside to help hold the embroidered piece in place.
And you’re done! I love it as is, but there’s a lot of opportunity here to add a tag with the couple’s name, wedding date, etc.
Here’s a video showing the process.
Please share and pin this post! If you make this project, share it in our Stuff Mama Makes Facebook Group. We have regular giveaways for gift cards to craft stores. You can also tag me on Instagram @doityourselfdanielle; I love seeing everything you make!

Want more 2 hour decor ideas? Check out ALL of them on our DIY Holiday Ornaments challenge.


Web Story: Making Ornaments from Your Wedding Dress

Christine
Tuesday 12th of November 2019
What a great way to create a wedding keepsake. Beautiful!
Toni
Monday 11th of November 2019
Oh my gosh these are so awesome. What a great idea and each one would be so unique!
Jenny
Monday 11th of November 2019
Great idea for a special memory for the tree. Yes mostly all the ornaments I make are plastic or wood because kids and they love helping decorate the tree. Love it!
Danielle
Monday 11th of November 2019
Yeah it's no fun to be all "wooooahhhh" "careful" "noooo!" when you're decorating as a family LOL
April@LoveOurRealLife
Sunday 10th of November 2019
What a unique and special idea! A great way to reminisce about your wedding over the holidays. It's stunning!
Danielle
Monday 11th of November 2019
Thanks! I love upcycling other items and this was just tooooo easy.