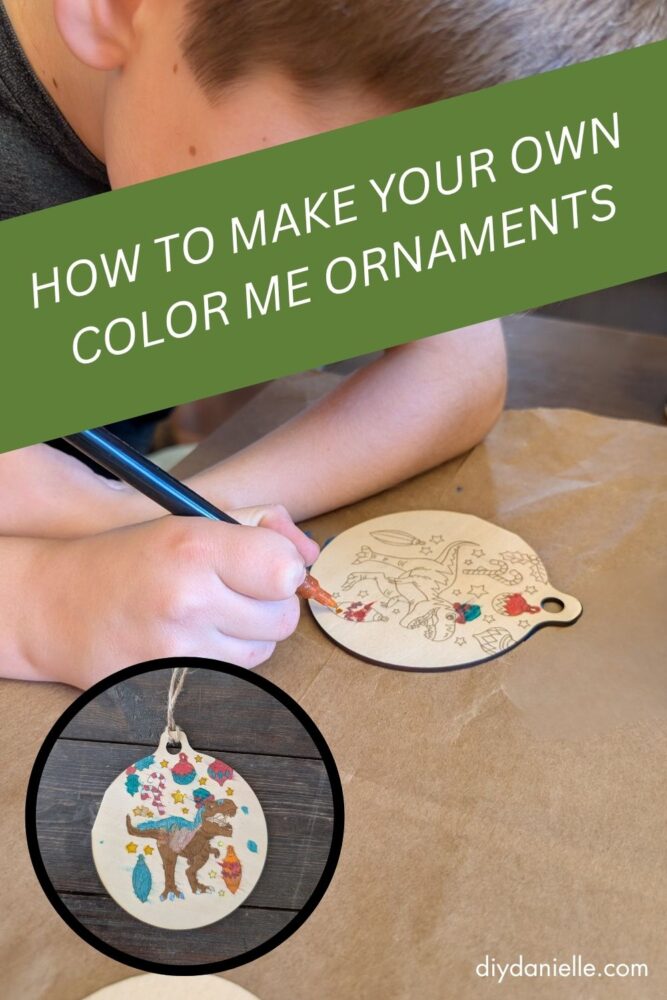
Create personalized holiday decor with DIY color-your-own ornaments. Fun, festive, and perfect for gifts or decorating your Christmas tree.
I made these for my therapy practice and also to color with my kids. They’re a fun way to use acrylic markers and decorate your tree.
This is a great craft to do with kids and so easy.
This post may contain affiliate links which may earn me commissions should you click through them and take certain actions. As an affiliate for Amazon, Cricut, xTool, Home Depot, and other sites, I earn from qualifying purchases. Please DIY carefully. View my full legal disclosures here.
The majority of my content is generated by me, as are 99% of the photos and videos, but I utilize technology for titles, descriptions, video editing out all of my ums, and occasionally for text overlay on images.
Please read the whole post so you don’t miss any important information!
DIY Color Your Own Ornaments
Project Supplies
- xTool M1 Laser Cutter http://shrsl.com/3v9vq
- Honeycomb Riser http://shrsl.com/3yxwg
- Air Assist http://shrsl.com/3yxv6
- Balsawood 3mm http://shrsl.com/40aun
- Twine/String
- Wood Glue https://homedepot.sjv.io/5b4JQo
- Optional Items:
- Set of 15 Art Paint Brushes with Paint Brush Case. https://amzn.to/3Iy6rGe
- Acrylic Markers: https://amzn.to/4hYeU6j
- FolkArt Jewel Tone Acrylic Craft Paint Kit, 15 Piece Set Including 12 Metallic Colors and 3 Premium Paintbrushes https://amzn.to/4qCf0Vq
- Vintage Christmas Sheet Music: 36 Decorative Sheets Scrapbook Paper For Collage, Scrapbooking, Junk Journaling, Paper Crafts and Decoupage https://amzn.to/4nvqmHU
- Rustoleum 2x https://homedepot.sjv.io/Ean04Q
- Mod Podge: Gloss https://amzn.to/43fij9C
- Mod Podge: Matte https://amzn.to/3uZFoRf
Step by Step Instructions
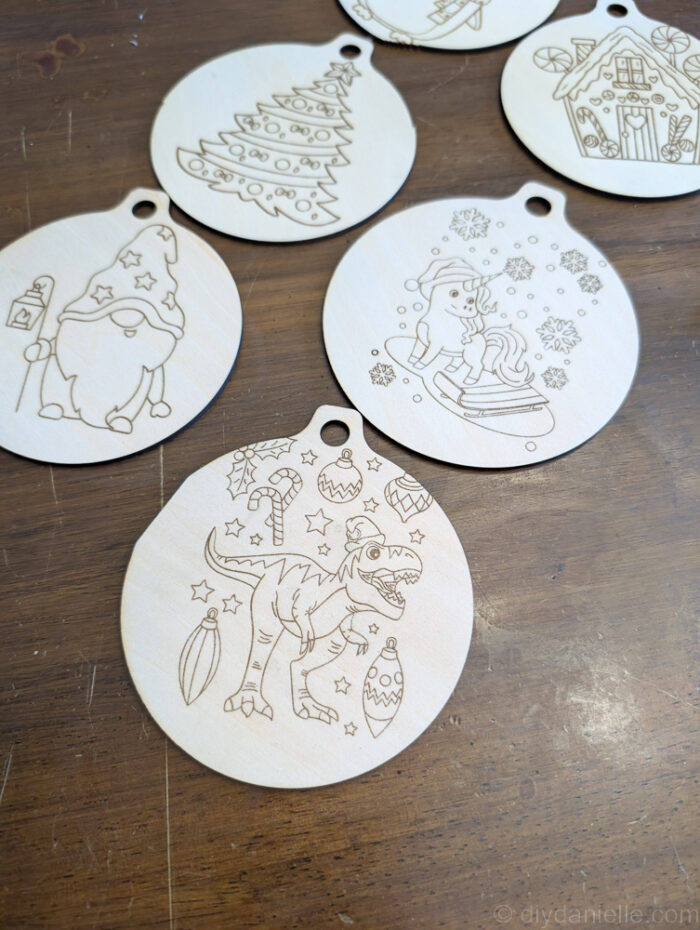
Step 1: Find an ornament shape and a coloring design. I use Canva for designing ornaments. Export as an SVG with transparent background. Upload into your software.
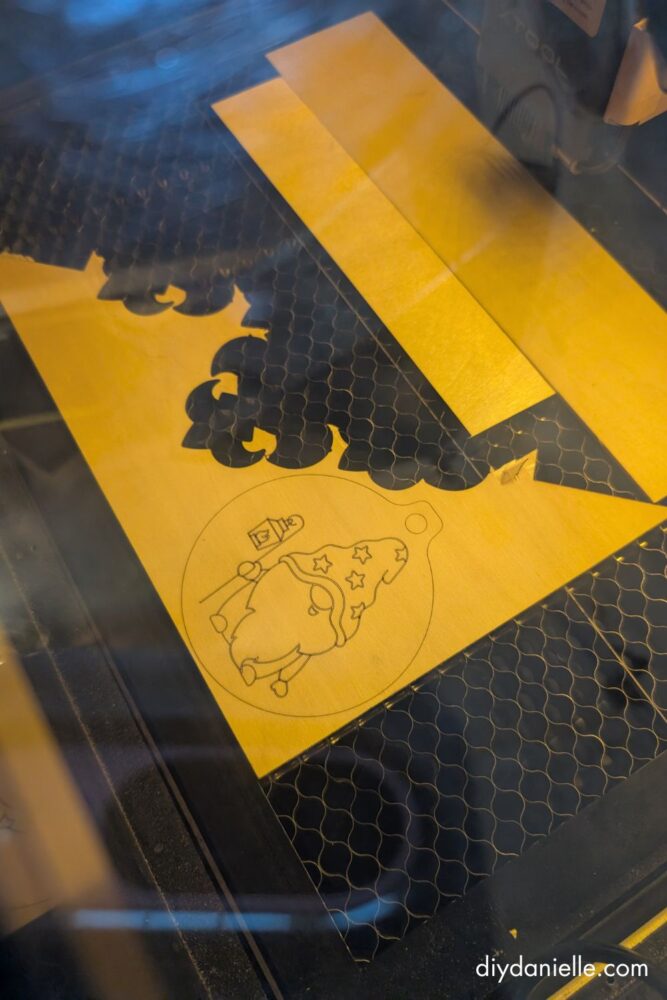
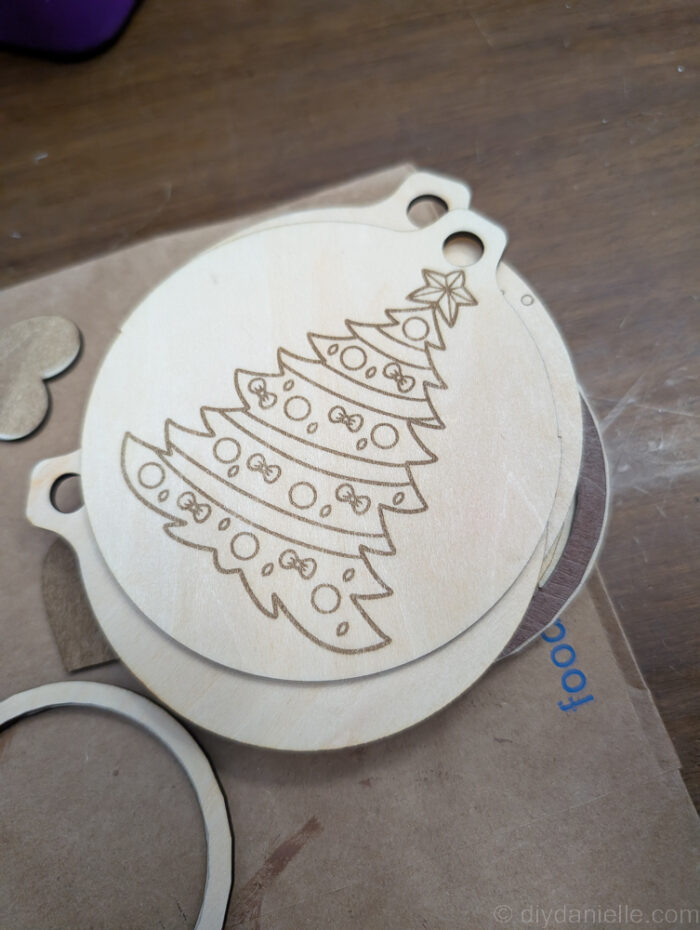
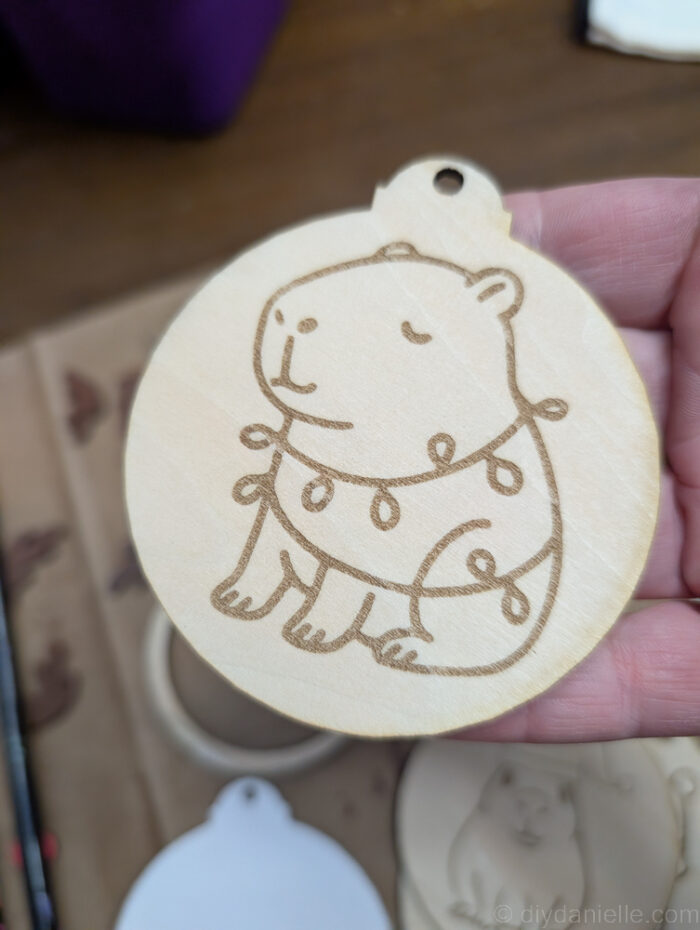
Step 2: Set up the outline/ornament shape to be cut. I use 3mm laser cutting wood. The rest of your design can be set to engrave or score… I like to look at both for each design to see which looks better.
Let your machine do its job. Keep an eye out in case of fire.
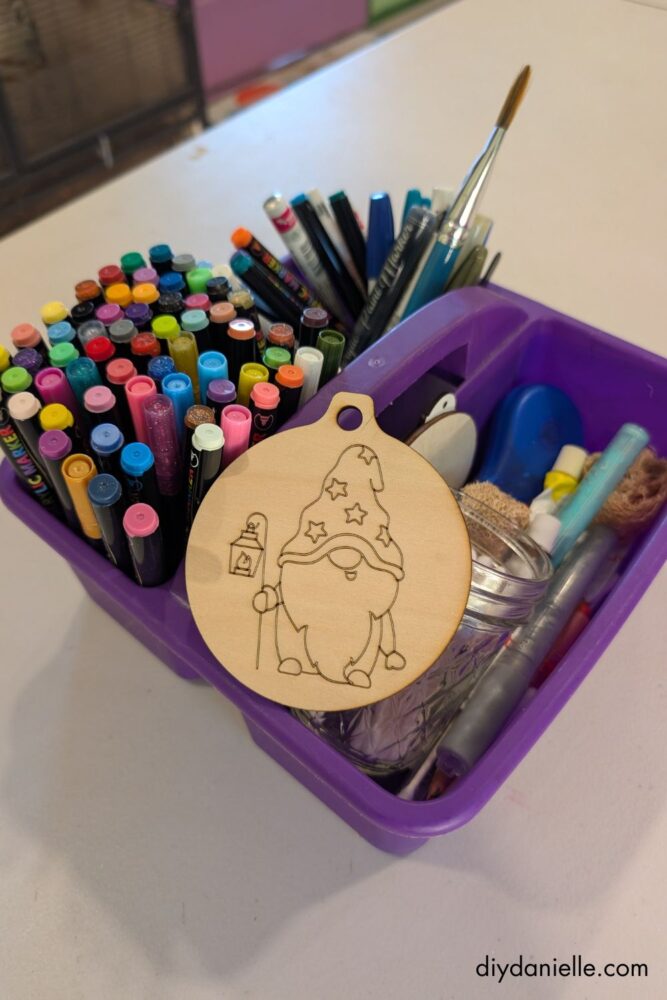
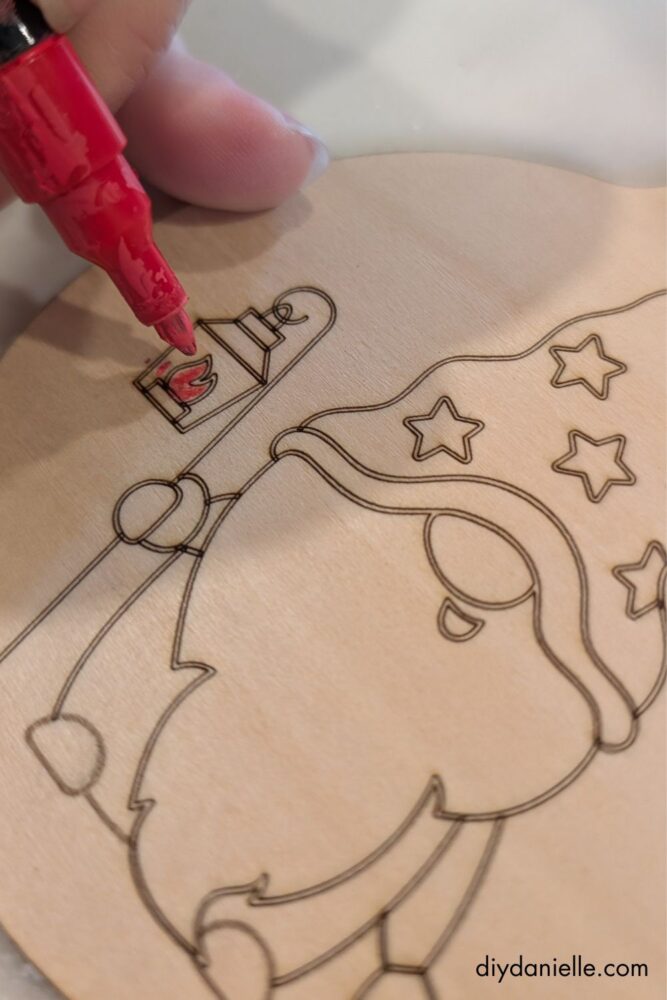
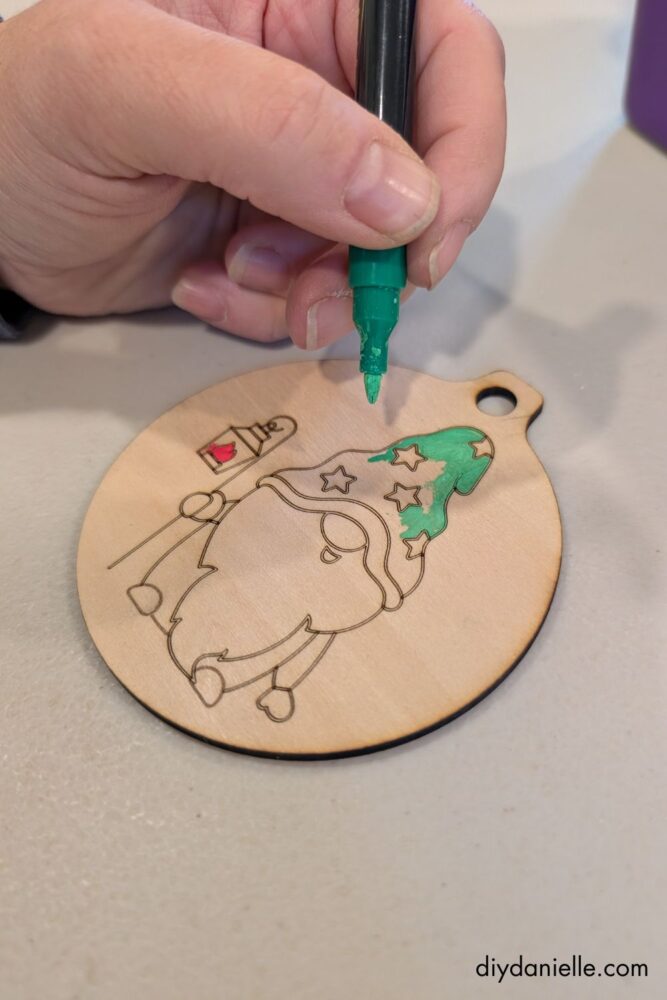
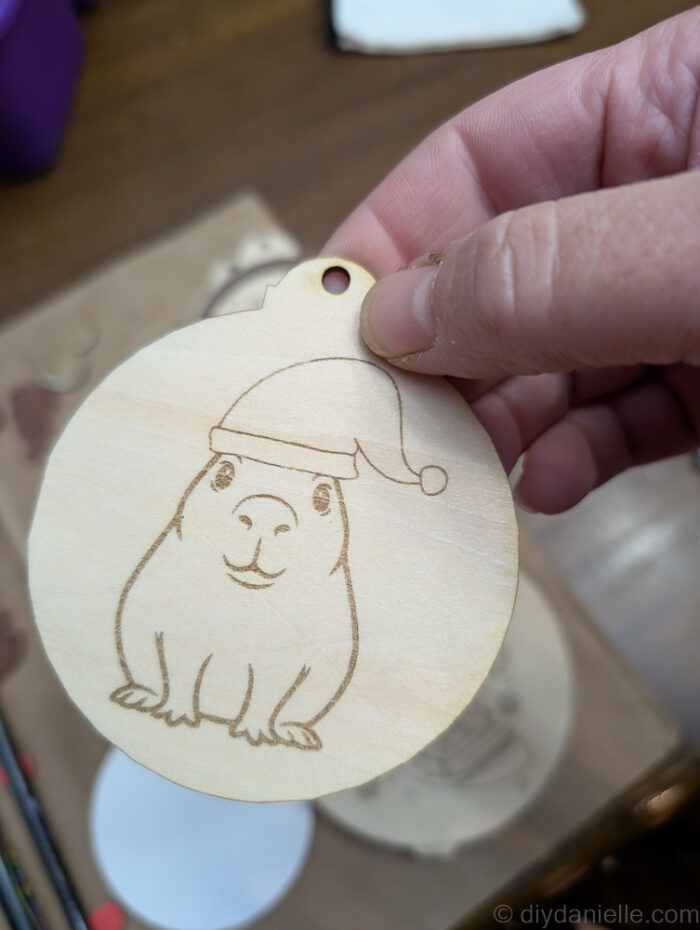
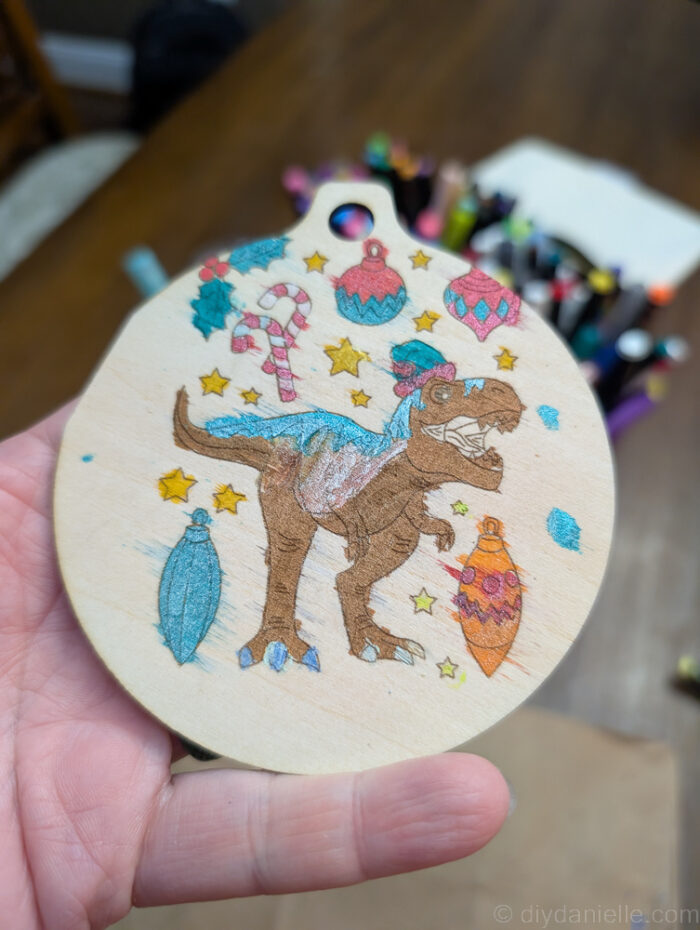
Step 3: Remove your design once the machine is finished cutting. You can now color your design in. I LOVE using acrylic markers, but good quality coloring pencils too are great.
Note the double line on this design- this was scored, not engraved. Sometimes engraving colors in those double lines, but sometimes it colors in your whole design (not great for this).
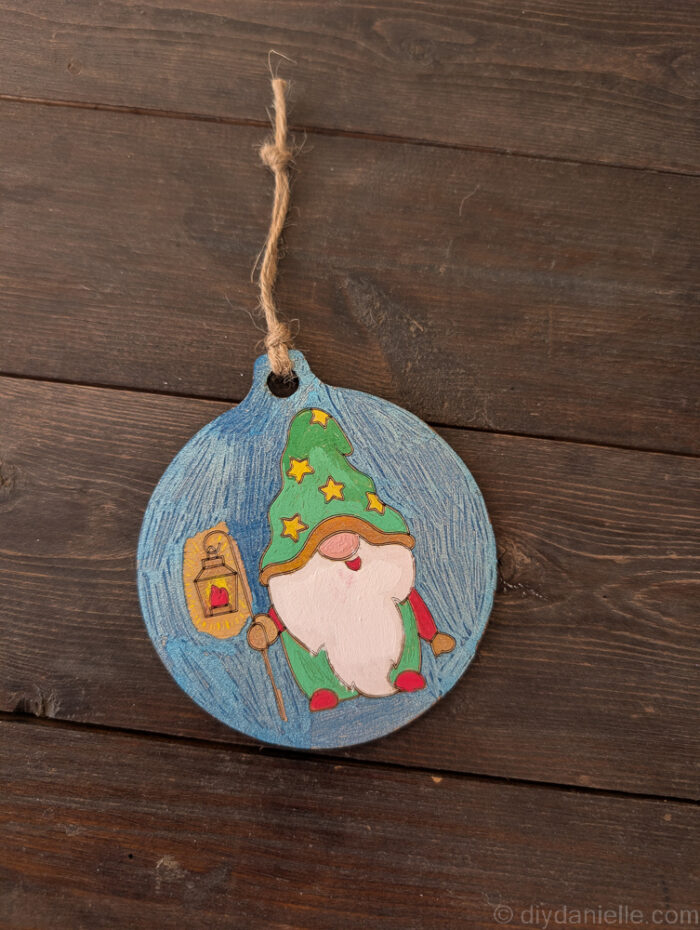
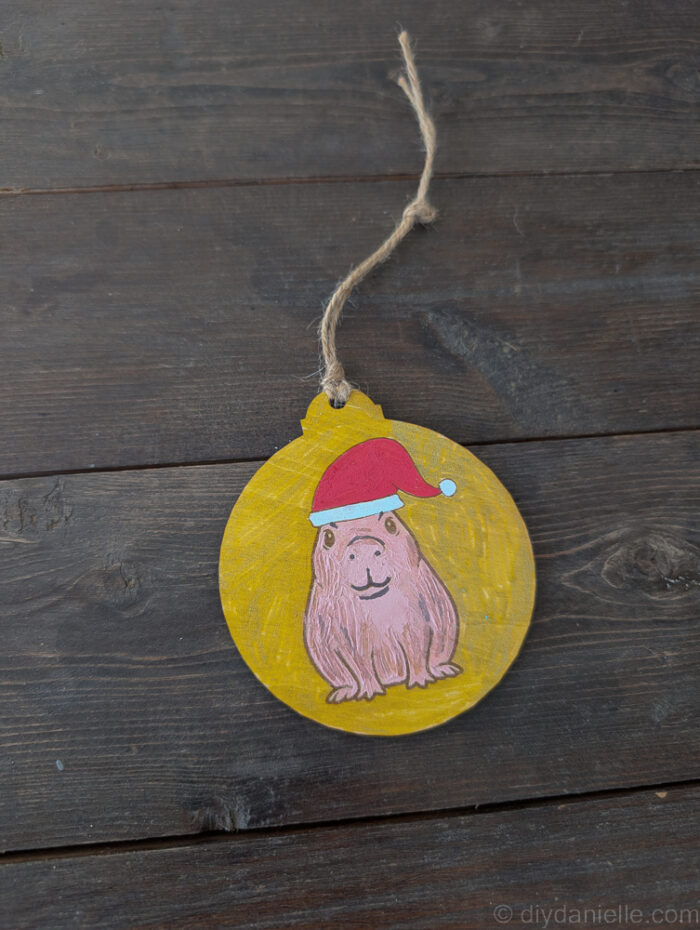
Step 4 (optional): You can apply a layer of sealer on top after the paint dries thoroughly. Mod podge can also work: use matte for less of a shiny look. Honestly, you don’t necessarily need sealer though.
Step 5: Add your string or twine to hang the ornament with.
Please share and pin this post! You can also post your project and tag the DIYDanielle team on Instagram @doityourselfdanielle!