How to make easy homemade ornaments with your kids that WON’T break. These Christmas ornaments are made with wood slices and paint markers.
I decided to pick up some wood slices this year to make ornaments. I have a knack for breaking ceramic ones, and I was tired of not having anything on my Christmas tree that didn’t look like it’d undergone major surgery. Wood slices seemed safe… me or the kids could drop them without anything breaking. In the past, I’ve made my own wood slices, but it takes them a LONG time to dry. This was quick, easy, and the kids all made some really epic ornaments for the tree!
This post may contain affiliate links which may earn me commissions should you click through them and take certain actions. As an affiliate for Amazon, Cricut, xTool, Home Depot, and other sites, I earn from qualifying purchases. Please DIY carefully. View my full legal disclosures here.
Please read the whole post so you don’t miss any important information!
There’s a lot of ways to make these. If you want to do something a bit more organized, you could use stencils or use your Cricut to make stencils for these. I let my kids free hand their designs which I thought was a lot of fun.
Supplies
- Wood Slices: Make Your Own or Buy on Amazon
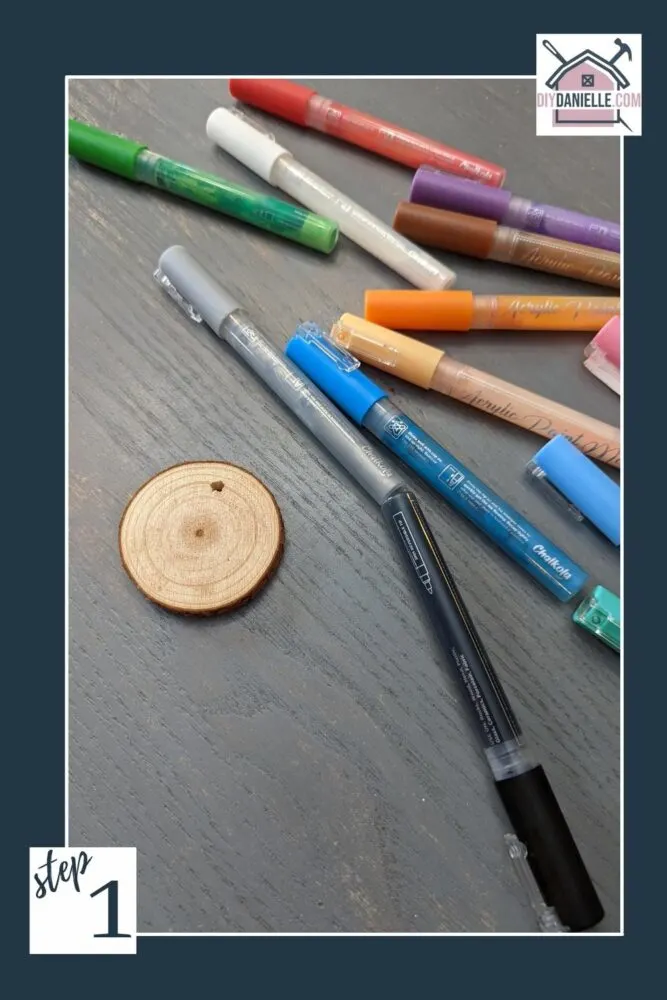
- Paint Markers
Tips for Making Homemade Ornaments with Kids
As this is a pretty self explanatory project, I’m going to give you my tips for making these. The paint markers are easier to draw with than a paint brush, but function like paint so you can layer colors once each coat dries. They look really nice against the wood slices and it was fun to give the kids free rein to make whatever they wanted for the tree.
- These paint markers are labeled as non toxic.
- Consider the markers to be similar to painting… let each layer dry before doing a layer over the base layer.
- Let the first side dry and flip to decorate the opposite side.
- If you search “Christmas drawing step by step” you’ll see some tutorials to draw different Christmas-y things. They can walk you through how to draw a Santa, candy cane, reindeer, etc.
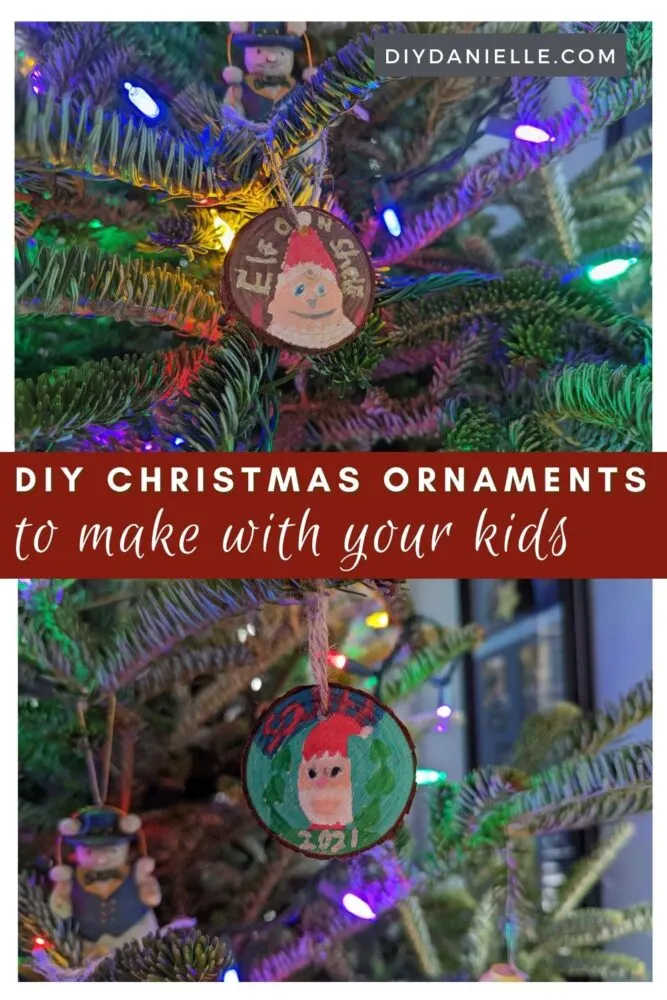
- Have your kids label their ornaments with their name or initials, and the year. This will allow you to make a new ornament each year, showcasing their artwork.
- Make one for your own tree, as well as one for each grandparent who might enjoy having an ornament made by their grandkids.
The nice part about these ornaments is that they’ll look cohesive together on the tree, but they’ll still be a personalized ornament from each kid that you can save year after year. I have so many ornaments that my mom passed onto me that I made as a child, and not all of them survived the passage of time. I think these aren’t as prone to breaking, although I suppose I could seal the paint before we pack them away until next year.
What do you think- seal them or no? Leave me a comment.
Kid Friendly Christmas Tree Ornaments that You Can Make!
Here’s the step by step guide to making these cute ornaments!
Step 1: Prep your Acrylic Paint Markers.
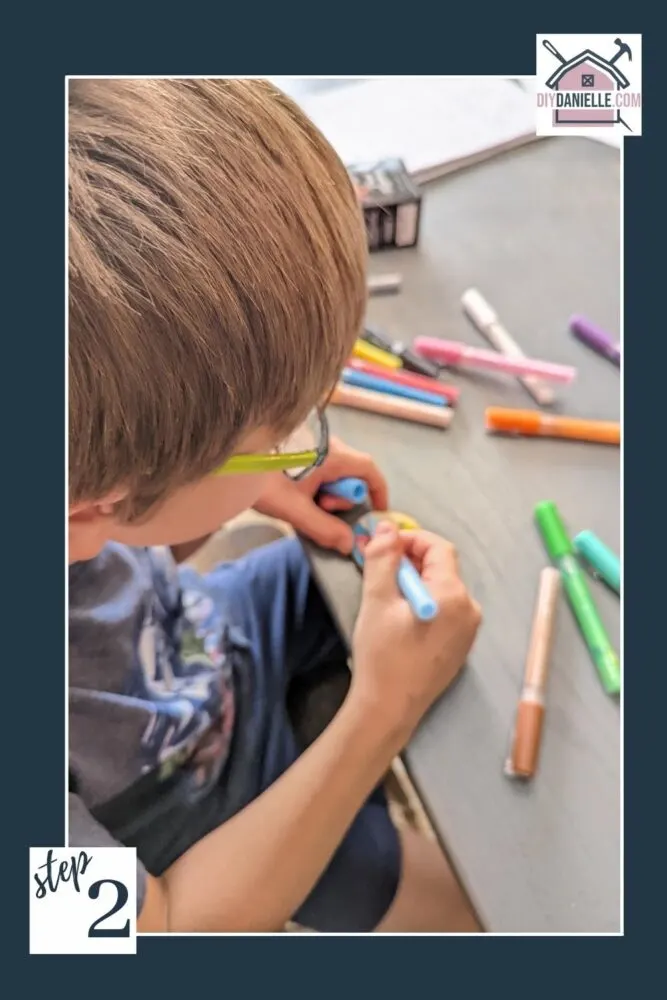
Step 2: Give your kids guidance or just tell them to draw something Christmas-y. Your choice!
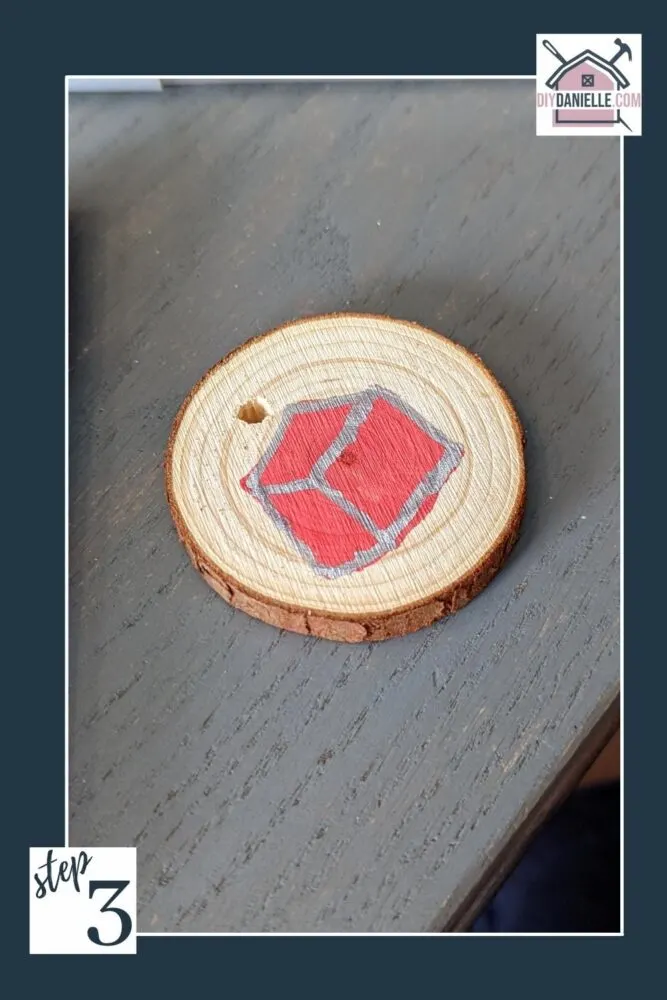
Step 3: Teach your kids to let the paint dry between each layer. You can even use a hair dryer to make it go faster, although paint markers dry very quickly. I like how they prevent the kids from layering paint on too thick.
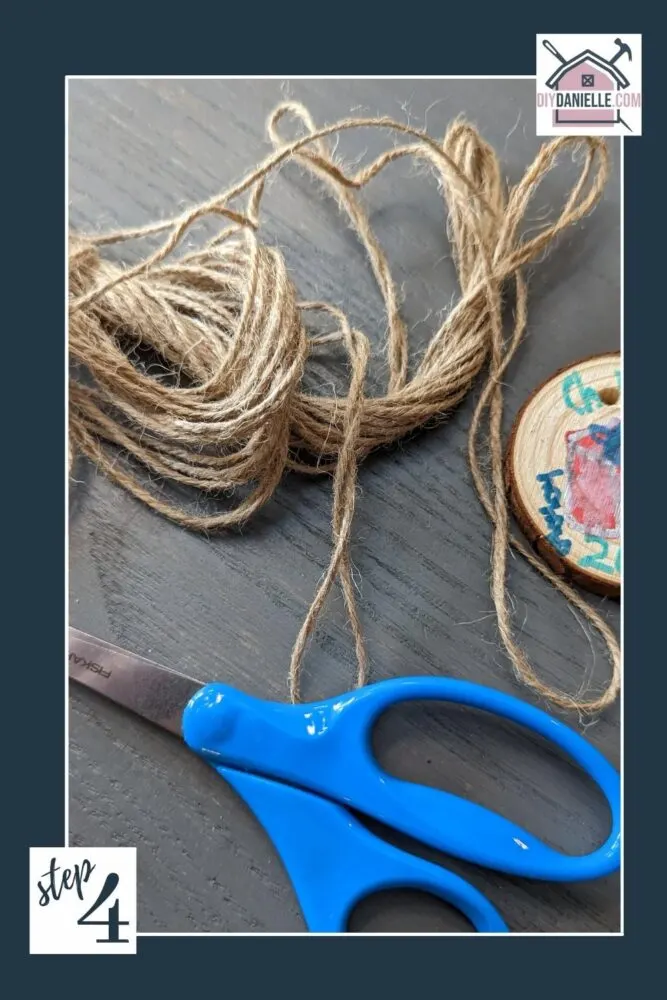
Step 4: Cut some twine, string, or embroidery thread to hang the ornaments. Tie onto the ornament.
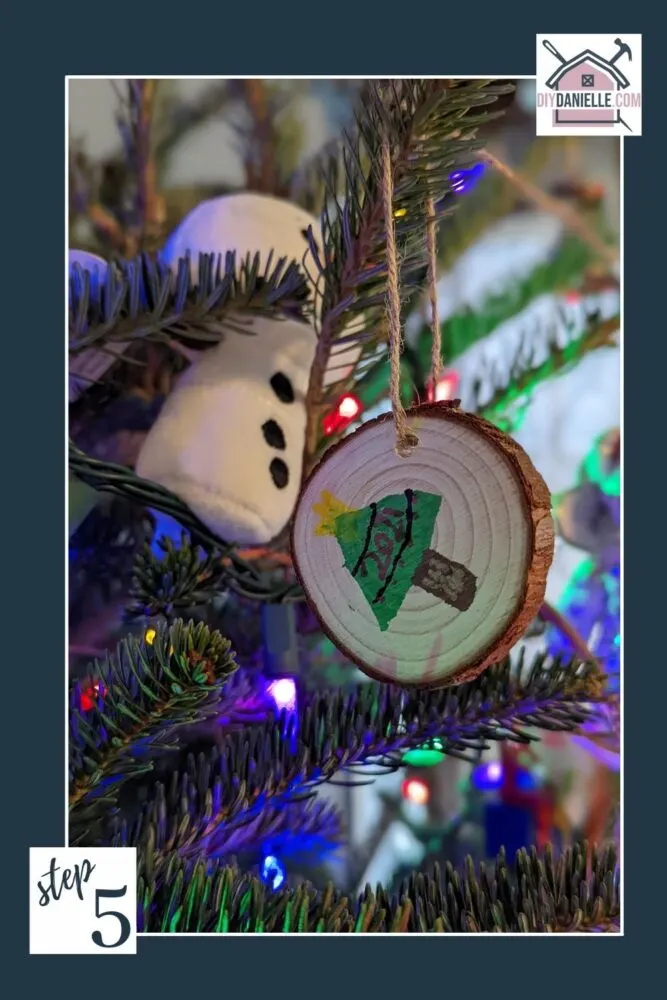
Step 5: Let the kids decorate the tree, knowing that these ornaments are lightweight and not likely to break.
Learn how to dry and wet felt soap using my DIY Kits including: DIY Christmas Tree Felted Soap | DIY Sus’ Felted Soap | DIY Video Game Controller Soap. I love making these for AND WITH my kids!
Please share and pin this post! If you make this project, share it in our Stuff Mama Makes Facebook Group. We have regular giveaways for gift cards to craft stores. You can also tag me on Instagram @doityourselfdanielle; I love seeing everything you make!
Google Web Story: Easy Christmas Craft for Kids, Homemade Ornaments
