
Learn how to install the Hay Burners Equine Hay Hut net with step-by-step instructions, tips, and photos for safe, easy setup.
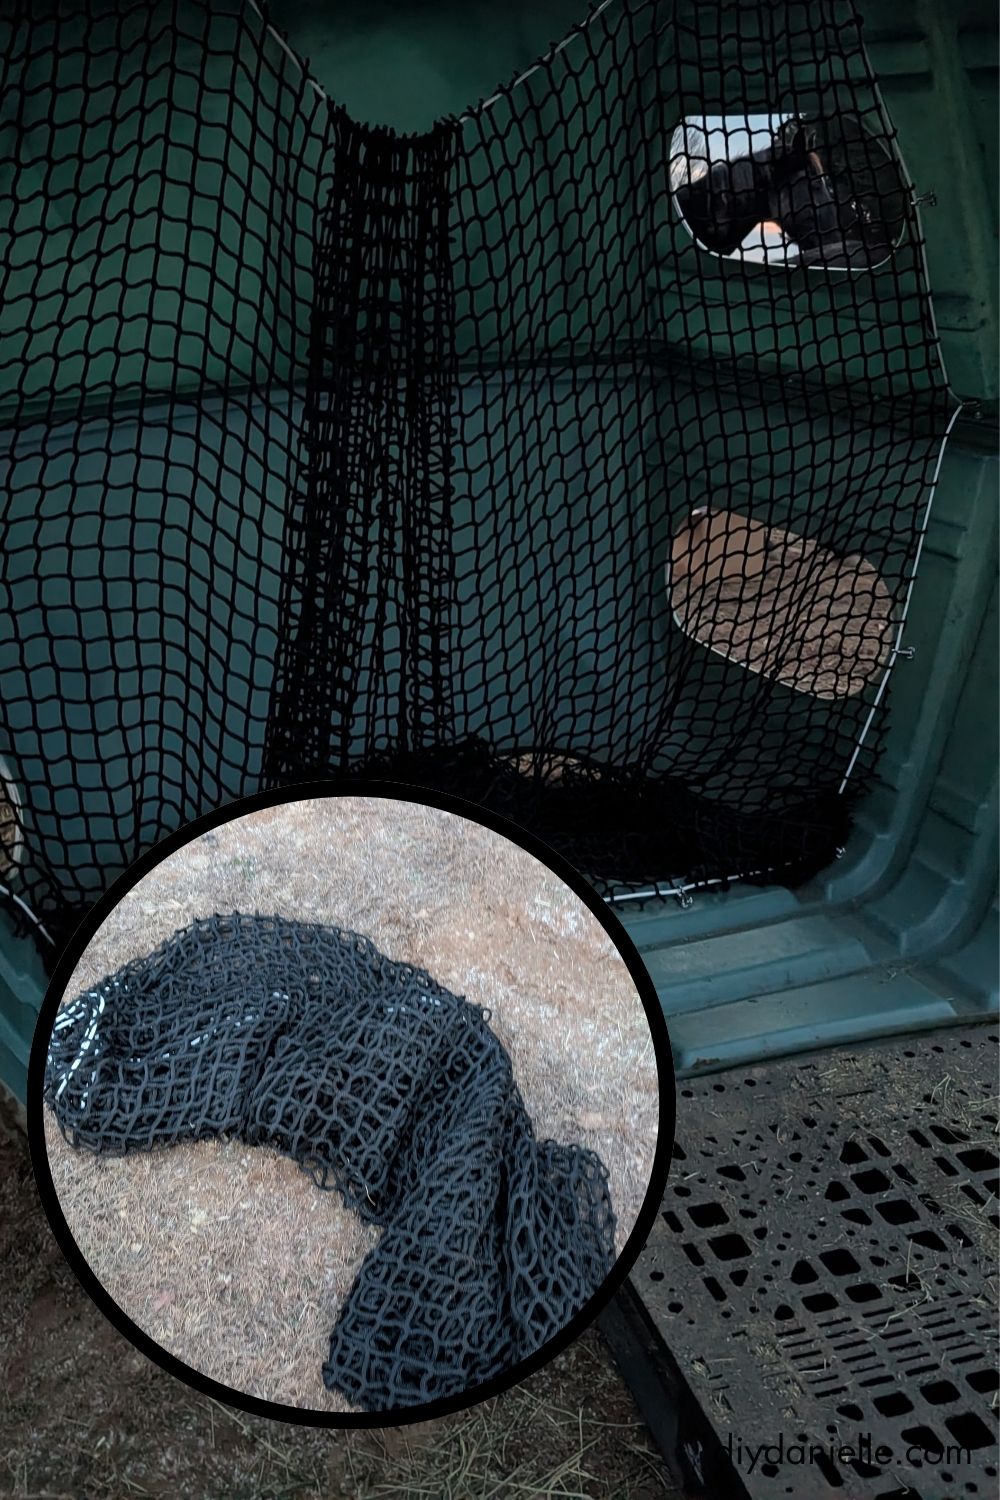
These slow feeder nets work for the big green hay hut to use with large round bales.
You can also use them like I did with multiple layers of square bales… we need to use square bales instead of round bales because one of my horses has heaves. With heaves (kind of like asthma and allergies), he will burrow his nose in a round bale and eat out of the hole he’s made. In the process, he’s inhaling lots of allergens (and big bales are more likely to have some mold or mildew). We decreased heaves symptoms almost completely by returning to square bales. My wallet is sad, but it’s easier than giving him medicine daily.
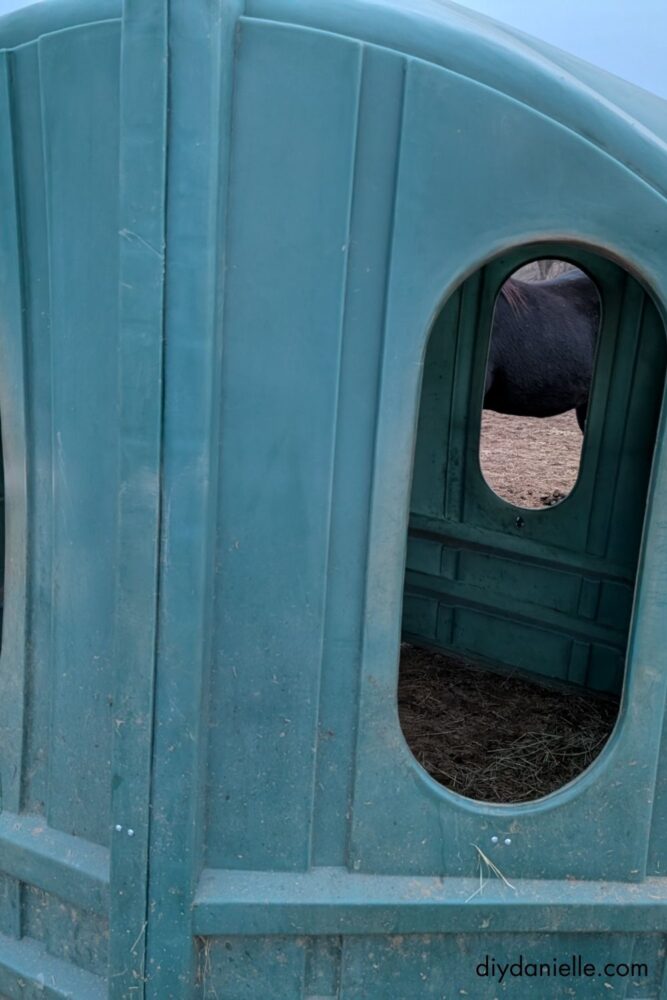
This is the Hay Burners Equine “Hay Hut” Net. Install was pretty easy, but took a bit of time, particularly in the cold. These slow feeders just allow the horses to eat without gobbling their hay down quite so fast… we feed pretty high quality hay over the winter and I’ve been struggling with balancing the cost of hay and their general overweight-ness at the end of the winter.
This post may contain affiliate links which may earn me commissions should you click through them and take certain actions. As an affiliate for Amazon, Cricut, xTool, Home Depot, and other sites, I earn from qualifying purchases. Please DIY carefully. View my full legal disclosures here.
The majority of my content is generated by me, as are 99% of the photos and videos, but I utilize technology for titles, descriptions, video editing out all of my ums, and occasionally for text overlay on images.
Please read the whole post so you don’t miss any important information!
How to Install the Hay Burners Equine “Hay Hut” Net
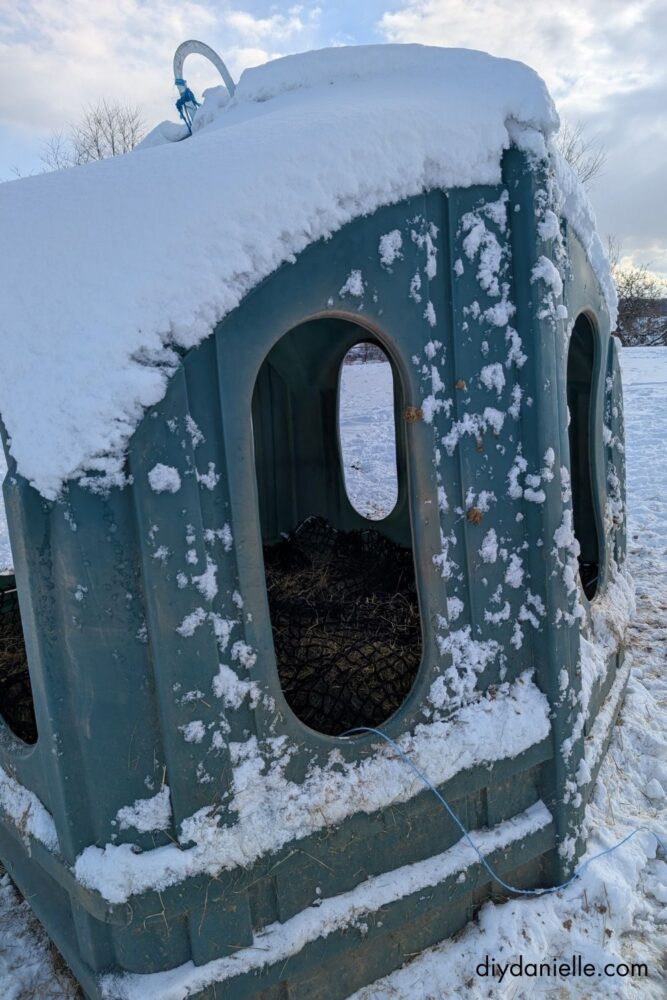
Note that the manufacturer instructions suggest flipping the hay hut on its side to do this… it’s easier that way, but beware of high winds. These things go flying in the wind if on their side.
Project Supplies
- Hay Burners Equine Hay Net
- 1/4 drill bill with drill
- Screwdriver/Phillips Head
- Marker/Pen
- Green Hay Hut
Step by Step Instructions
***Please Note: Manufacturers change their installation occasionally. This was done in 2025… please double check my instructions with manufacturer instructions in case anything has changed.***
Step 1: Mark the placement for your clips- a pen or marker works. Place your clip in the correct position, then use the pen to mark the holes for the screws.
The top of the clip is the rounded bit… which makes it look like it’s upside down. It’s not.
All clips should be approximately the same height from the ground- slightly below the windows.
Clips go in the following places:
- Under each window
- In each corner
- On the right side of each seam where the hay hut pieces were attached together.
Step 2: Before drilling your holes, check and double check your placement and markings. You can’t undo a hole.
Step 3: Use your 1/4″ drill bill and power drill to drill where you marked the two screw holes. I installed one clip first to make sure I was doing it all correctly.
Once I verified that, I just did all of the holes at once.
Step 4: Attach your clips to spot. Make sure they’re rounded side up.
Use the included truss head screws with lock nuts to hand fasten them in each spot.
Step 5: Use your Phillips head and the included 11/32″ wrench to tighten these all.
Note that the screw head is on the outside with the screws ends inside the hut. This should be safer for the animals than if placed opposite.
Step 6: Now unbox your net. There’s the white cord and the black netting. On the netting, there are FOUR colored zipties. Those indicate the corners. Attach the black netting + white cord at these spots to the four corner clips.
Step 7: Once that’s done, go around and clip JUST the cord to the rest of the clips.
ONLY the corners attach to both the black netting + white cord.

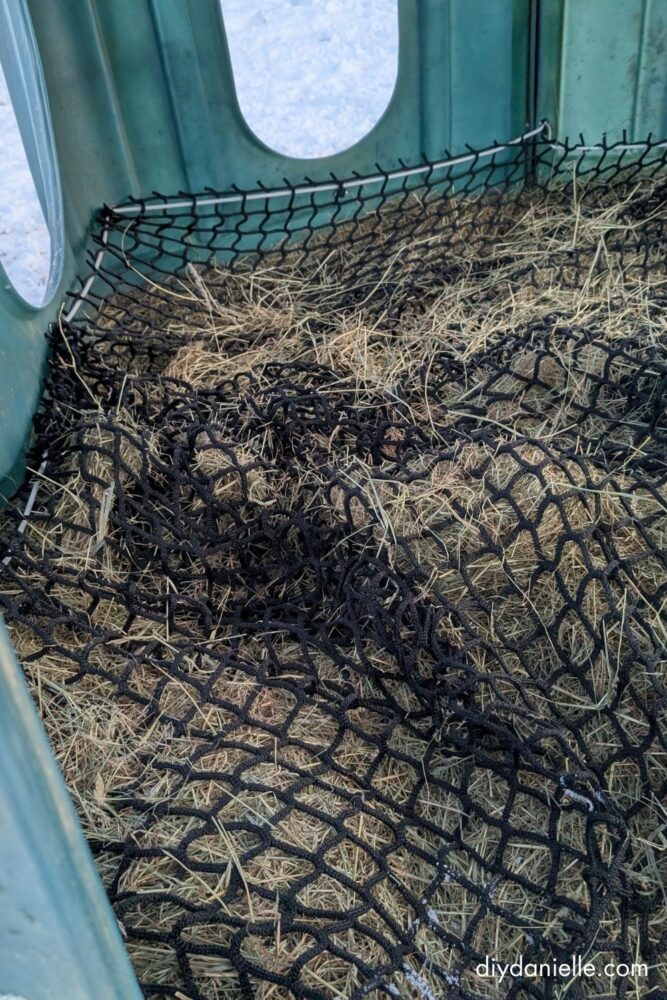
Step 8: Flip your hay hut if needed, add your pallet underneath if desired, then stack your hay or place your round bale. Flip the hay hut + net back over the hay.
Here’s a video of the process.
Please share and pin this post! You can also post your project and tag the DIYDanielle team on Instagram @doityourselfdanielle!
I can’t see the video on your pg discussing the hay nets for square hay bales with the hay hut