
How to customize a Swedish dishcloth. Learn how to print on a Swedish dishcloth and how to clean your dishcloth so you don’t ruin it!
This post may contain affiliate links which may earn me commissions should you click through them and take certain actions. As an affiliate for Amazon, Cricut, xTool, Home Depot, and other sites, I earn from qualifying purchases. Please DIY carefully. View my full legal disclosures here.
The majority of my content is generated by me, as are 99% of the photos and videos, but I utilize technology for titles, descriptions, video editing out all of my ums, and occasionally for text overlay on images.
Please read the whole post so you don’t miss any important information!
I’ve been trying to share all of my favorite reusable products recently, as I know many people aren’t able to find disposable products in the store or they want to avoid stores as much as possible.
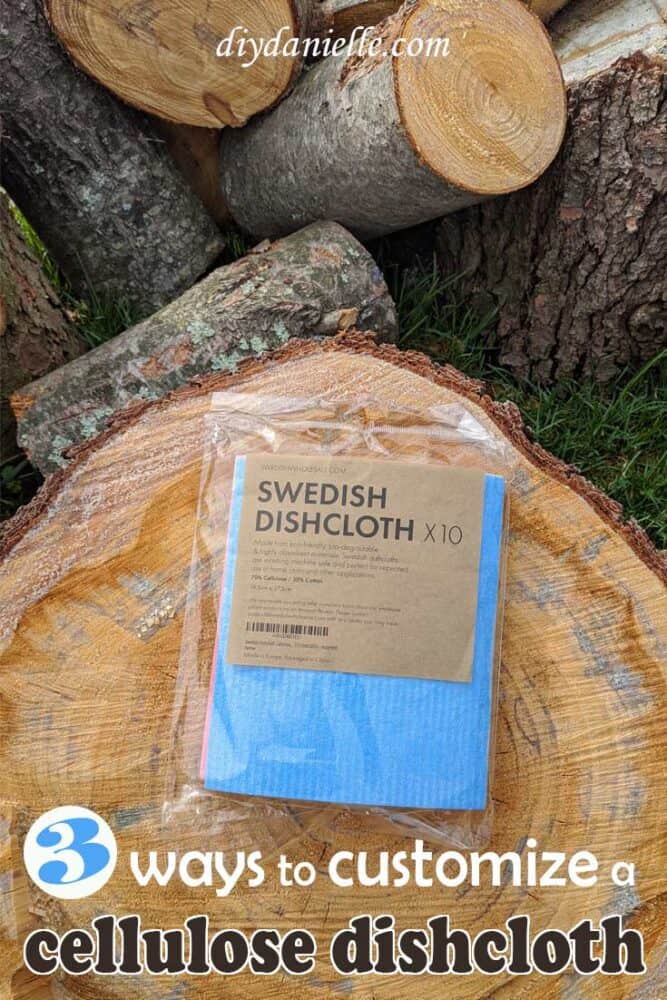
When Swedish Wholesale, a company that sells Swedish dishcloths on Amazon, approached me to sponsor a post about their product, I was excited to give these a try! They have many different plain colored dishcloths, making them perfect to customize and decorate!
While I have used reusable paper towels and cloth napkins, along with many, many other reusable products, I haven’t had an opportunity to test these dishcloths out.
I strongly prefer reusable dishcloths because they can be washed after every use. Sponges tend to pick up germs and bacteria, and when you use them a second time, you are simply spreading those bacteria around. Yuck. I wince whenever I see restaurants using the same dishcloth or sponge to wipe table after table.
It’s very easy to use the dishcloth, place in the wash, and use a new one for your next use. And it’s affordable! It costs very little to get enough dishcloths to rotate through. In the case of these Swedish dishcloths, you could even get away with only one or two.
In our case, we use dishcloths to help rinse off dishes before we place them in the dishwasher, and to hand wash anything that can’t fit. It is simple to place the dishcloth you use in the top rack of the dishwasher when you run your wash cycle.
When you unload the dishes, remove the dishcloth and hang to dry. This is a DIY dishcloth hanger that I made several years ago. It works GREAT for these!
Use the Discount Code DIYDANIELLE on cricut.com for 10% off any cutting machine or heatpress (no minimum). Excludes: materials/accessories/mystery boxes/etc. Applies to US/CA only, code expires 12/31/23.
3 Ways to Customize Your Swedish Dishcloth
One beginning recommendation- I would definitely lean towards buying white dishcloths for this project. The designs will show up so much easier and you won’t have to worry about trying to paint on a lighter color!
How to Write and Draw on a Swedish Dishcloth
I decided to experiment with some fabric markers first. These worked GREAT. They would have worked better if I had a lick of artistic skill. Drawing isn’t really one of the skills in my arsenal.
The markers wrote clearly and didn’t bleed. They produced a clear image without me needing to trace over the design a few times. As you might expect, yellow marker didn’t show up well on the darker dishcloth colors.
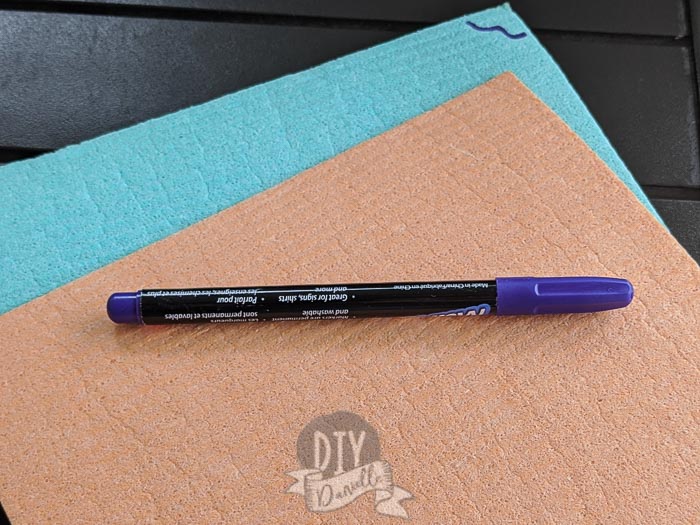
The markers I used state that they’re permanent, safe for washing (although the label mentions a gentle cycle), and that they “conform to non toxic.” Yes, that’s how it’s phrased… I am hoping that means they’re fine to compost.
You need to wait 24 hours to use/wash them in order to let the paint set.
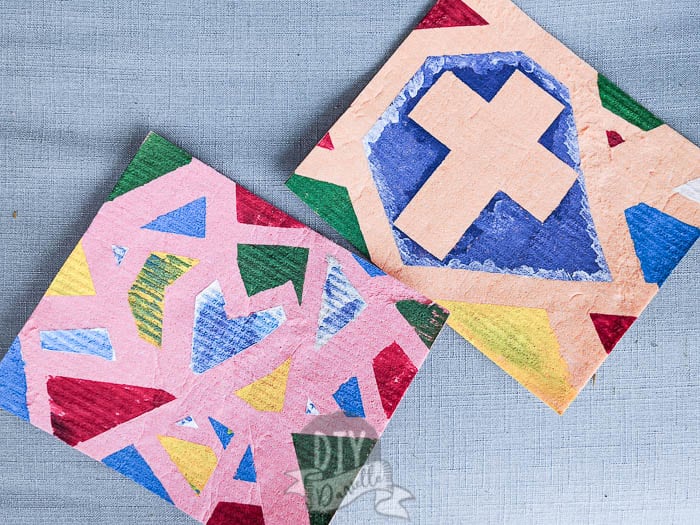
How to Paint on Swedish Dishcloths
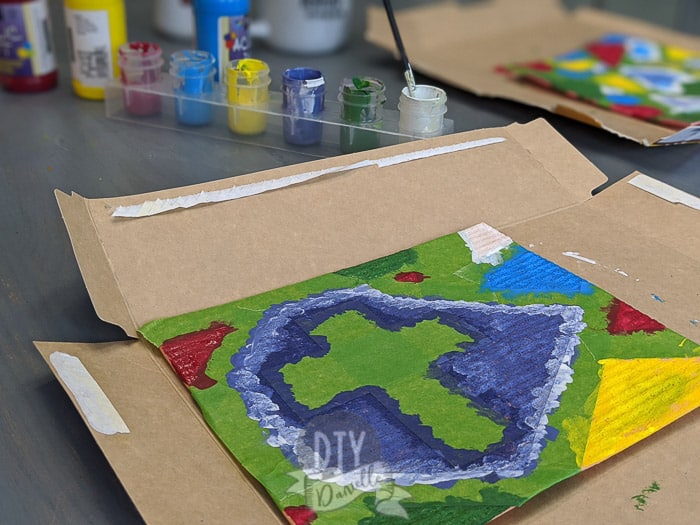
To paint the dishcloths, I opted to use acrylic paint. I’ve been seeing some fun stained glass style children’s artwork using painter’s tape so I figured I’d let the kids have fun!
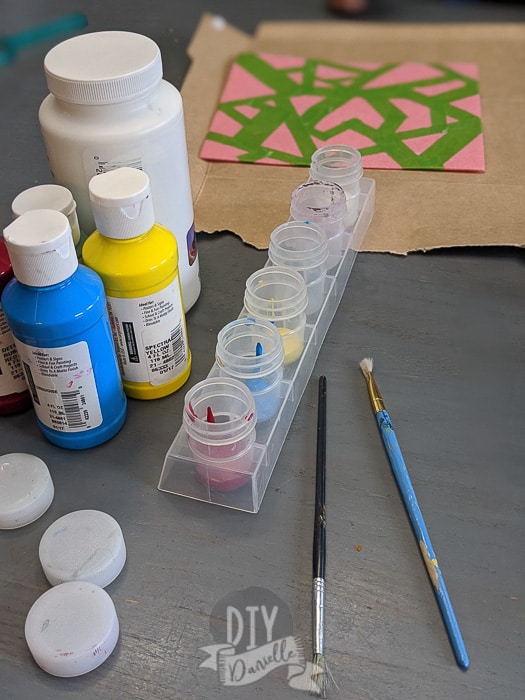
I started by cutting up painter’s tape and placing it on the cloth in different shapes and designs. My painter’s tape was fairly thick so I cut it into thinner strips.

Don’t press the tape down too hard. When removing the tape, some spots peeled off the top of the fabric in areas that were adhered too well.
Once the tape was on, I let my kids sit down and start painting! I suggested they not put two colors close together, but mostly let them get creative. The dishcloth does suck up more paint than you might expect so plan to do a couple of layers, particularly if you’re using light colors on dark cloths.
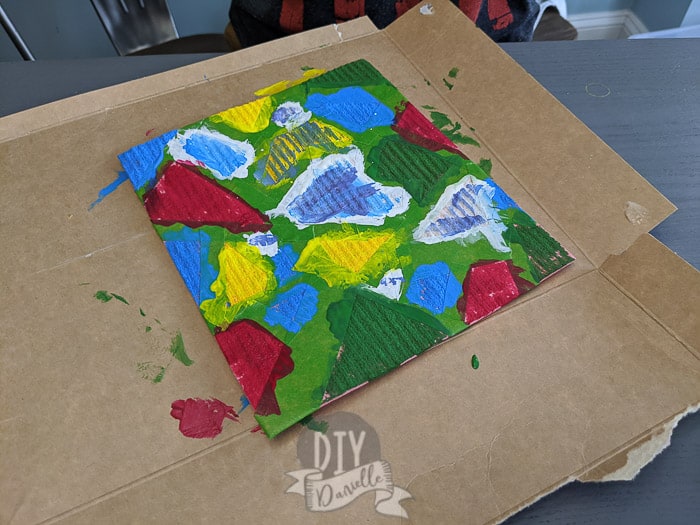

Let dry. Peel tape off carefully when dry. Wait 24 hrs to use or wash.
I found that the tape came off easier in the water so you could always wait 24 hours to remove the tape. After 24 hrs, let the dishcloth soak in a bowl of water, then remove the tape carefully. That MAY be the safer option.
The containers of acrylic paint were marked non toxic so I’m willing to risk composting them. Everyone has a different opinion here, but when I researched if acrylic paint is compostable, there was a huge discussion about composting painted pumpkins. Some people said they were told absolutely not to do so, but many professional pumpkin painters use sealants, I believe, to make their designs last. I think the same might be true of carving pumpkins. With only acrylic paint on these, I personally am not worried. Everyone should research and do what makes them most comfortable!
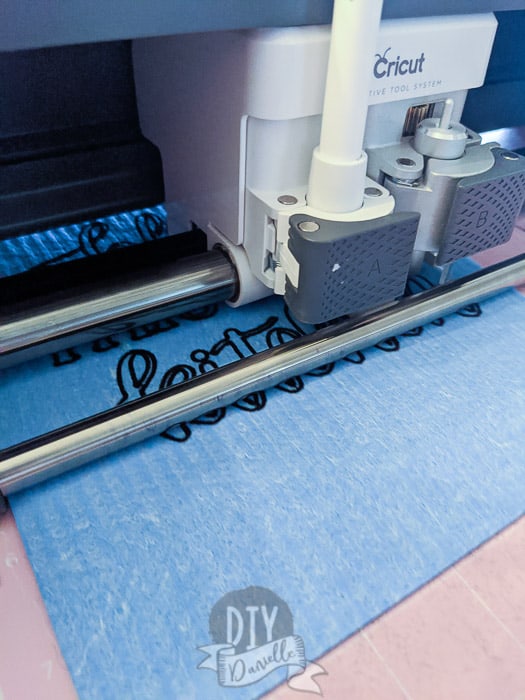
How to Print on a Swedish Dishcloth with the Cricut
I decided to give my Cricut a try to decorate these as my art skills are a bit lame. You’ll need a fabric grip mat, a fabric pen that fits into the pen housing, and your cloth.
In my video, you’ll note that I’m using a regular Cricut pen (medium tip, 1.0 black). This washes out, even if you use heat to try to set it. The Cricut can ABSOLUTELY write the text, but you need to find a pen that will work. Cricut sells a “fabric pen” but it’s the wash out kind that you use when sewing.
Place your dishcloth on the fabric grip mat and make sure it’s secure. Place your pen inside the pen holder with the cap off. Load your mat.
Pull up your design on Design Space. If you want, you can find my flower and “do not dry” design here.
- Make sure the design is the correct size: these dishcloths are 19.5 cm x 17.5 cm so your design needs to be smaller to fit.
- You want to select felt as your material.
- Make sure all of your designs are set to DRAW unless you want to cut your dishcloth.
- Wait 24 hours to let the ink dry before using or washing.
The drawn designs are best for this project, but if you want to color some designs in with a fabric pen, then you can use a design meant for cutting (do not actually cut the fabric).
This might be a good option if you can’t find a way to fit your fabric pen into the pen housing… you could let the Cricut machine draw the cut outline with the Cricut pen, then color everything in by hand with your fabric marker. Wait 24 hours for the fabric marker to set, then rinse the Cricut pen out of your cloth. You could go back and outline the design with the fabric marker if needed, let set another 24 hours, then you’re ready to go!
Can I use vinyl or iron on for decorating my dishcloths?
I would not use vinyl for decorating the dishcloths. You could possibly use the temporary vinyl to create a stencil, then carefully peel it off. I’d just be hesitant because of the fact that the painter’s tape removed some of the fabric in areas.
As for iron on, I was hesitant to try it. I think the heat from an iron or heat press would possibly cause the material to break down more quickly than normal. I also didn’t want to deal with trying to compost the dishcloth in the long run because I’d want to remove the iron on pieces (which are plastic-ish) first. That’s sort of a pain in the butt.
Which method stood up best after washing?
The fabric markers and the acrylic paints lasted- the Cricut pen dissolved completely!
How to Clean your Custom Swedish Dishcloth
The important thing to remember after customizing your dishcloth is that you don’t want to wash off your design.
These dishcloths can be washed in the washing machine OR the dishwasher. Do NOT use fabric softener as this will make them less absorbent. Do NOT place them in the dryer because you’ll shrink them and potentially mess up your design.
The gentler method you use to clean these, the more likely the design will last.
Why Buy Swedish Dishcloths?
The best part about these reusable dishcloths is that they’re compostable. Do you compost yet? If not, you SHOULD be… it’s an awesome way to save money, help the environment, and build up your garden without buying expensive supplements. Compost always makes my garden better than ever. Here’s my guide to how to start composting.
What this means though is that when your dishcloth starts to break down and you’re ready to toss it, you can toss it into the compost instead of the landfill. It will break down with the rest of your organic matter (your grass clippings, fruit peels, etc). Eventually you can add the organic matter to your garden once it’s all finished composting down!
What makes a product compostable or not is whether or not it’s made of synthetic or 100% natural materials. These Swedish Dishcloths are made of 70% Cellulose and 30% Cotton, both organic materials. While this means the product will break down sooner than a synthetic product, it also means that the product is compost-safe.
If you’re familiar with the environmental issues with products like yoga pants, you probably understand that the pants are generally made with synthetic materials. This improves their longevity and might give them additional benefits- like not wrinkling. But the downfall is that they’re creating an enormous amount of waste. They don’t break down.
Just remember that any customization that you put on your Swedish dishcloth might not be compostable. Iron on vinyl, for example, will not compost. You’ll want to remove it prior to placing the dishcloth in the compost bin (or plan to sift it out later, I suppose).
Video Tutorial
If you love to do crafts with your kids, learn how to make melted crayon art!
Please share and pin this post! You can also post your project and tag the DIYDanielle team on Instagram @doityourselfdanielle!
Hi there! Could you please share which brand/type of fabric marker you used that fit in your cricut? I have a cricut explore air 2 and I’m hoping to try this out! Thanks!