
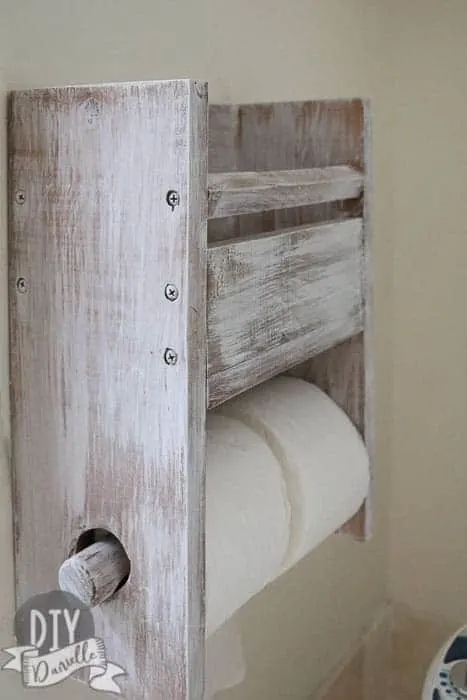
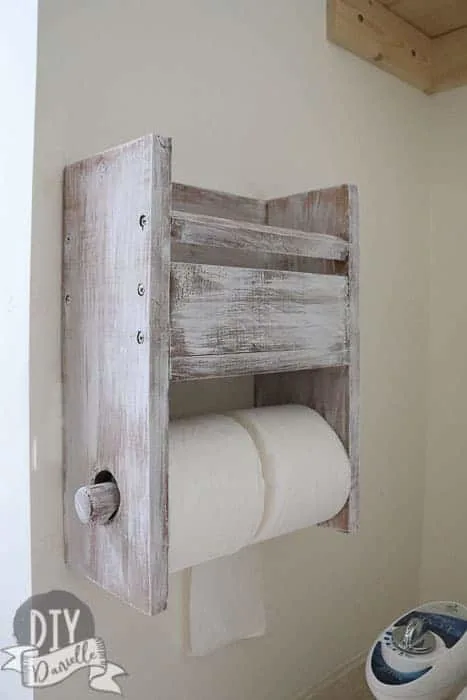
Want a quick project that you can make in under 2 hours? Build a DIY toilet paper holder that holds two rolls of toilet paper, plus storage above.
This post may contain affiliate links which may earn me commissions should you click through them and take certain actions. As an affiliate for Amazon, Cricut, xTool, Home Depot, and other sites, I earn from qualifying purchases. Please DIY carefully. View my full legal disclosures here.
Please read the whole post so you don’t miss any important information!
This month for the At Home DIY Challenge, we are all completing a 2 Hour or less project. Initially I wanted to make a screen door- and I did- but the math alone took more than 2 hours so that will be shared another day.
Our metal toilet paper holder was driving me nuts because it kept falling off, dropping the toilet paper on the floor. NUTS. I decided to whip up this quick wood toilet paper holder that holds two rolls side by side. It also has storage above.
This was designed to match the Toothbrush Holder that I have in my bathroom and made for one of the first challenge months.
How to Make a Toilet Paper Holder
This was a fairly simple build. You’ll need to get your supplies together first.
Supplies
- Wood: (1) 8′ 1×6 board
- (2) pieces at 15″
- (3) pieces to 9.5″ (one gets cut down further)
- Screws/nails
- Dowel: I used the end of a broken broom
- Stain with white paint dry brushed over
For what it’s worth, I just bought replacement drill bits and these ones are AMAZING. So much better than the bits that came with all of our drills.
Note that I meant to match the toothbrush holder and it works, but it’s not exactly the same color because… cough… I didn’t look at my own blog post with the colors listed. Whoops.
Instructions
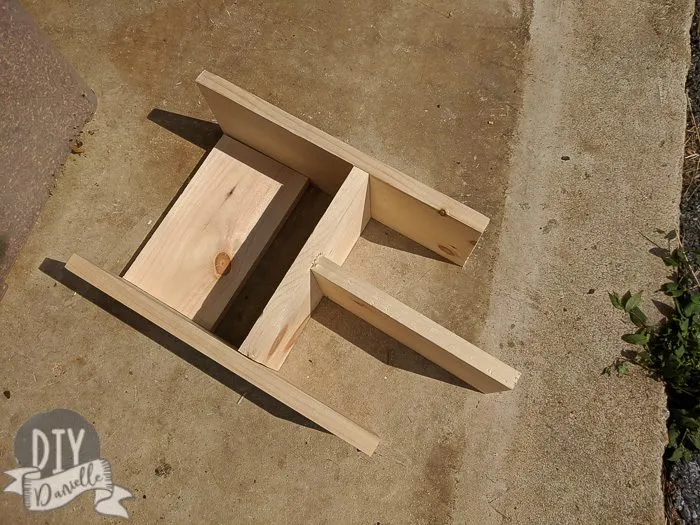
Start by cutting your wood. You need two 15″ cuts of your 1×6 board for the sides and three pieces cut to 9.5″ (one piece will be cut down further).
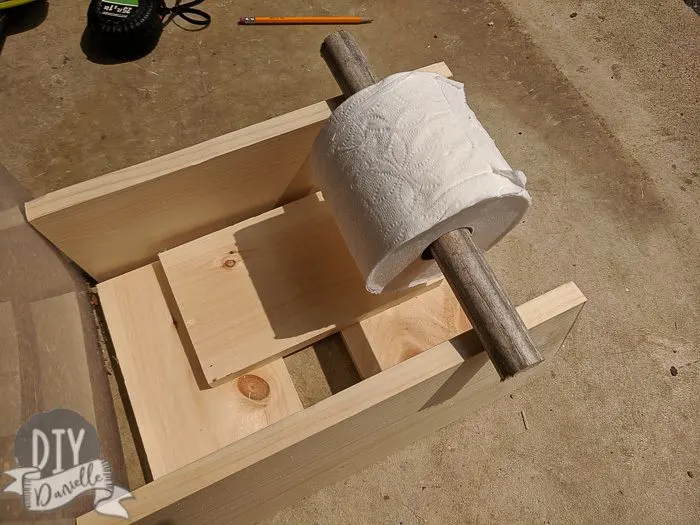
Your next step is to cut a dowel slightly longer than the width of your total toilet paper holder. I didn’t find an appropriate sized dowel so I used the old handle off a rake that had broken.
Each side piece needs a hole for the dowel to be inserted through. If you measure the size of your dowel end, you can use a spade bit to make the hole slightly larger. I made a mistake and used too small of a spade bit- mine should have been the 1.5″ spade bit. Needless to say, I was able to enlarge the holes with my jig saw but they’re not as perfect as if I’d done it correctly with the spade bit.
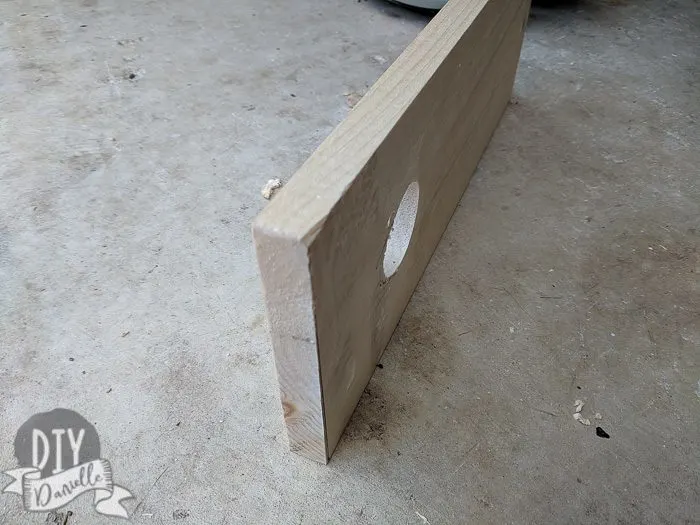
You want to make sure your hole for both boards is at the same spot so your dowel doesn’t end up being lopsided.
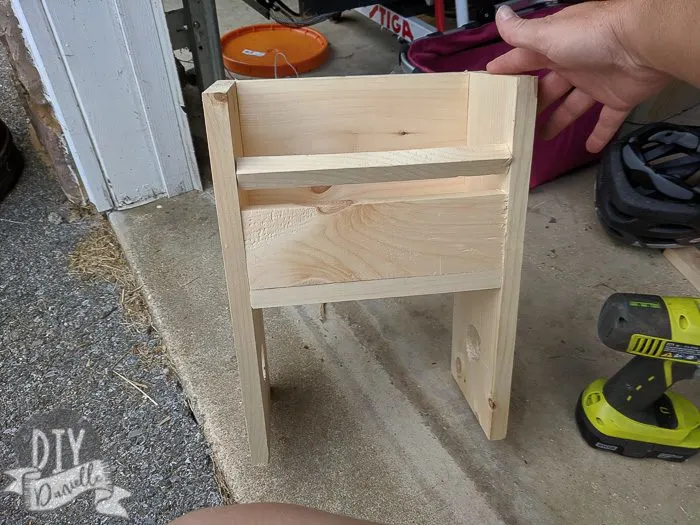
Once the holes are made, you can add your middle piece. I measured how much space the toilet paper roll would require, then placed the middle shelf right over it.
I attempted to use pocket holes, then realized it was a terrible idea. It would be far better to screw this in from the outside. If you don’t want the screw heads showing, start with a countersink bit to create a bit of a hole for your screw head. Then you can sink your screw head below where the wood is flush and fill the hole in before painting/staining.
In my opinion, it’s easier to just leave it looking ‘rustic’ with the screws showing. Time is money. Haha.
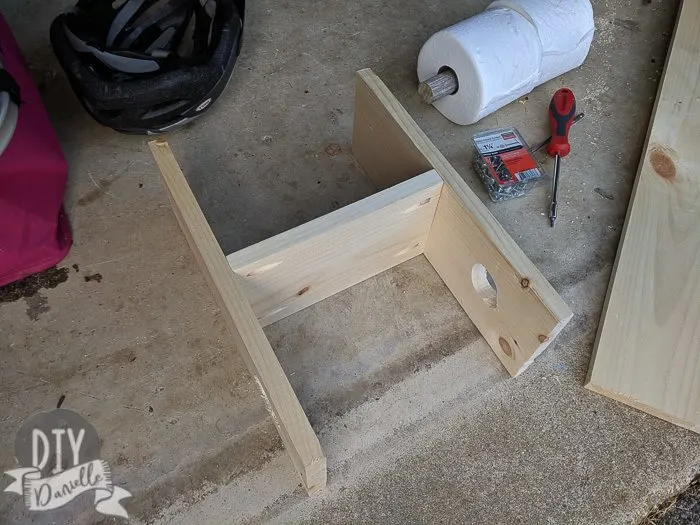
The second 9.5″ board can go above the middle shelf on the back. This gives you a back for the toilet paper holder and this is what you’ll screw into your wall to hold it in place. I made the board flush with the top of the side boards. There IS a gap between the middle shelf and the bottom of this back piece.
Once that was attached, I cut my last 9.5″ board in half, then again to create two smaller pieces for the front of the holder. I attached both with screws.
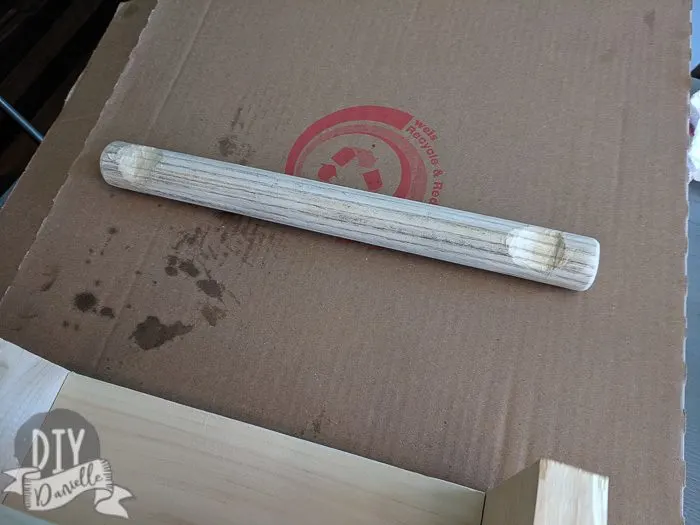
At this point, you may want to carve out an area on your dowel so it’ll stay put better on the holder. I didn’t really have the right tool for this (that I could think of) so I used my carving kit. This seemed to do a good enough job for now.
I sanded everything down. Then I stained it. After the stain was dry, I dry brushed white paint on top.
Here’s a video showing the whole process…
Toilet Paper Holder Install
You’ll need a stud finder, a level, some screws, and a drywall anchor.
Remove your old toilet paper holder and discard/upcycle/recycle/donate it. You’ll need to patch the holes, unless you can somehow manage to use them. I wasn’t able to. Full disclosure: I forgot to patch until after I took my photos so I’ll need to go back and fix my wall at some point. I photoshopped patched my wall for these photos and it’s probably obvious if you look close enough. Haha.
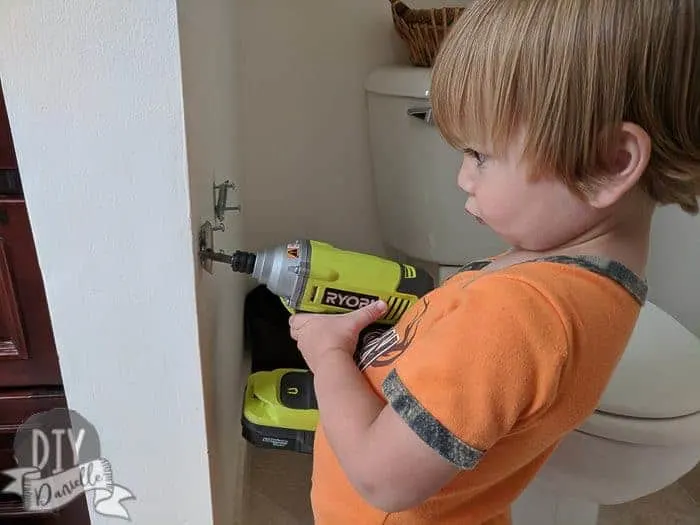
Find your stud on the wall. You’ll want to place one screw through your toilet paper holder and into the stud.
Before you do this, however, you need to figure out where you want your second screw. There likely won’t be a stud there (unless you have funny spaced studs) so you’ll need a drywall anchor. Add that, then you can screw your toilet paper holder into the wall. The buddy helped me.
You really want to make sure it’s level when you screw it in…
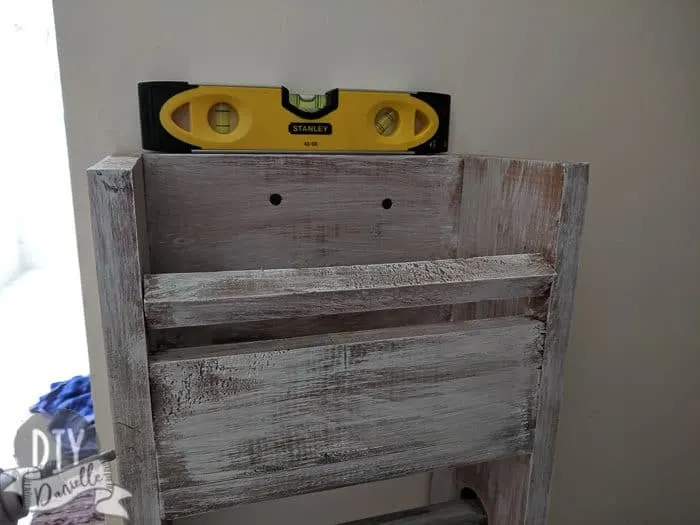
I tried to place mine about where I felt it would be comfortable to grab toilet paper off. So it’s mostly lined up where the old brackets were.
How to Store Reusable Toilet Paper
One of the main considerations when I did this project was how to store reusable toilet paper or family cloth. I put the family cloth out so our family can use it OR toilet paper, depending on their comfort. I have three boys so I doubt it gets much use besides myself, but (shrug) I am not keeping tabs.
Everyone has their own opinions on how to use this- some people only use it for pee, others are all in, and we have a bidet sprayer so the family cloth can be used mainly for drying off.
Regardless, I wanted an easy place to store it in our bathroom so I built the toilet paper holder with the additional storage spot. It works perfect. There are two other ways to store reusable toilet paper: 1) Some people add snaps to their family cloth and roll it around an empty tp roll, but that’s a lot of extra work come laundry time. 2) We have, in the past, kept a small basket near the toilet with a pile of wipes in it.
So far this has been fantastic and so much better than the old holder.
Please share and pin this post!
Check out all of the other 2 hour DIY projects below from this month’s challenge.


Love organization ideas? Here are some organizers we’ve built for our home: Kitchen Wrap Drawer Organizer | Under Sink Organizer | Stroller Organizer | Wall Mounted Dish Drying Rack | Electric Toothbrush Holder for Wall | DIY Over the Door Shelf

Toni | Girl, Just DIY!
Tuesday 23rd of July 2019
What a great project, and a cute little helper too! I love that you made it wide enough for two rolls, I hope that solves the problem of the empty rolls LOL
Danielle
Tuesday 23rd of July 2019
Haha hopefully! I should just build a full size wall tp holder that holds 20 rolls. LOL.
Meegan
Friday 19th of July 2019
Lovin' this Danielle! You did an incredible job with your weathered toilet paper holder. I love the rustic style and easy tutorial. Thanks for sharing!
Sherry
Wednesday 17th of July 2019
I love the look of this and having more than one roll of paper is so smart! You did a great job!
Danielle
Thursday 18th of July 2019
Thanks! :) It's definitely winning.
Carmen Smith
Wednesday 17th of July 2019
well this is a great build! and your little helper with the drill totally stole the show haha ;)
Danielle
Wednesday 17th of July 2019
He is the cutest little helper for sure!
Amy
Tuesday 16th of July 2019
Great job! I looks great! I love the weathered look!
Danielle
Wednesday 17th of July 2019
Thanks so much :)