

Information on the large self watering planter, The Lechuza Cascada Planter, an installation tutorial, and tips for use. This three tier cascading planter is perfect for inside or outside your home.
This post may contain affiliate links which may earn me commissions should you click through them and take certain actions. As an affiliate for Amazon, Cricut, xTool, Home Depot, and other sites, I earn from qualifying purchases. Please DIY carefully. View my full legal disclosures here.
The majority of my content is generated by me, as are 99% of the photos and videos, but I utilize technology for titles, descriptions, video editing out all of my ums, and occasionally for text overlay on images.
Please read the whole post so you don’t miss any important information!
Many thanks to ePlanters for supplying the planters for this project.
We love to travel, but we generally try to work travel plans around the kids’ school schedule. In the summer, we plan to go to Ocean City for a week with our in-laws. Every trip I hire a pet sitter for the animals, but I feel guilty asking her to water plants… I have a lot of them.
This year we are putting in a Back to Eden style / food forest for the main garden, but I also wanted to have some planters. The large garden is mulched with wood chips which help the soil retain water, but planters dry out so fast. That’s why I LOVE self watering planters.
When you can be reassured that your plants won’t die or that they at least have a decent shot at survival, taking a trip is much less stressful.
If you’re not a plant person, this may seem dramatic to be stressed over plants. But I love edible gardening and put a lot of time, money, and effort into growing a garden. It’s sad to have it go to waste.
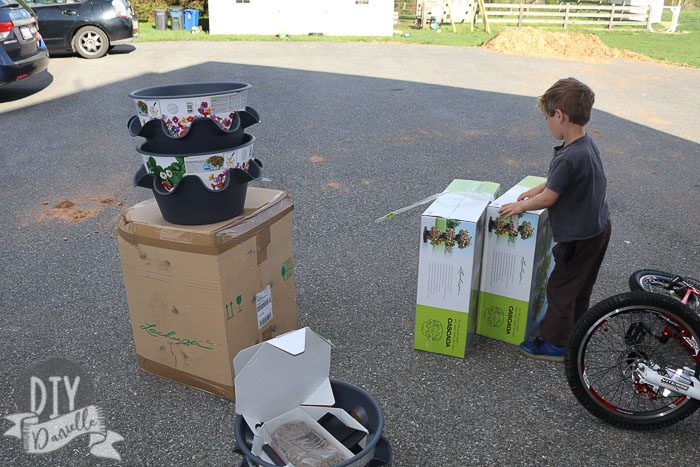
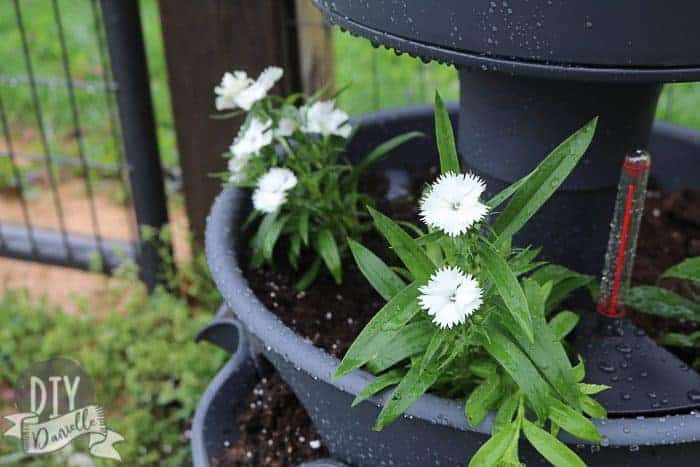
So the best option for worry-free travel when you’re a gardener is a self watering planter like these cascading planters that I’m reviewing today from ePlanters. You can buy a one, two, or three level version of this planter. I received two, 3 level cascading planters to show y’all. I’m going to show you how to put it together and how it looks all setup!
Supplies
- Lechuza Cascada Planter: 3 Tier
- 2 cu yards of potting soil
- Plants that are happy in a pot
How to Put Together the Lechuza Cascada Planter
There’s a little drain plug at the bottom of every tier. You need to remove it if you’re planning to use this outside. This plug keeps the planter from getting flooded when it rains. Excess water can drain. This is great for outdoors… for inside, it’s bad because there’s no excess water (assuming you don’t go crazy) and you don’t want water draining on the floor
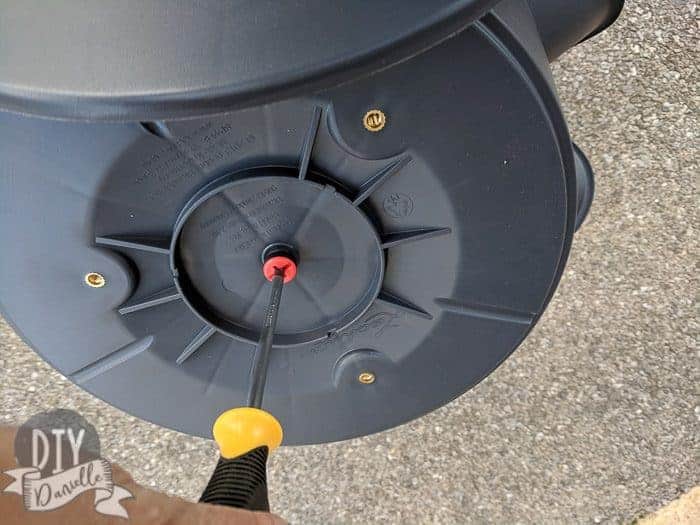
Next you can attach your base to your first tier using the three screws.
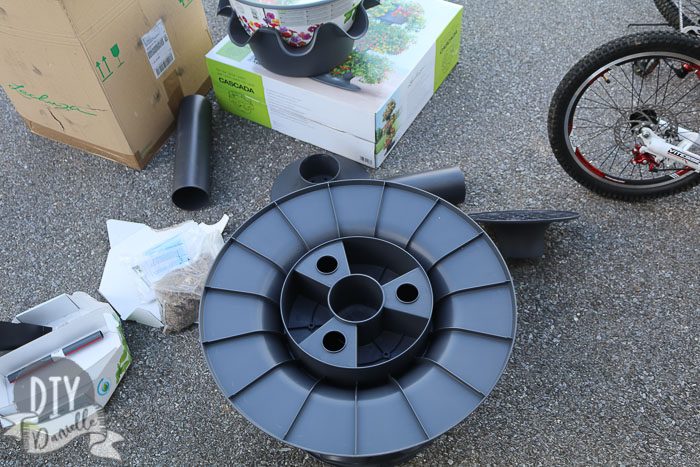
The middle part of your bottom tier pops out and you put a tube inside that hole.
Next step is to attach the bottom to the next level planter. It also screws in. Then you place that on top of the tube.
Repeat with planter #3. The middle plastic piece stays in the top tier planter.
At this point you want to place your water basin piece… this is the weird triangle like piece. You want to place that on the SAME SPOT ON EVERY TIER. I’m an idiot and didn’t do this. I think I can just pull the tier up and rotate but I haven’t tried it yet. It looks better if they’re all in the same spot and it’s easier to fill the basins.
The piece just pops in.
Now you need to put together the self watering piece. There is a bunch of pieces and I’m going to show you how they connect…
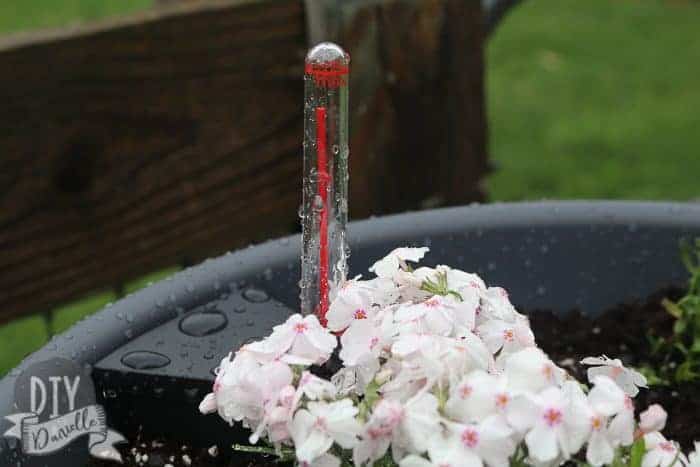
There is a black piece that the glass section pops into. It should click in place. The red tube goes inside this with the foam piece attached on the bottom.
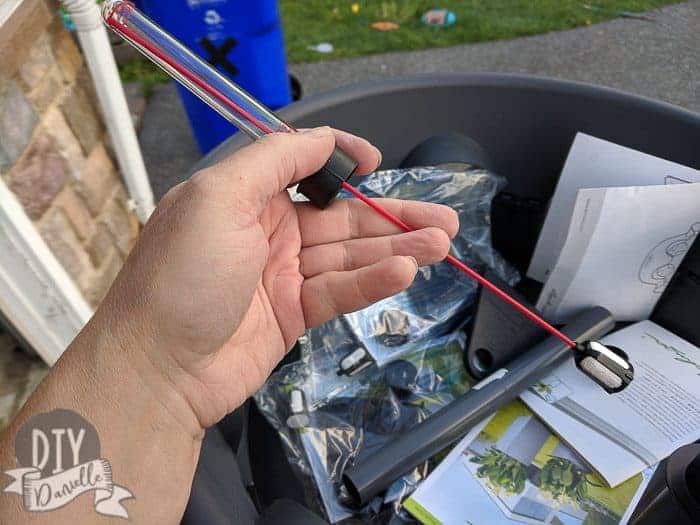
The foam piece and bottom of the red tube go inside the gray tube… which connects to the glass portion.
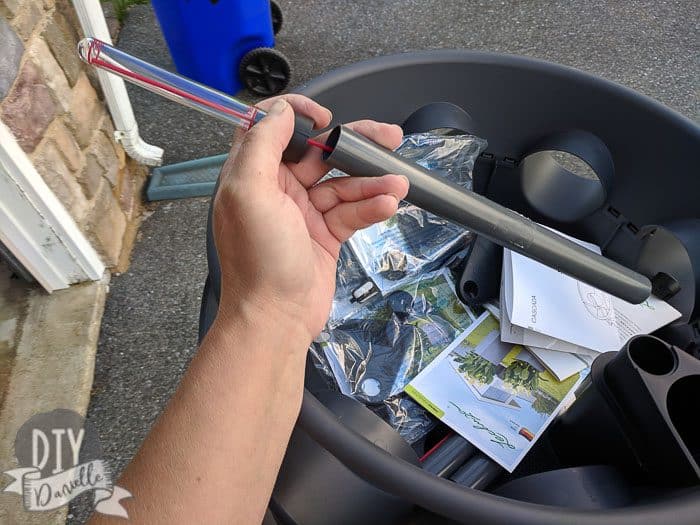
There’s a cap for the bottom….
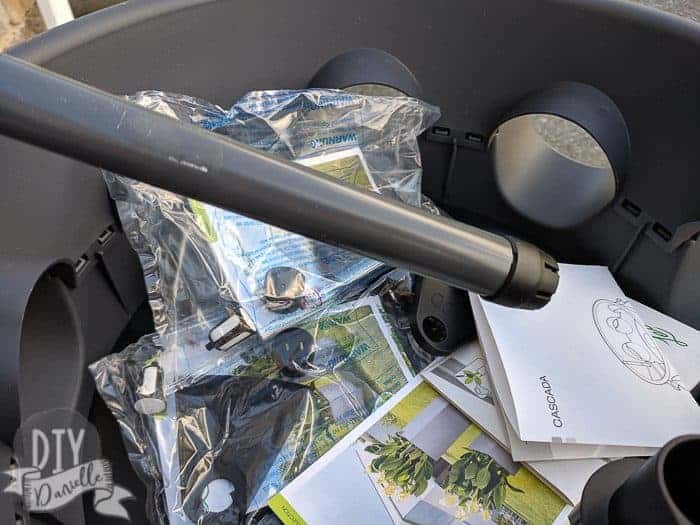
Now just pop it into the basin area.
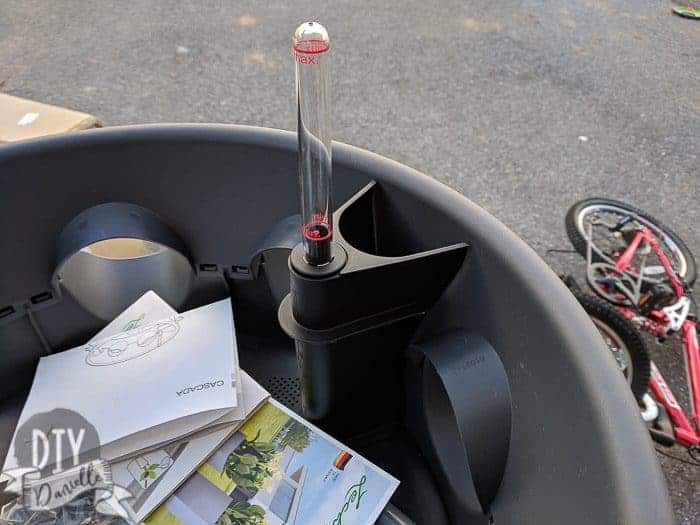
Pop the cap on top, then fill each tier with the gravel provided.
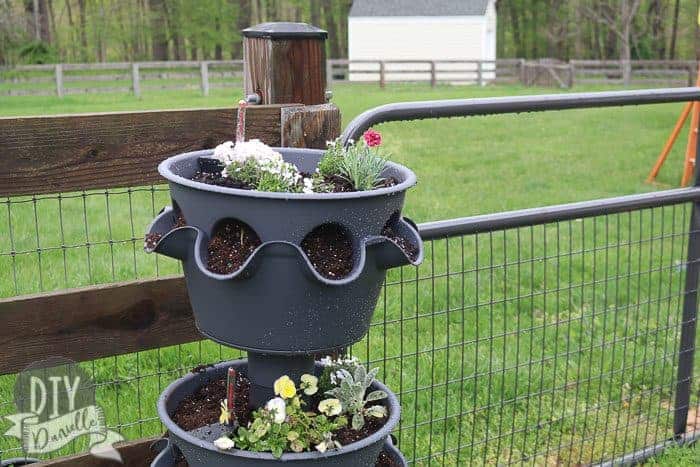
Now you can add your potting soil and your plants!
When the basin is full of water, the foam piece buoys the red tube up to the max point. Don’t overfill. As the basin empties, the red tube drops. When it hits empty, you refill the basin with water.
What I Like about this Self Watering Planter
The Size
Many self watering planters are on the smaller side and better used for an indoor windowsill. I like that these are large enough for lots of different plants.
If I didn’t have a spot to grow tomatoes though, I would probably invest in one of these large trellis self watering planters. They’re SO cool looking and would make a great privacy planter.
Indoor or Outdoor Use
There’s a small piece that fits into the bottom of the planter for indoor use. You want to remove it for outdoors. I love the idea of using this inside my house in the winter, assuming I can setup a space where there’s enough light. I dream of having a greenhouse or sun room.
Durable
I have a smaller planter from the same company, Lechuza. It’s similar to this one, although it’s a much older model. It’s lasted for years with no signs of wear or tear. This means I don’t have to replace it which means a lot… I’d rather spend more money on a quality product than to have to replace a cheaper product every year or two.
This particular planter (and I anticipate all of this company’s planters) is frost and UV resistant which probably explains the longevity of my other one. They seem to be made from the same material.
Recyclable
While this planter should last for a very long time, I like that the planter is recyclable.
Light Weight
The planter by itself is light weight so it’s convenient for moving. If you have soil in it, it’s heavier. If you think you might end up moving this around a lot, you may want to build yourself a base with wheels (and locks on the wheels).
Tips on Using the Planter
Tip 1: Make sure you have a level spot to place the planter or create one. I wanted to put this in front of the garage but realized that the area wasn’t level enough.
Tip 2: Place the planters within reach of a hose. While the planter is self watering, it takes quite a bit of water to fill up each basin so you want to make it easy on yourself.
Tip 3: When filling the basin, you need to angle your hose so it isn’t spraying soil everywhere. The water goes into the basin, not the part where the plants are. Each level has it’s own self watering feature and basin.
Tip 4: If you move this indoors for the colder months, I anticipate that you’ll want to replace the soil and make sure that you get quality potting soil that is sterile. You just don’t want to move pests inside your home- outdoors, those pests have natural predators that keep their populations in check. Inside, they’ve got no predators and your house becomes the perfect breeding ground for a pest infestation.
Here’s some tips for washing your plants to debug them before bringing them inside your house.
Tip 5: Place the watering area in the same spot on every tier. It’ll look nicer setup and be easier to fill each one.
Wouldn’t this look lovely as a strawberry planter too?! I may use it long term for herbs, but I am growing those from seed this year so I wanted some pretty flowers in there to show off the planters better. It may be a while before the herbs are ready!
Here’s a video showing the process of setting it up if that’s your jam!
Interested in gardening? Here are some other posts about gardening that I’ve written and you might enjoy: DIY Concrete Planters | Privacy Planters | How to Use Pine Straw as Mulch | 13 Stunning & Easy Garden Trellis Ideas | How to Setup a Pond and Patio | Gifts to Make from the Garden | Everything You Need to Know about Grow Lights
Please pin and share this post!
